- Joined
- Jul 14, 2020
- Threads
- 125
- Messages
- 6,164
- Reaction score
- 7,037
- Location
- California
- Vehicle(s)
- Jeep Wrangler JKUR
- Your Bronco Model
- Wildtrak
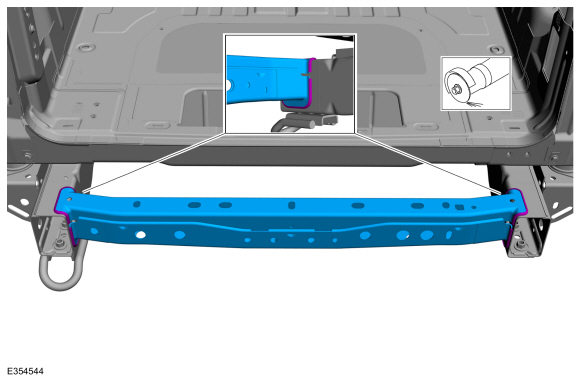
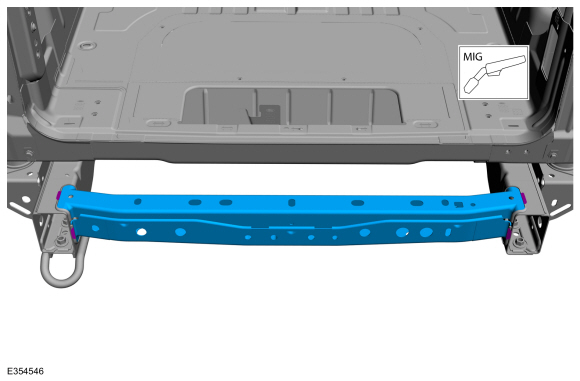
Well regardless of how this actually happened, how many times have we come off a ledge or a rock and smack the trailer hitch? I mean most people treat the hitch sort of as a "rear rock slider" ")
I was thinking of ordering that hitch slide to make sure that that gets hit before anything else including my bumper and spare tire... Now I don't know.
Maybe having some reinforcement metal added to that middle brace to keep it from twisting or bending.
I mean I get the crumple zone concept.. this kind of seems like the tie rod problem... I really looking for a weak point where it actually should be stronger than the norm.
Sponsored