
- Thread starter
- #1
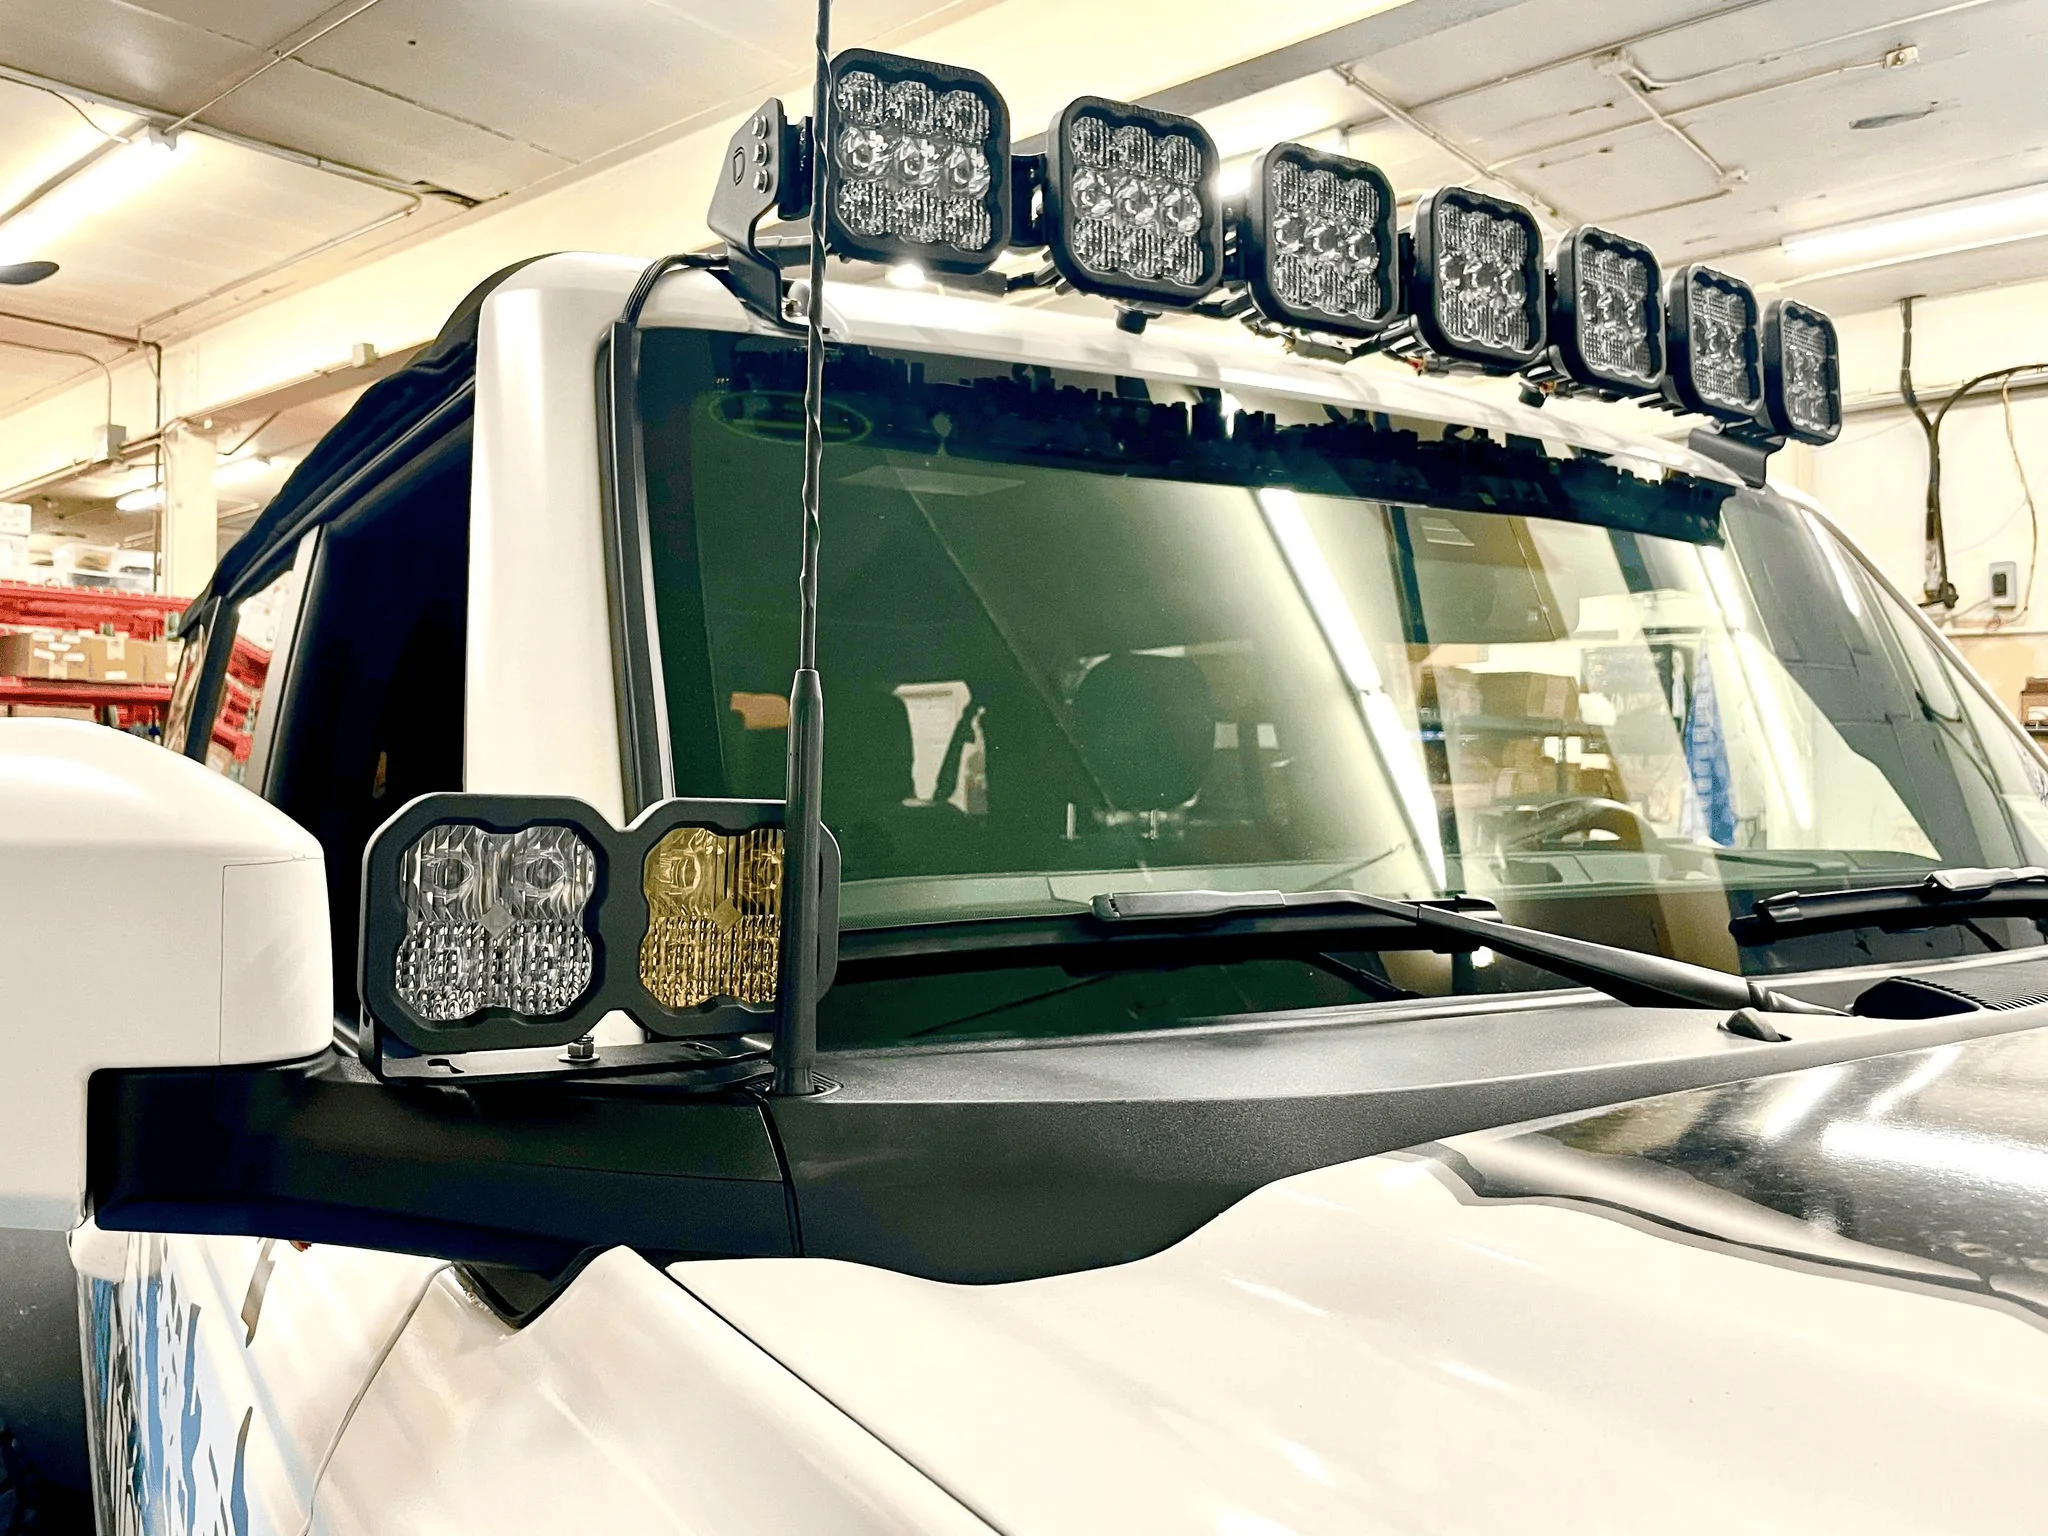
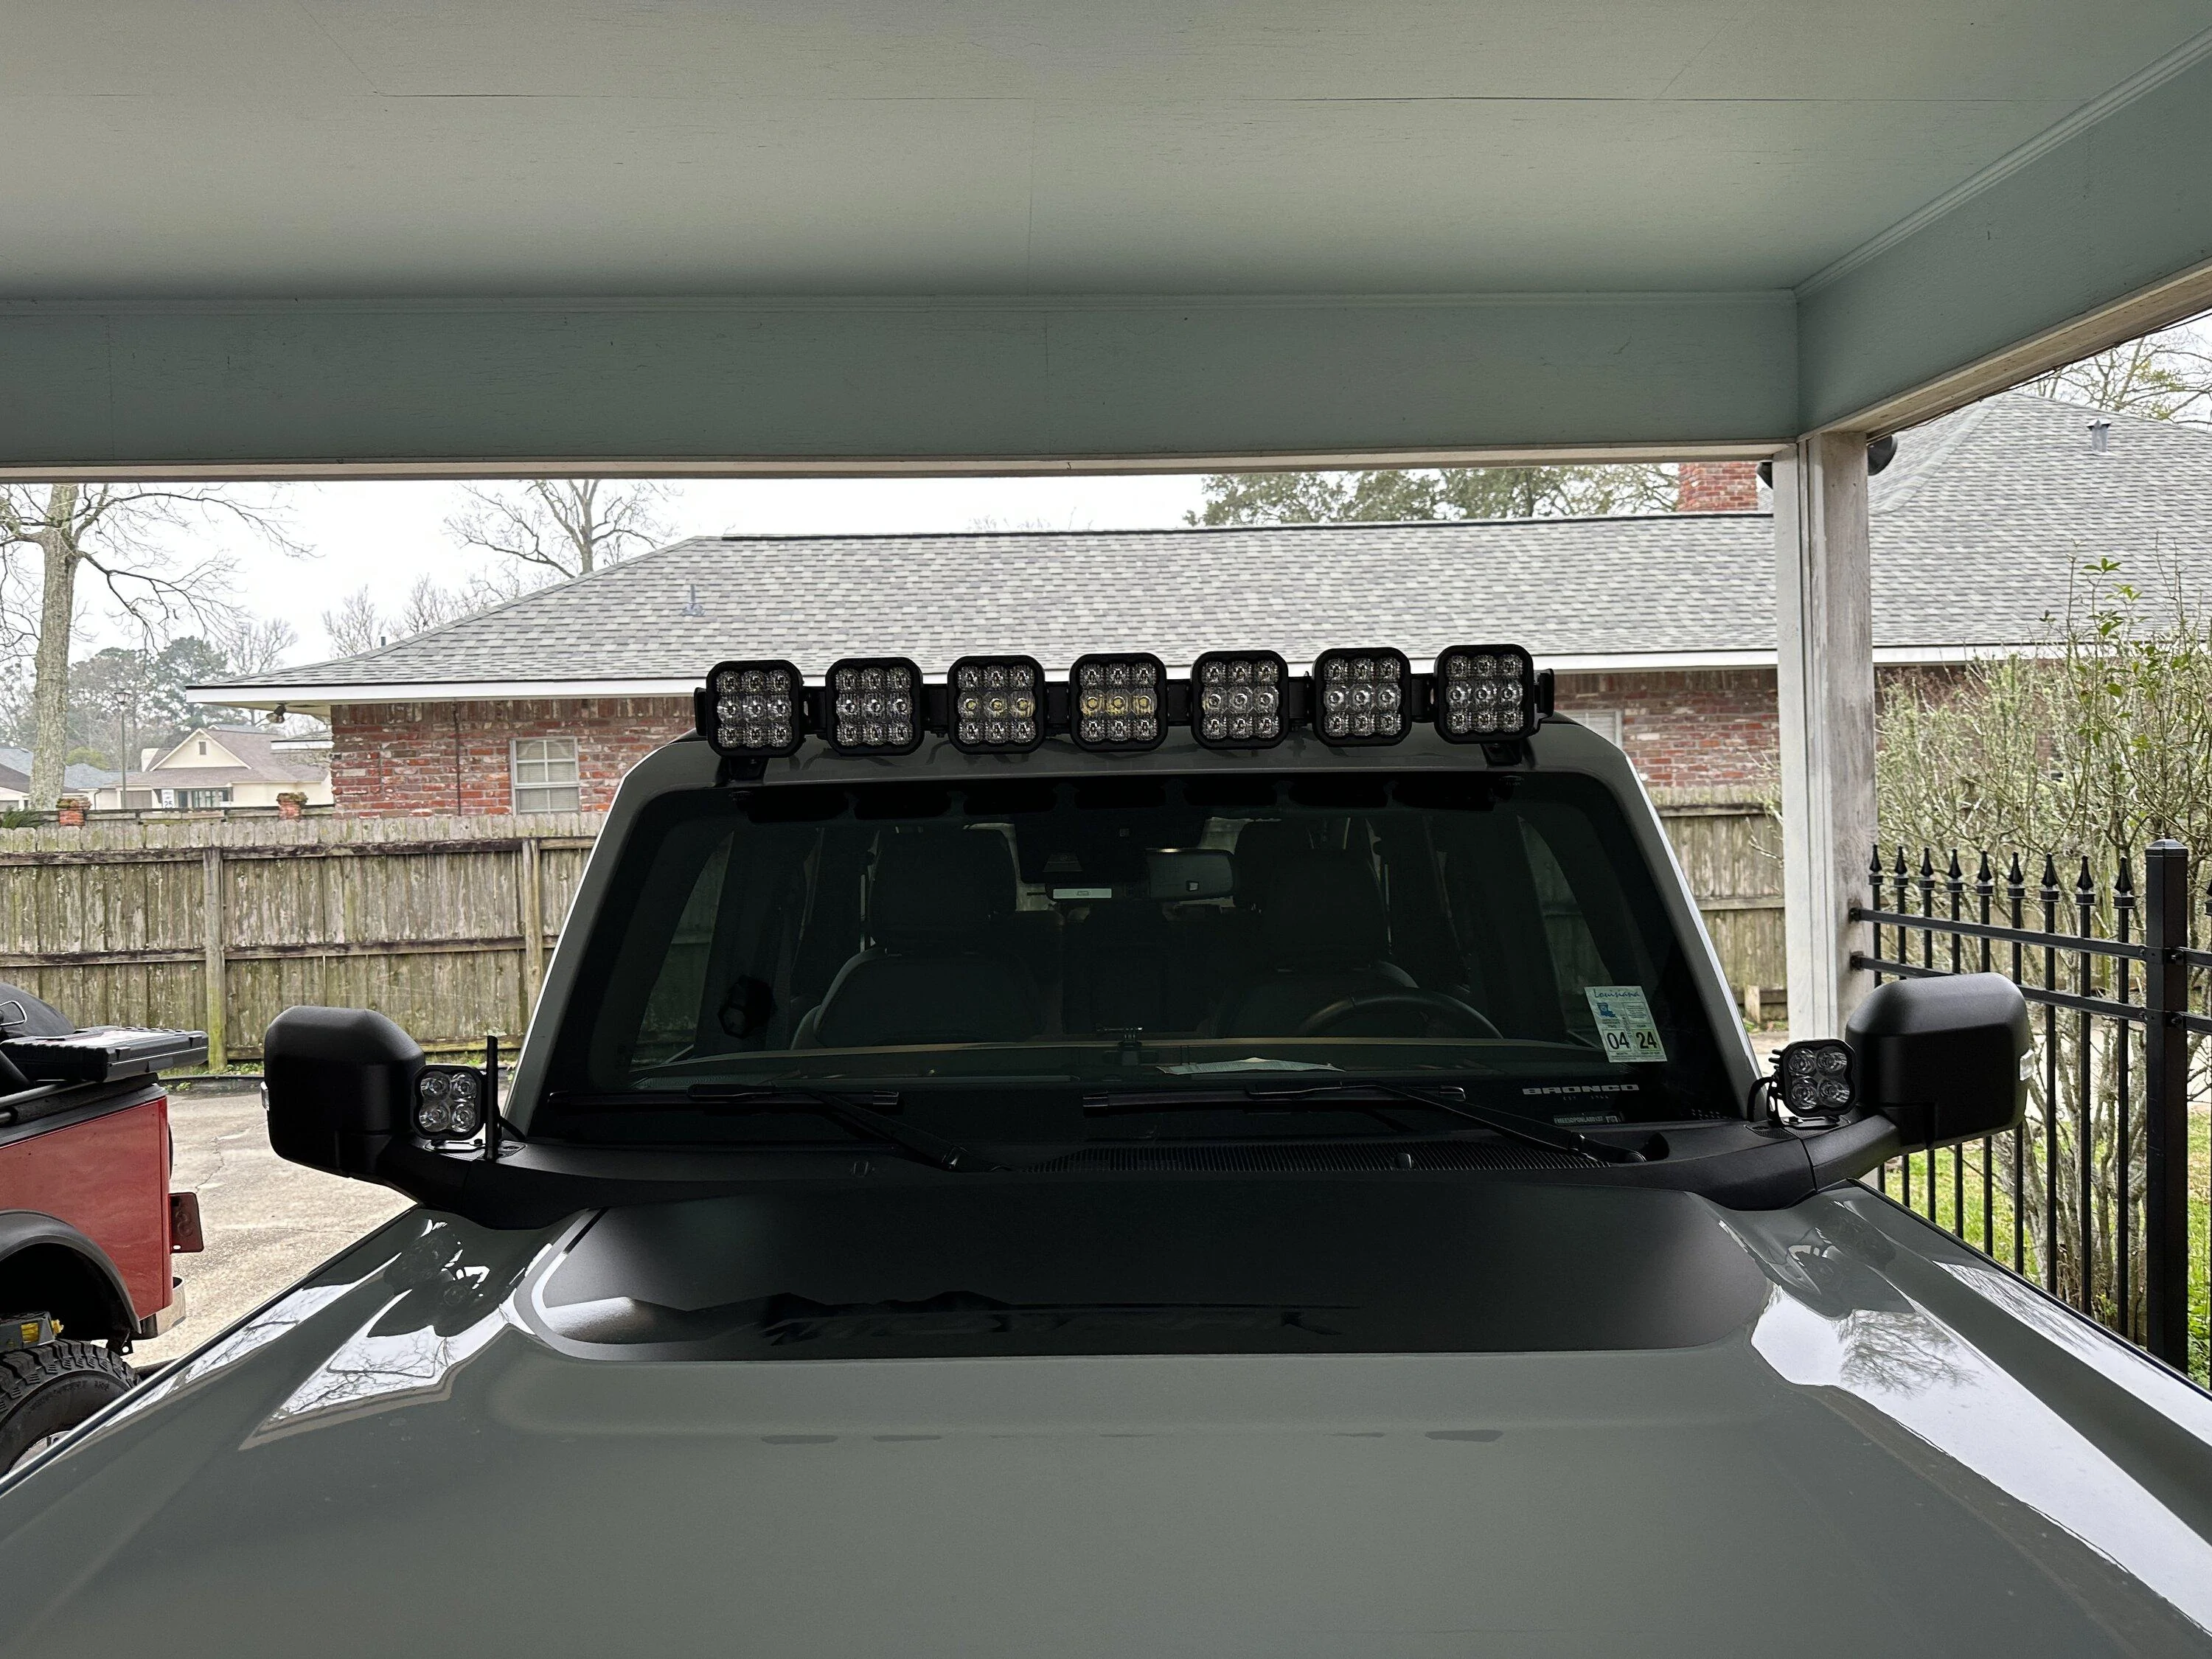
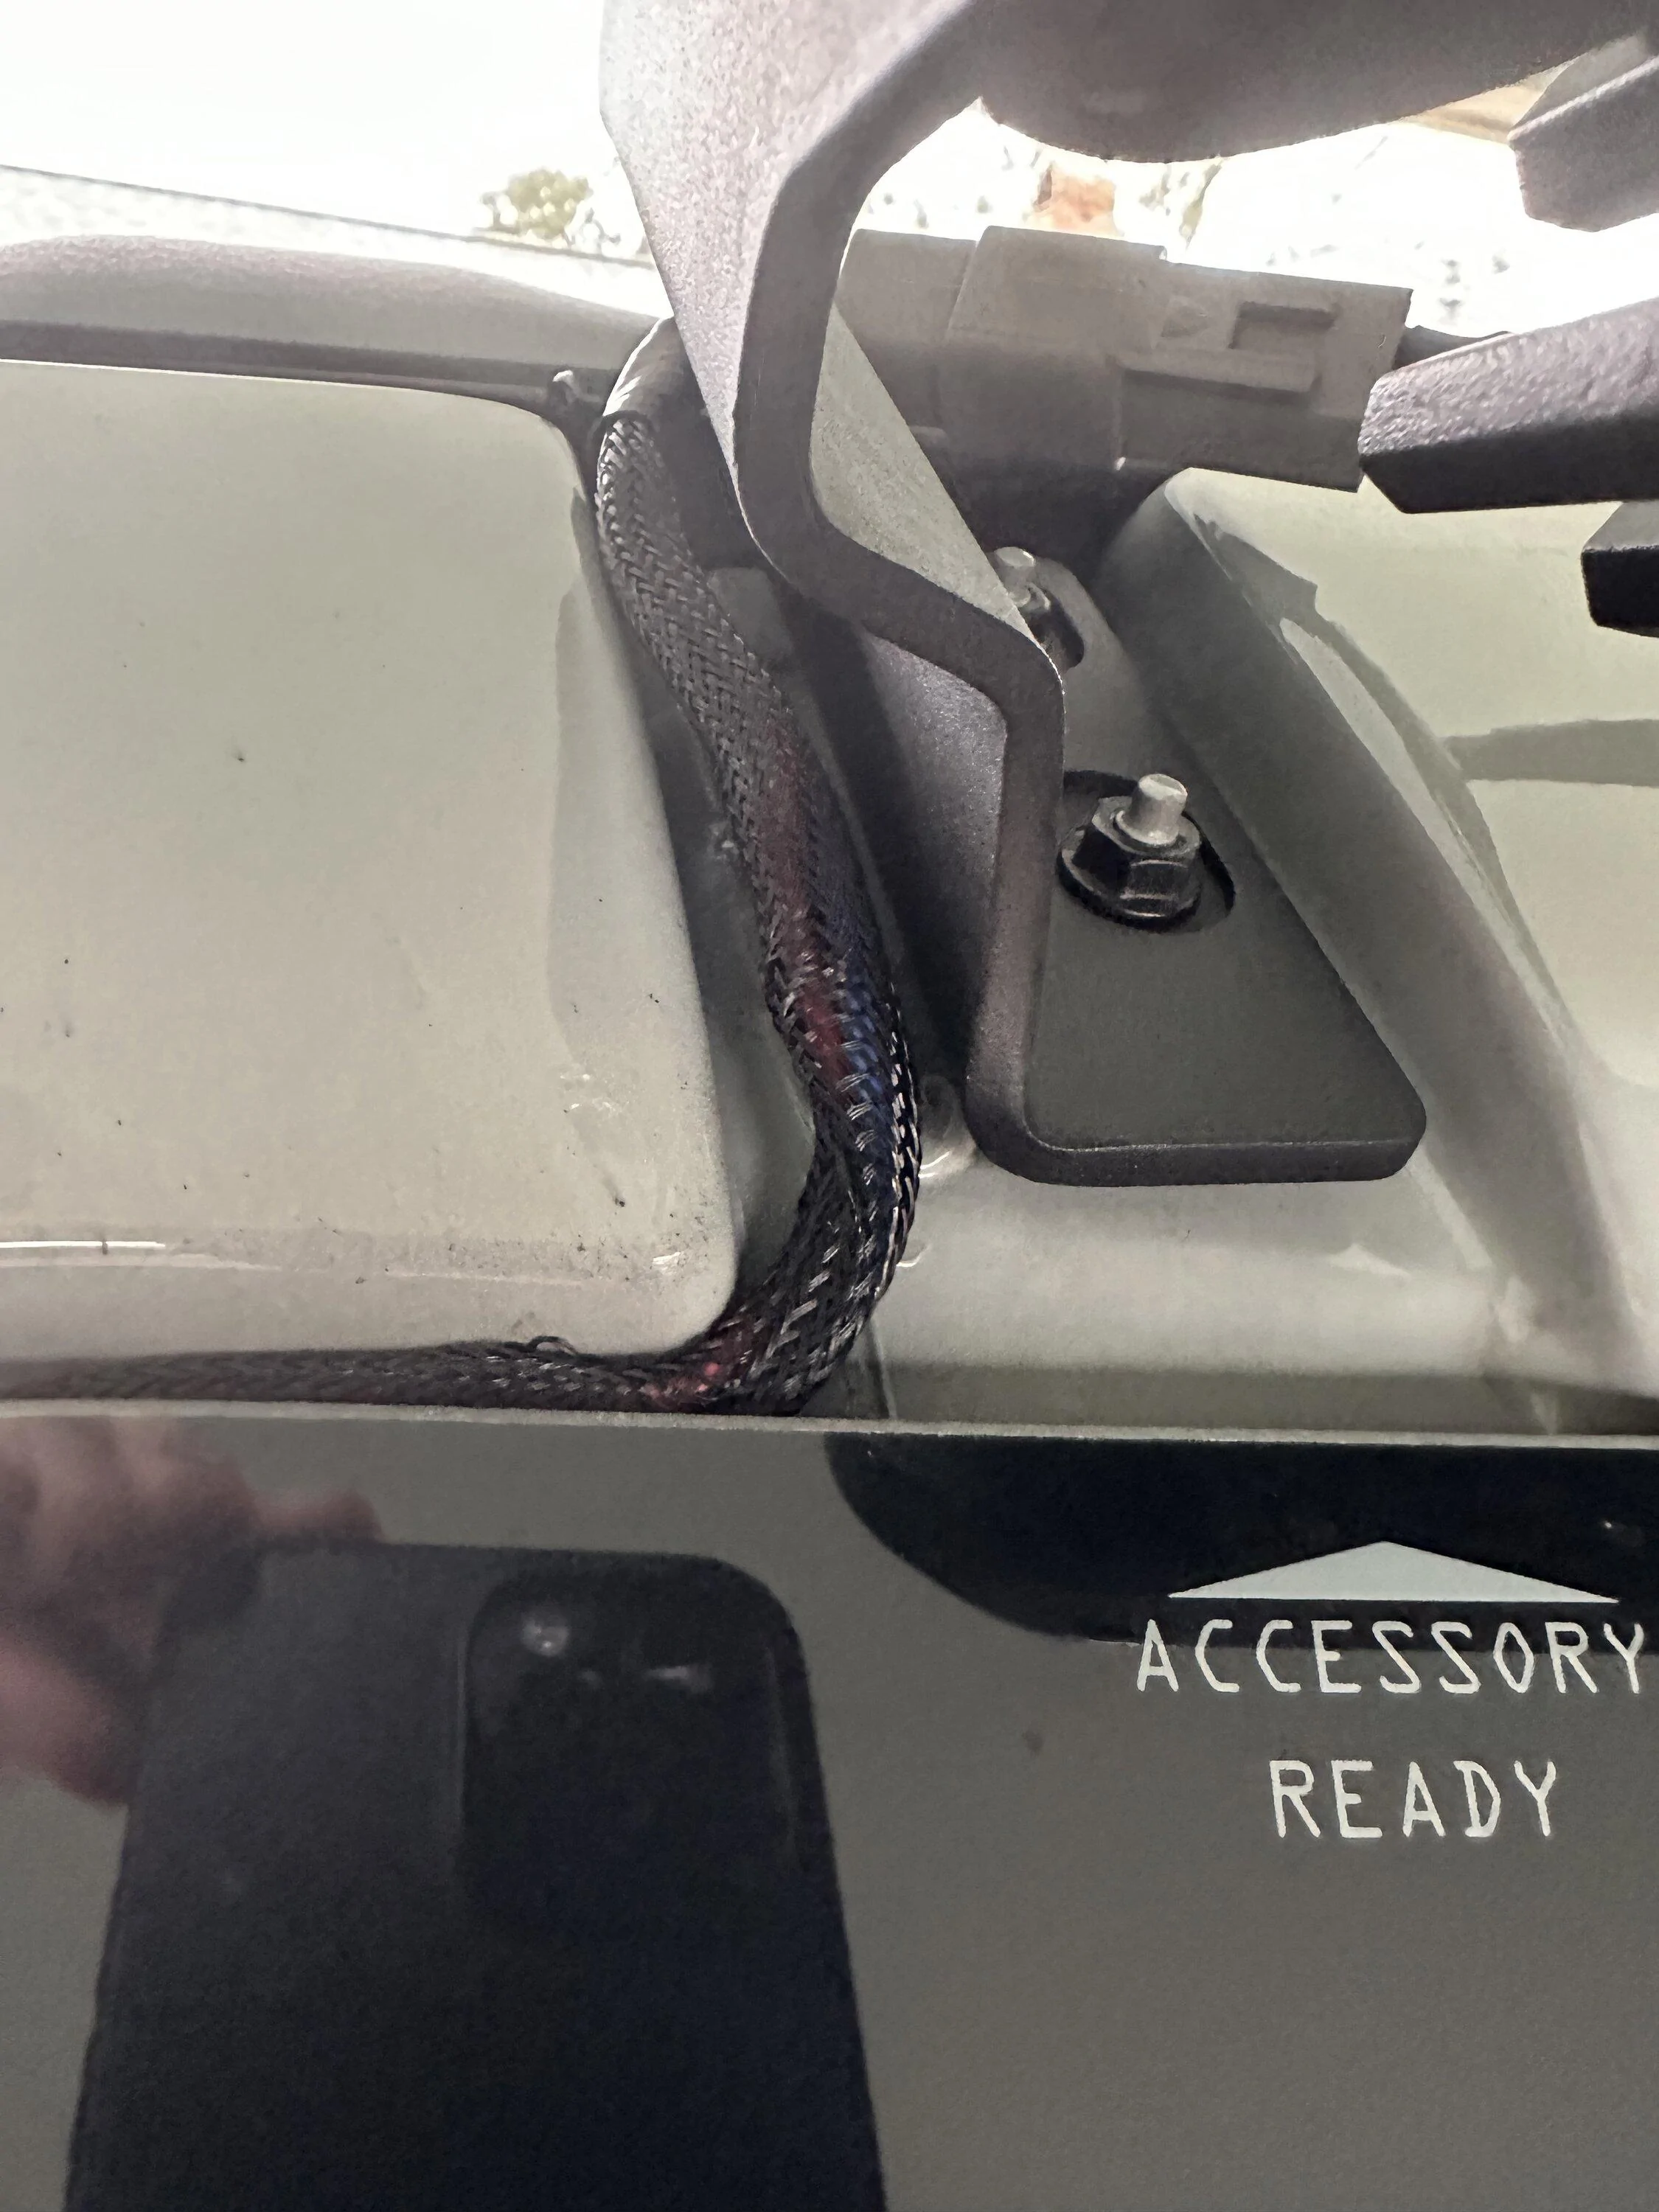
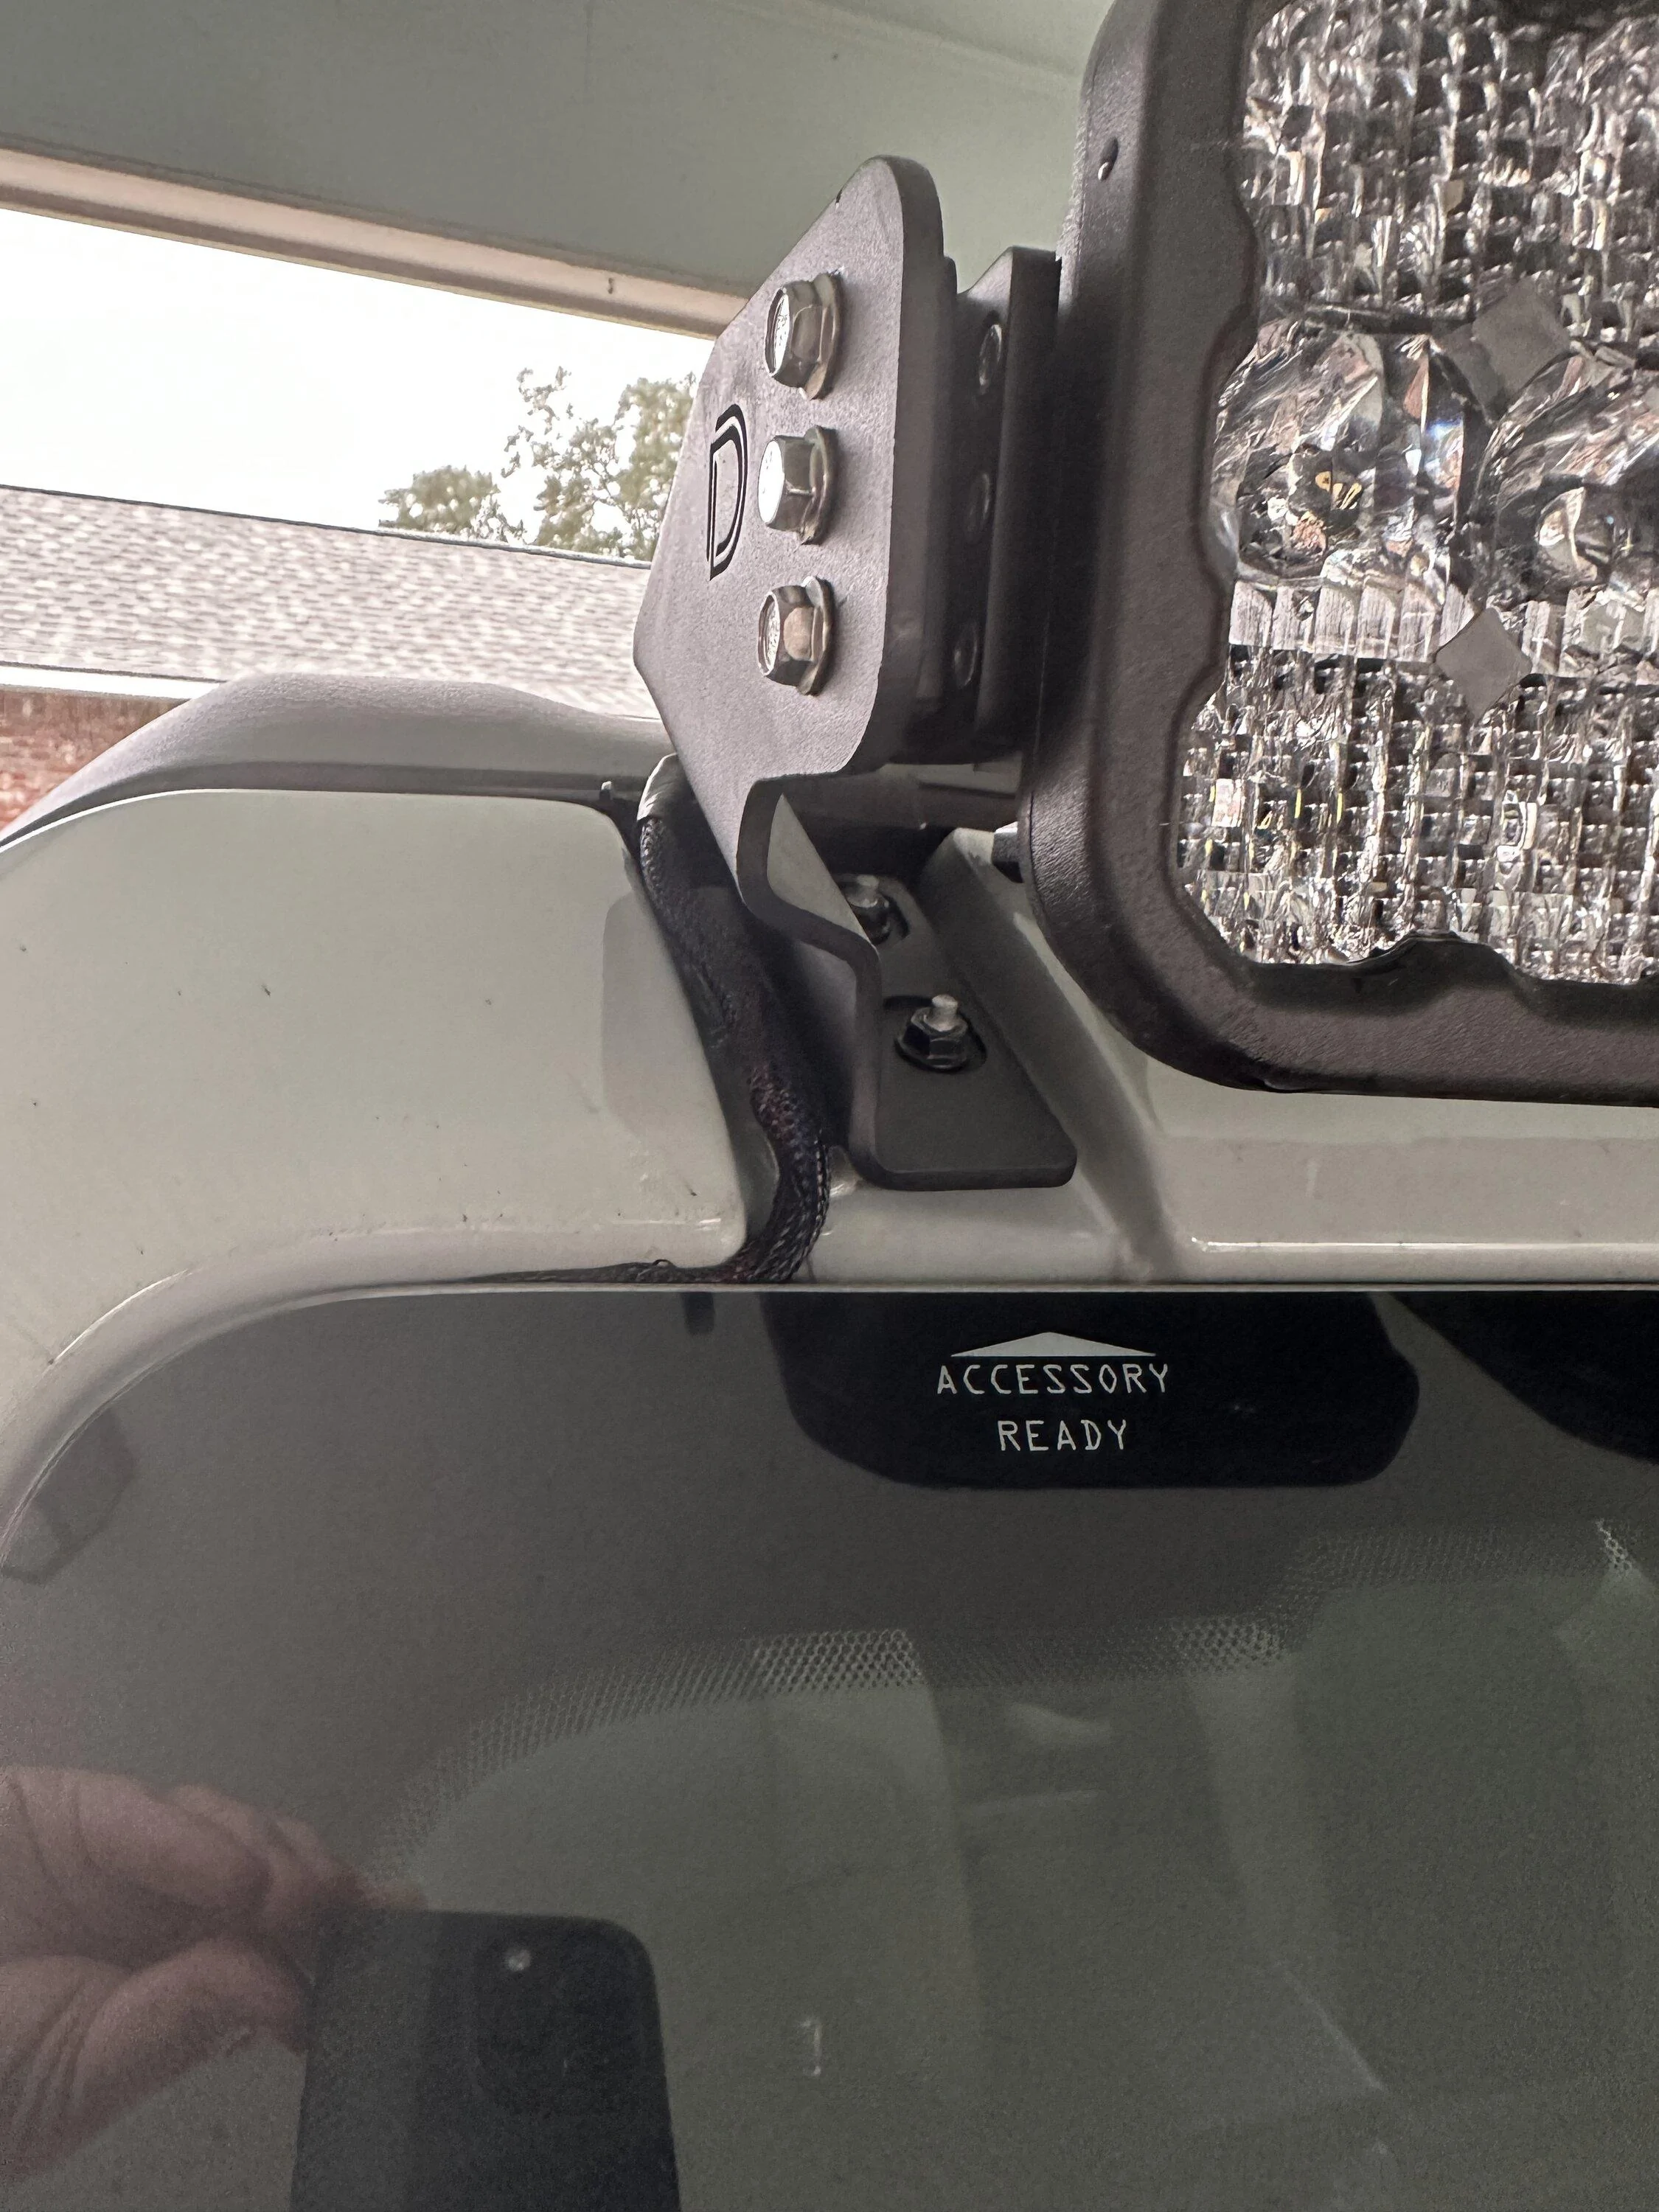
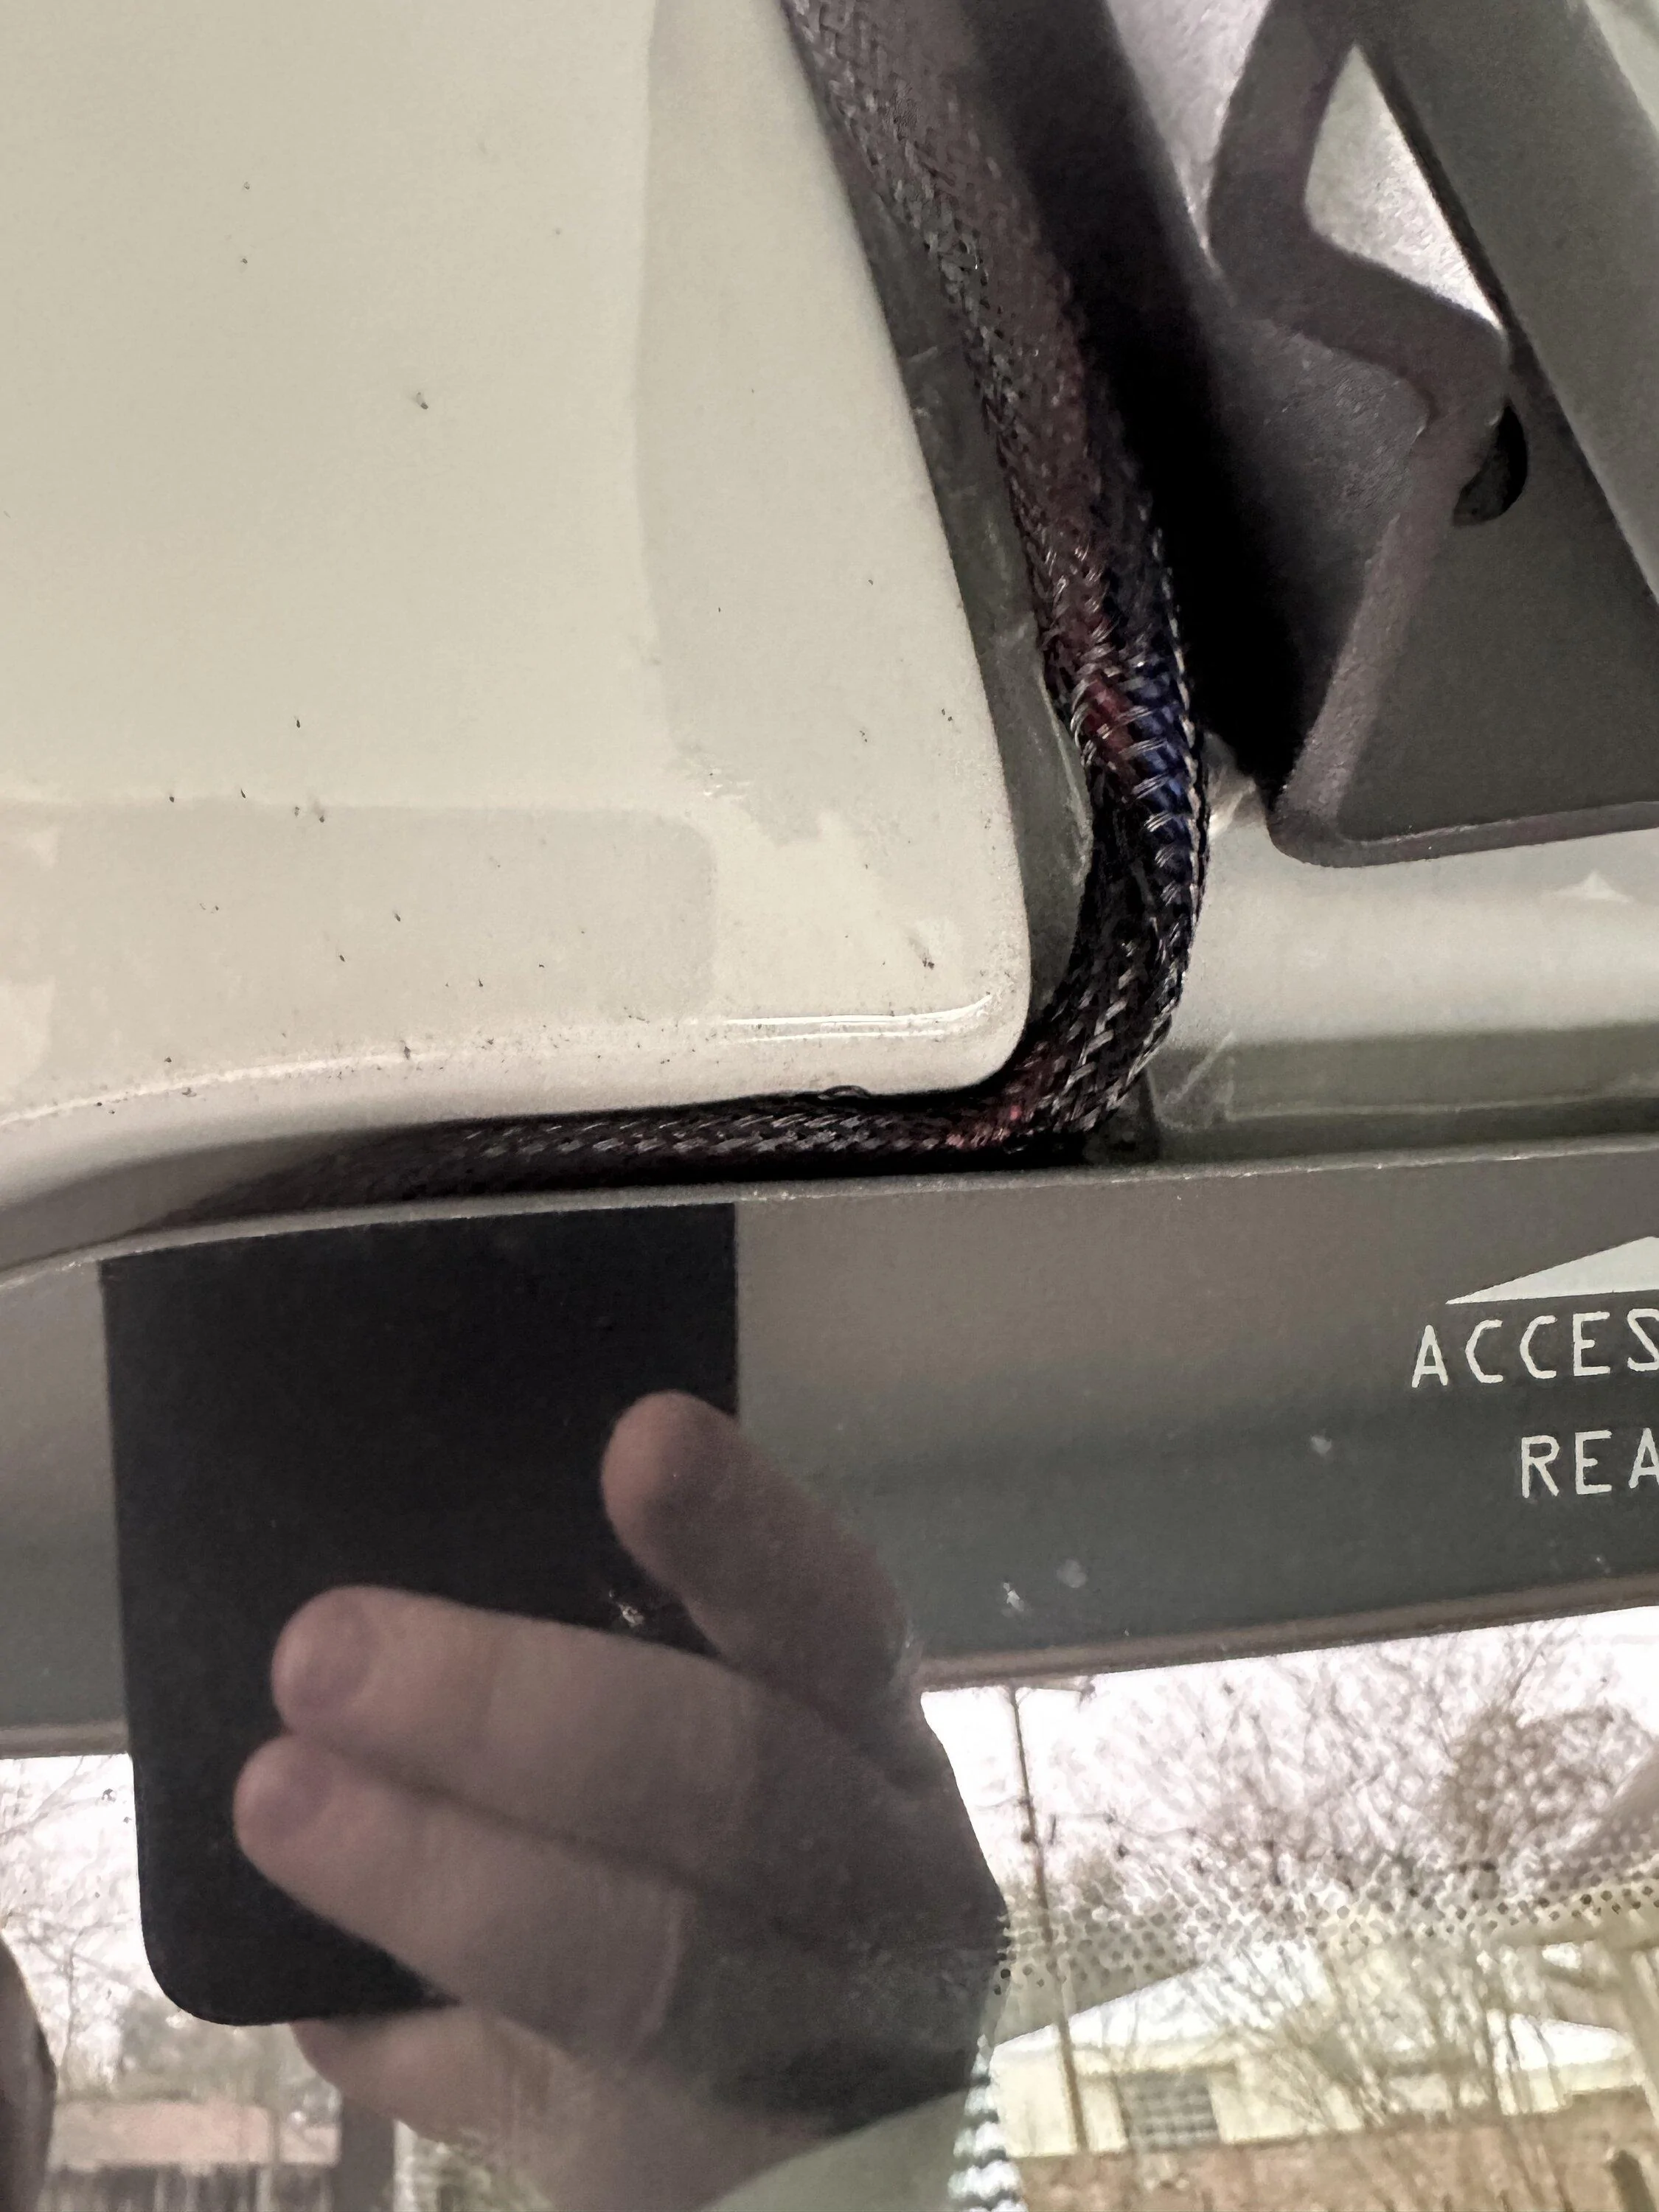
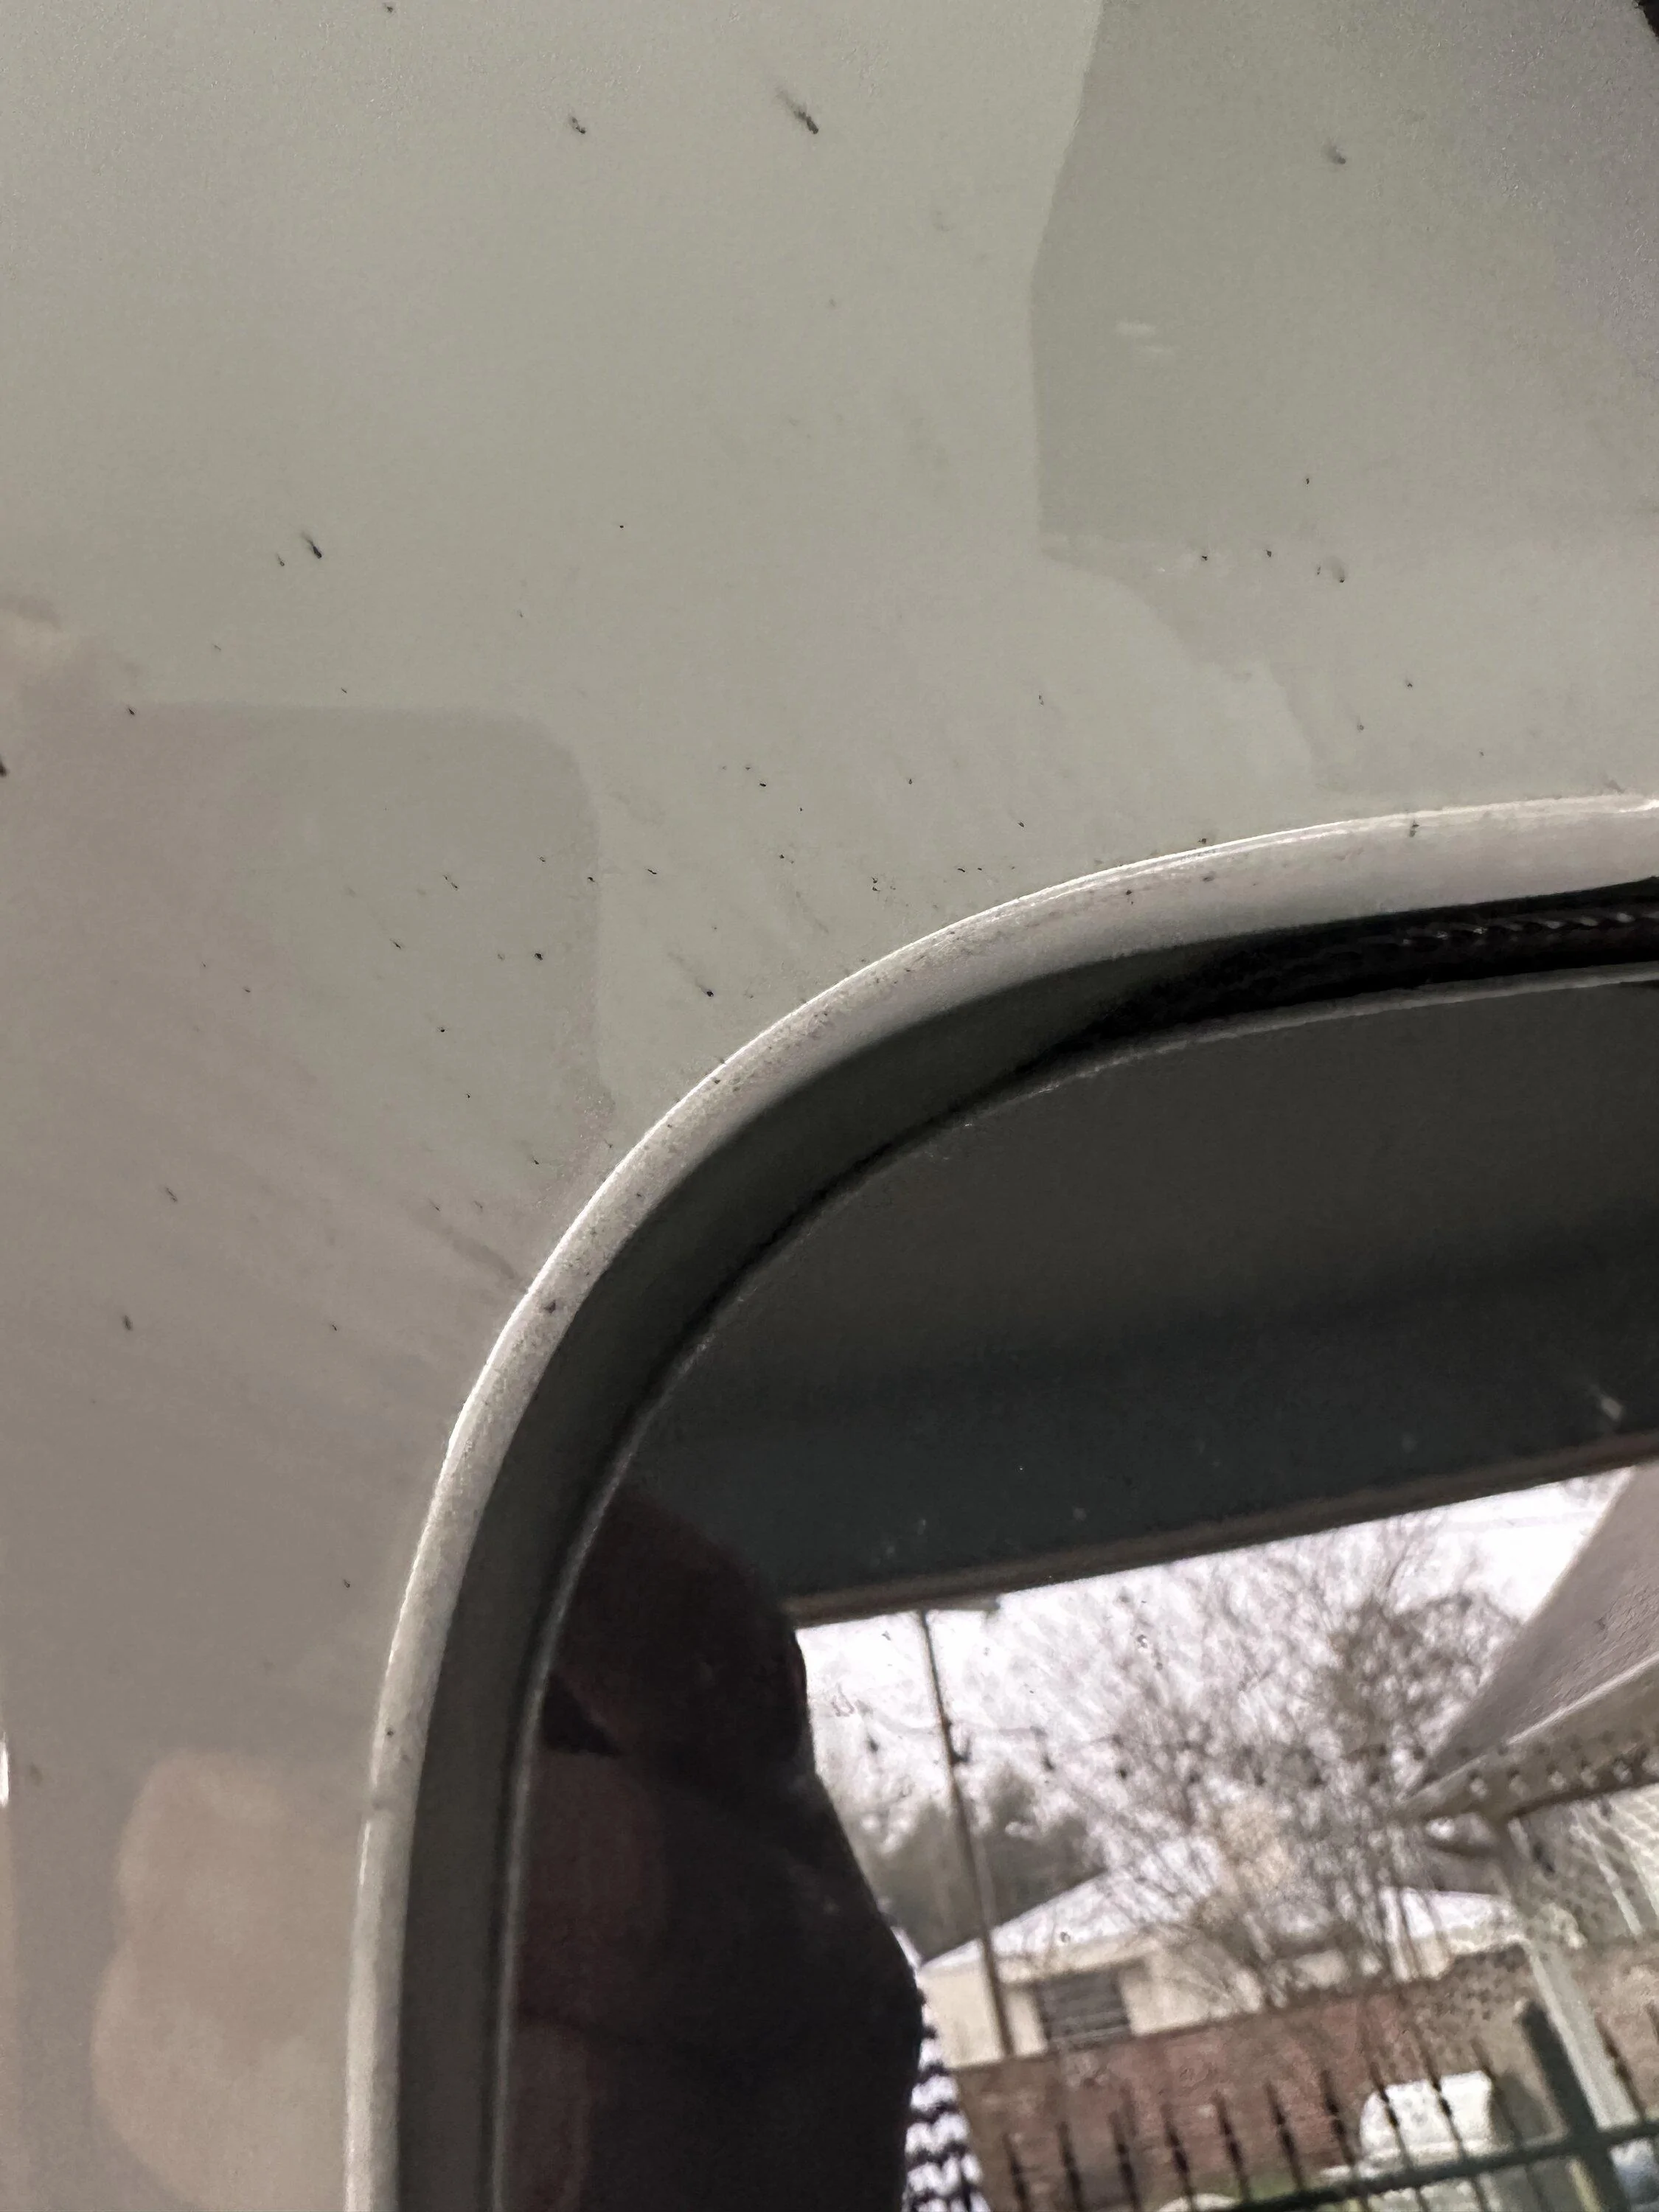
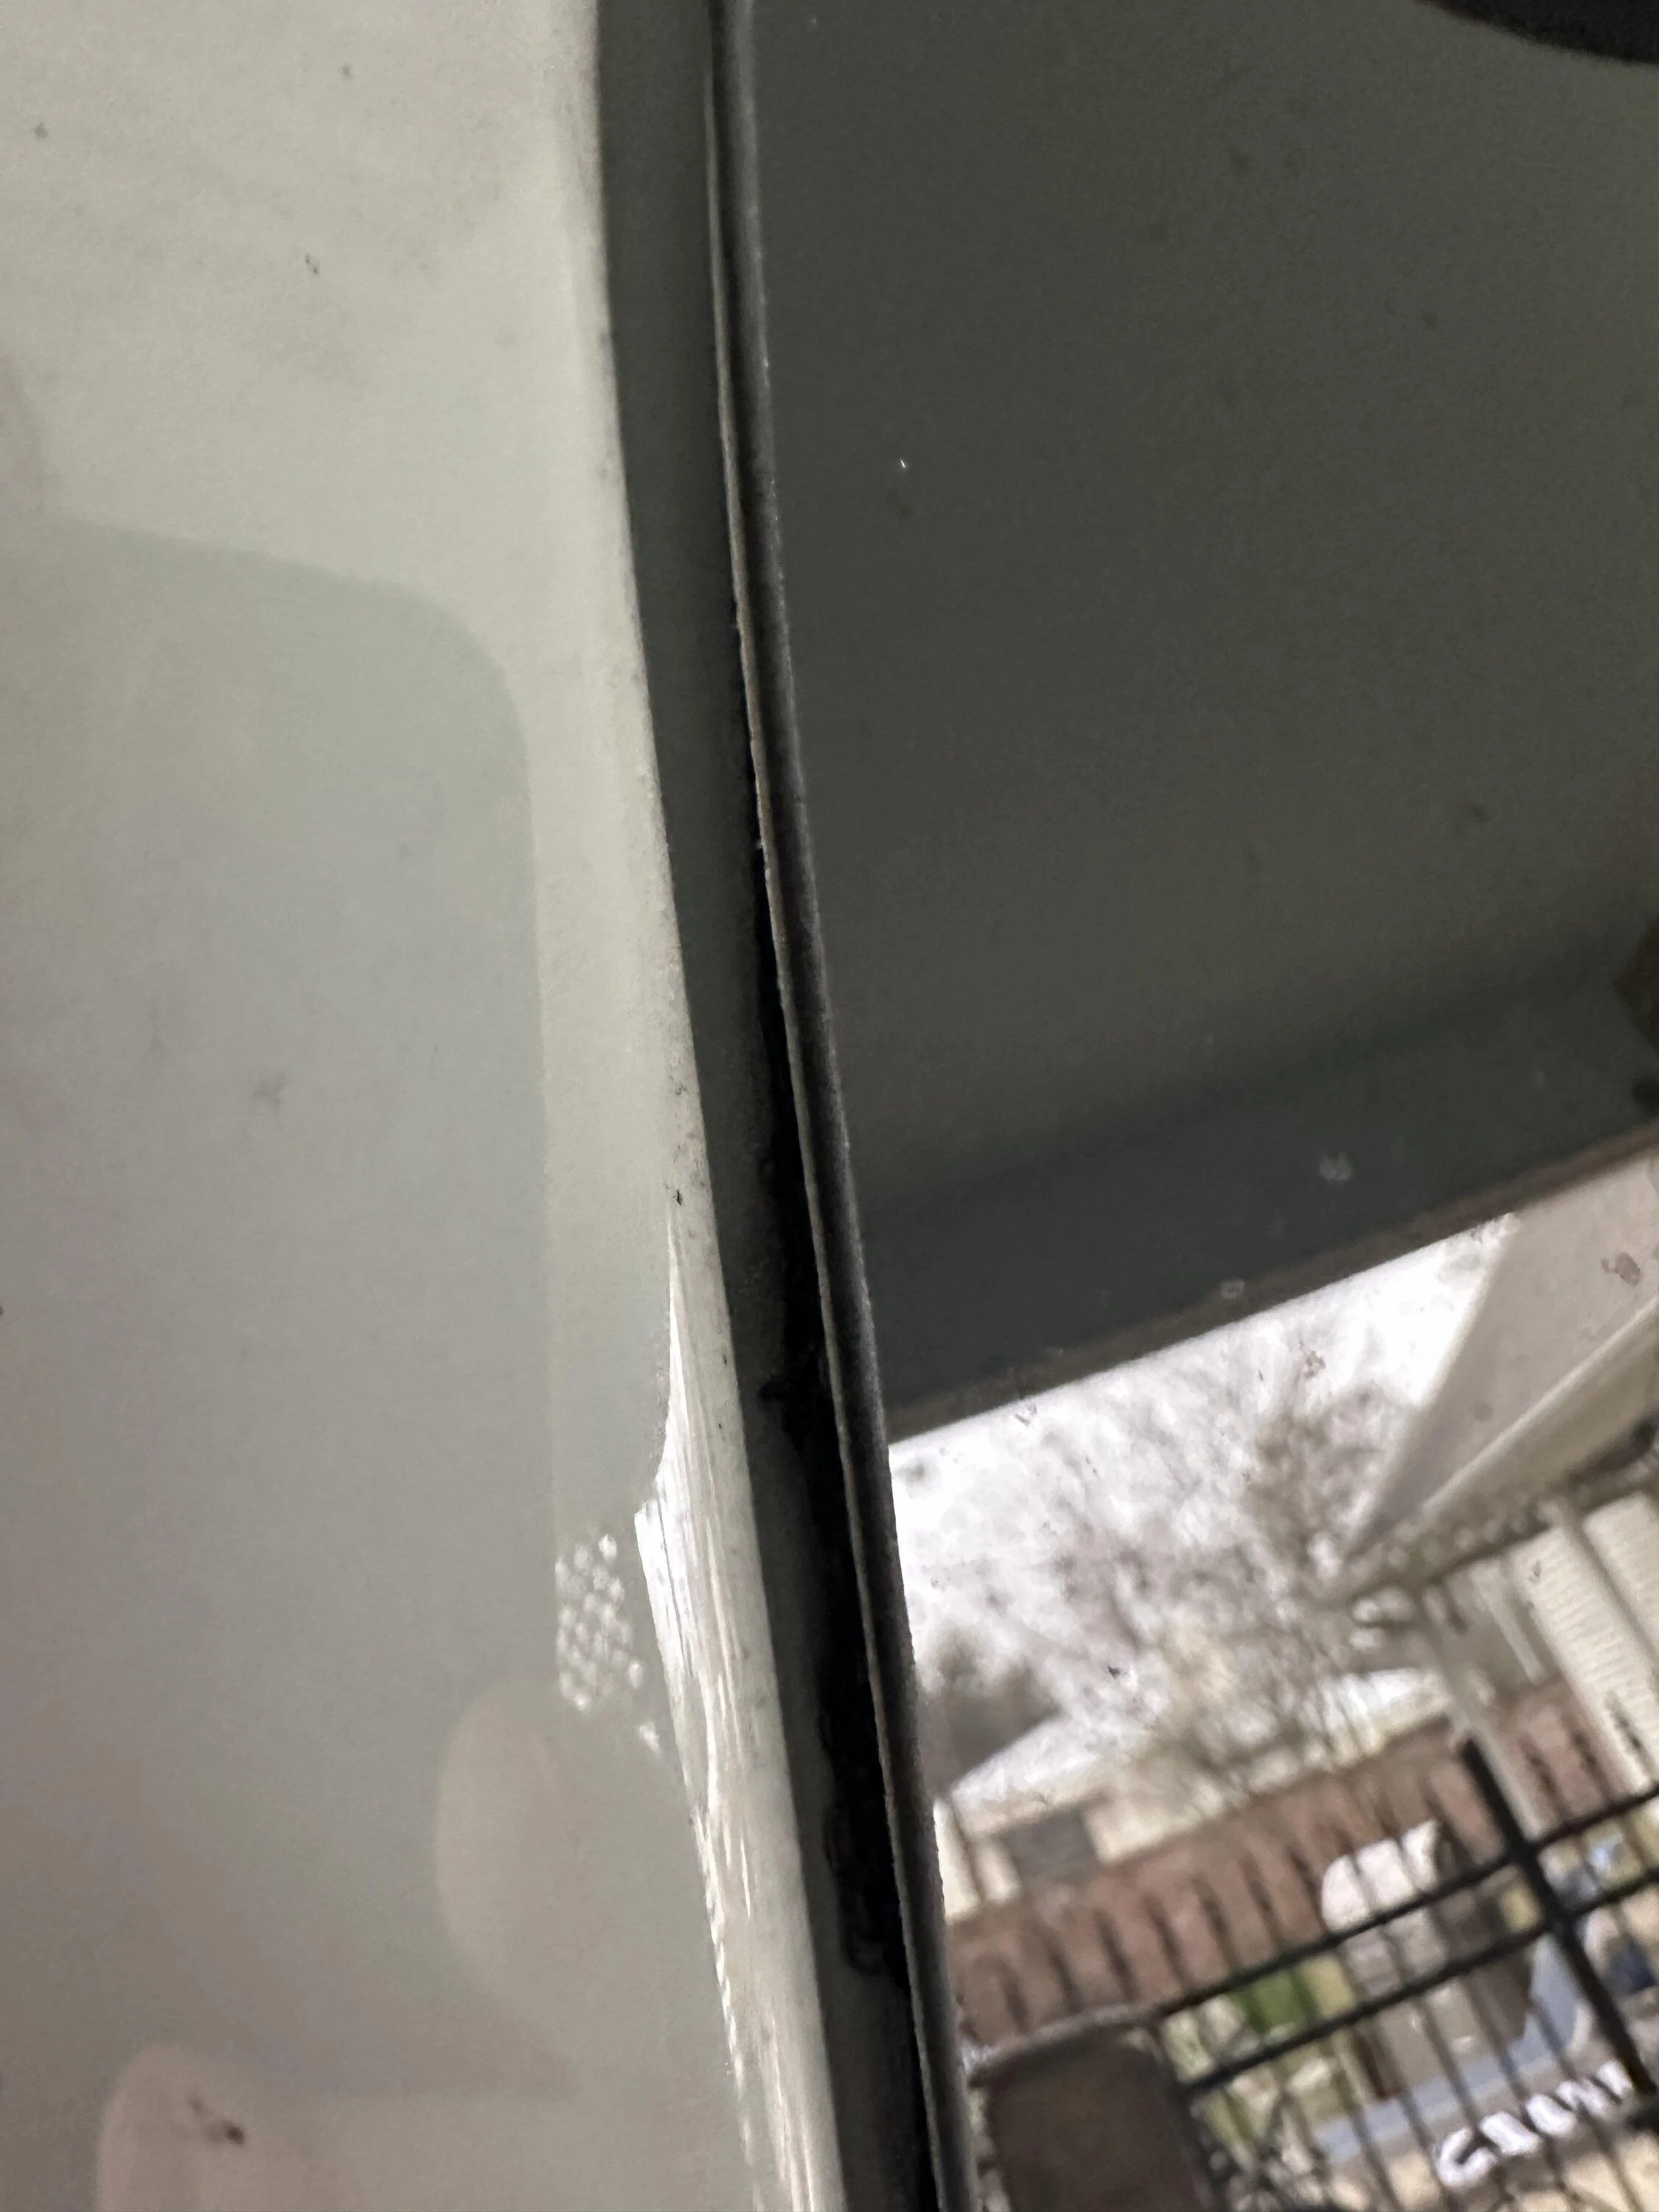
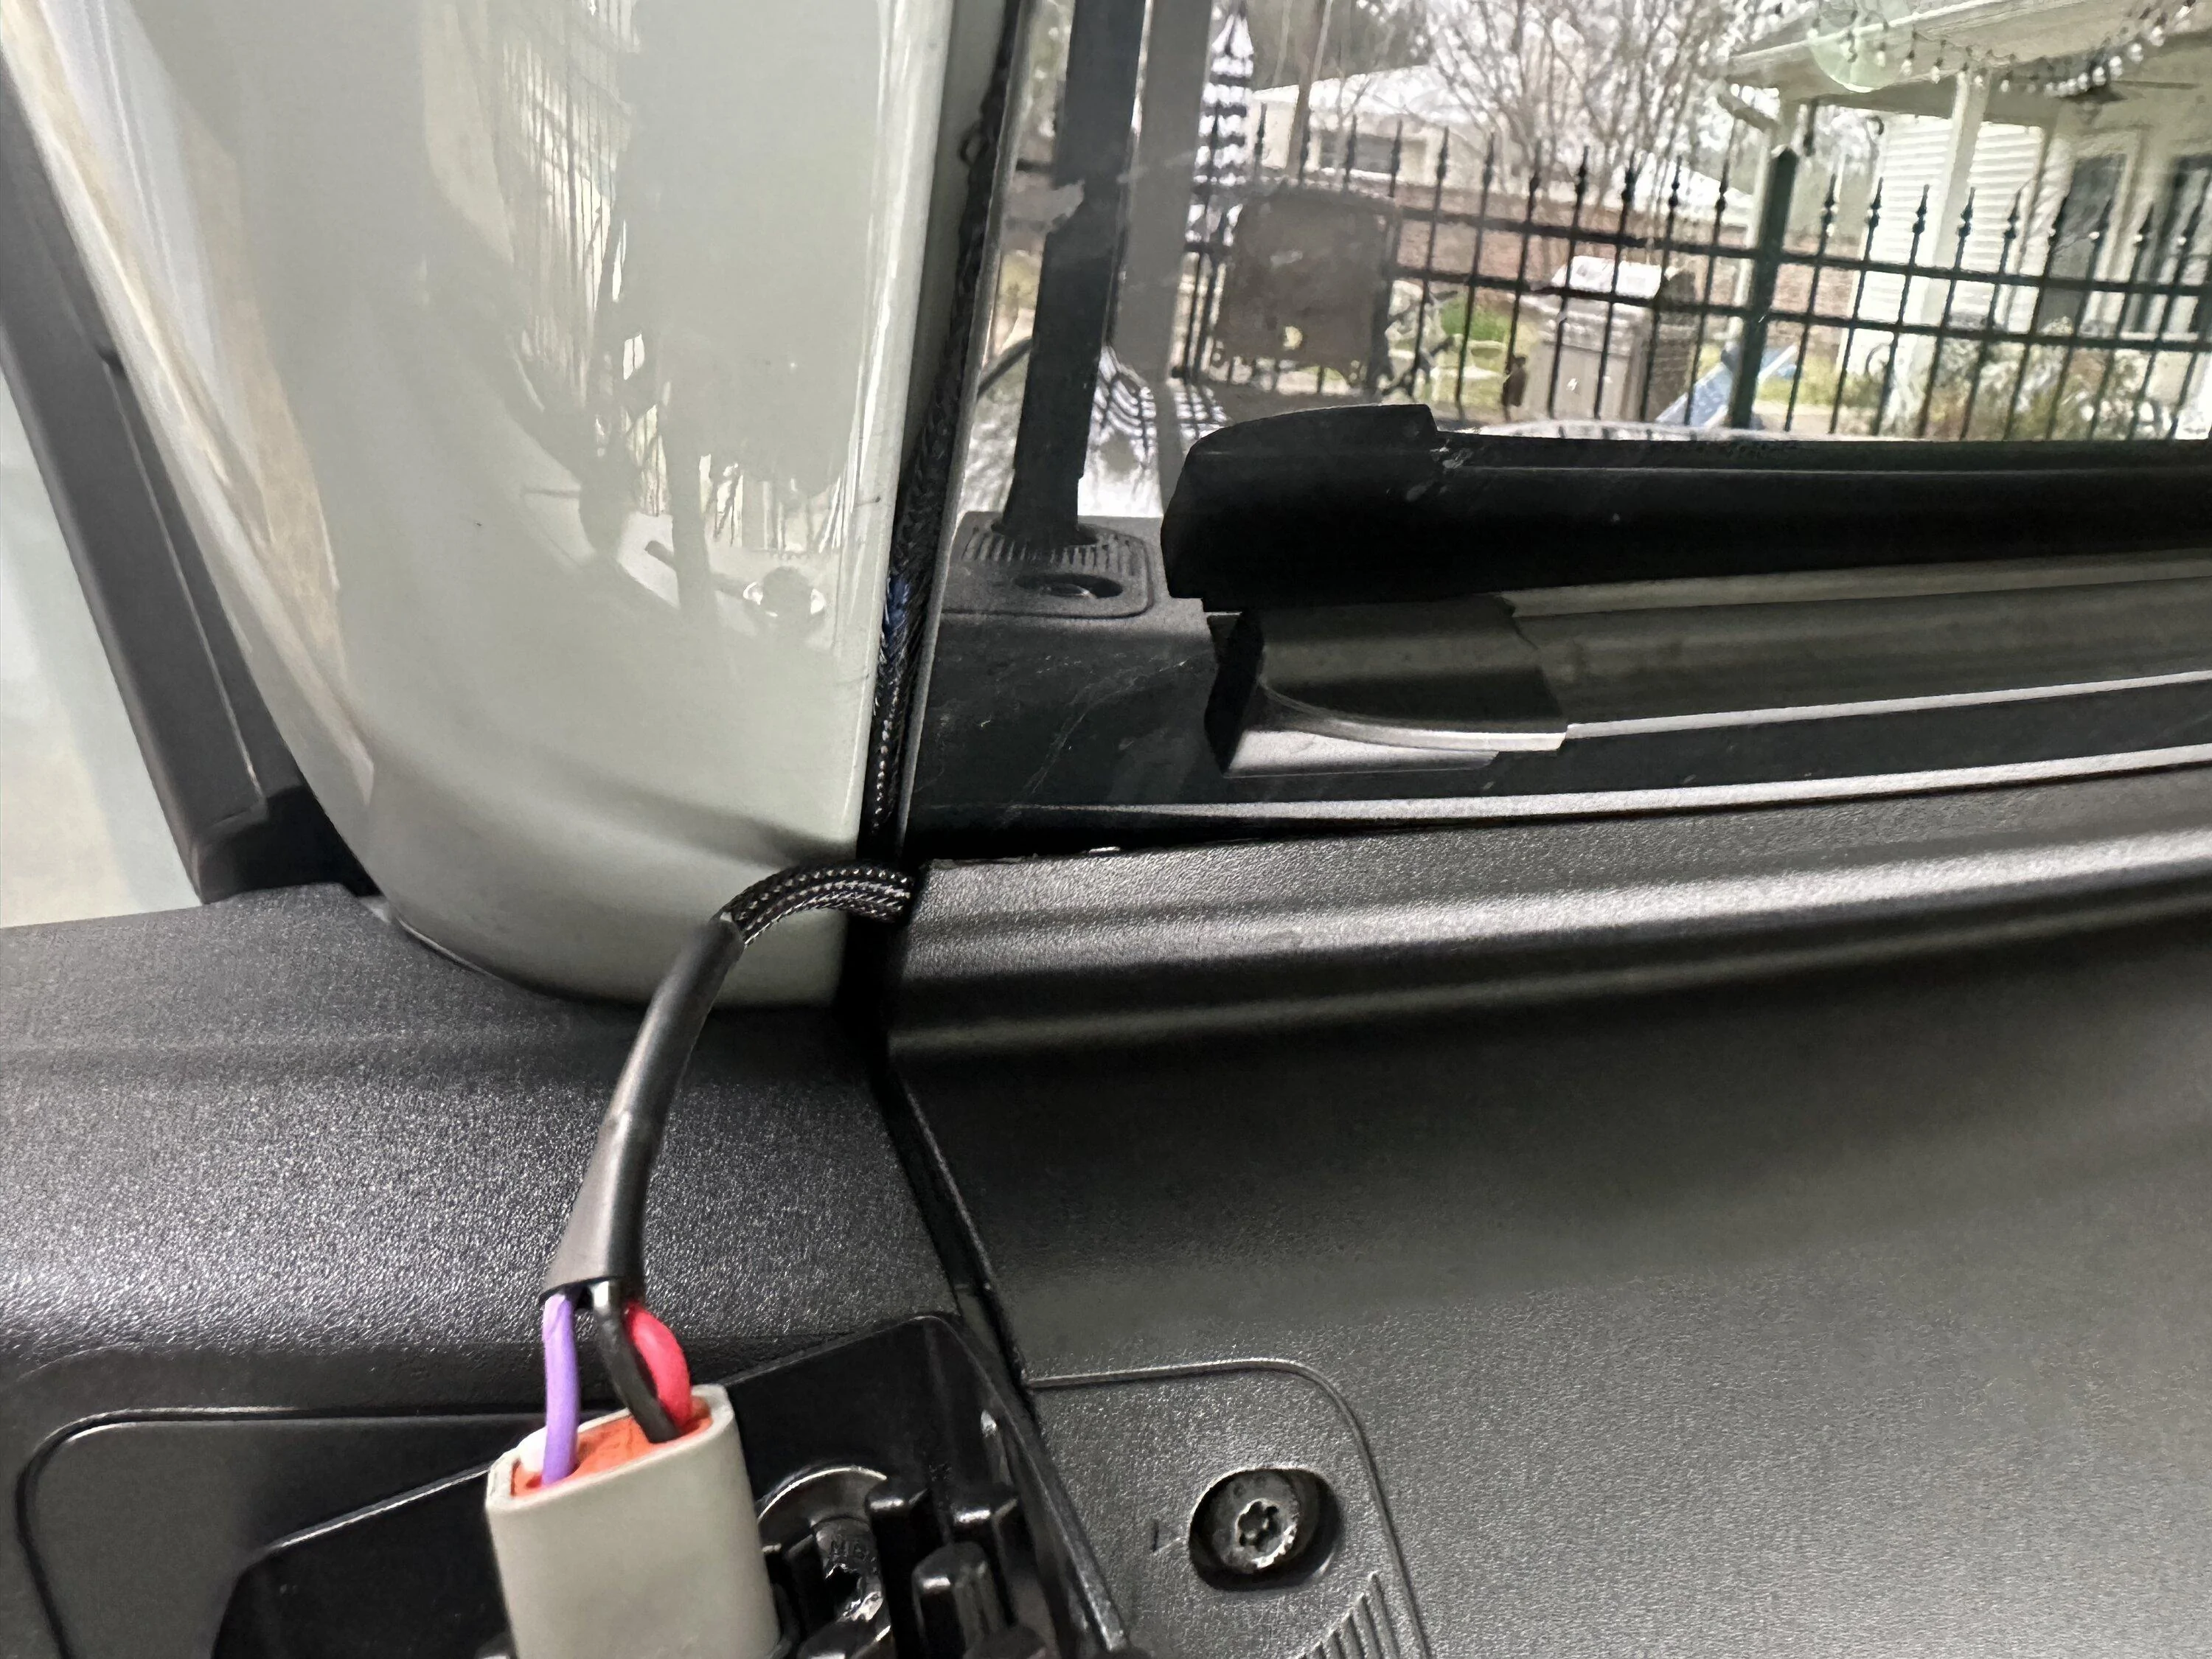
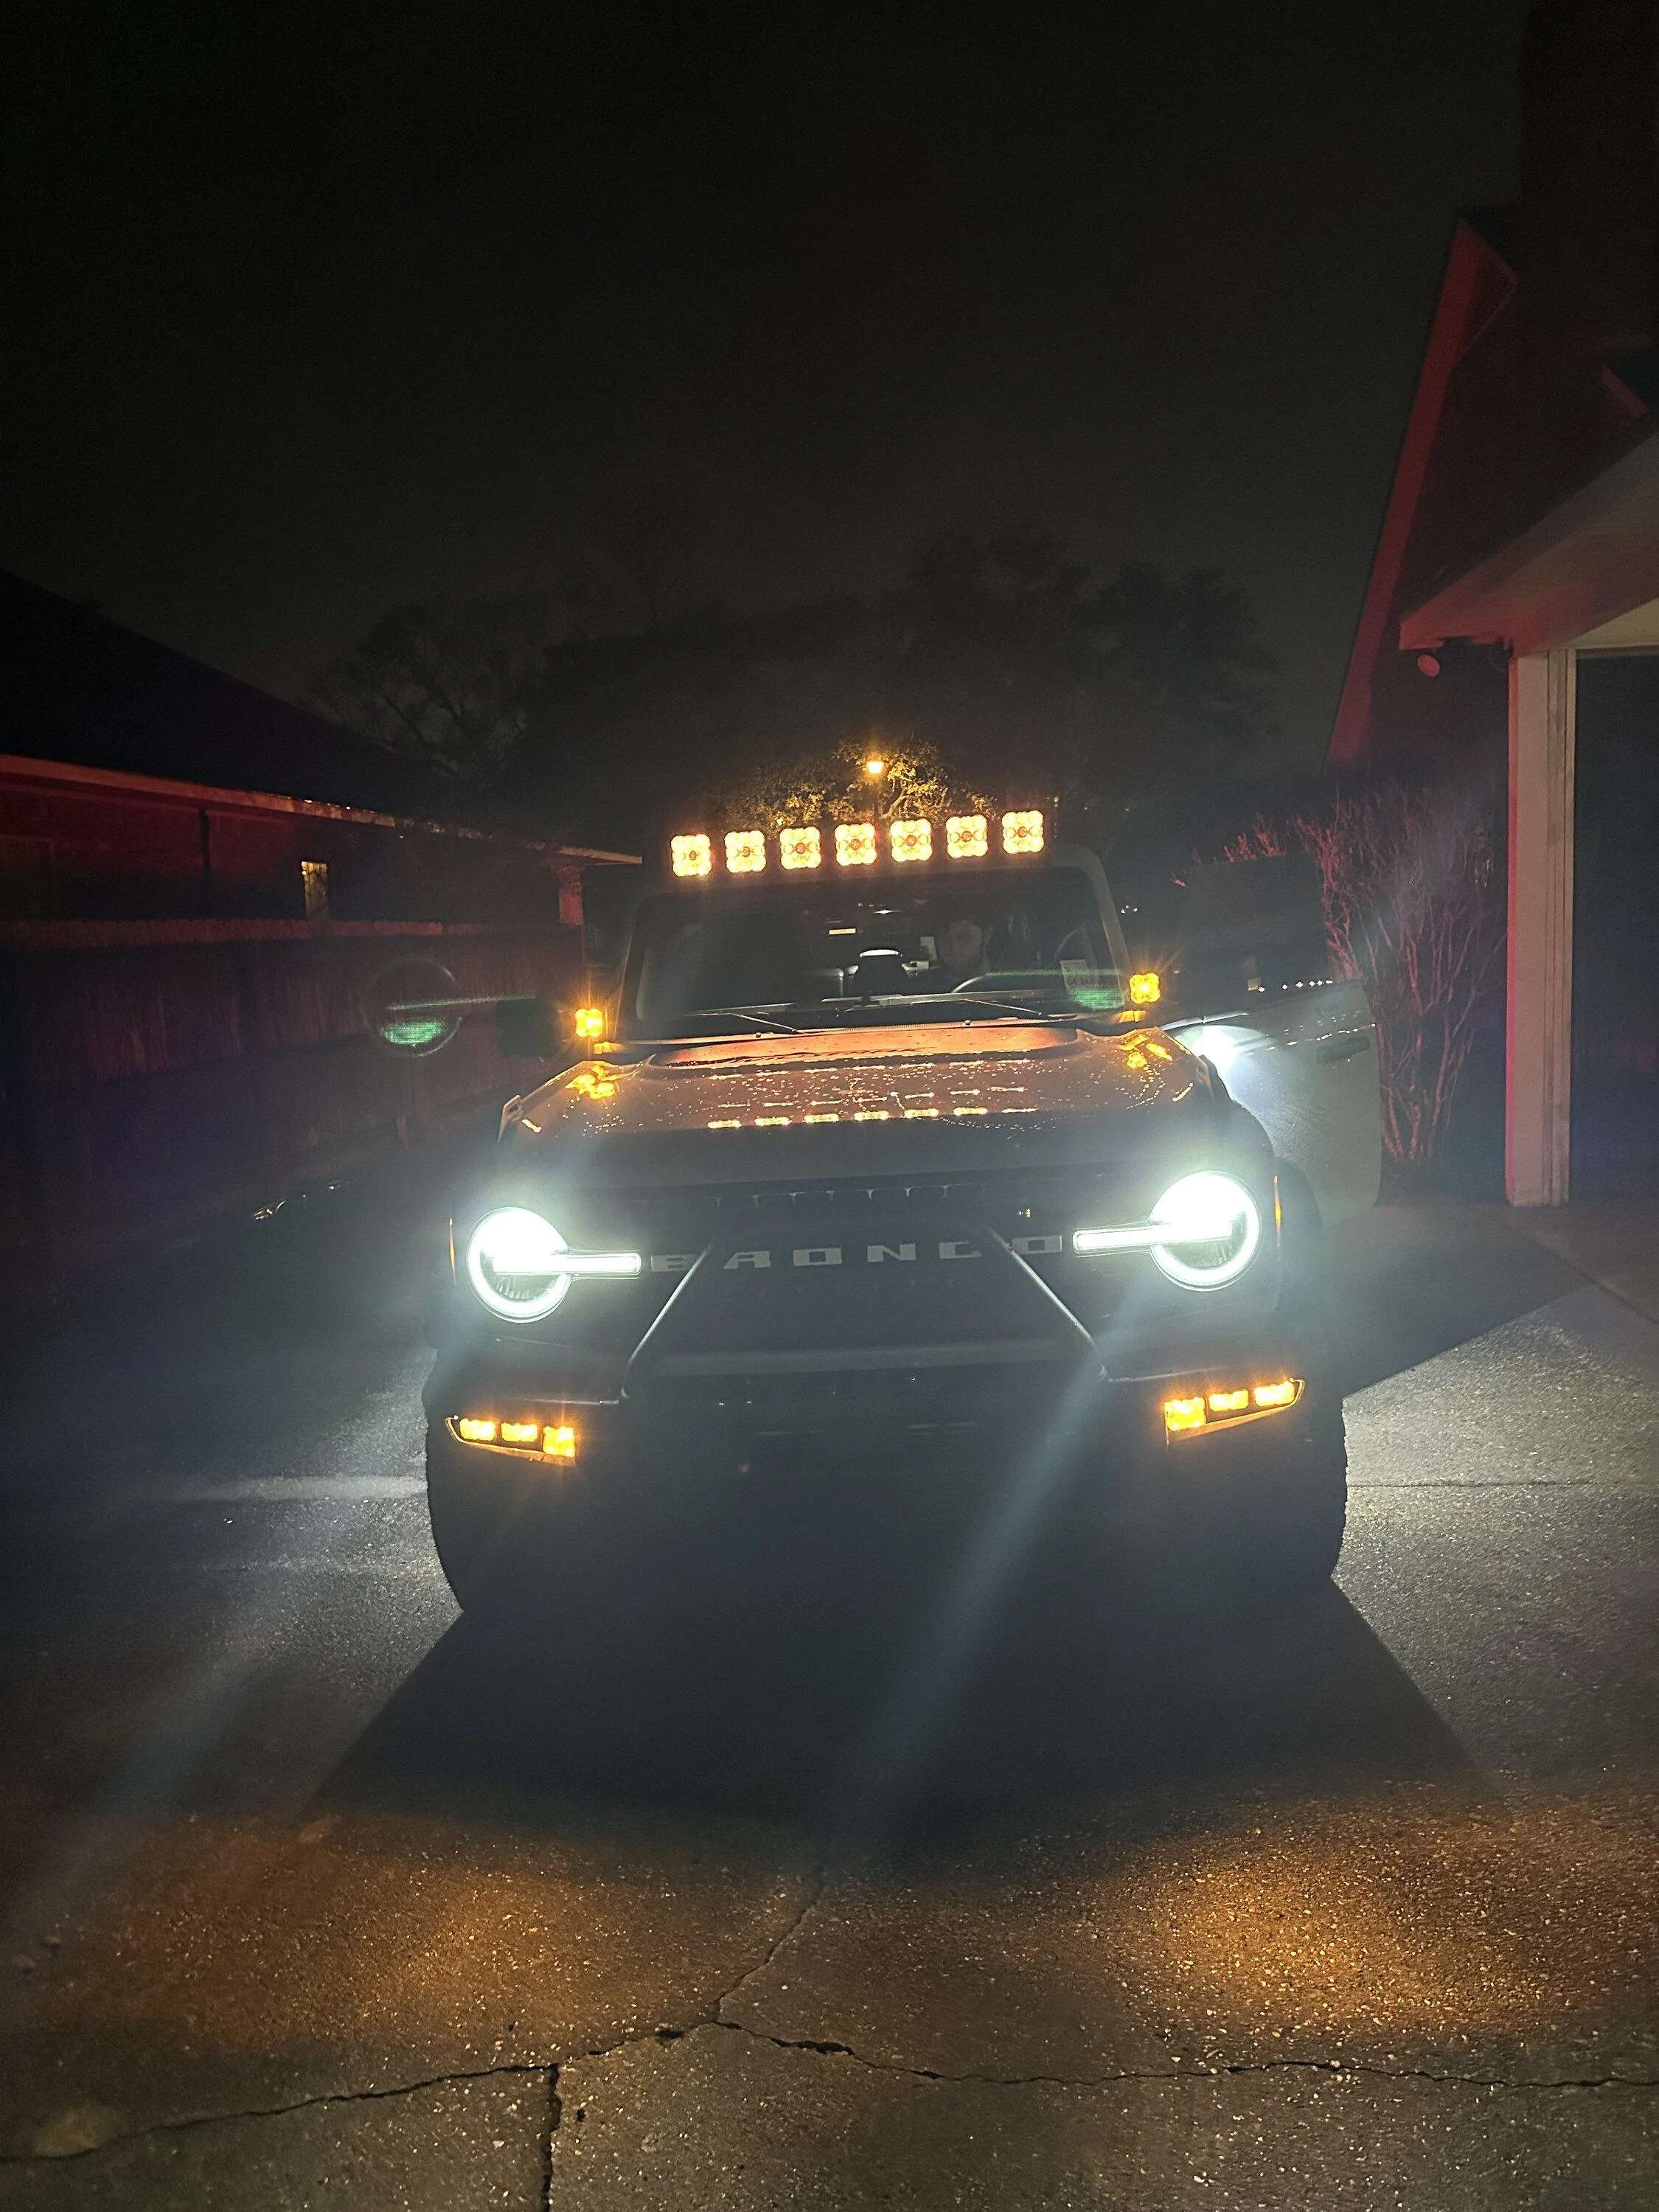
I finished the DD SS5 Crosslink install. The most challenging part was figuring out where and how to run the wires to the engine compartment. I have the up-fitter switches in the Bronco, but everyone, including the manufacturer, is saying that the upfitter wire in that area (all areas) is too small a gauge to carry the electrical load of this light bar properly. I had to figure out how to get the wires to the needed spot the cleanest and the least invasively. Drilling was the LAST option I was considering, but I knew that the possibility was there. On either side of the windshield, there is a little channel that, with enough time and patience, you can use a plastic interior removal tool to push the wires into that channel. I found it easier to start at the top where there is a larger gap. It seems relatively easier to start there and work your way down. It's slow but very doable. The other thing I found is as you get closer to the bottom of the windshield, the wires have probably twisted up, and if you don't let the harness twist around, then you'll end up with a bundle that won't give and is almost like a knot that won't fit. You have to let the harness twist around. As you get to the bottom, undo the A-pillar torks bolt and the antennae and pull the plastic up to give yourself more room to maneuver. The last challenge will also make the install cleaner go all the way to the bottom where there is a gap, like at the top. The a-pillar plastic has an opening under the lip to run wires to the a-pillar accessory-ready spot. After that, the remaining hooking of the wiring is a piece of cake!
Also, as an aside, I ran the backlighting power through a separate power circuit through an "add a circuit" to the under-hood fuse box. I did not want to use a separate up-fitter switch to change the backlighting. When I powered up the lightbar, two lights had different colors. I must have flicked the power switch to the light bar a thousand times before I figured out what I was doing wrong. You have to pull all power to the backlighting, not just switch the power on and off three times fast. You have to interrupt the power to the backlighting either through a switch or, in my case, I had a fuse that I could pull and rapidly touch the fuse back to the power. After I figured that out, the rest of the programming was easy.
I hope this will help others tackle this themselves who may be struggling to figure out what they are doing wrong.
Good Luck! If I can do it, you can do it.
Sponsored


 Not Alex


 . They do look incredible in person