

Little project completed today. I’ve been wanting these for a while now. Start by popping the hood. There are push pins that you have to gently lift the middle up then the entire things can pull out.


once those are all removed gently pull up and wiggle the close out trim out from under the air intake.
then you have 4 10 mm head bolts to remove and unplug the camera and camera washer hose if equipped
then gently pull the grill straight out I start on the sides then pull from the middle.
then gently lift the grill out and away.
find a soft place to lay the grill I used a floor mats and a plastic tub since we don’t use the floor mats for anything else.
gently GENTLY!! Drill the white plastic only!!! To remove the stock letters. Once they are all removed install the new ones. They slide right into the existing holes. The directions said to use washers. My kit didn’t included them but they are needed. The provided screws are a touch too long.
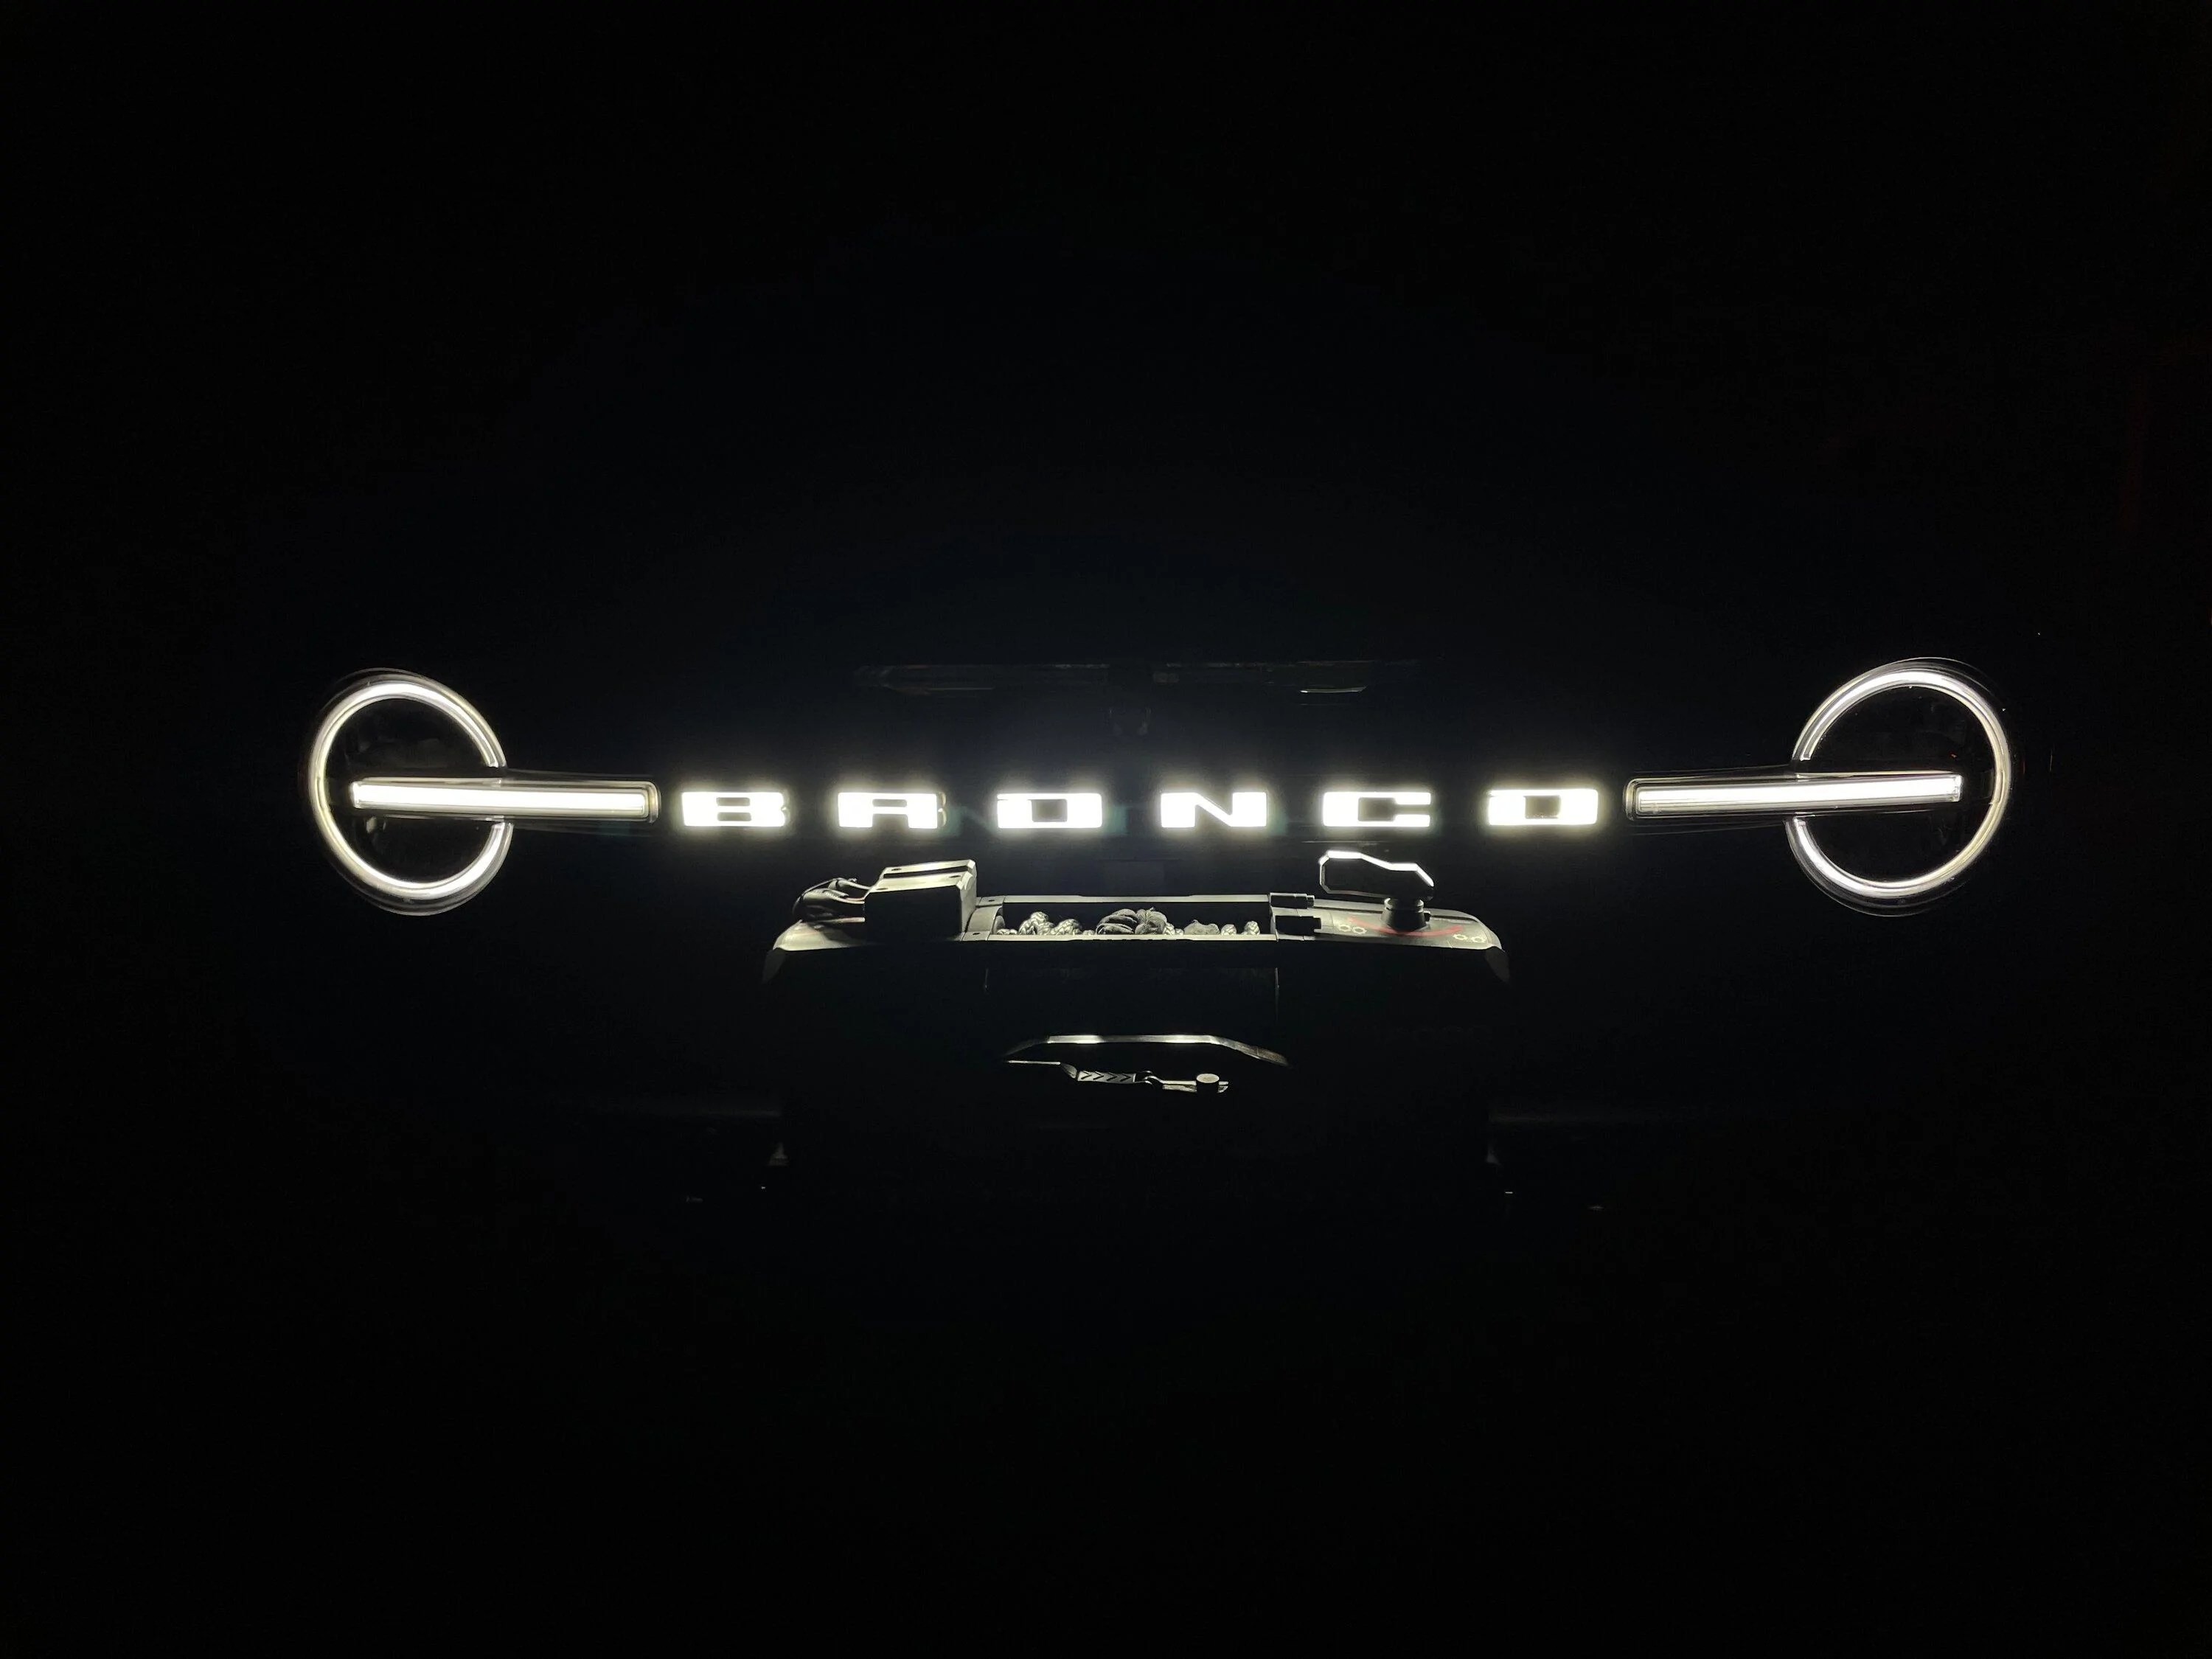
the connectors provided are not water tight so I sealed them with silicone to prevent corrosion. Then test before you install!! Once you verify they work(and in my case get surprised that the letters flashed and stuff). Install is the reverse of removal. I temporarily wires them as the website says. But am. It fond of the setup so I will rewire them later. The fuse box cover does not fit securely is what I don’t like. Then you just enjoy your new addition!!
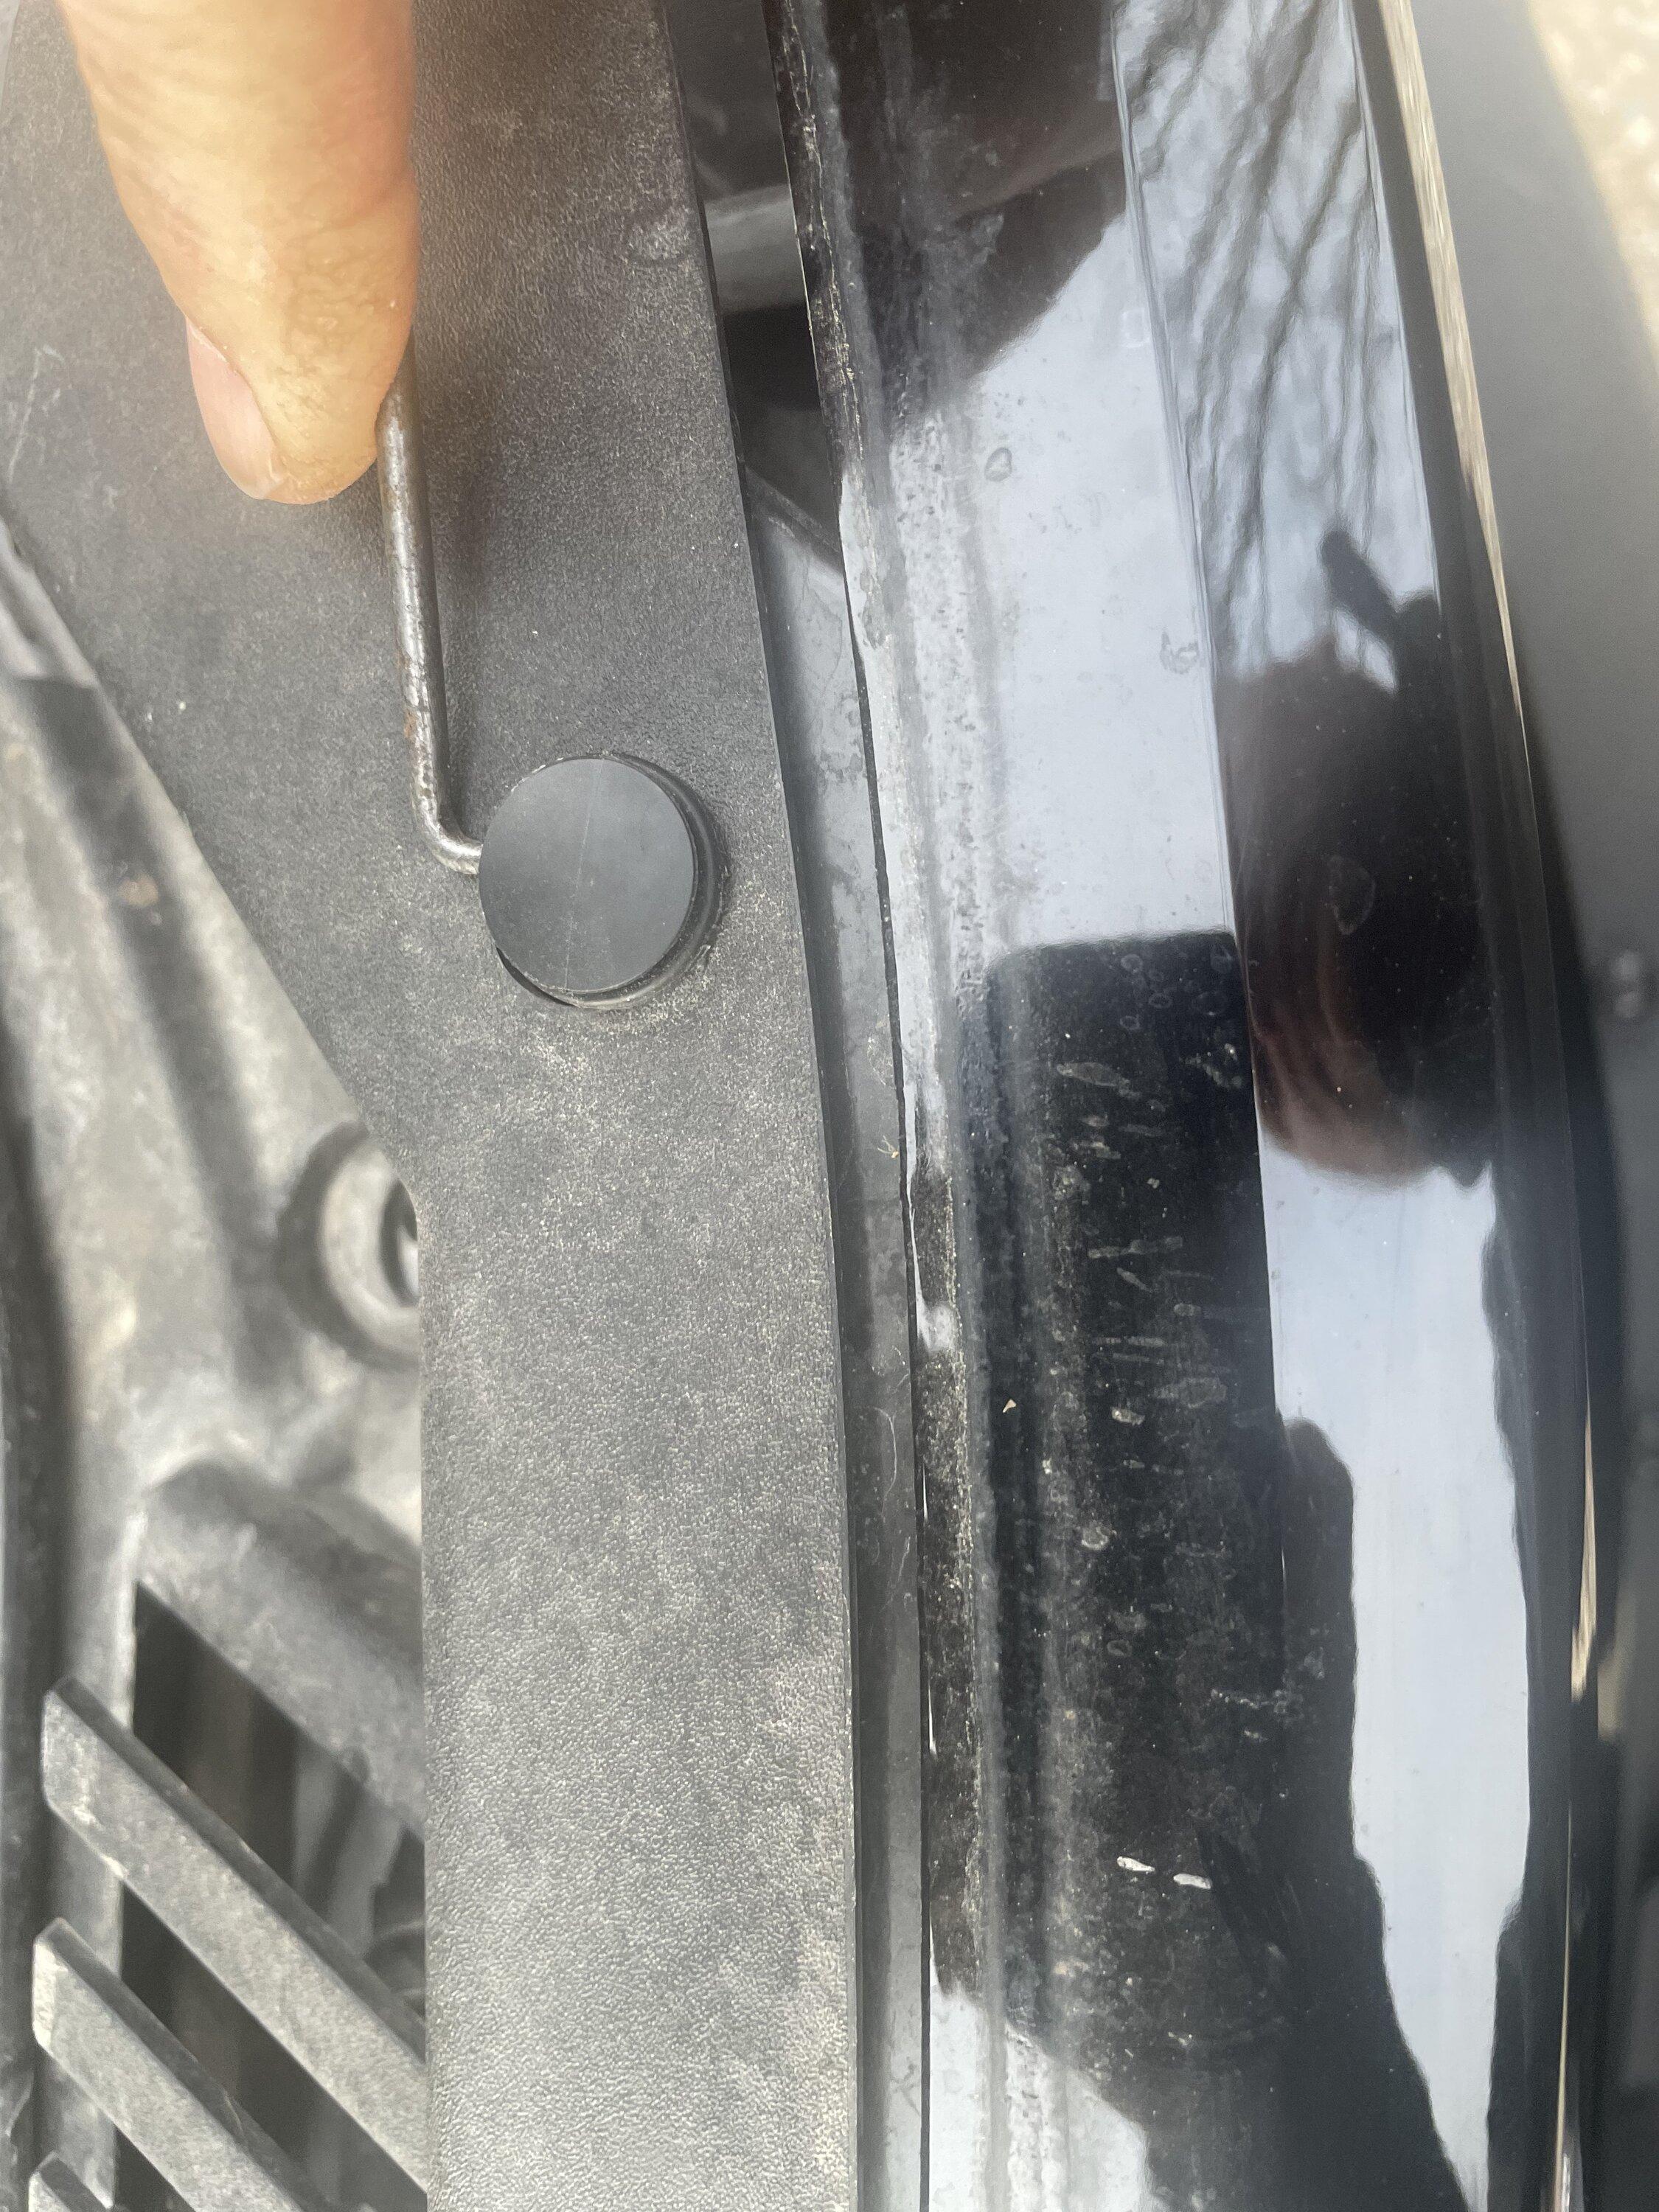
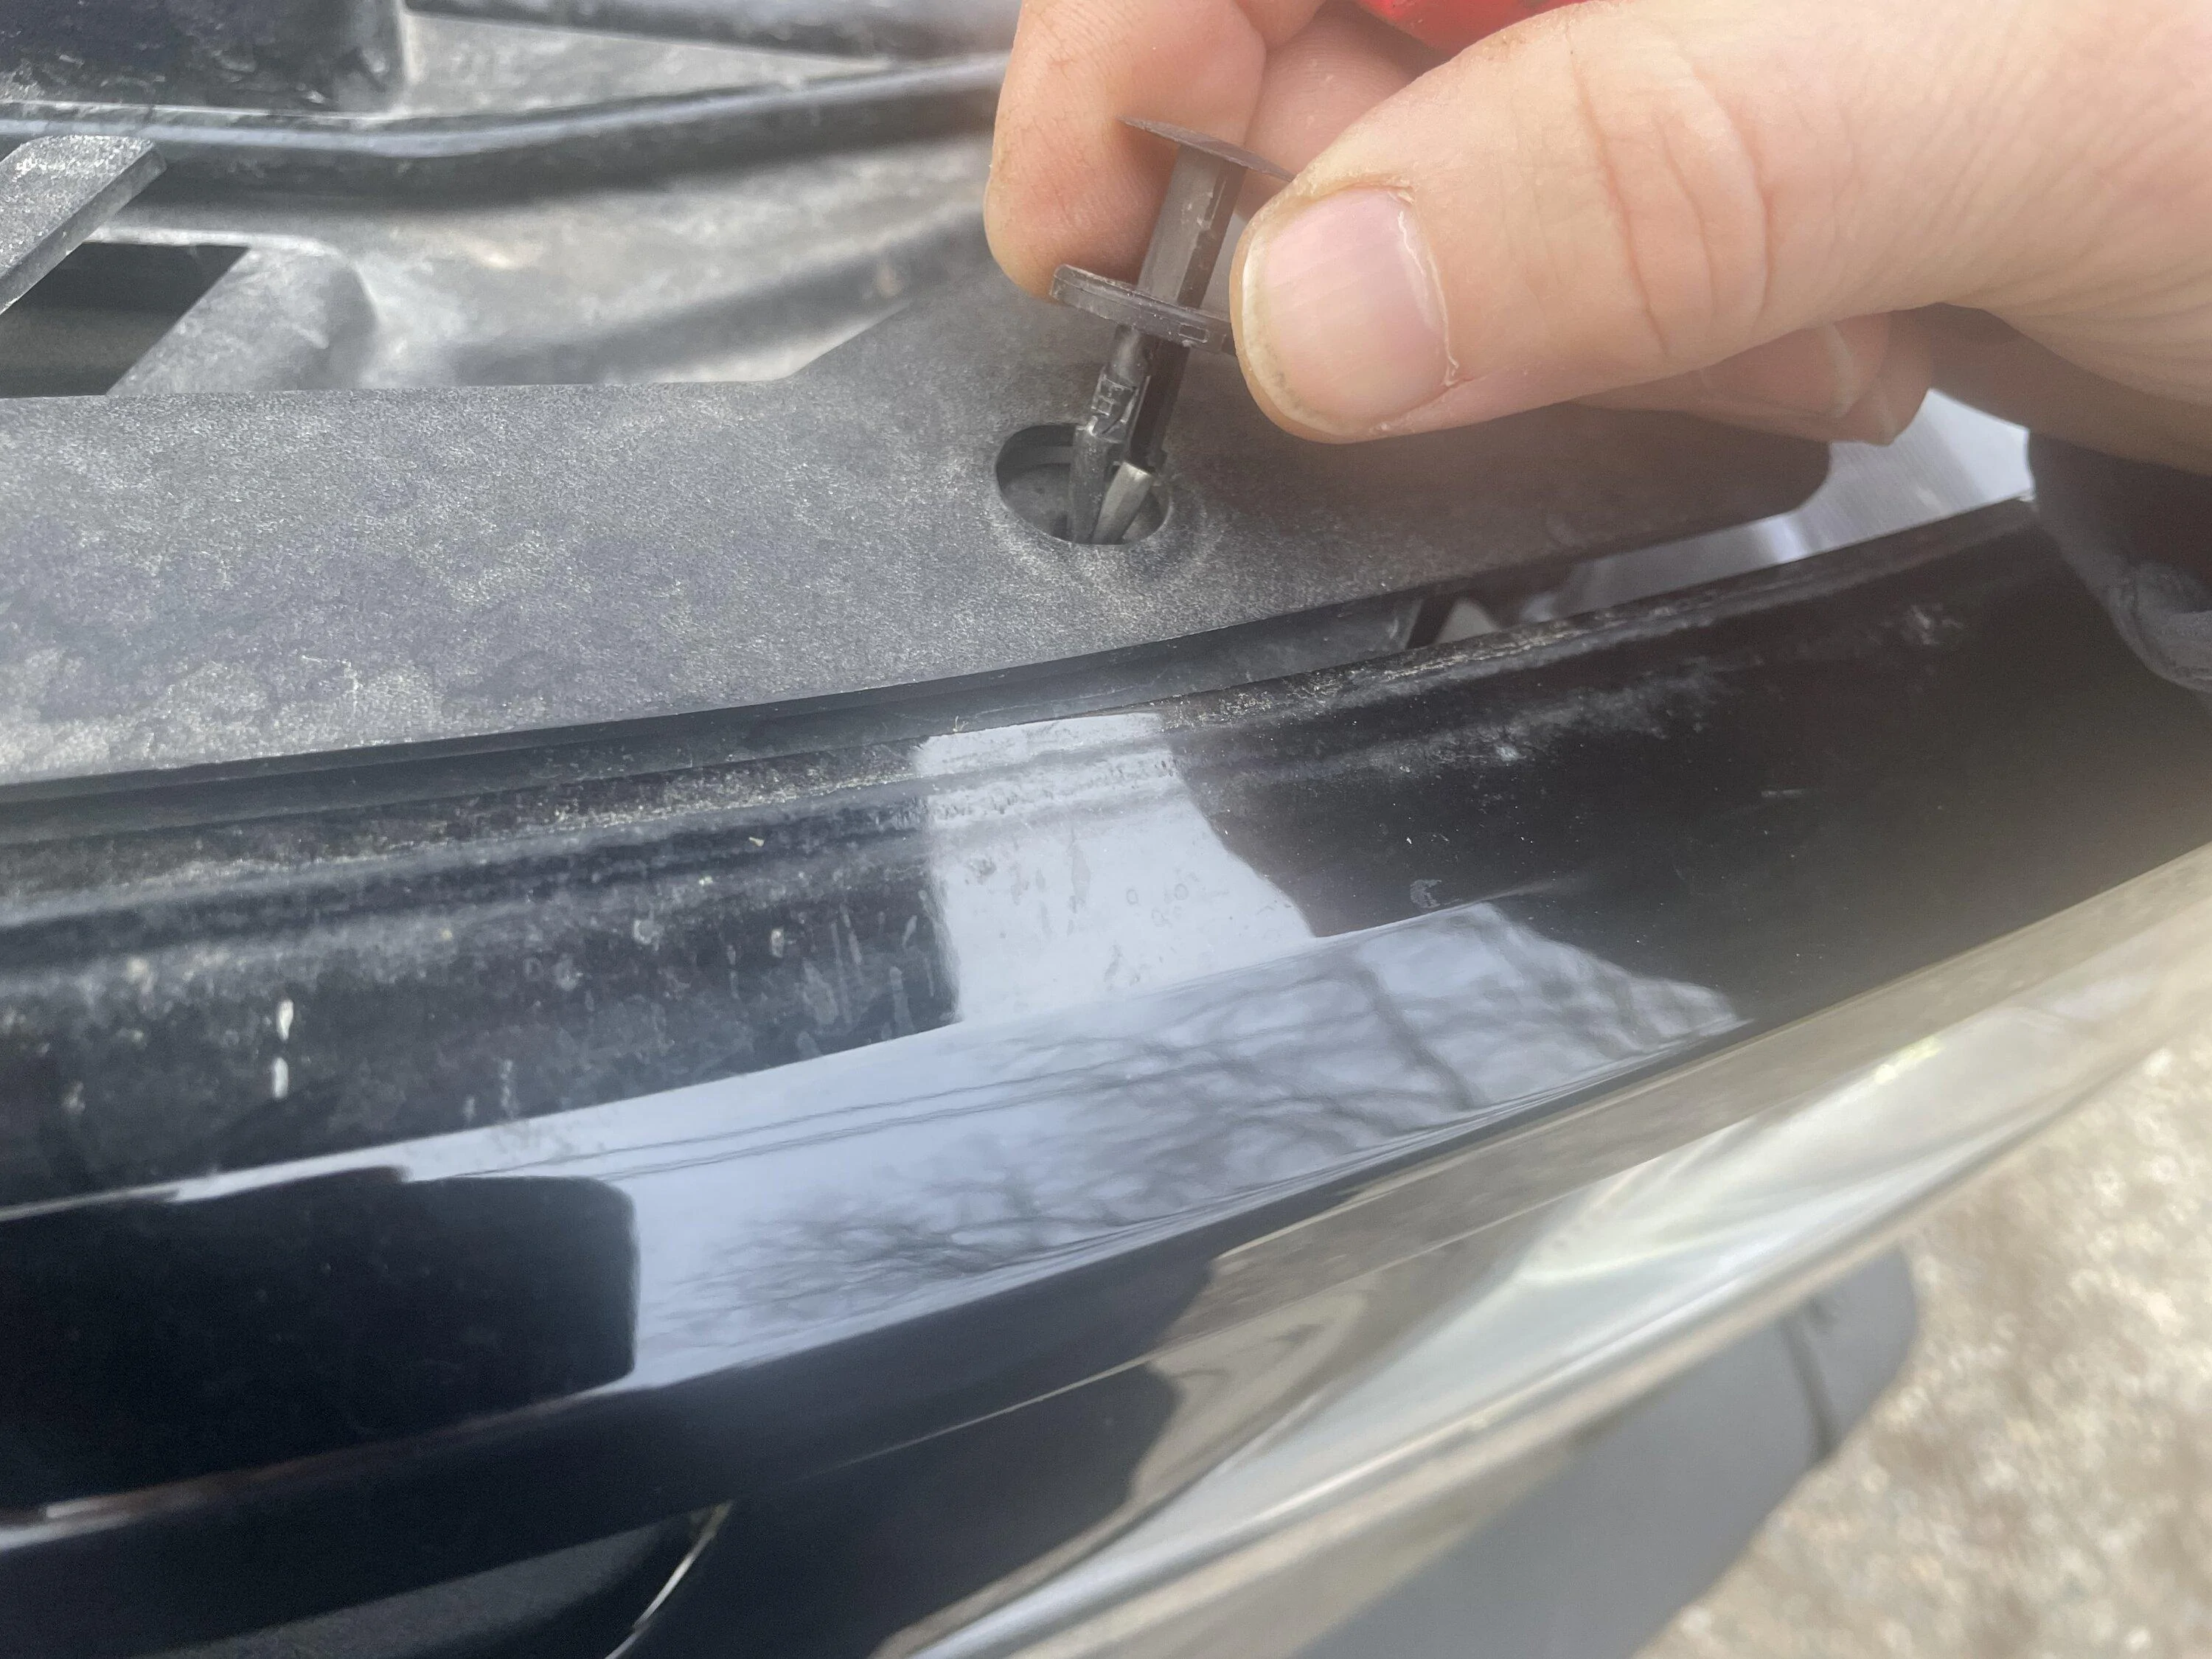
once those are all removed gently pull up and wiggle the close out trim out from under the air intake.
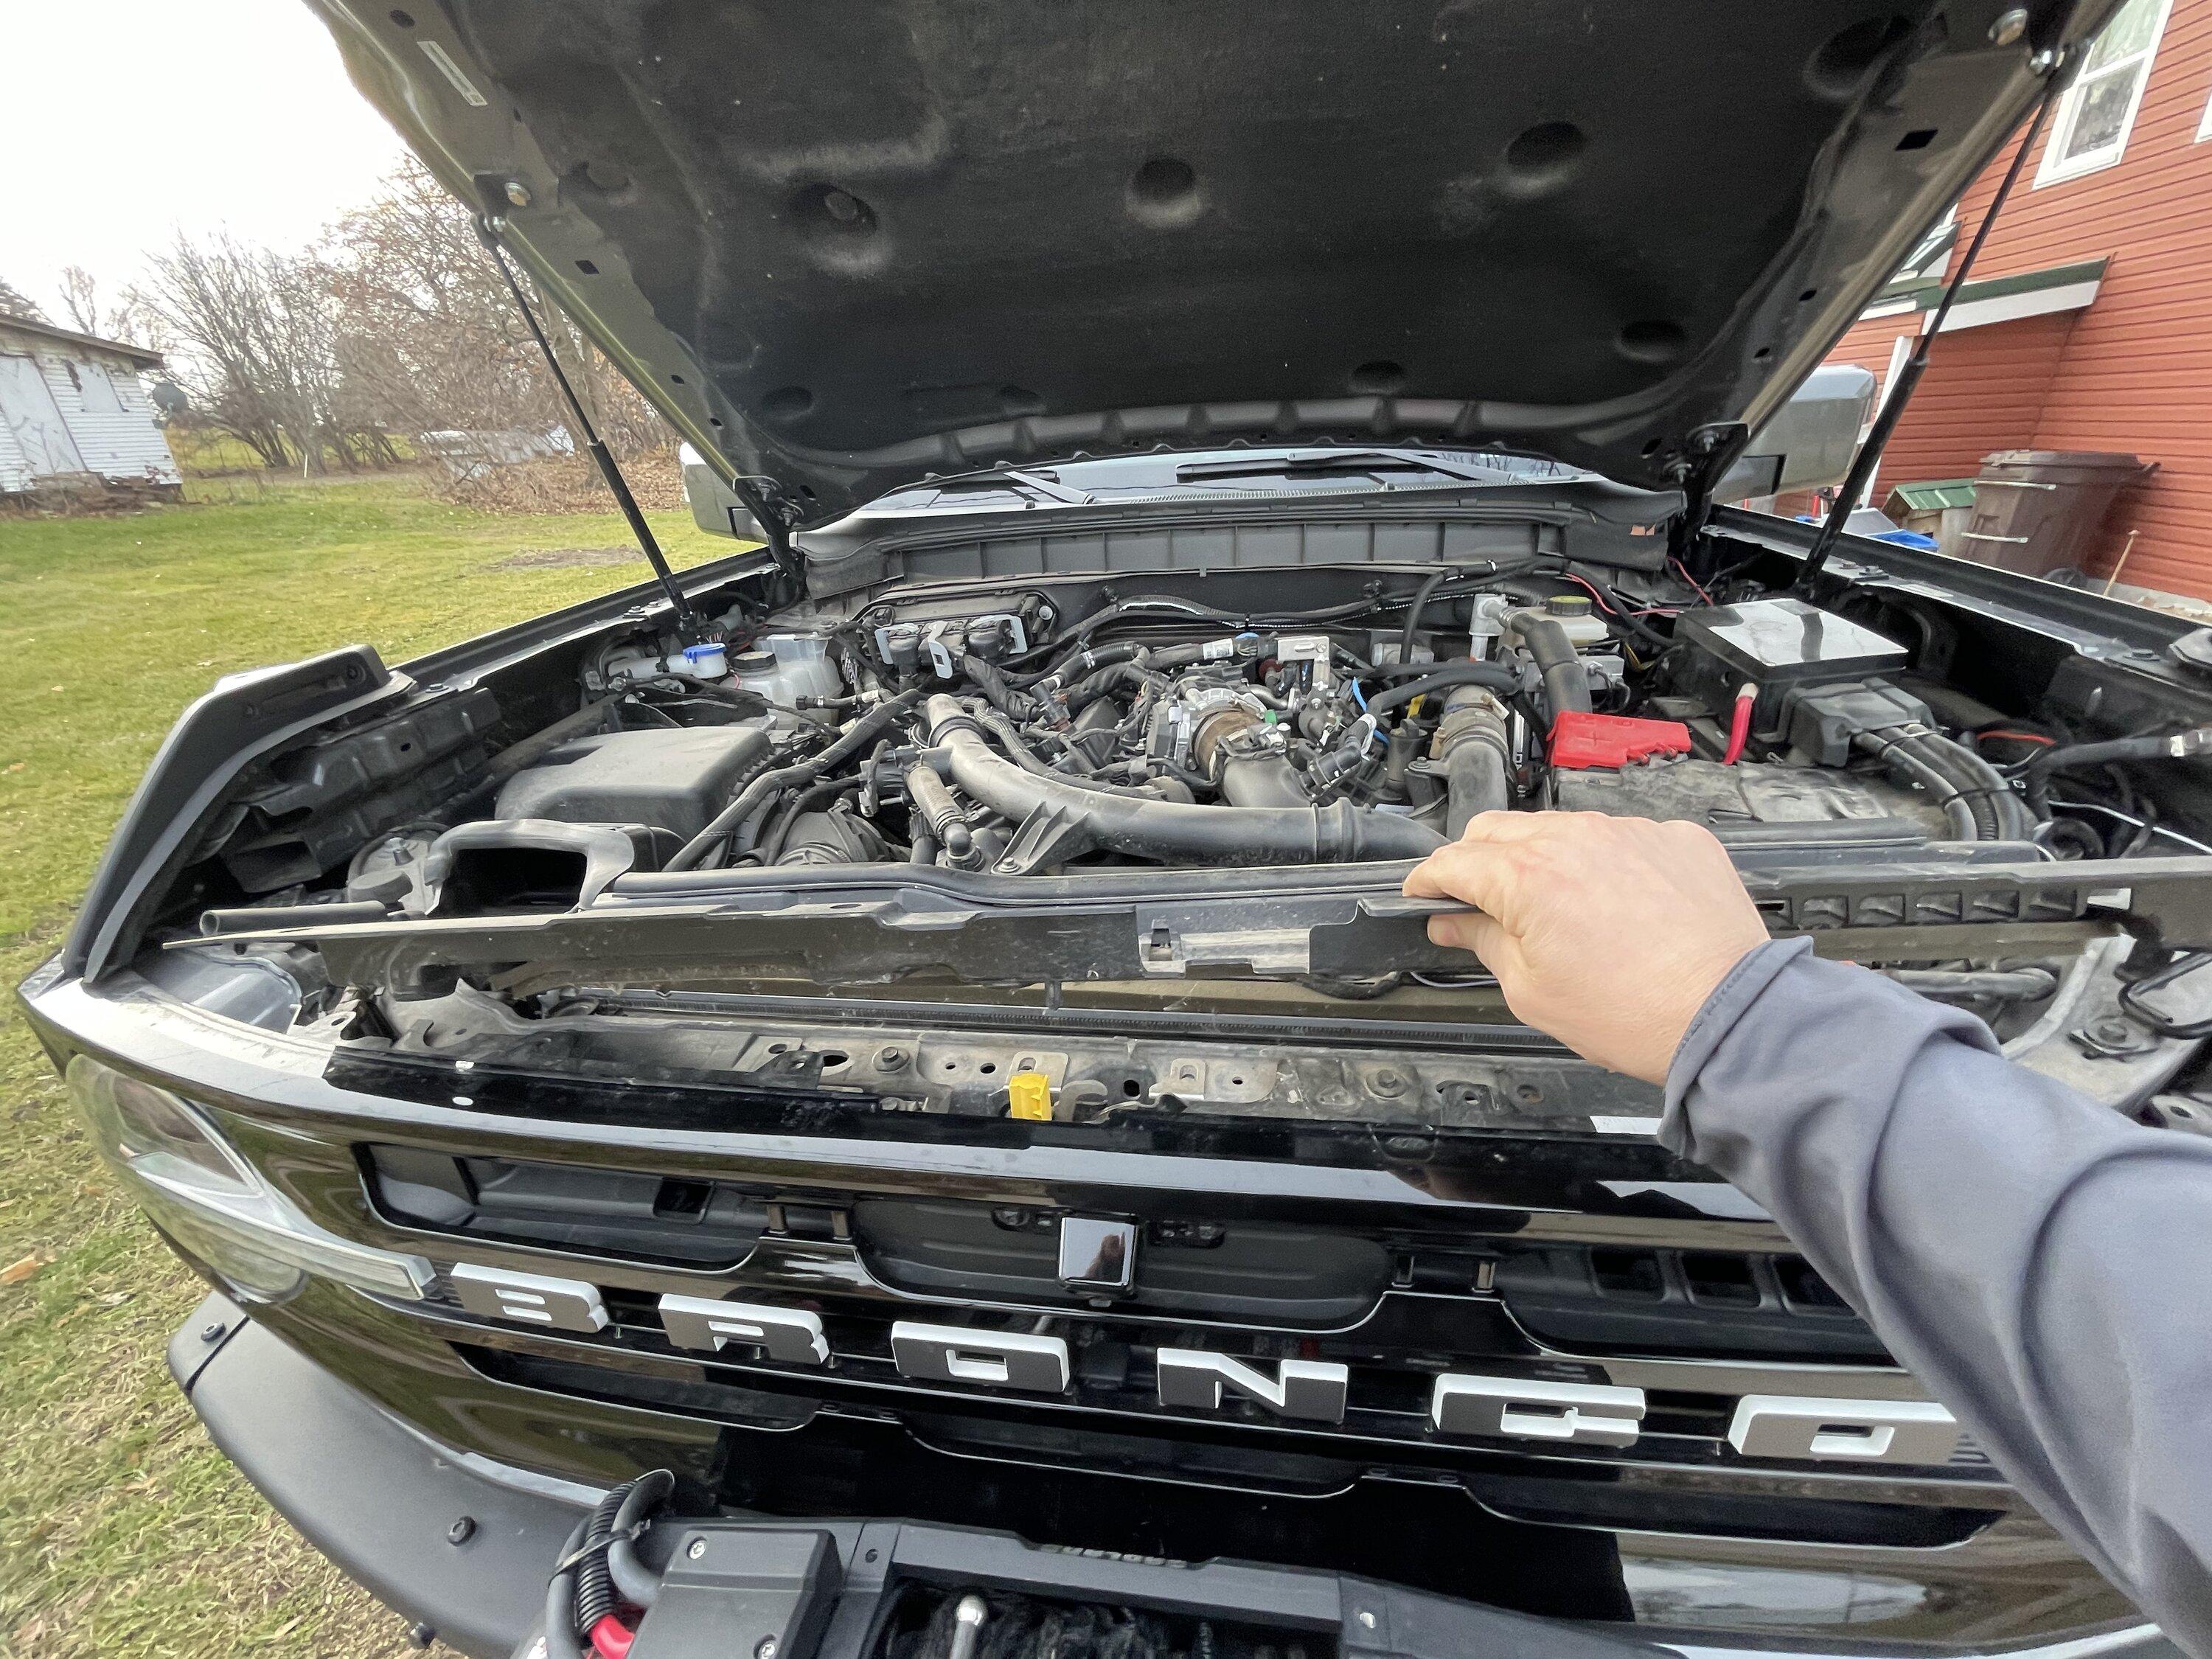
then you have 4 10 mm head bolts to remove and unplug the camera and camera washer hose if equipped
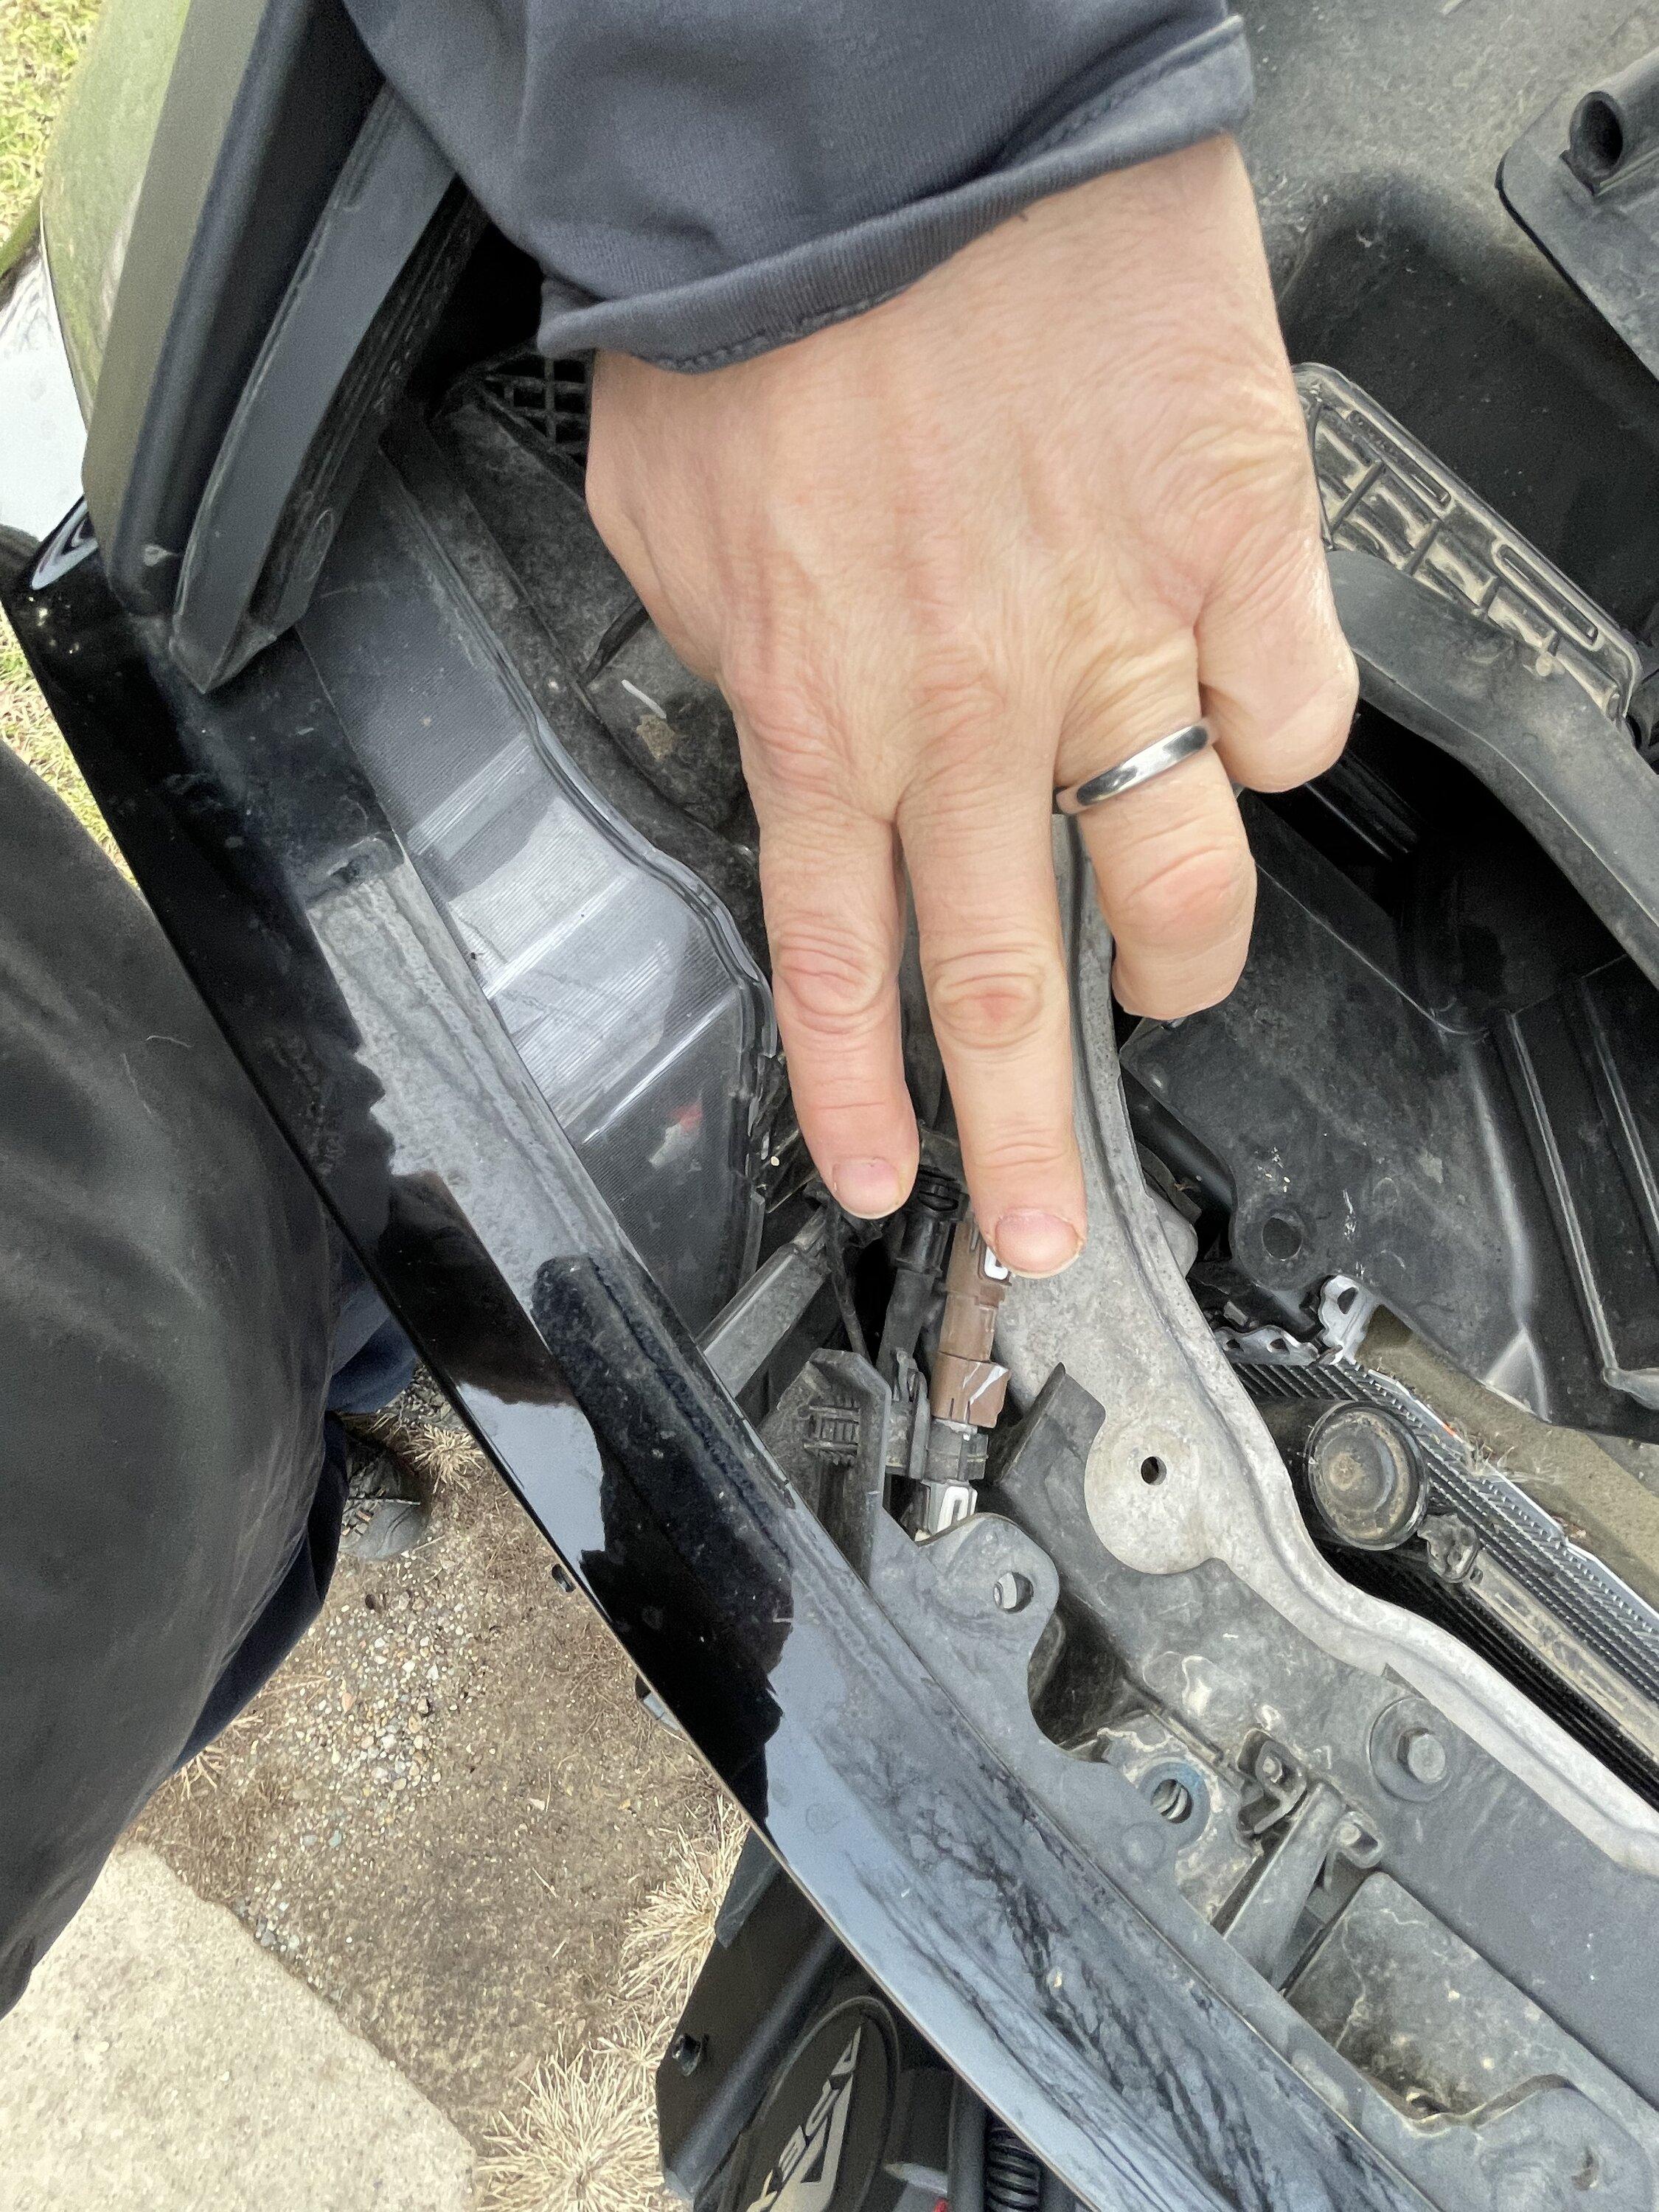
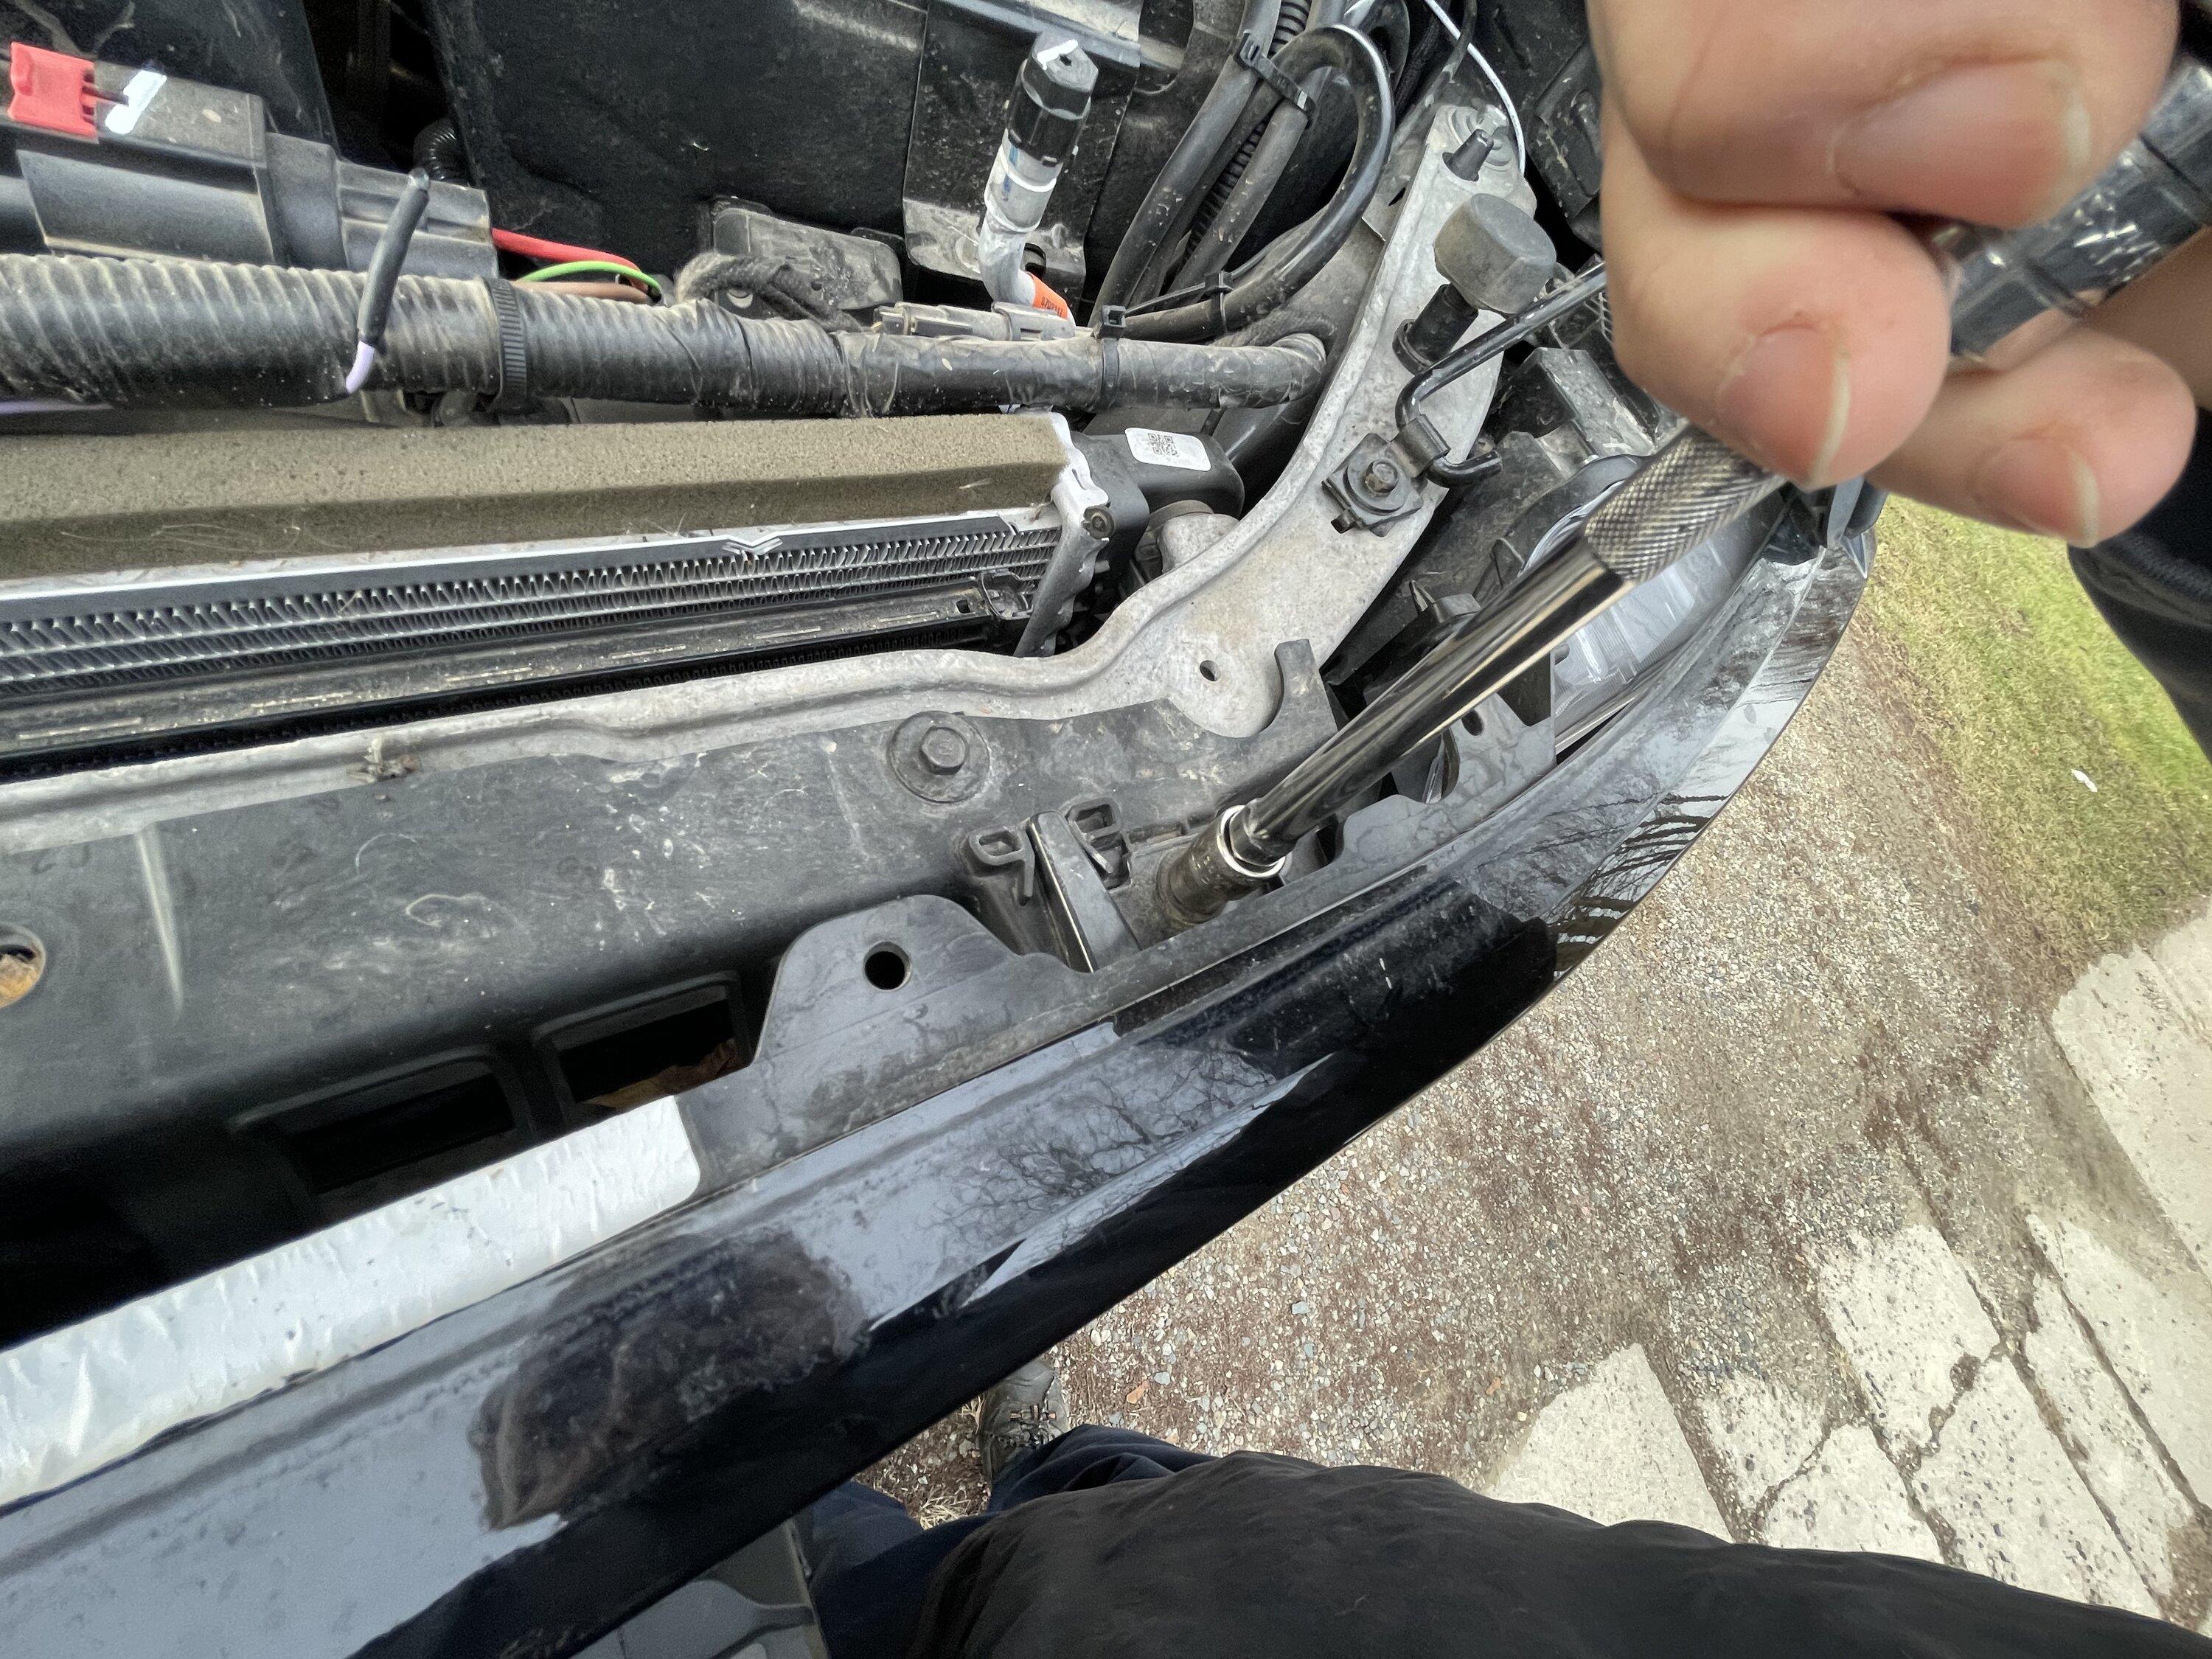
then gently pull the grill straight out I start on the sides then pull from the middle.
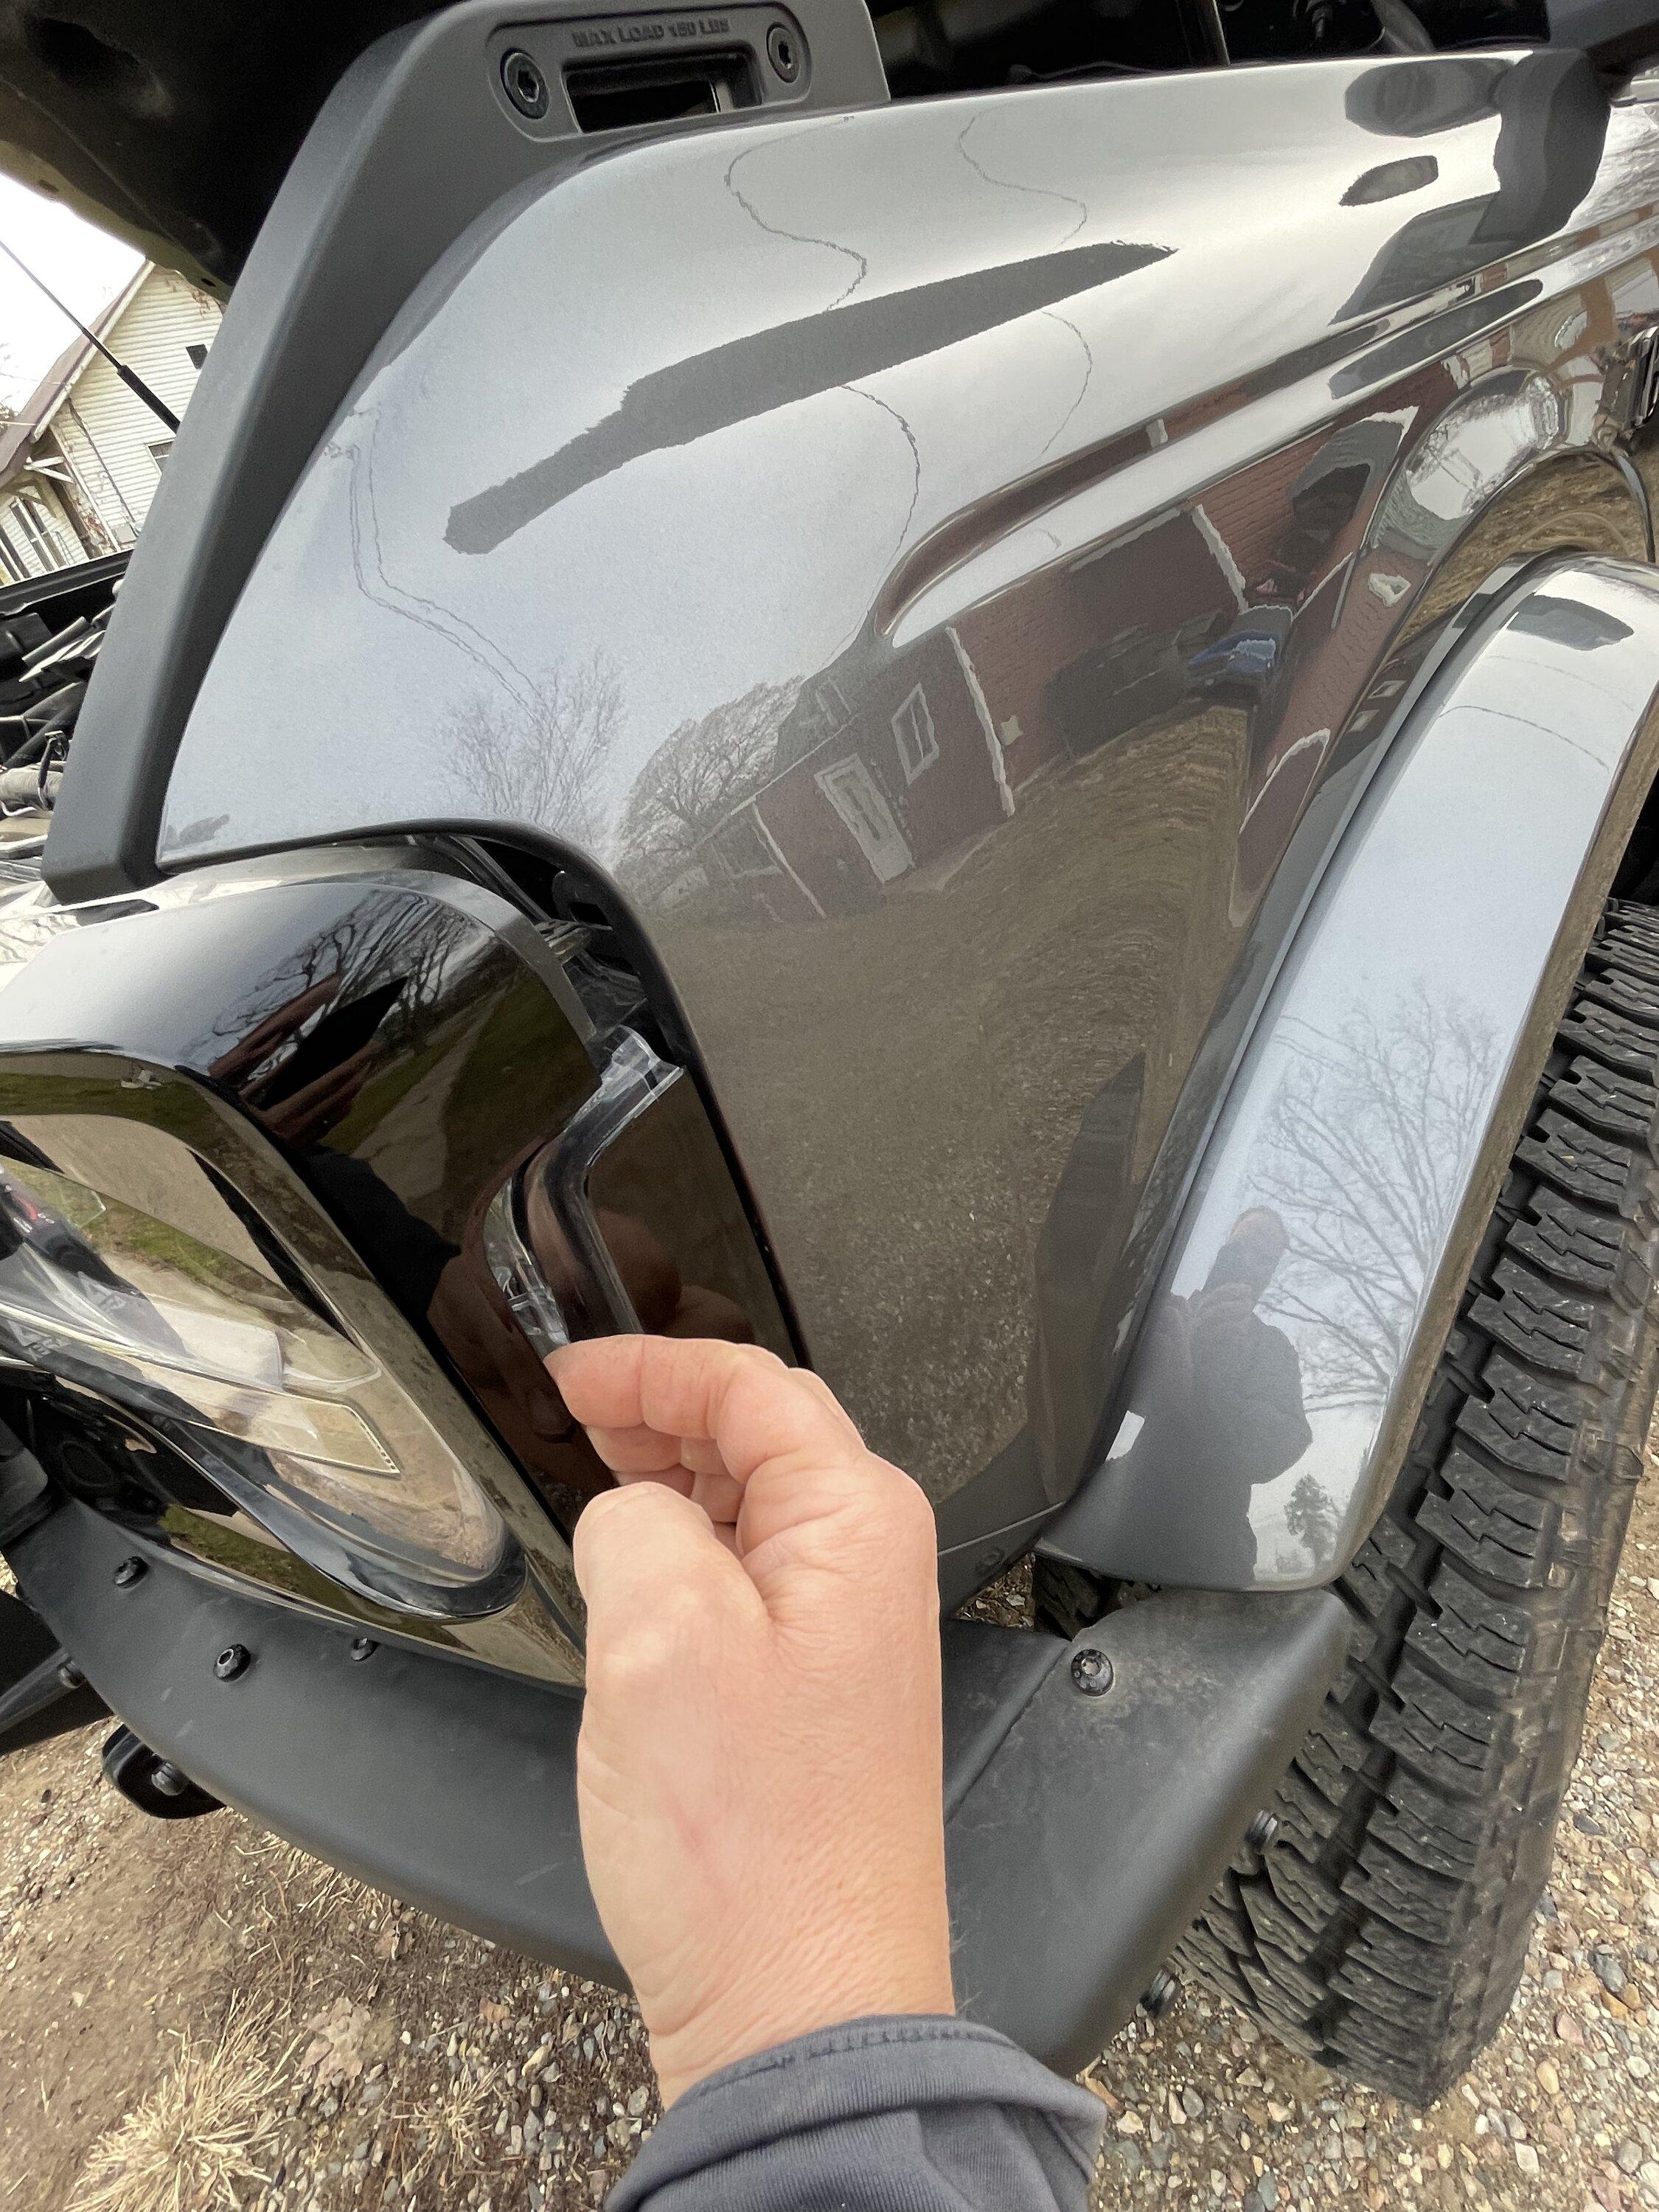
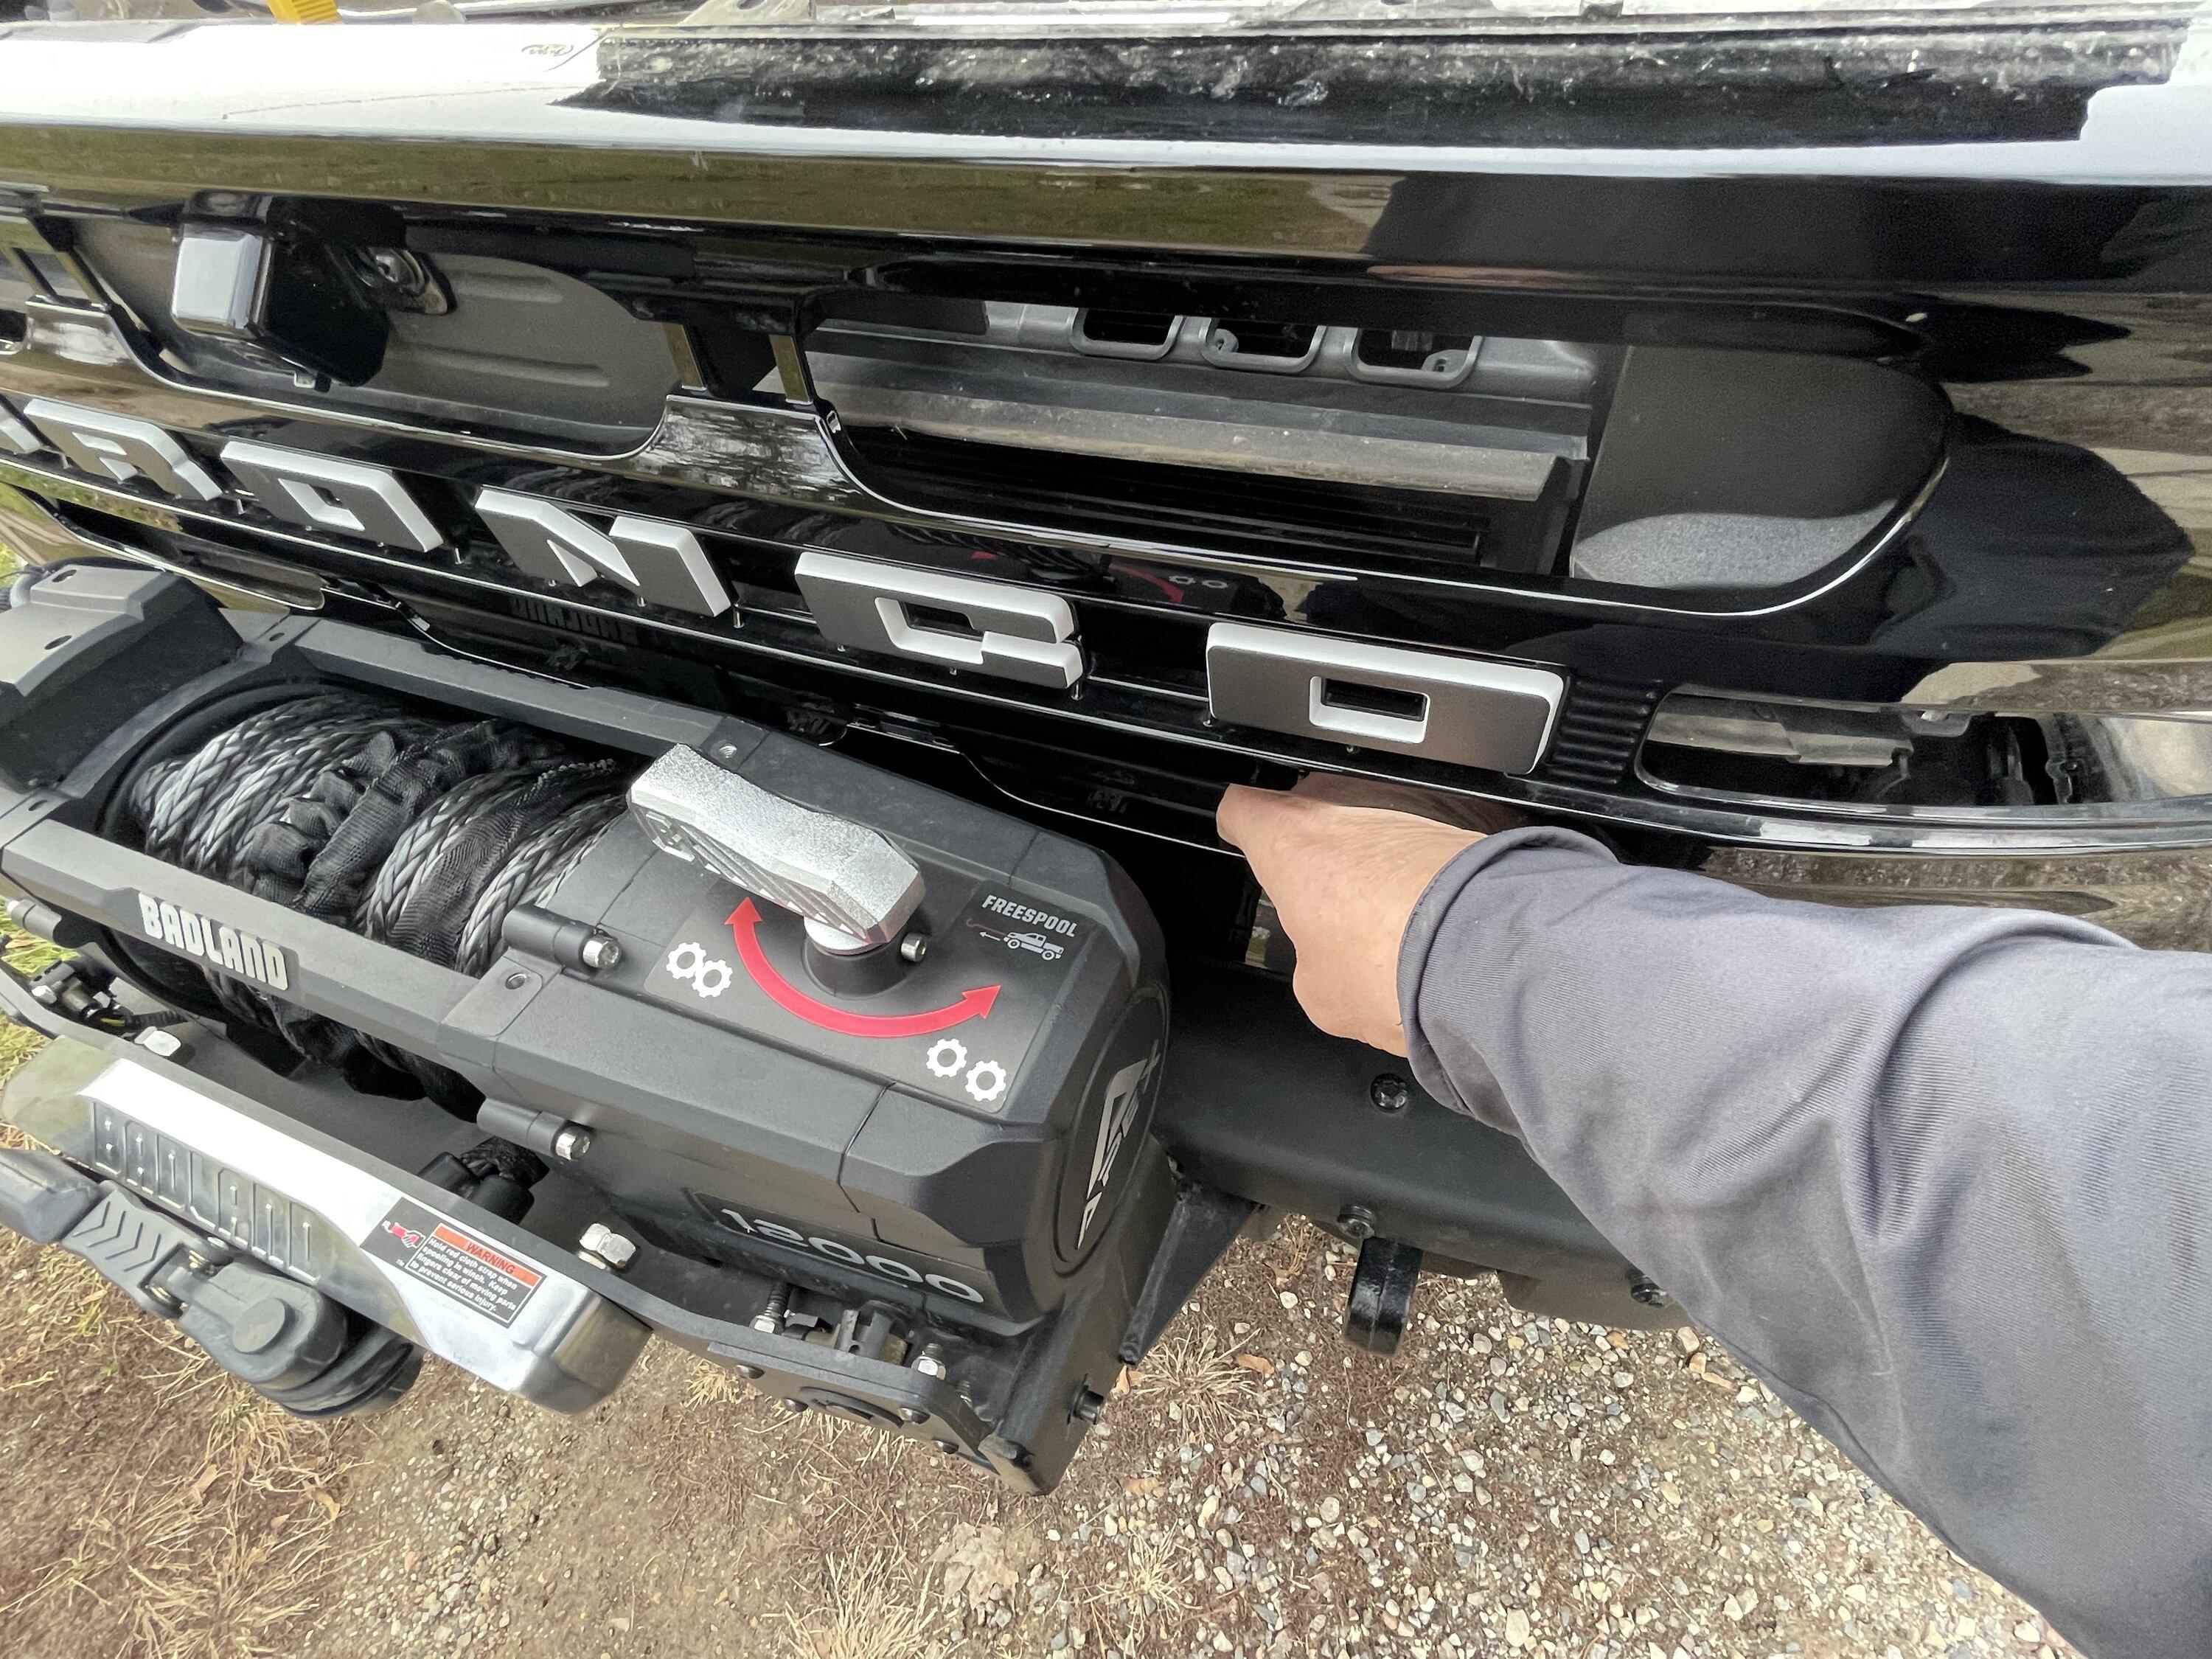
then gently lift the grill out and away.
find a soft place to lay the grill I used a floor mats and a plastic tub since we don’t use the floor mats for anything else.
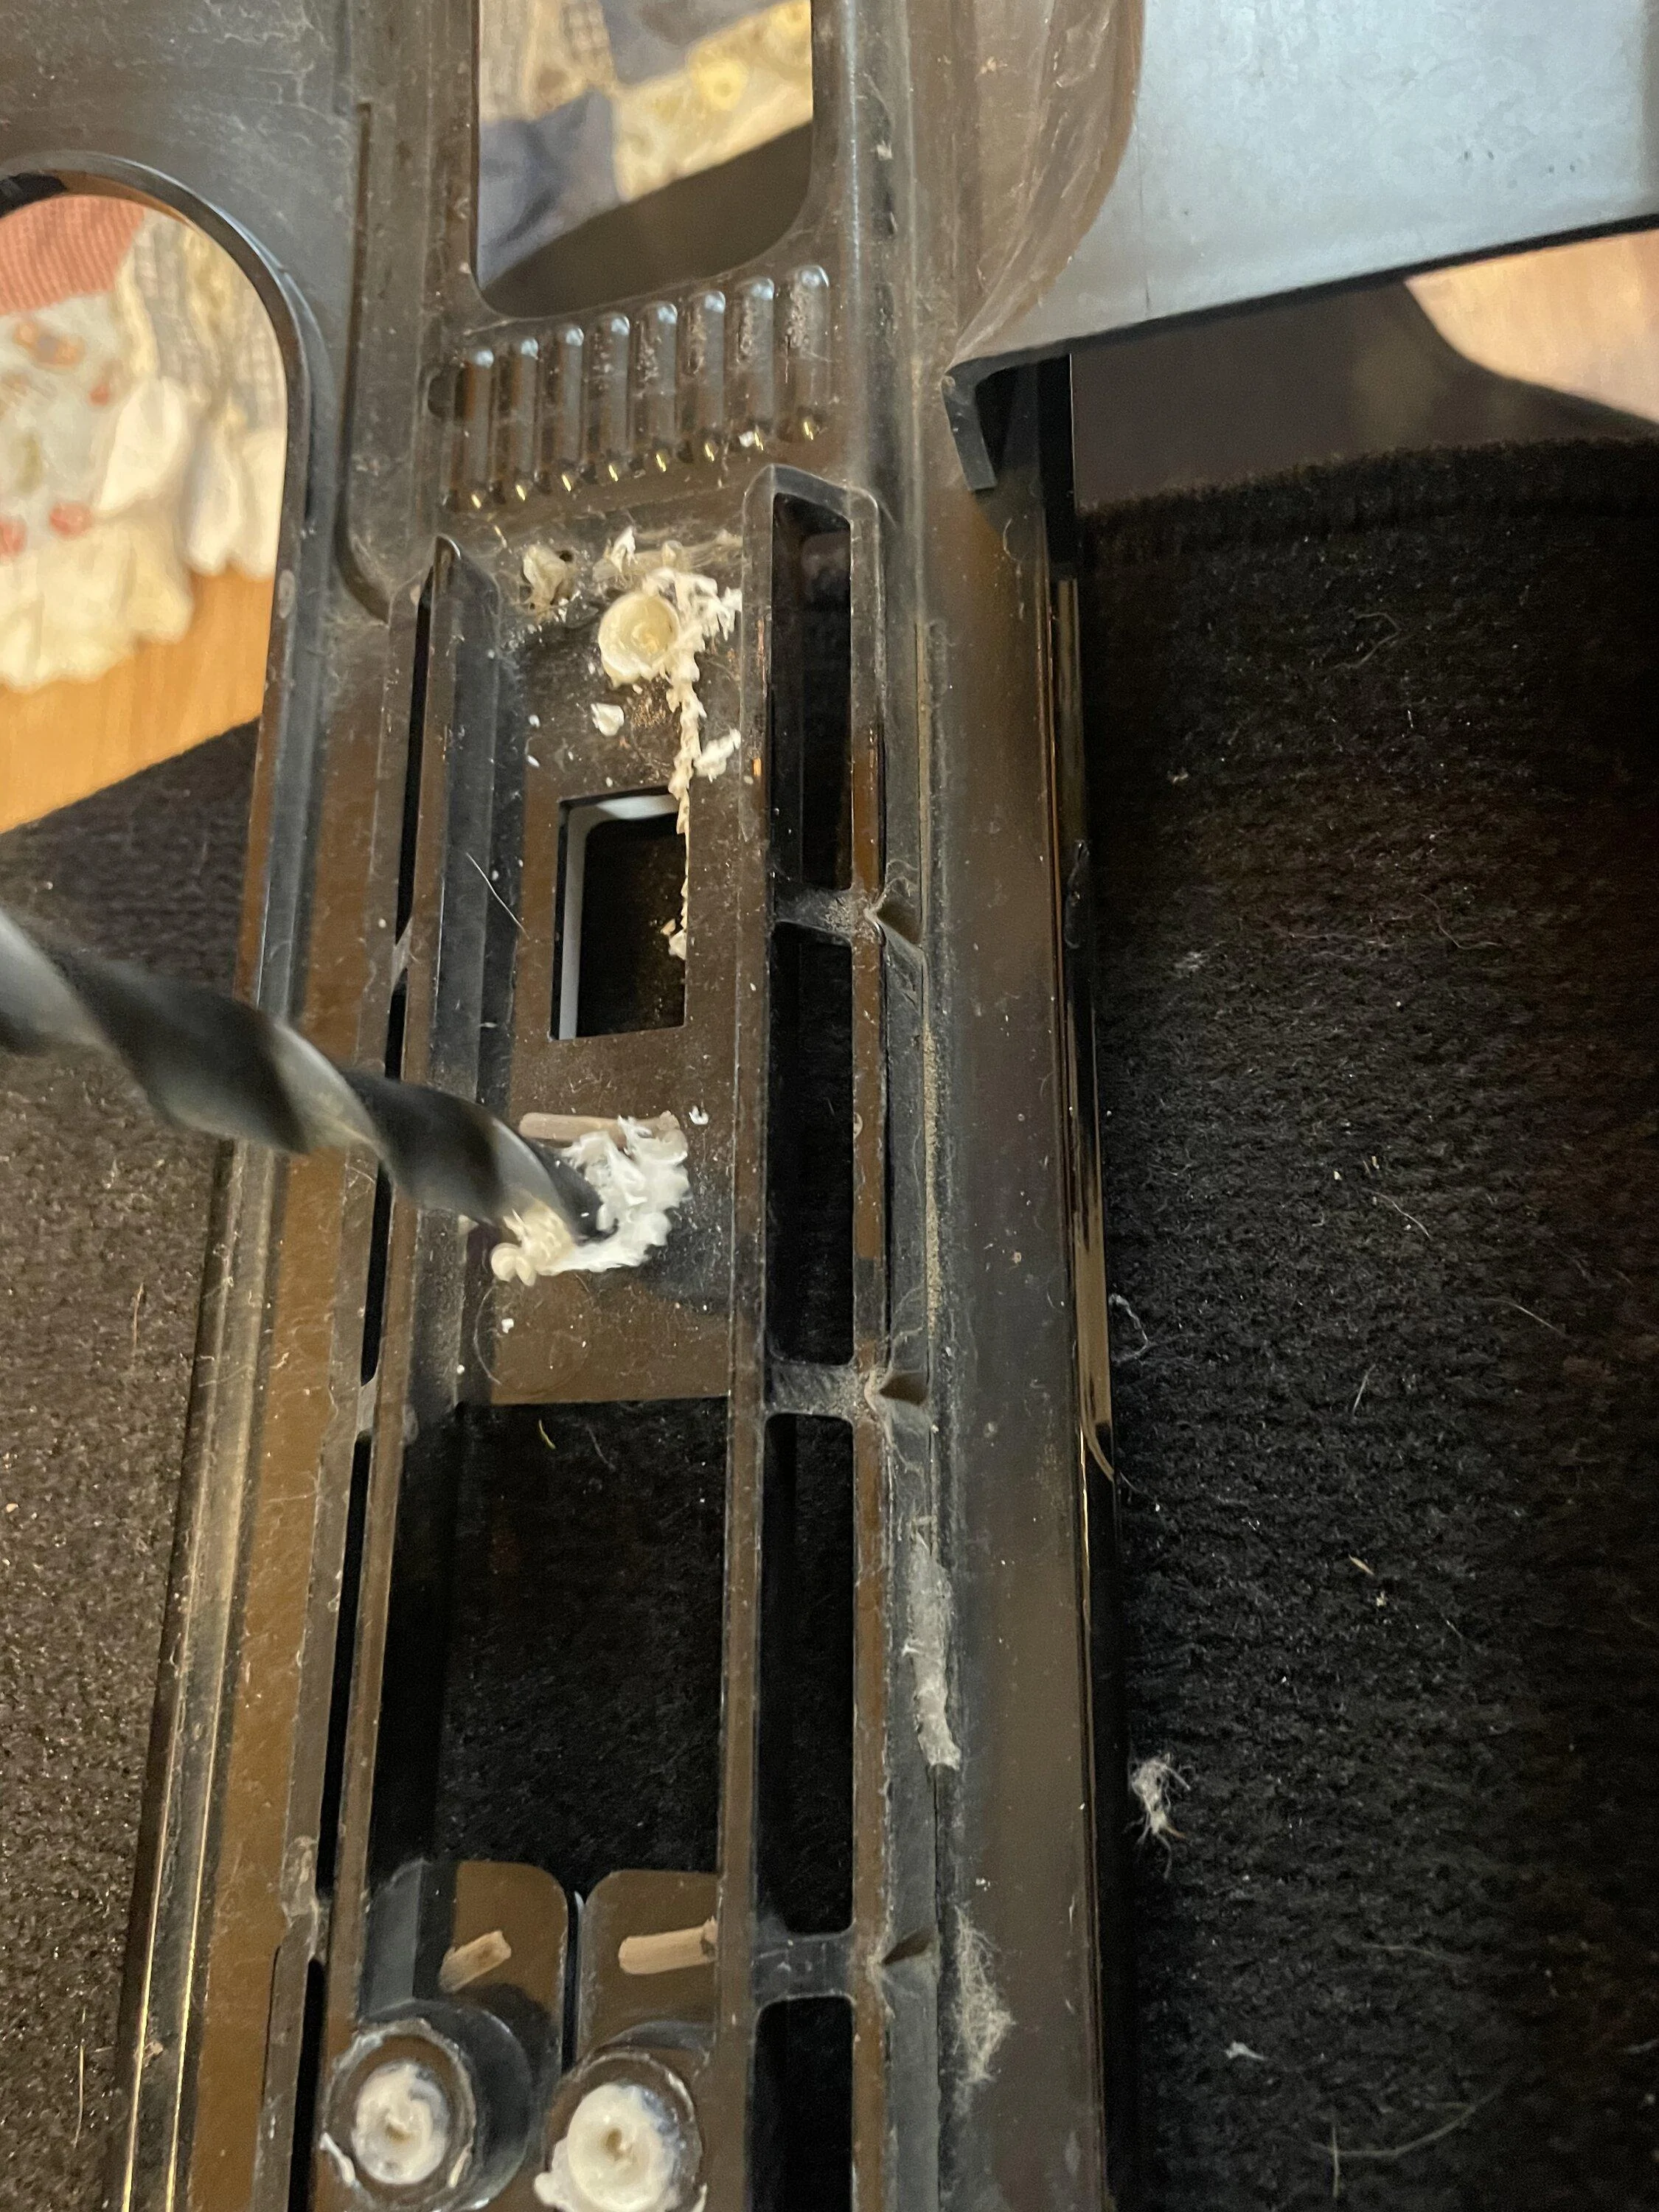
gently GENTLY!! Drill the white plastic only!!! To remove the stock letters. Once they are all removed install the new ones. They slide right into the existing holes. The directions said to use washers. My kit didn’t included them but they are needed. The provided screws are a touch too long.
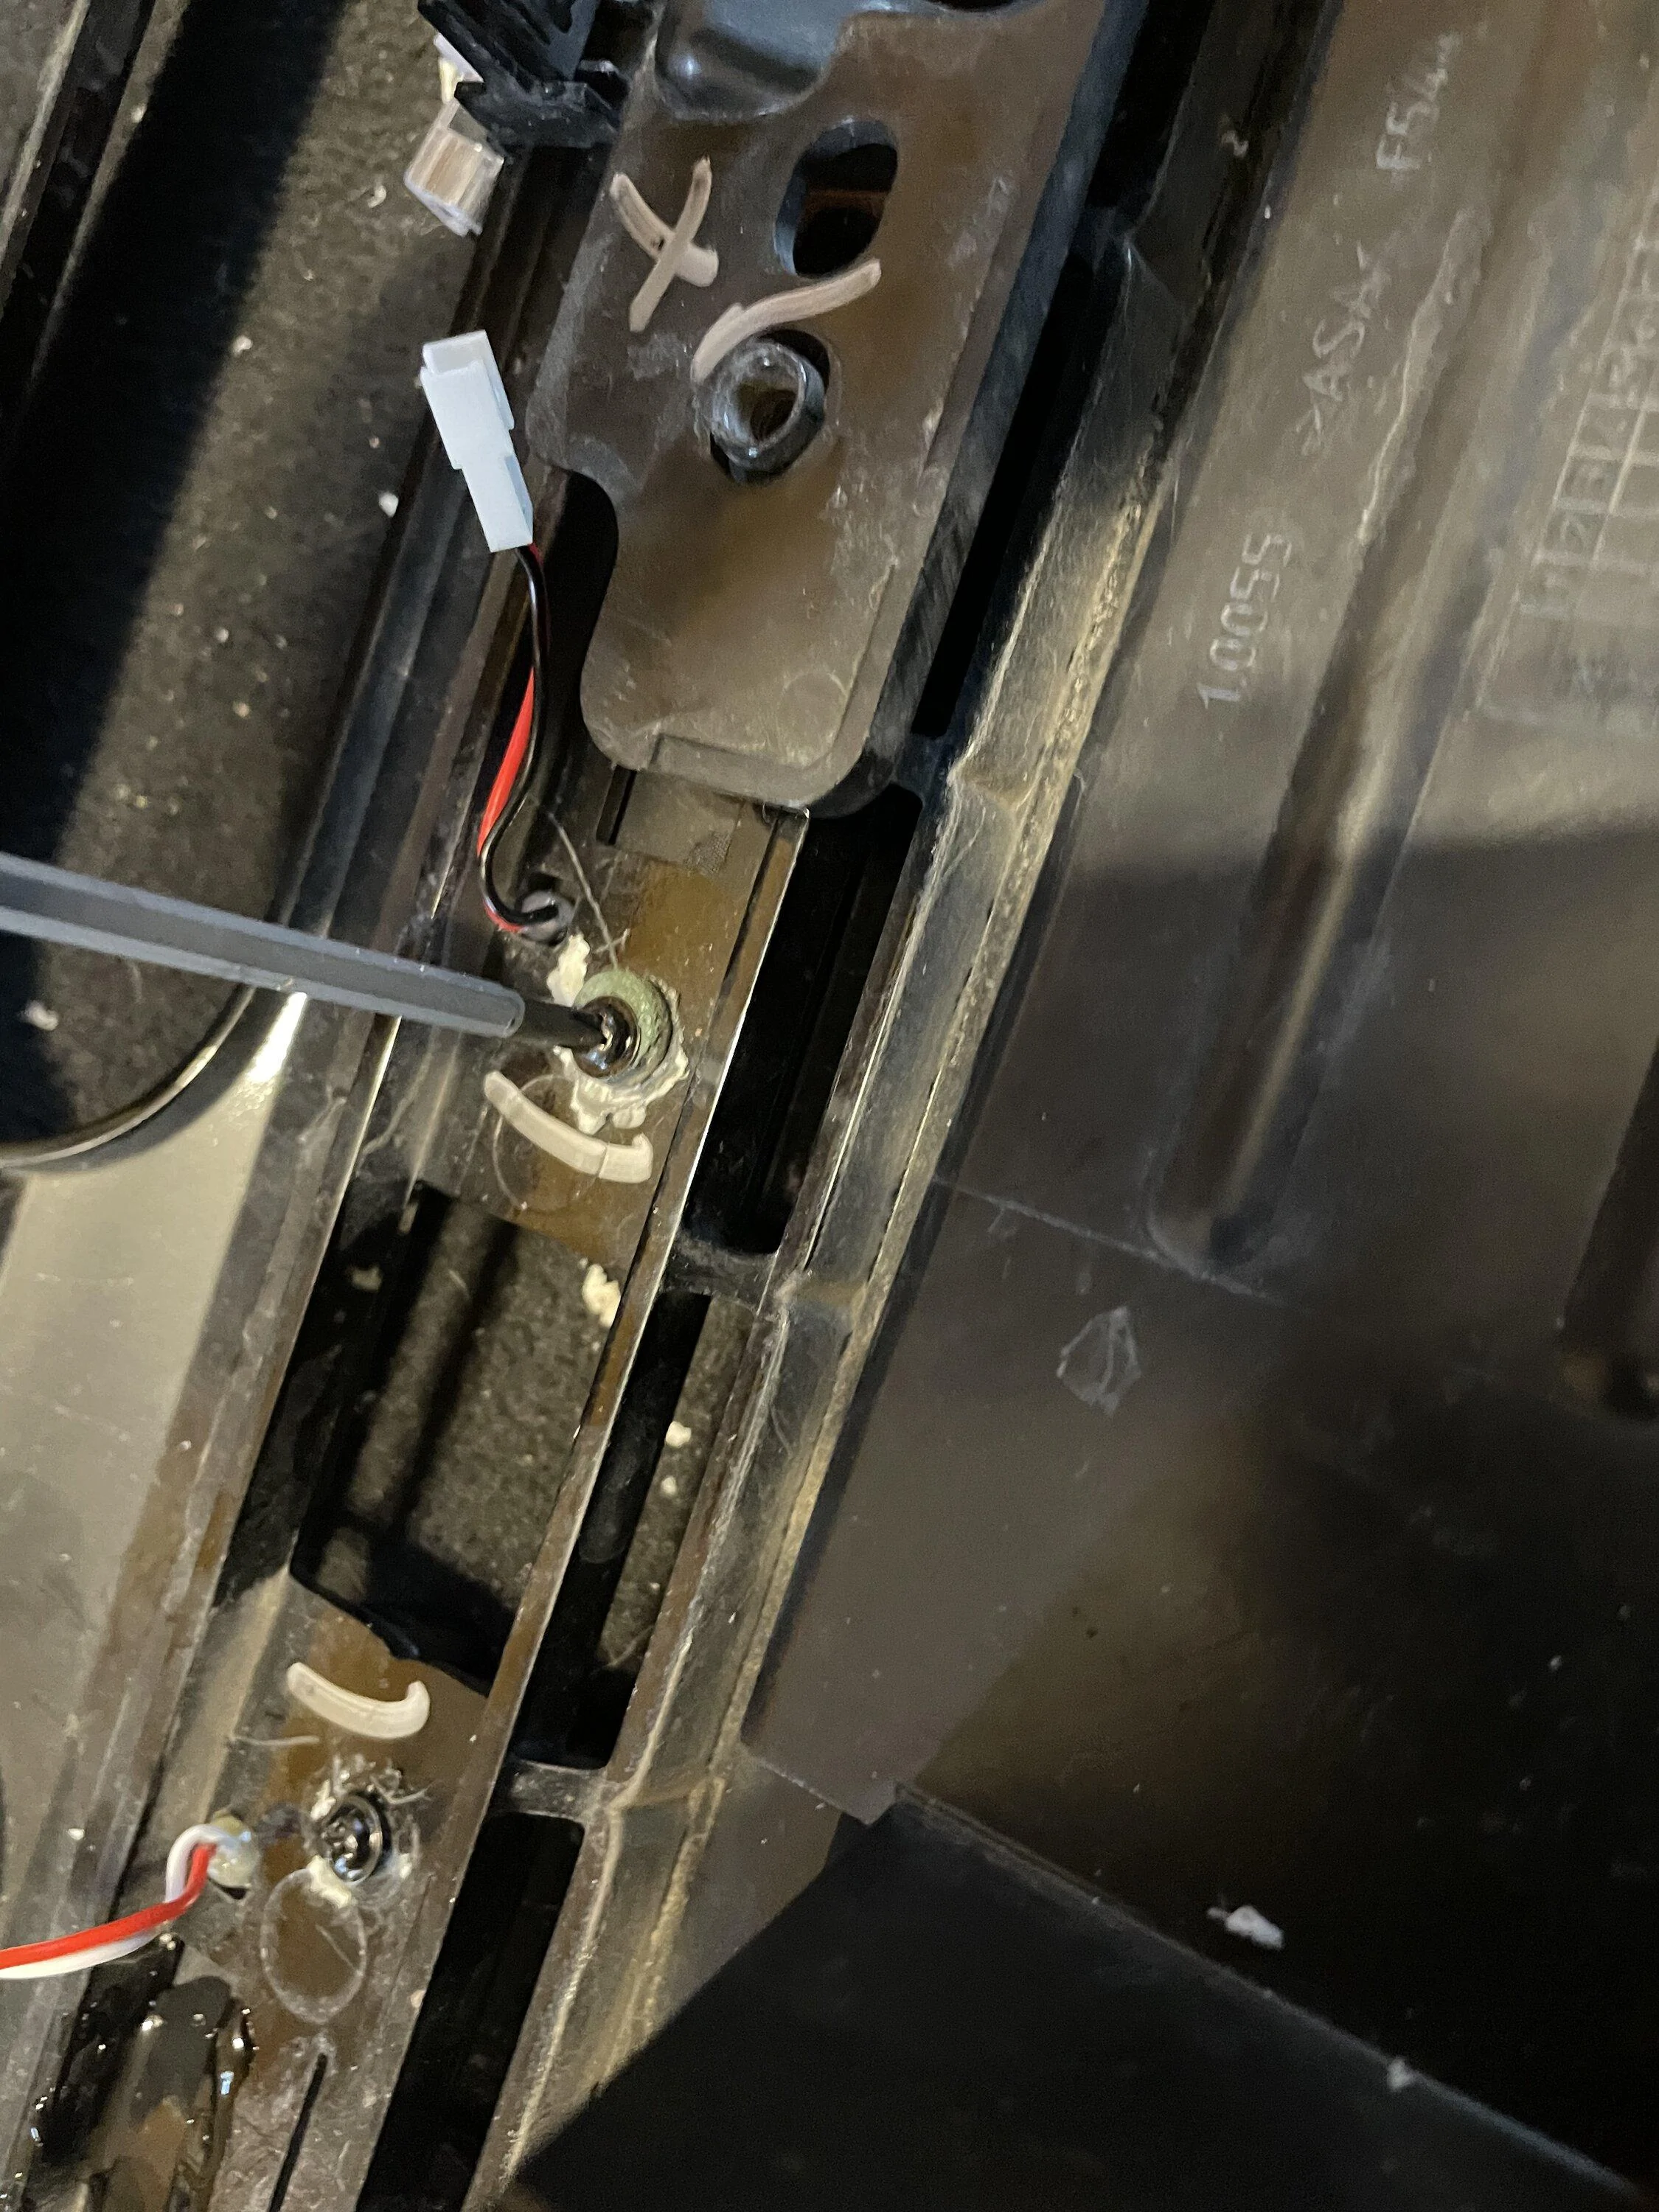
the connectors provided are not water tight so I sealed them with silicone to prevent corrosion. Then test before you install!! Once you verify they work(and in my case get surprised that the letters flashed and stuff). Install is the reverse of removal. I temporarily wires them as the website says. But am. It fond of the setup so I will rewire them later. The fuse box cover does not fit securely is what I don’t like. Then you just enjoy your new addition!!
Show full message↓