- Thread starter
- #1
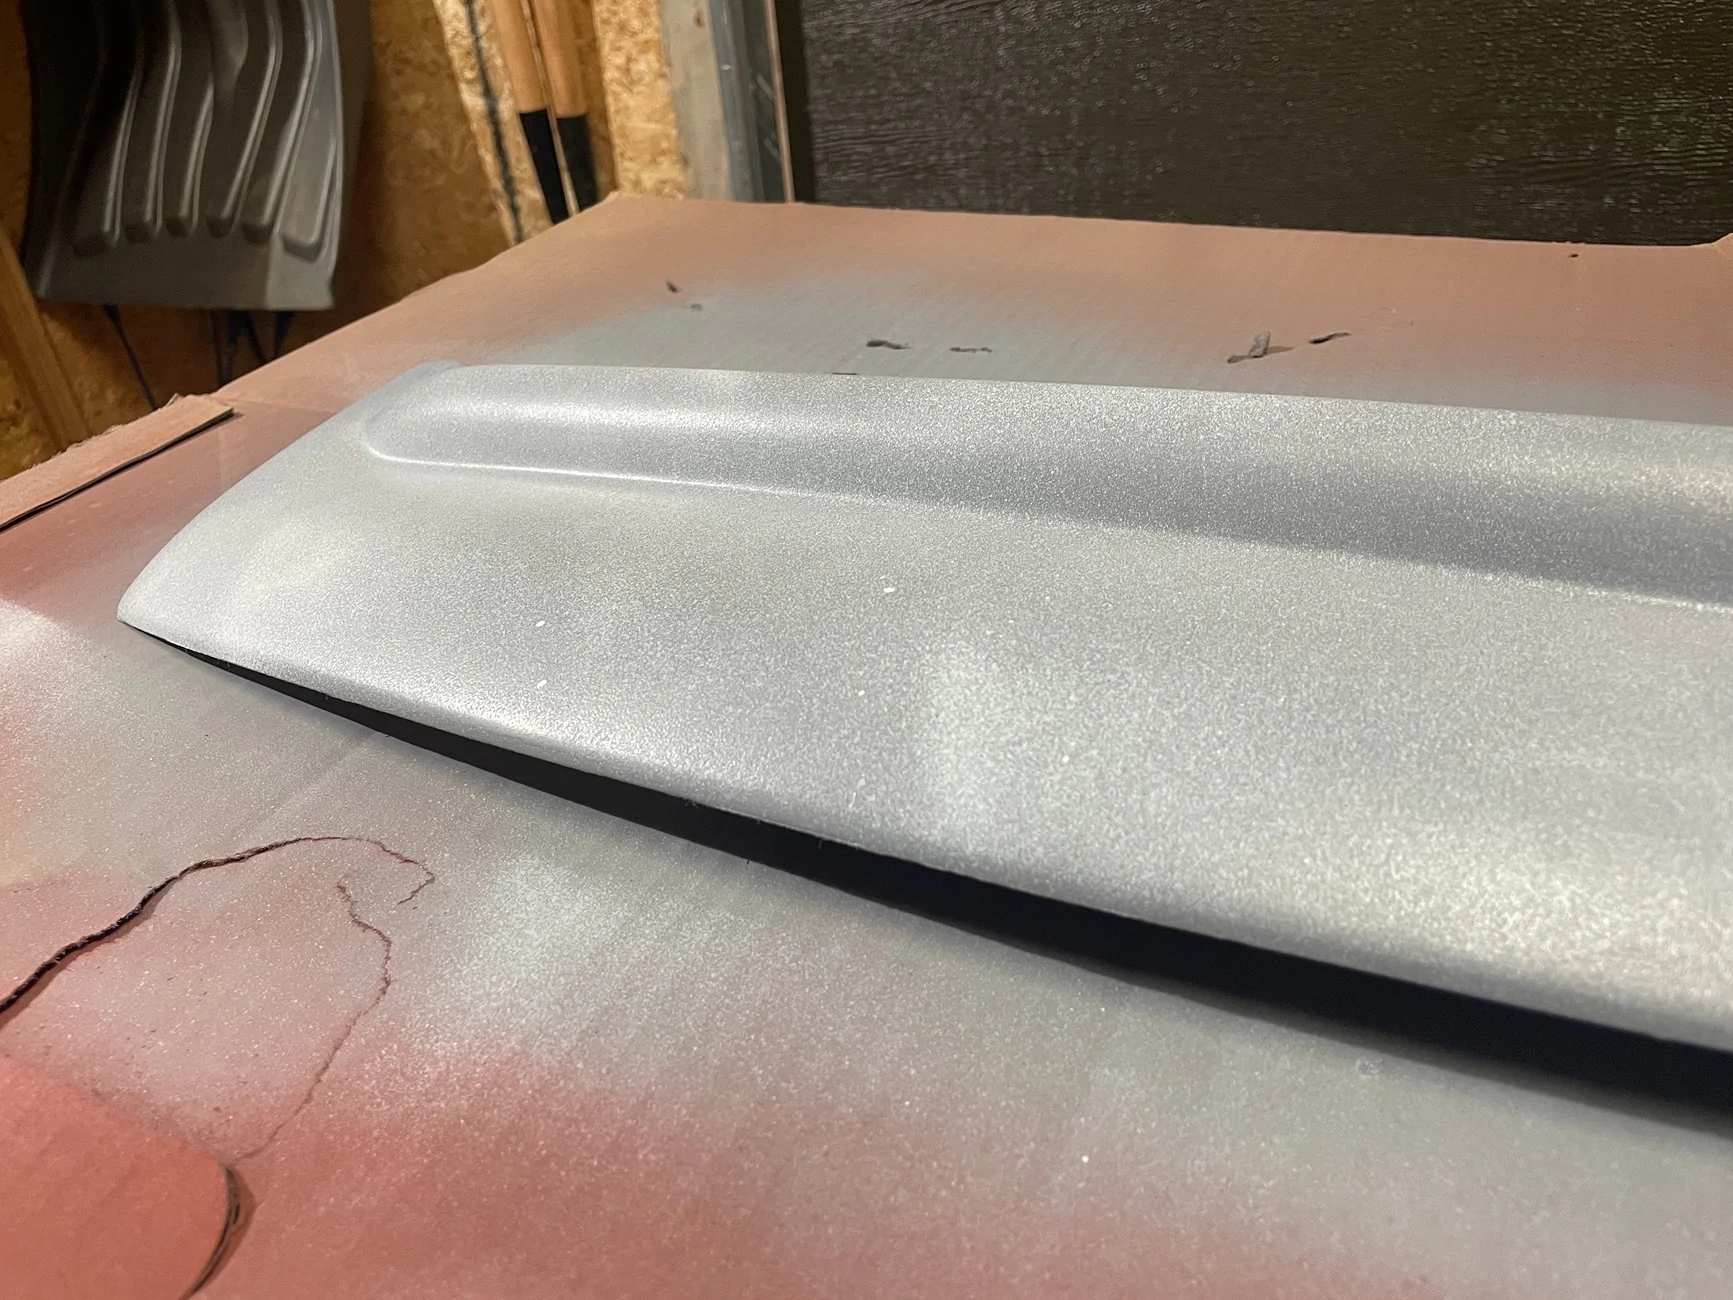
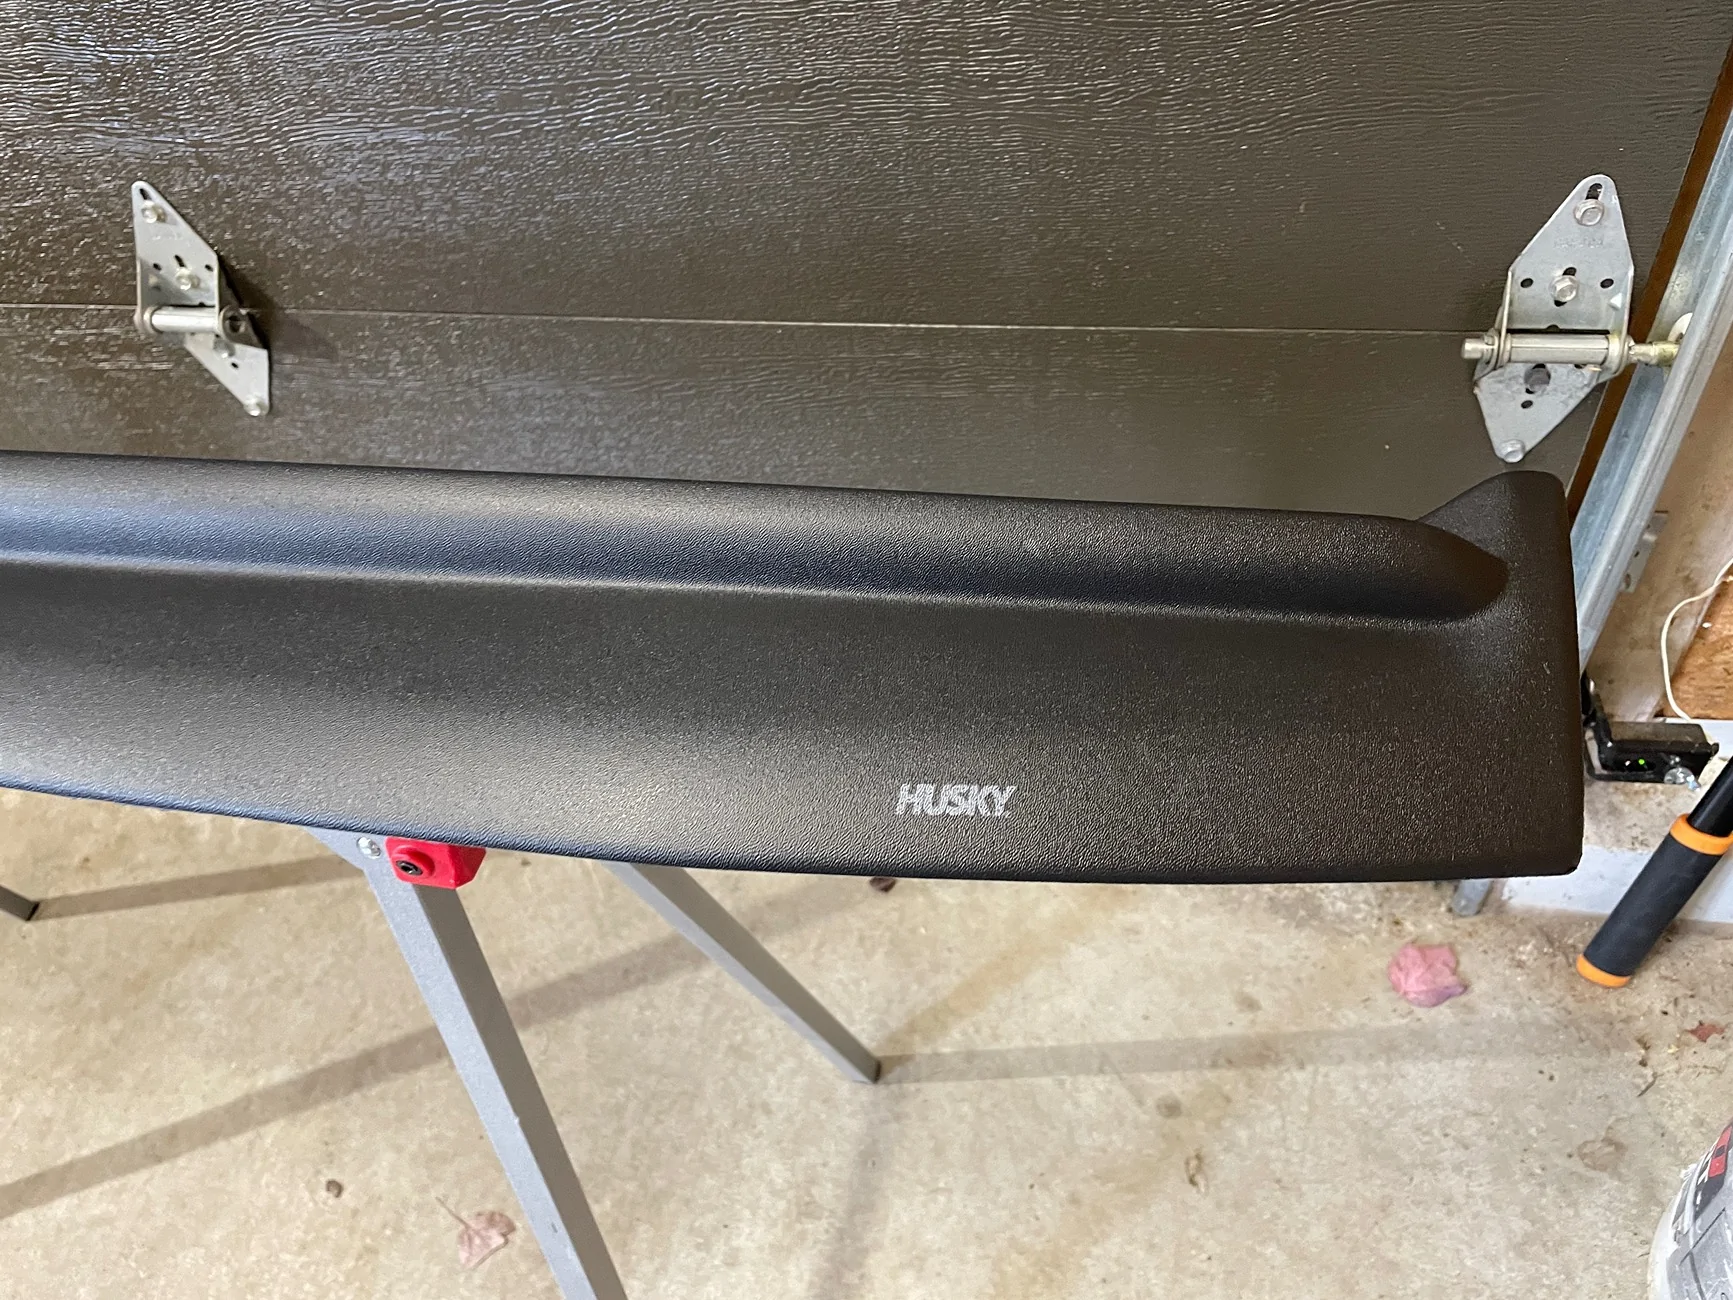
I couldn’t face sticking a textured Aeroskin II hood deflector onto my Oxford White Wildtrak.
So I spent weeks searching for an IAG Gloss White version or a simple gloss black, which would at least match the Wildtrak gloss grill. Both appear discontinued. Also, there was a gloss black version that doesn’t have the lip, defeating the windscreen protection goal.
Then I found that there is a non textured version but, again, couldn’t find any in stock. Until my dealership said they could get one in 2 days. When I picked it up, it turned out to be the textured version.
It appears that, if you can find an Aeroskin II in stock (at least in Canada) it’s going to be textured.
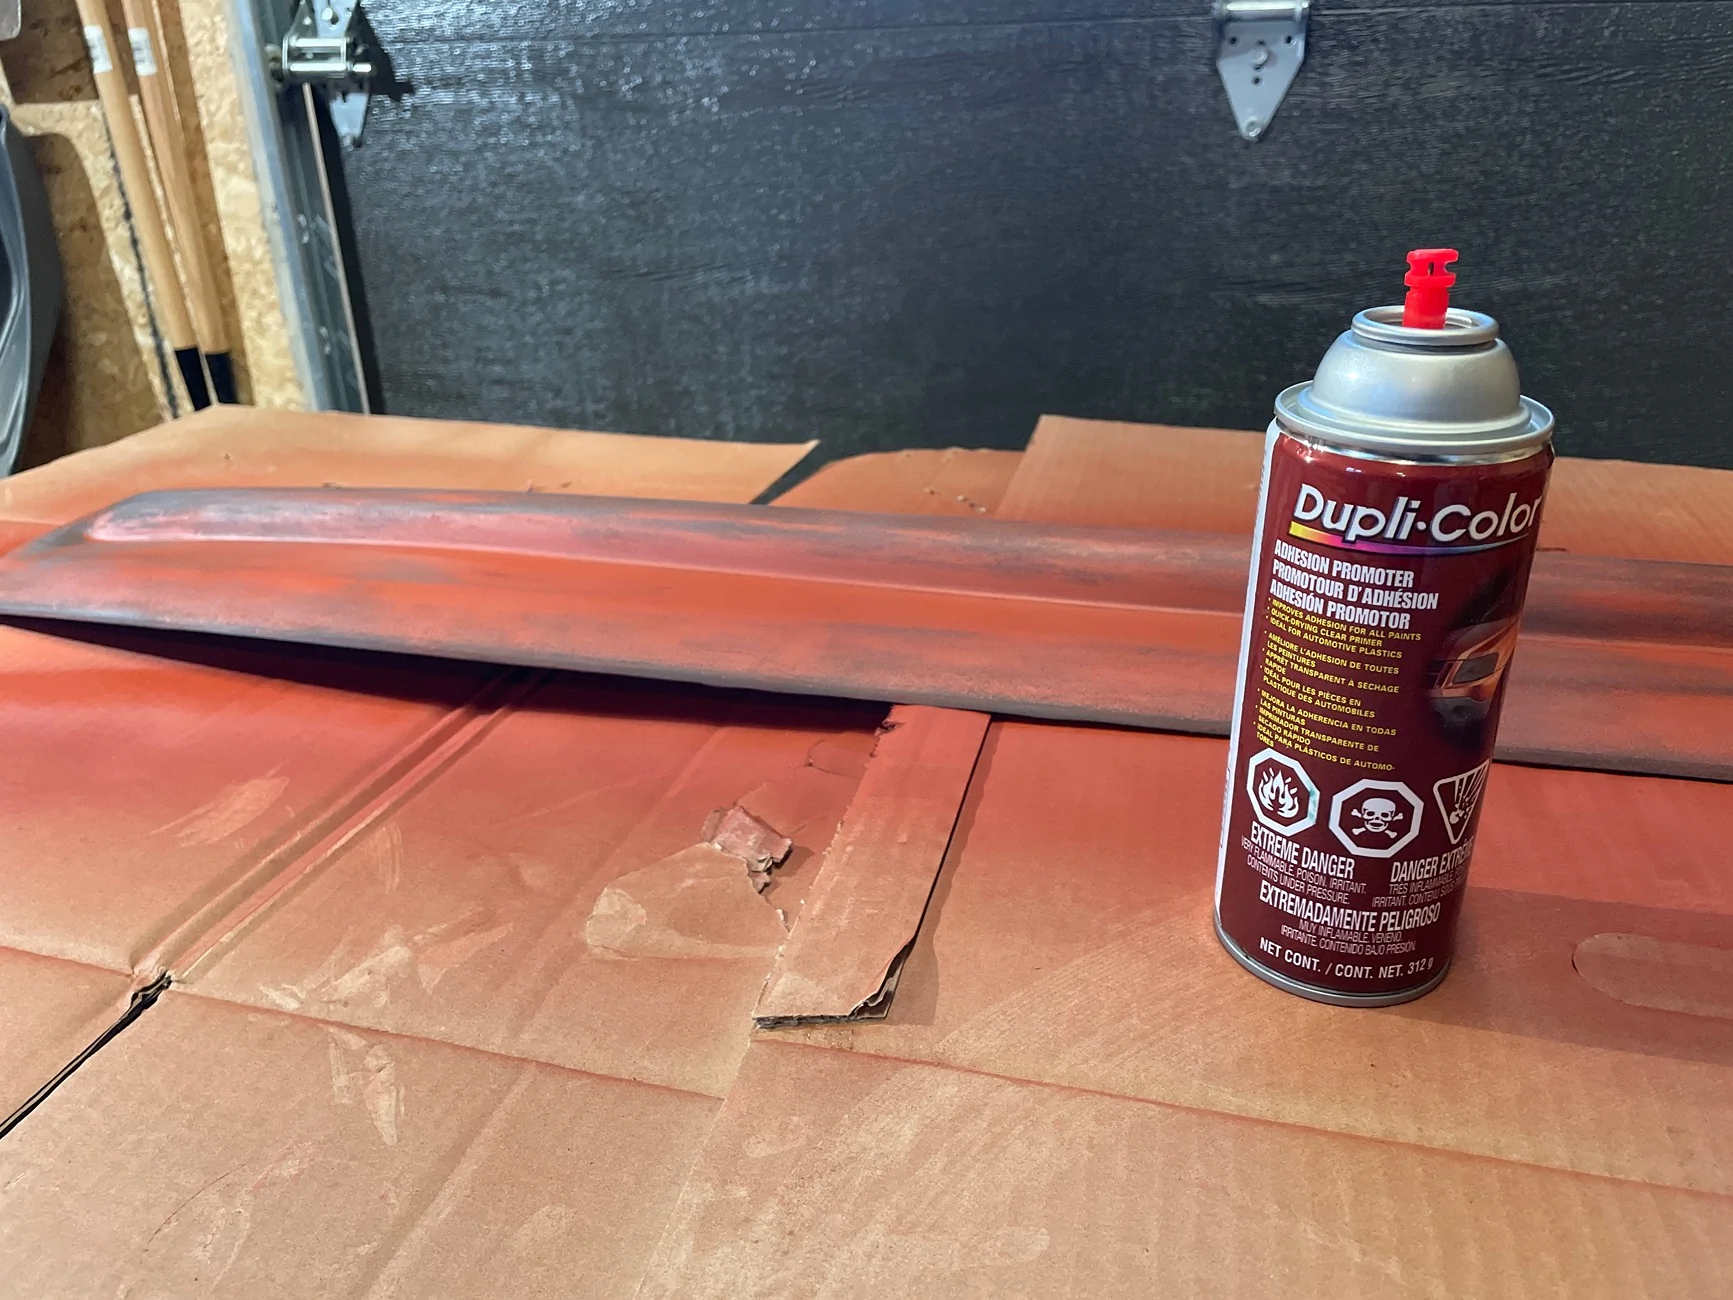
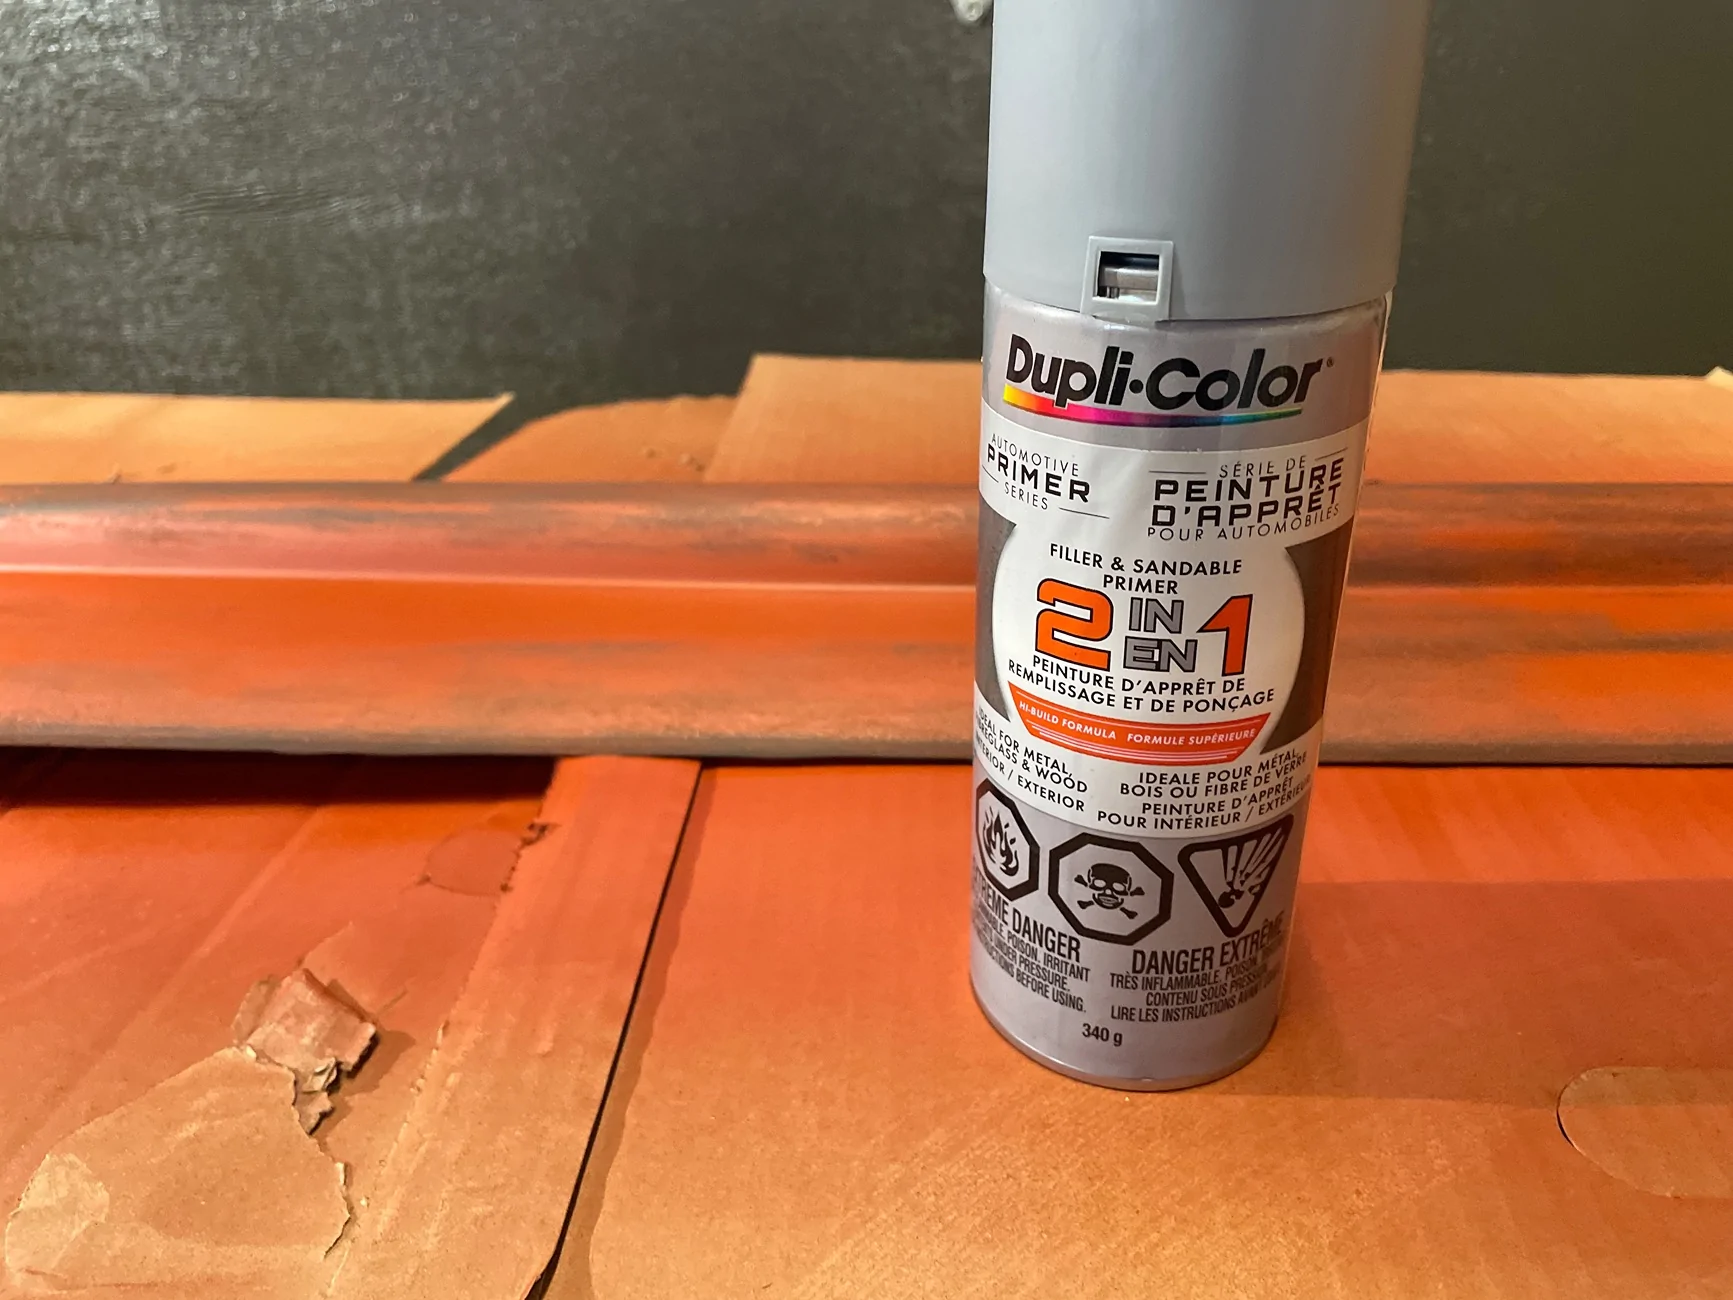
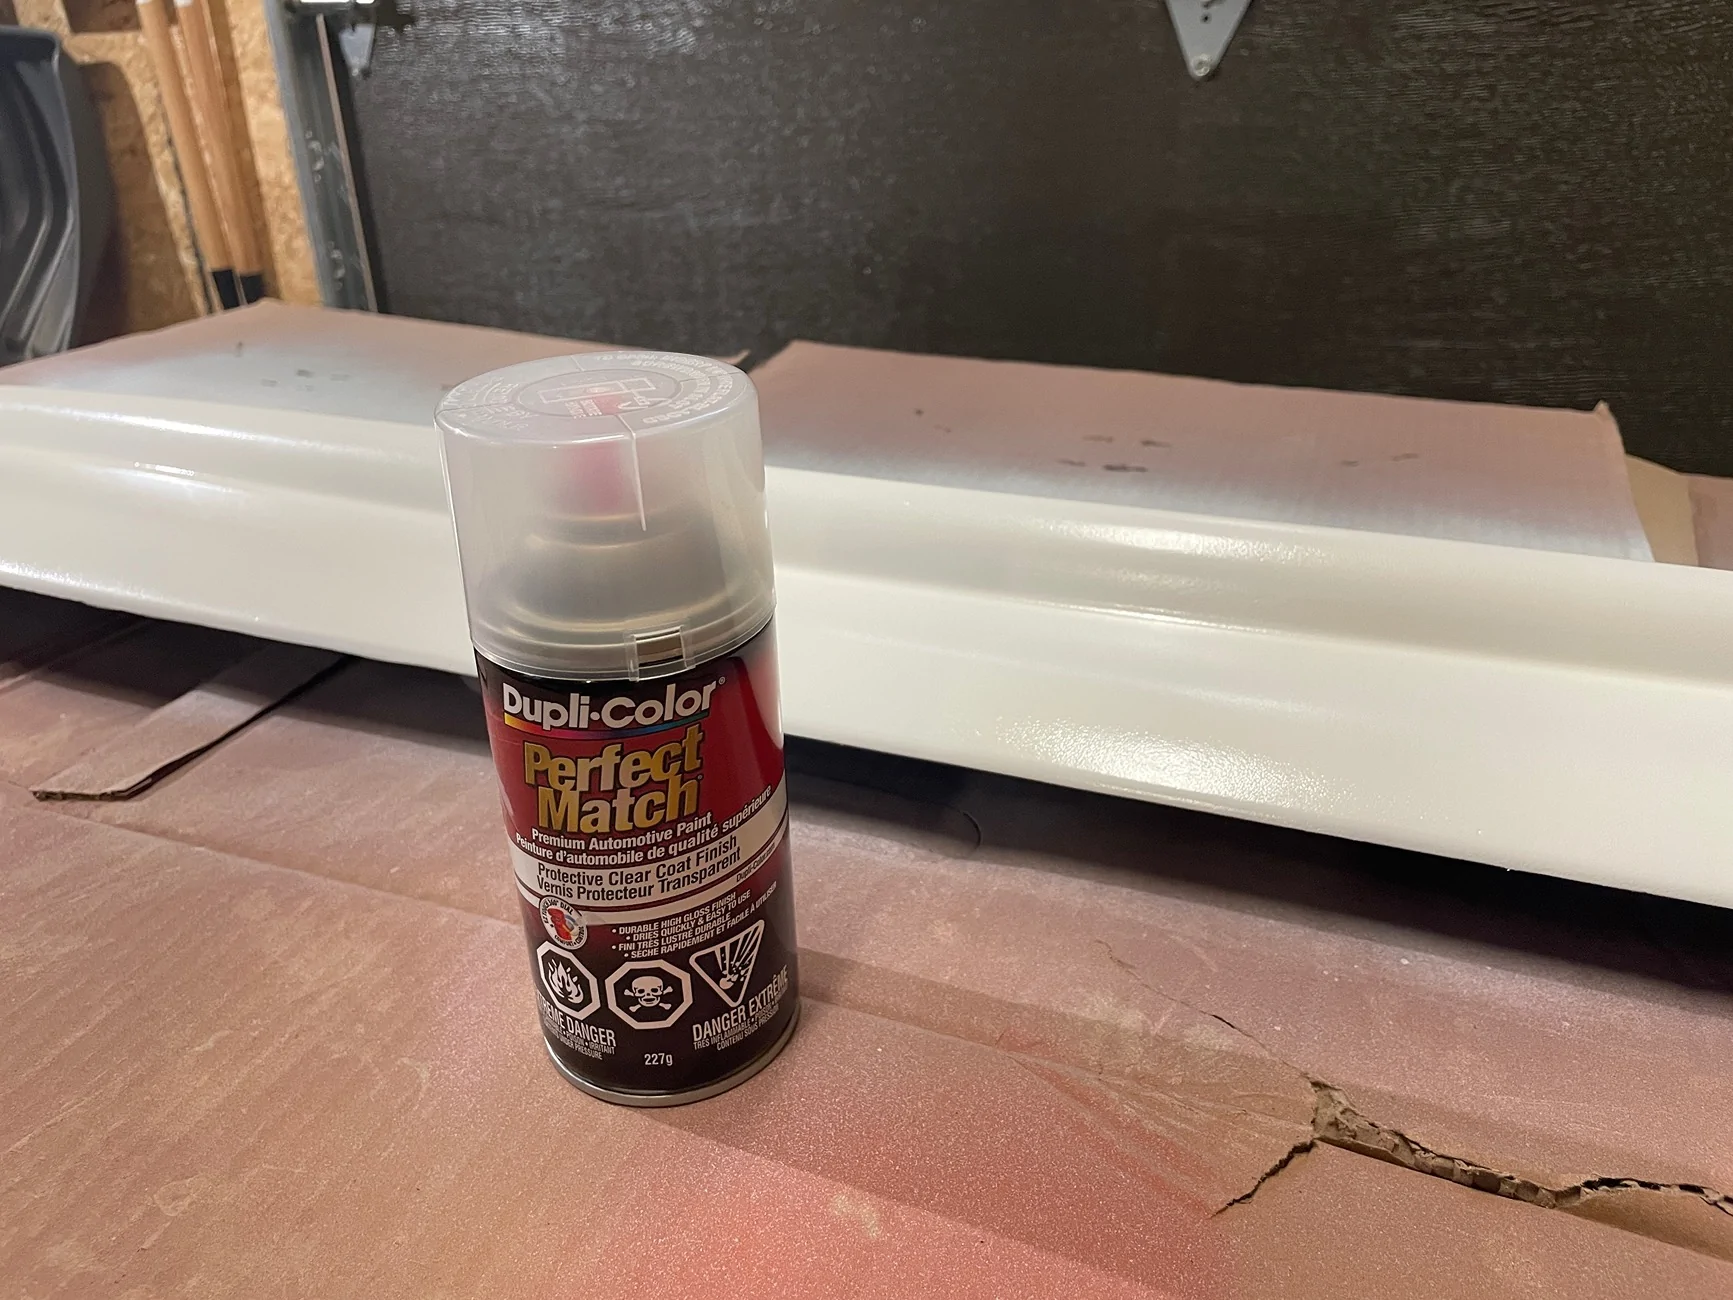
So I came up with a plan to sand it down, prime and paint it. In total, it has had 17 layers of adhesion promoter, high build primer, paint and clear coat. Between coats of primer and paint, I used 1000 and 2000 grit. I degreased and used alcohol between sanding.
It took about 4 days and I left plenty of time between the primer, paint and clear coats.
That being said, either the material doesn’t like to be painted or (more likely) I made an error somewhere as I find the coatings very fragile and I’ve already had to do touch-ups after installing.
Suggestions welcome to improve the process.
Hopefully, this post helps anyone wishing to do the same, or put people off enough for them to be more satisfied with the matte textured look.
The photos show parts of the process and materials used.
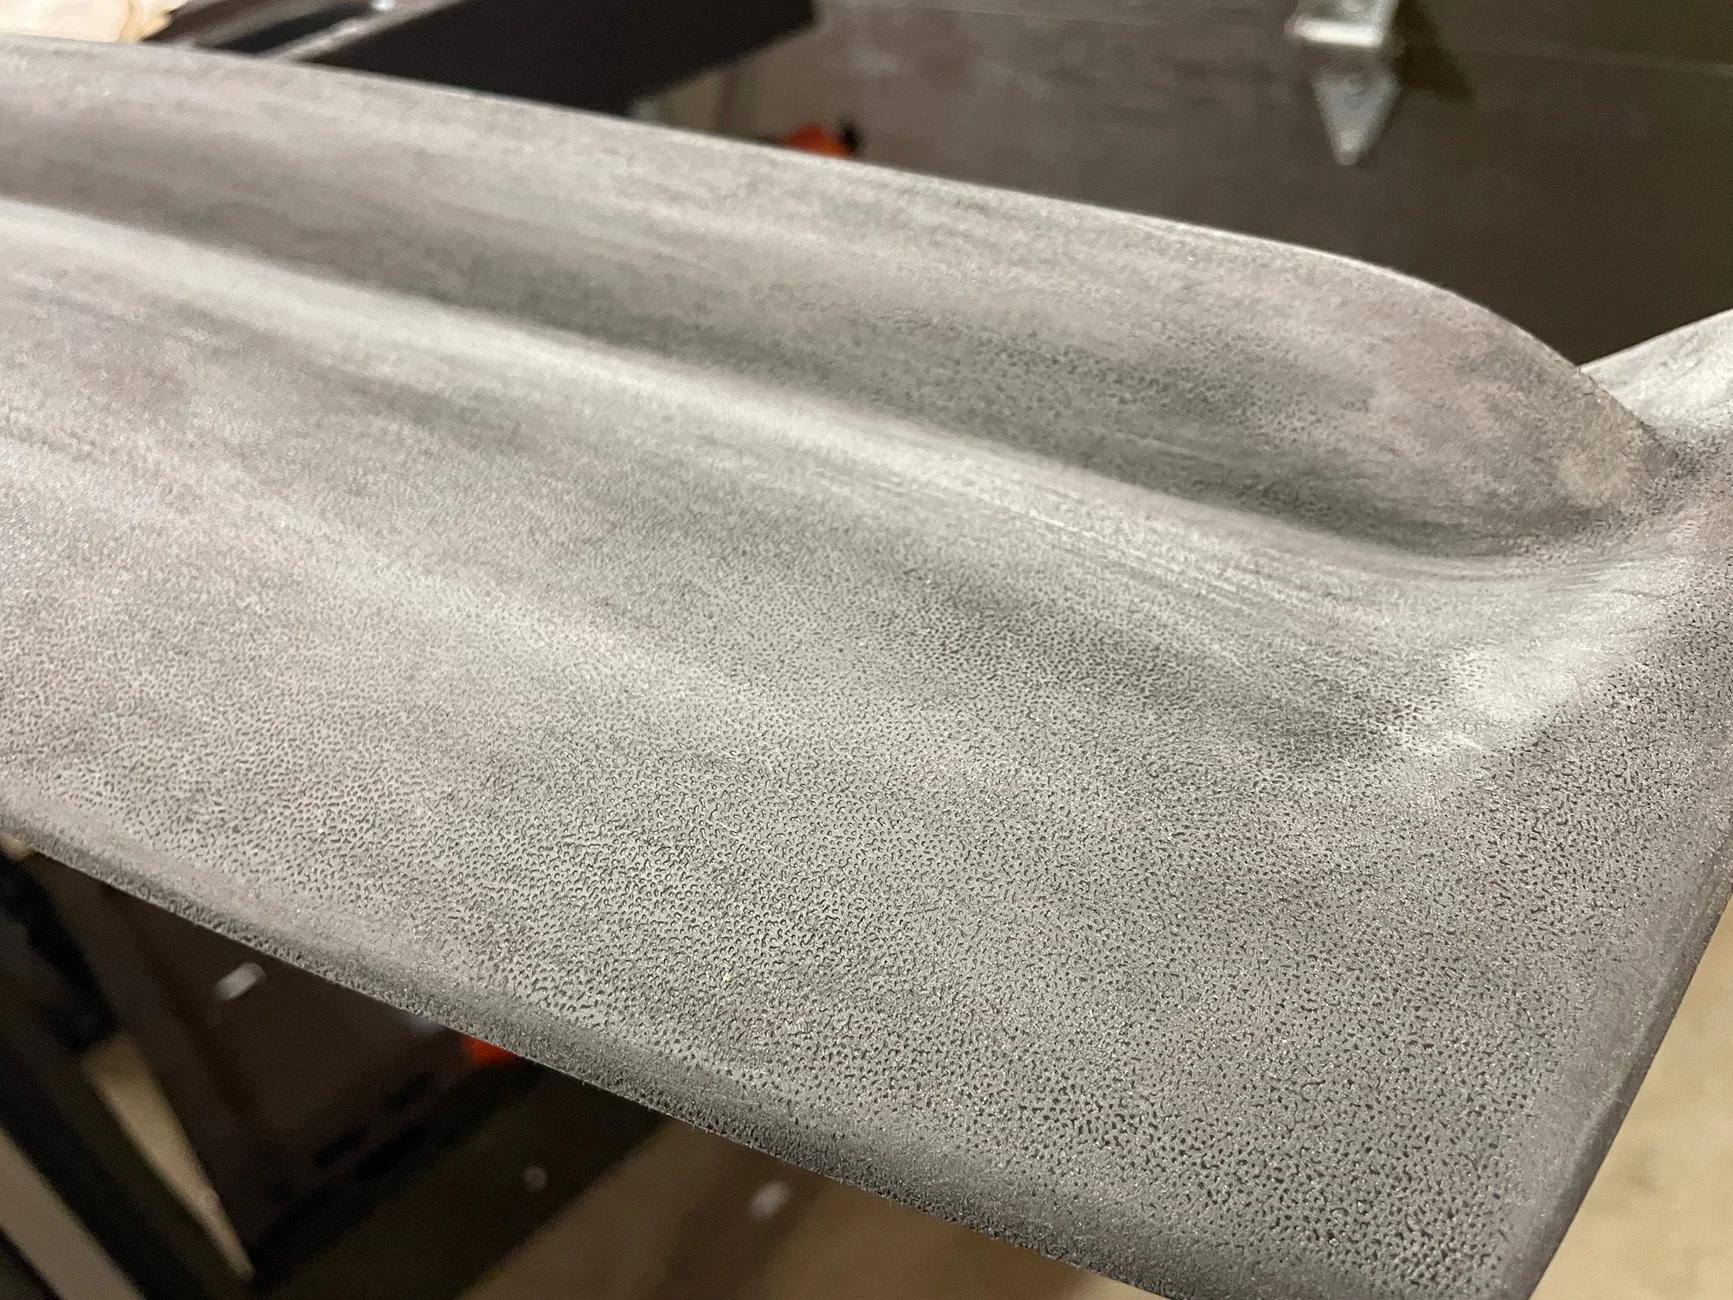
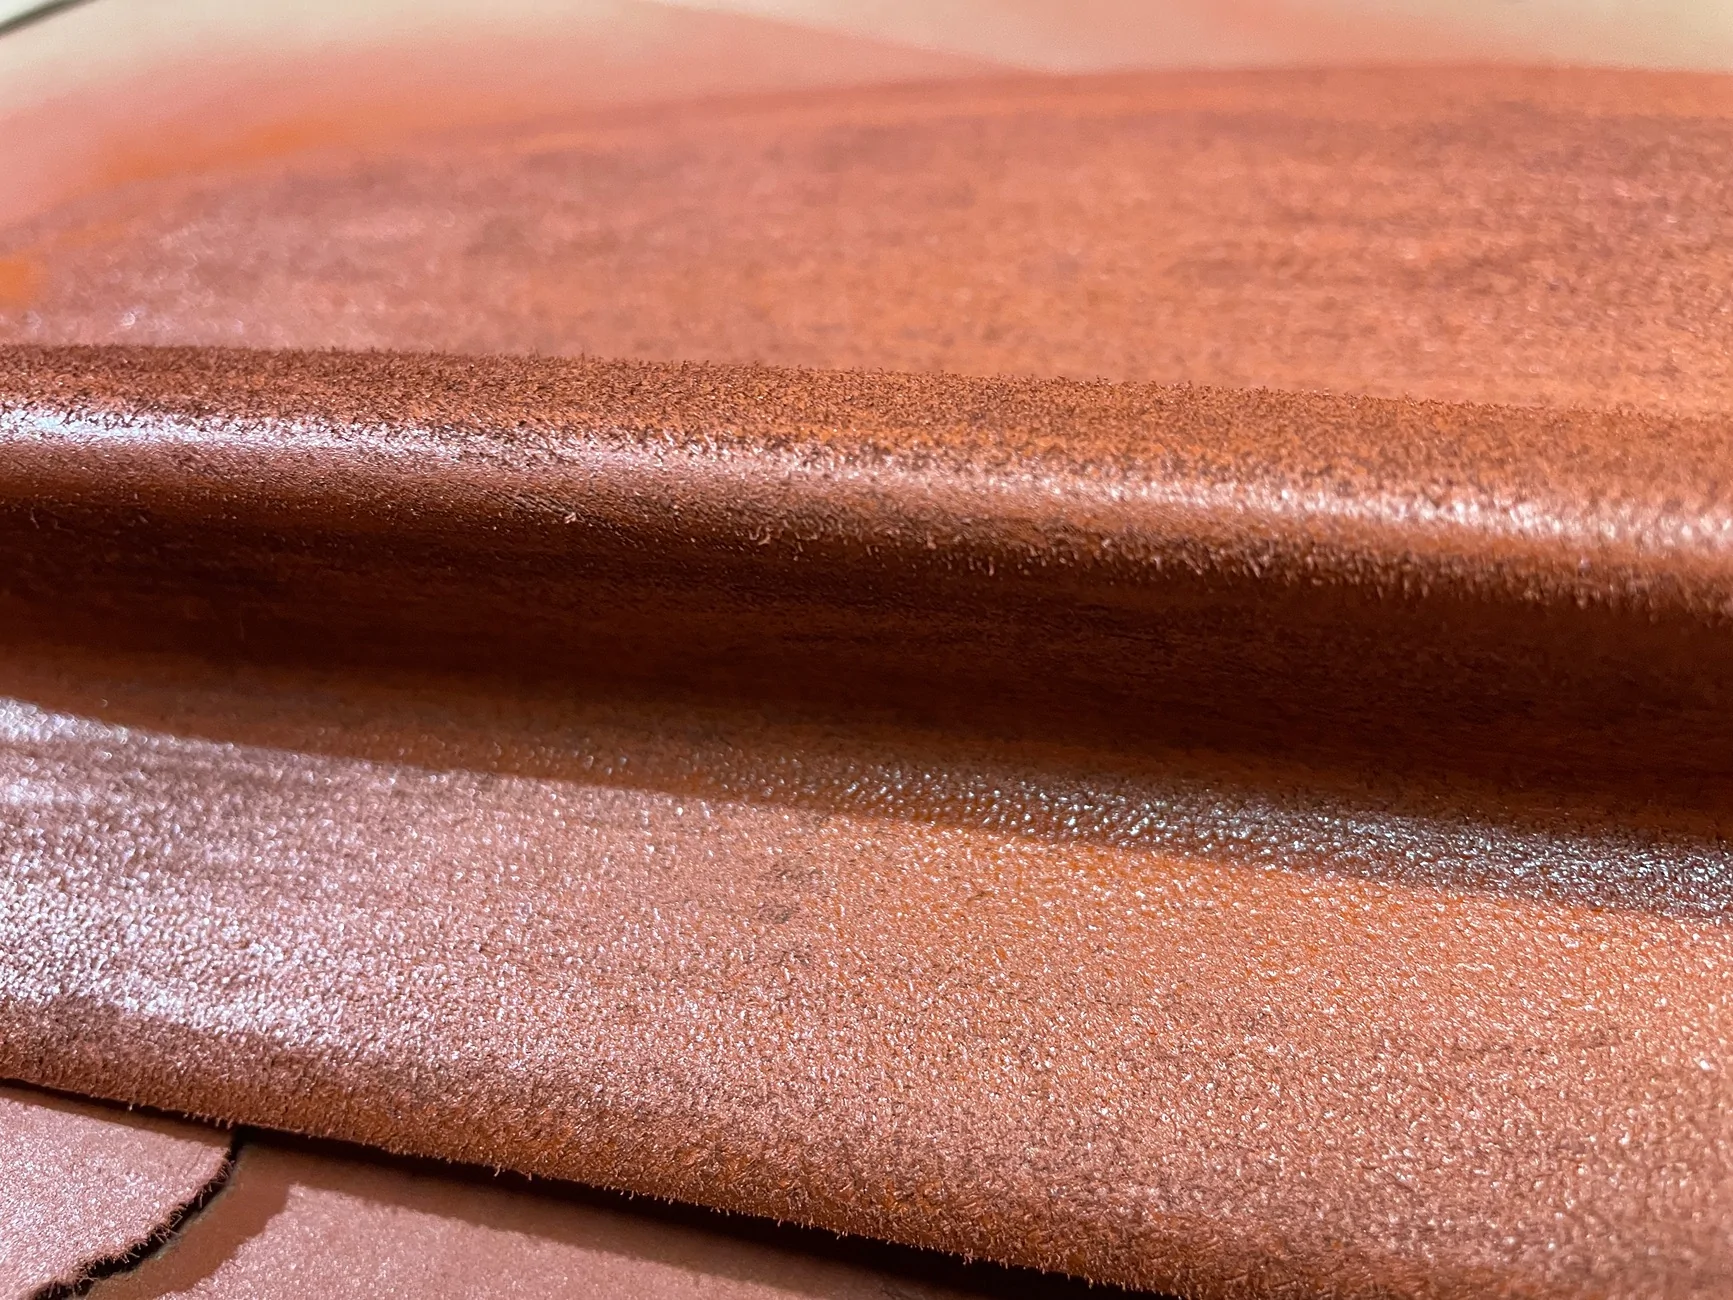
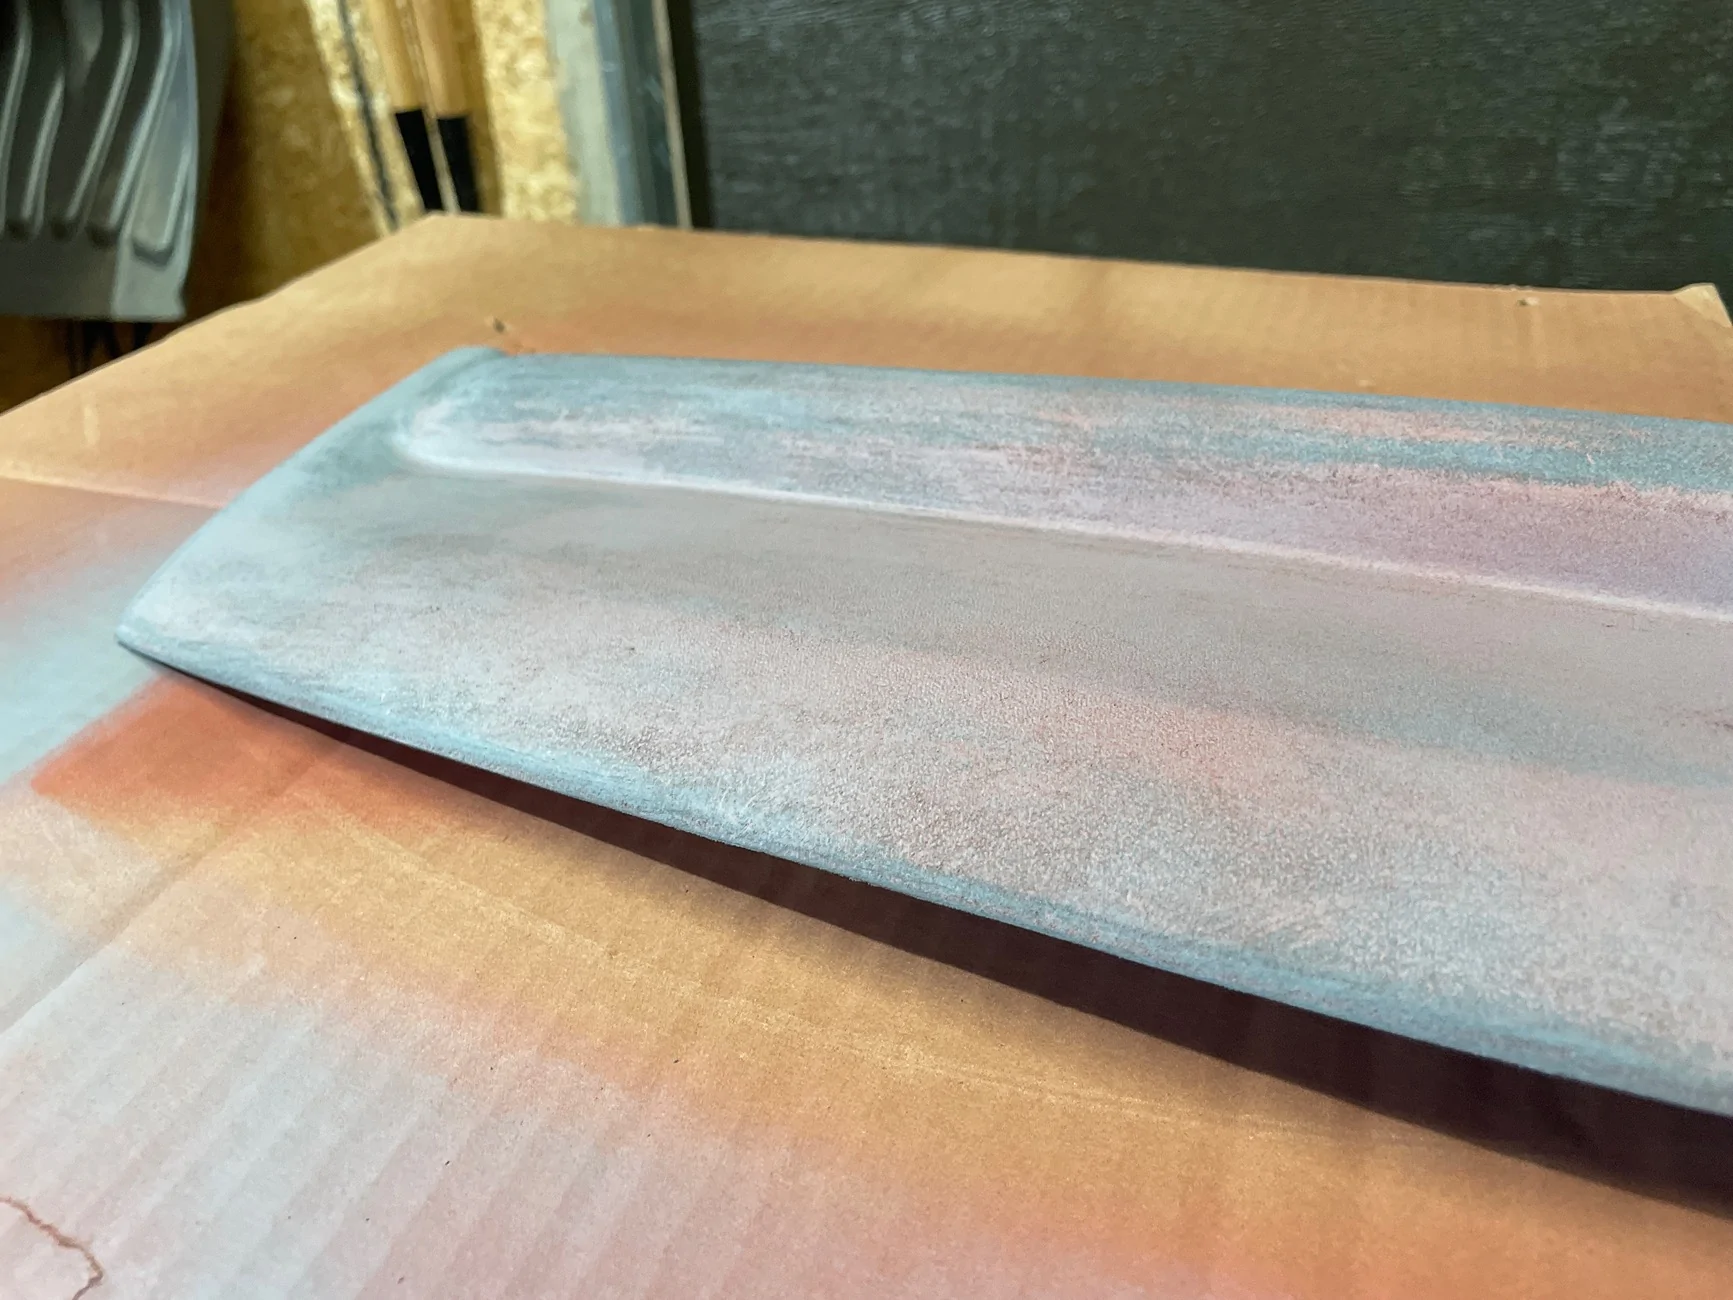
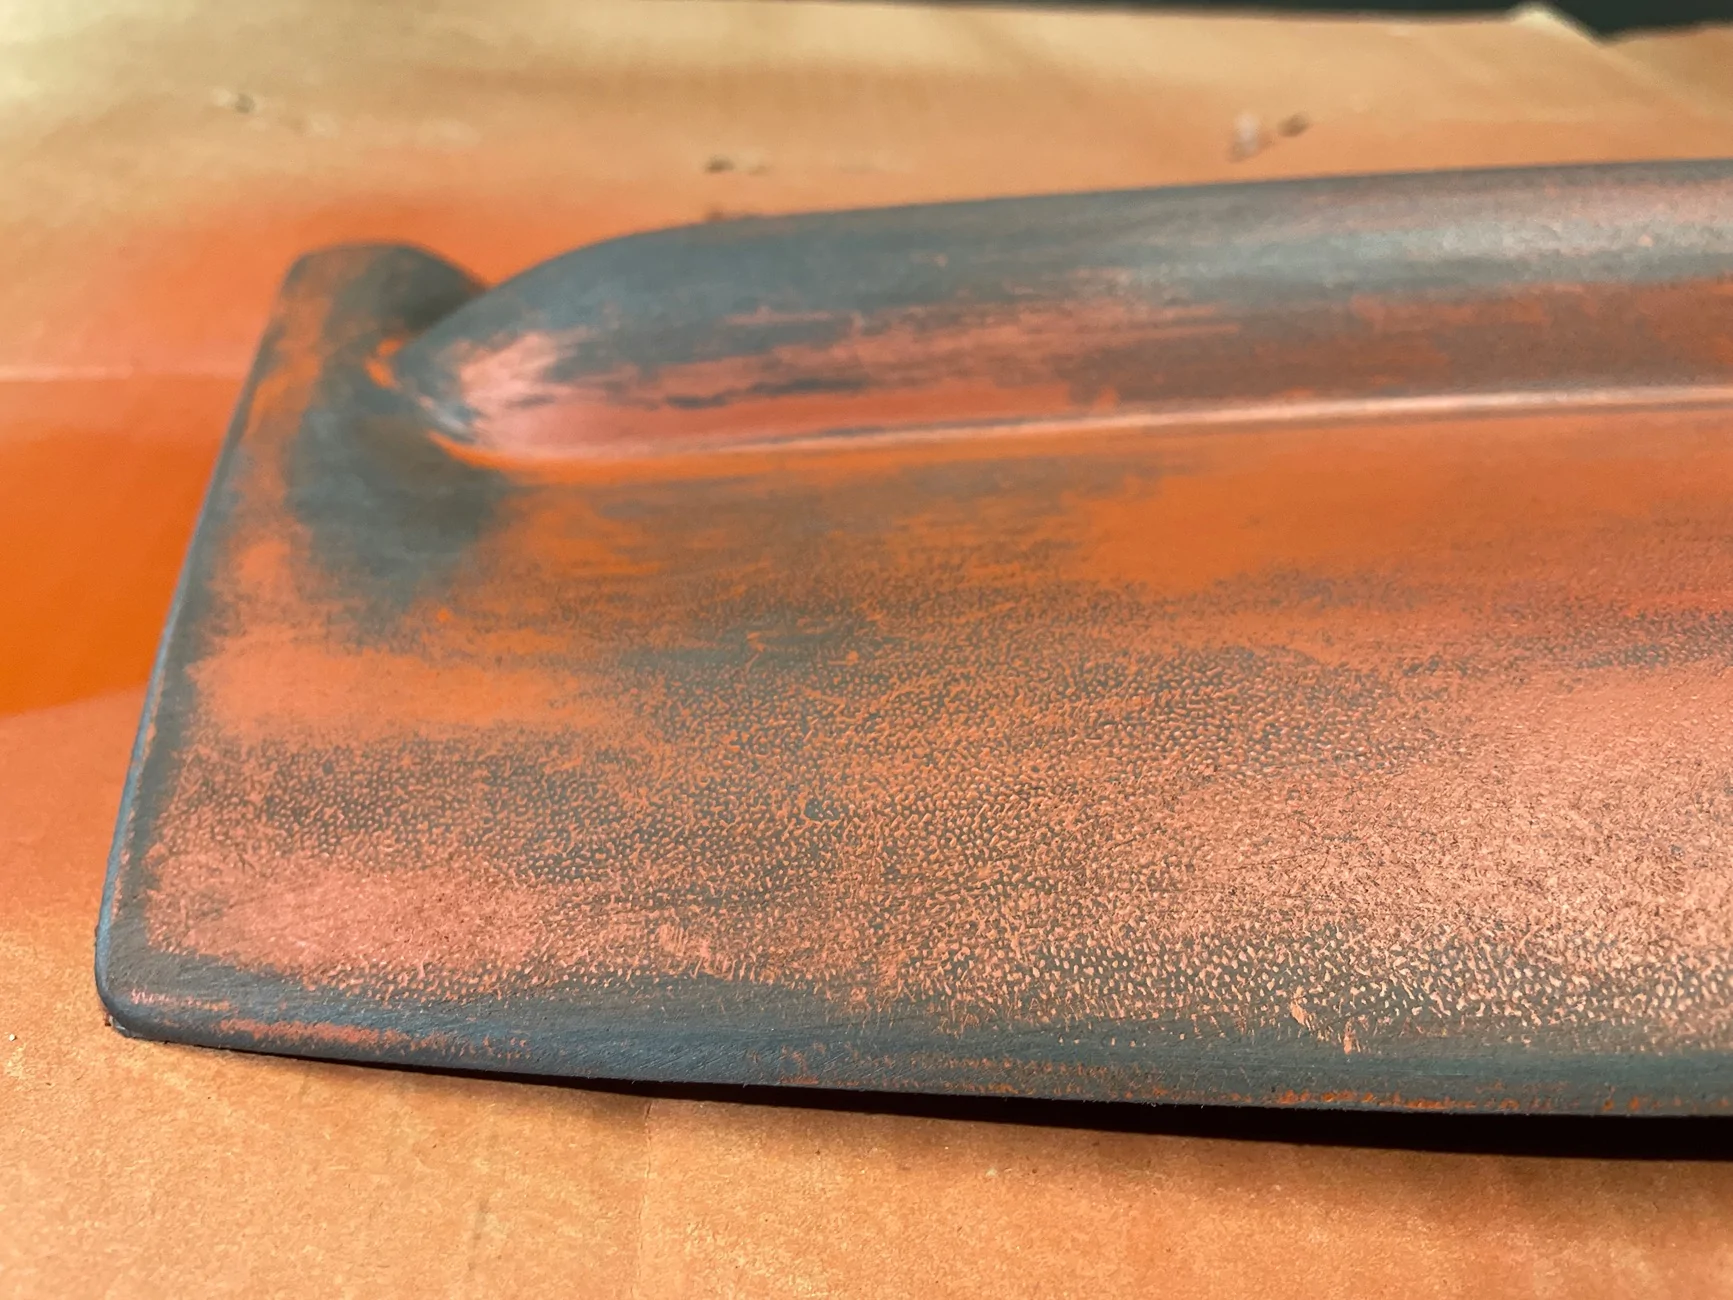
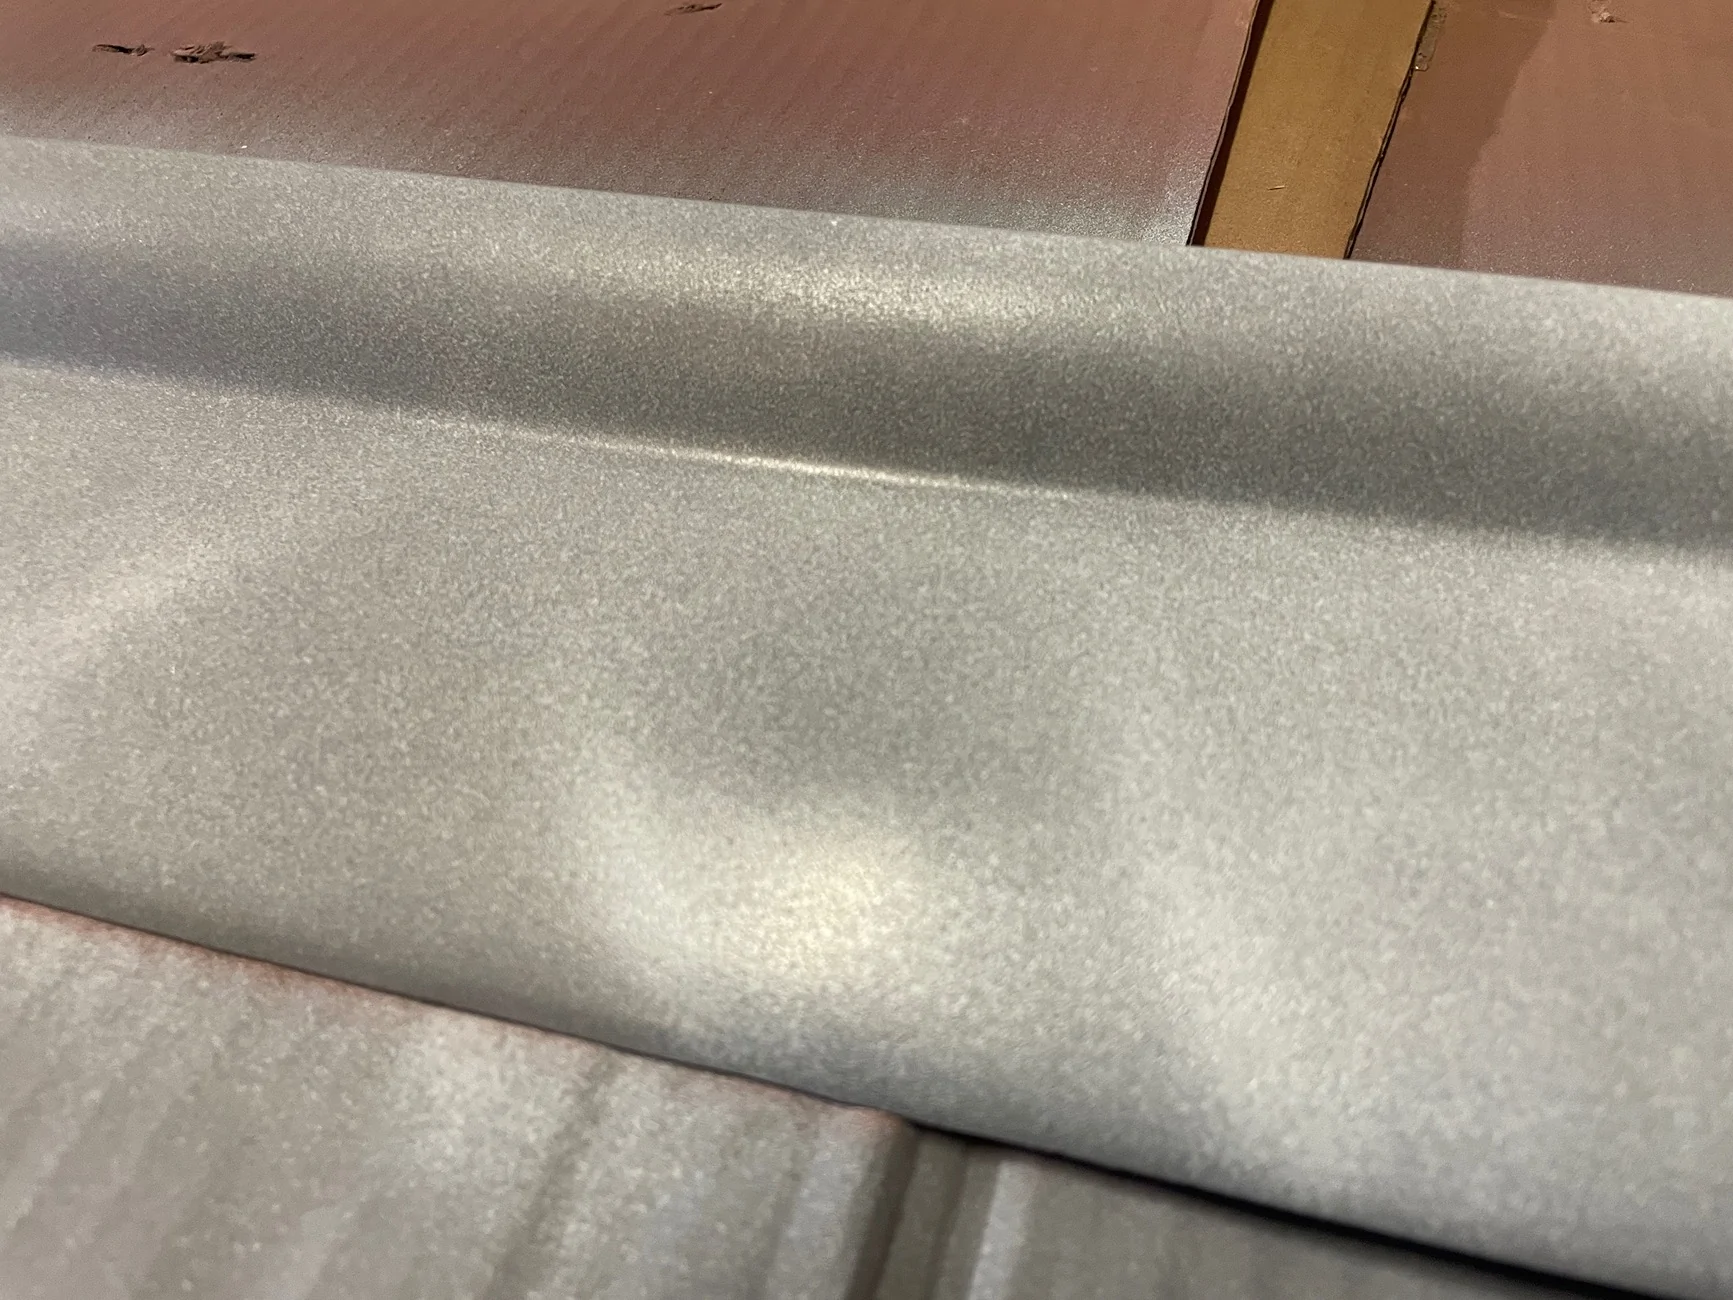
Sanding from about 200 to 800 grit to remove as much texture as I face removing.

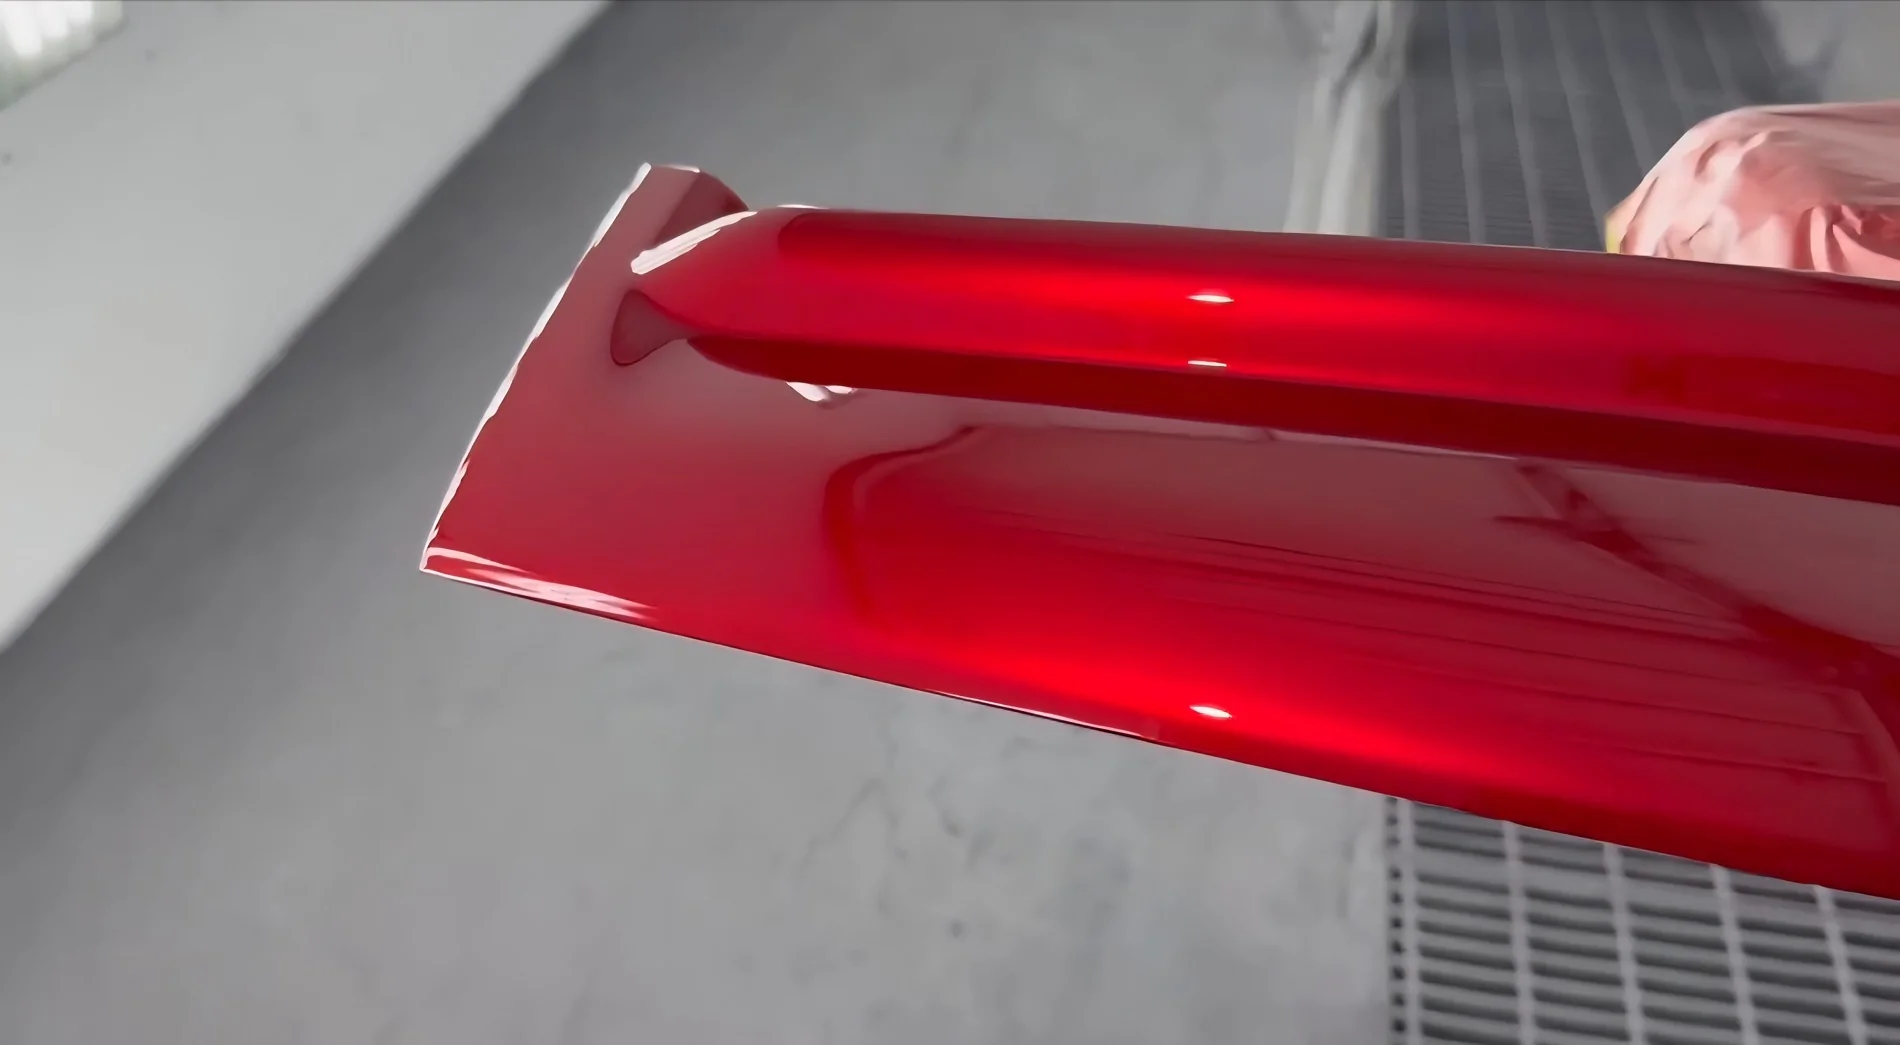
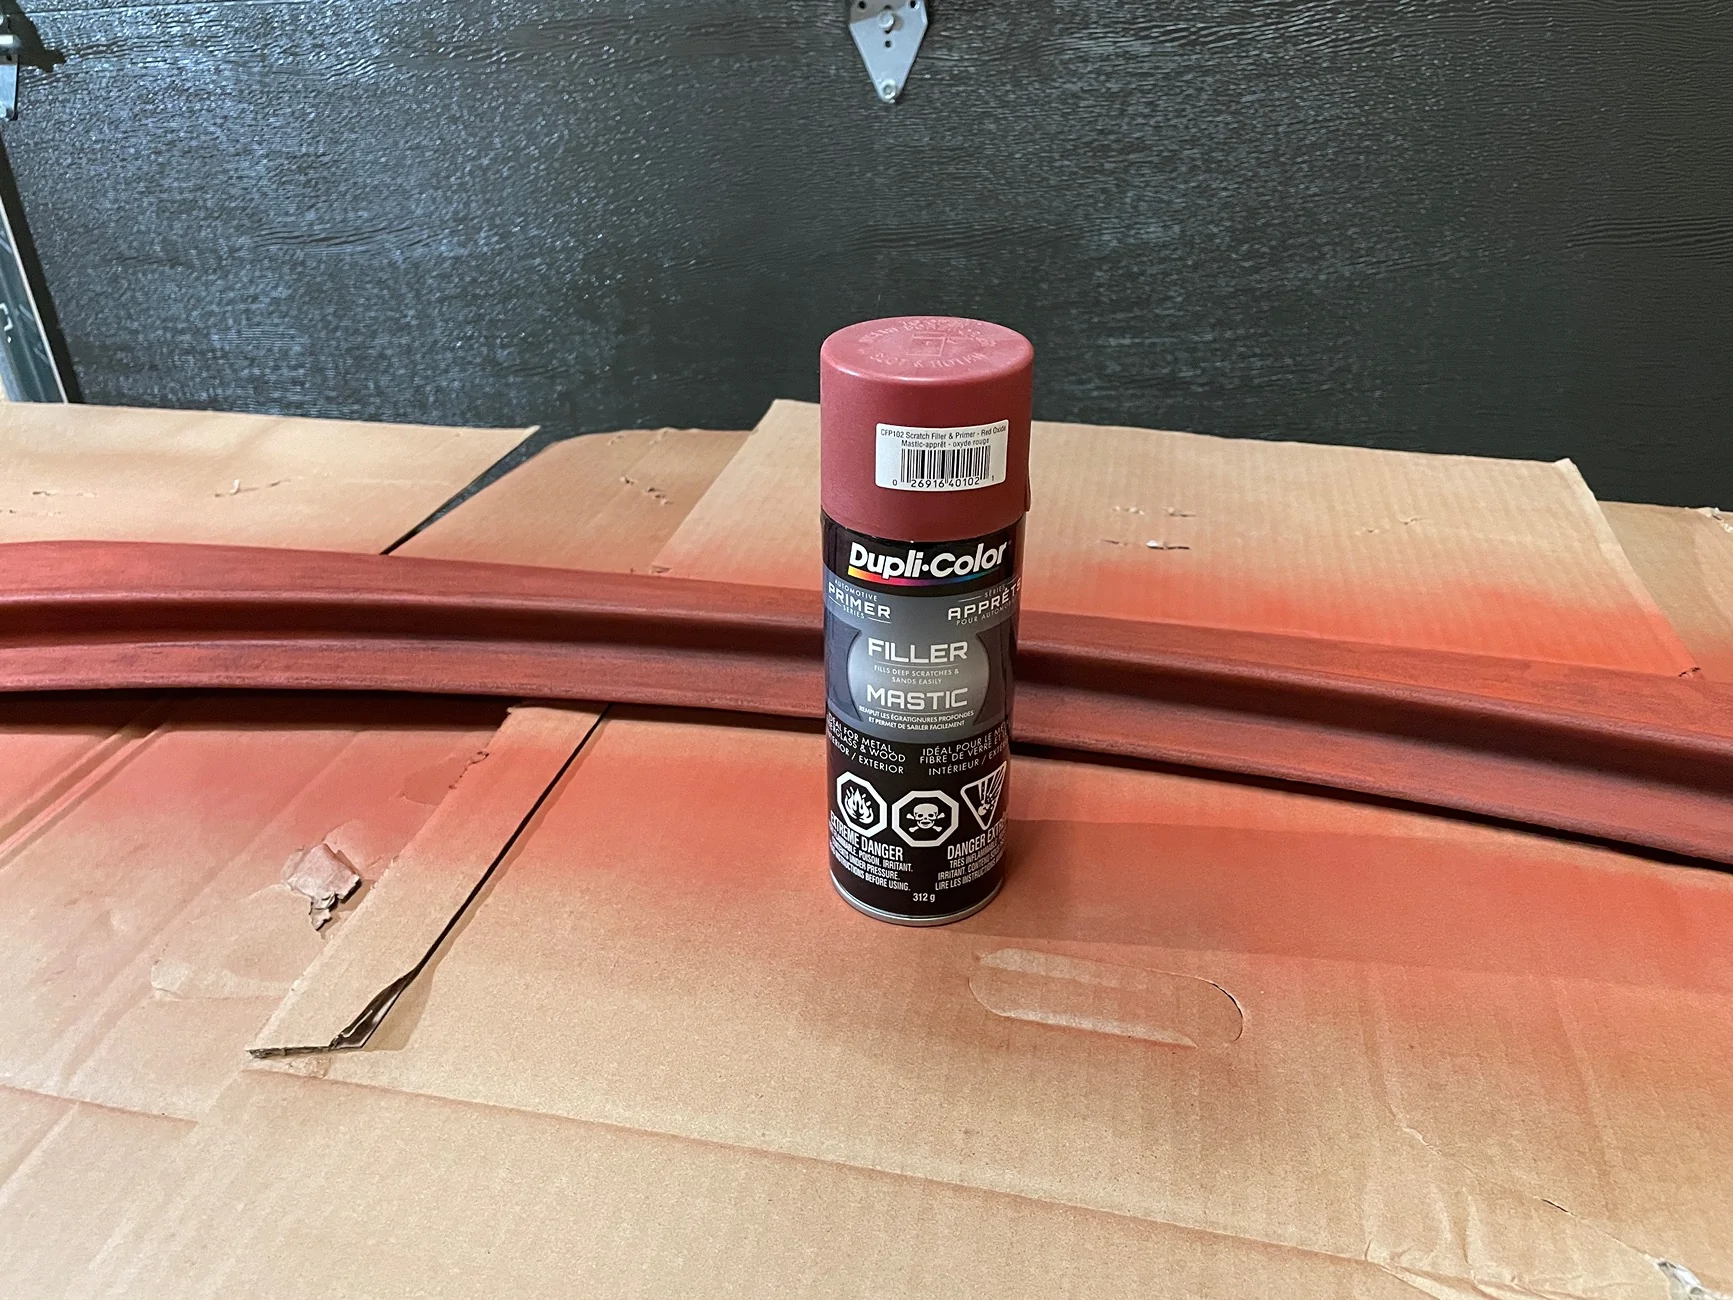
Priming and making the error of not using an adhesion promoter at first and sanding off the original red primer to start the priming process again. I couldn’t remove the red primer that had settled inside the pores.
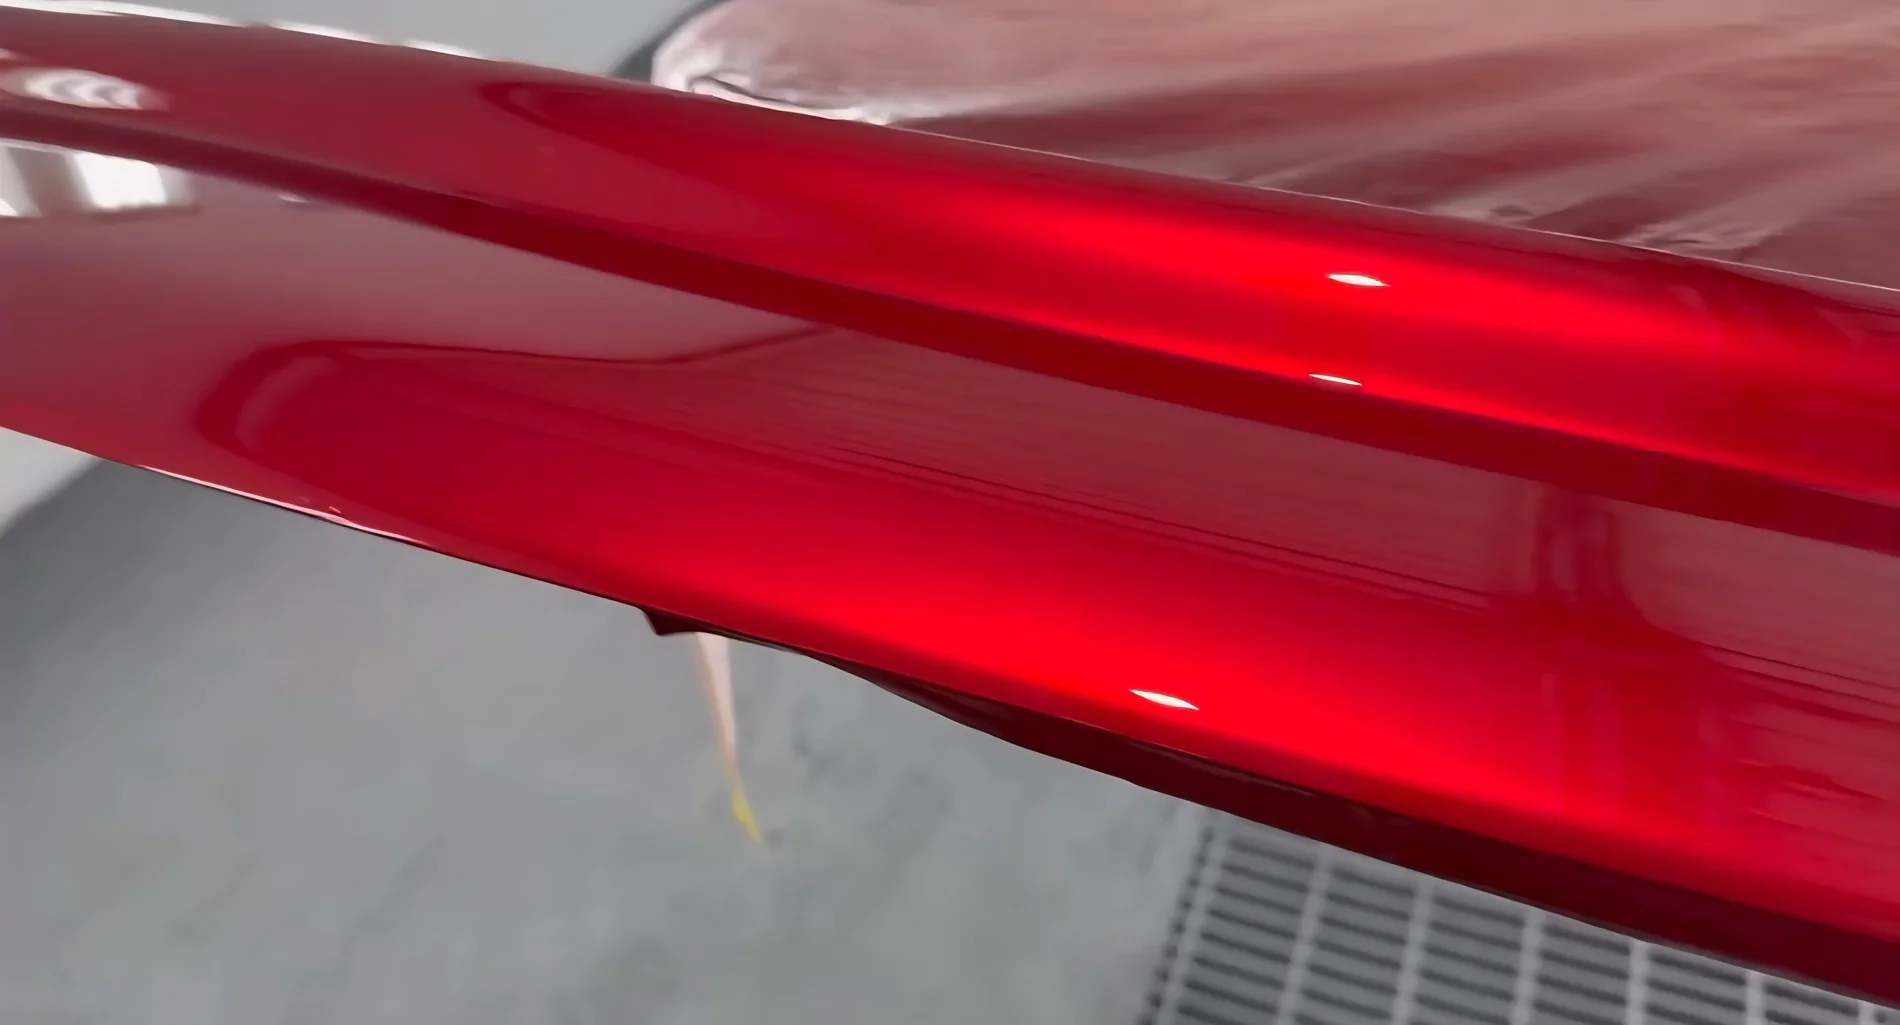
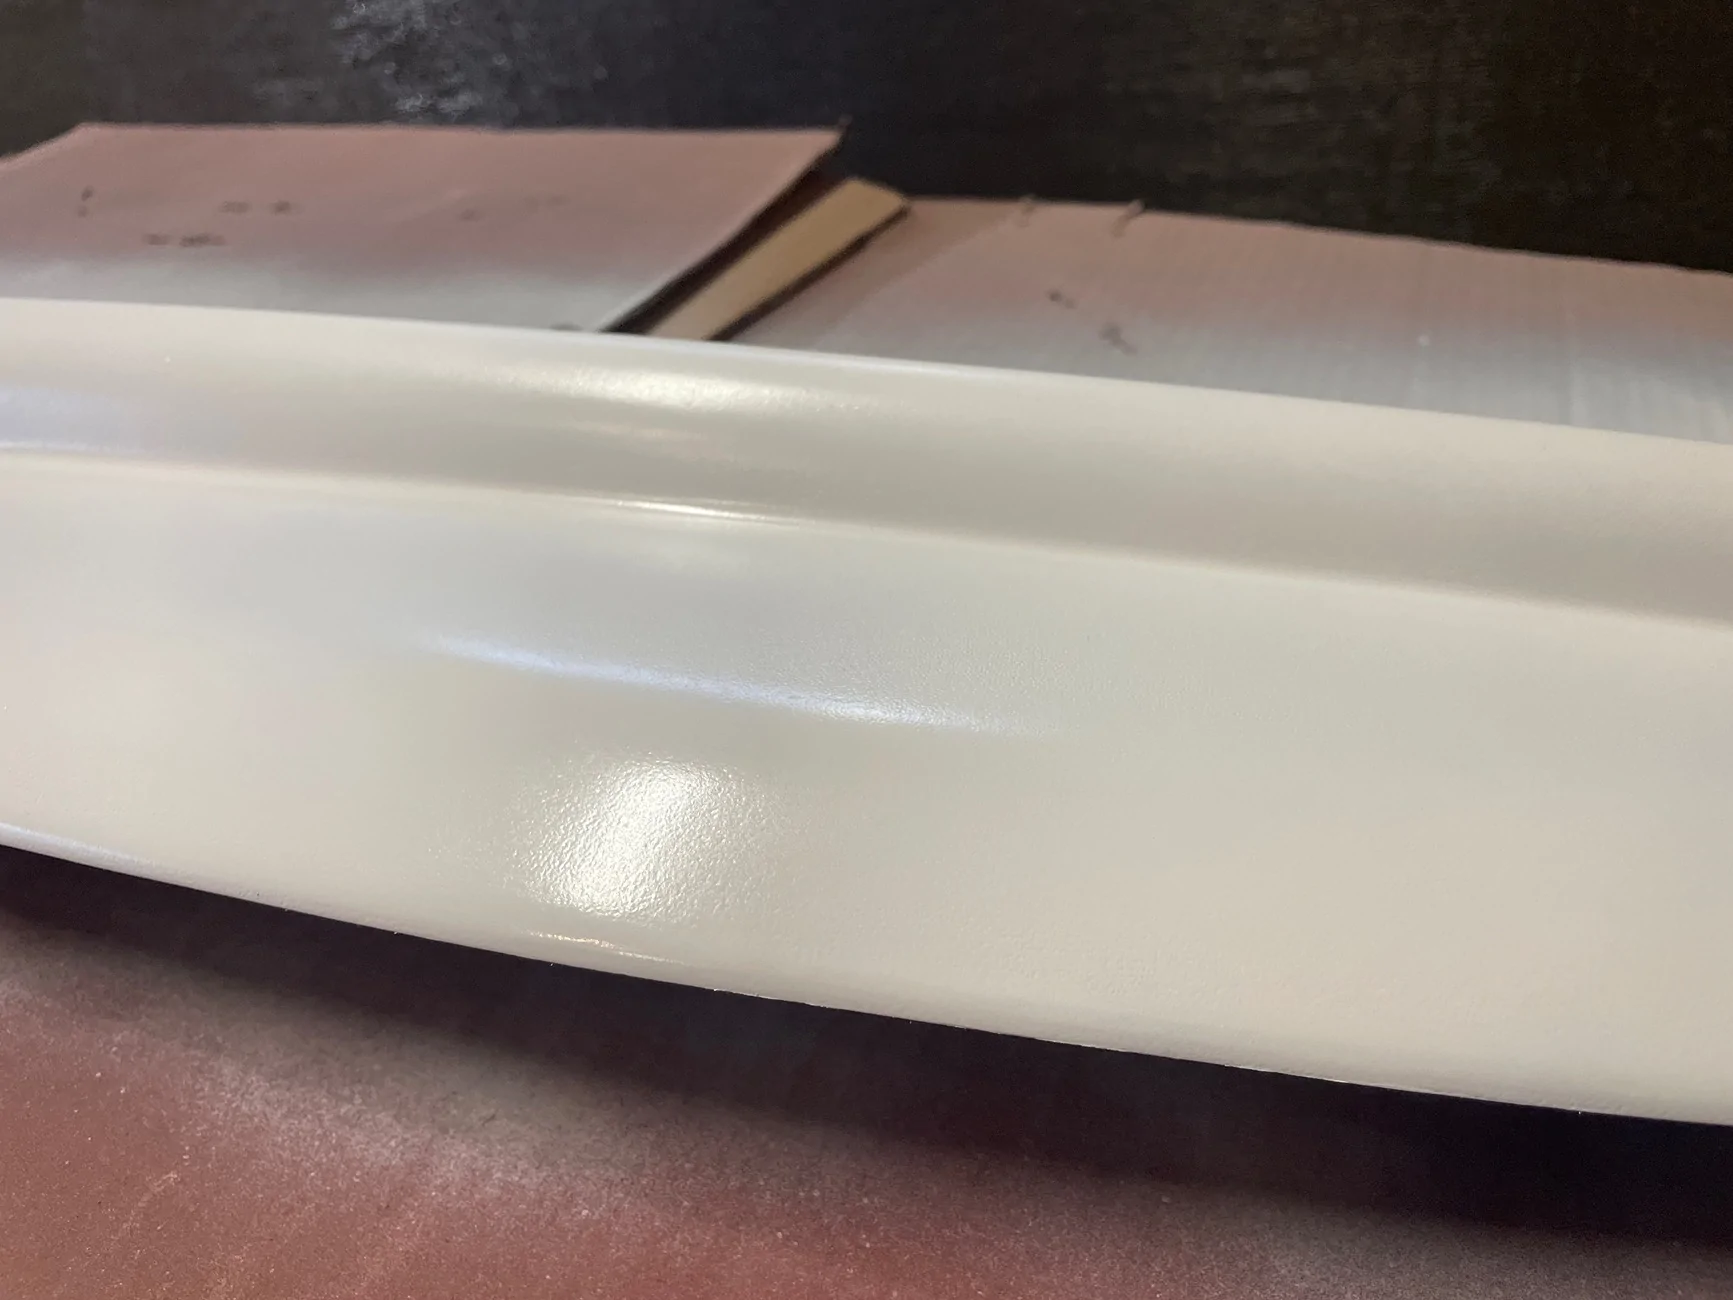
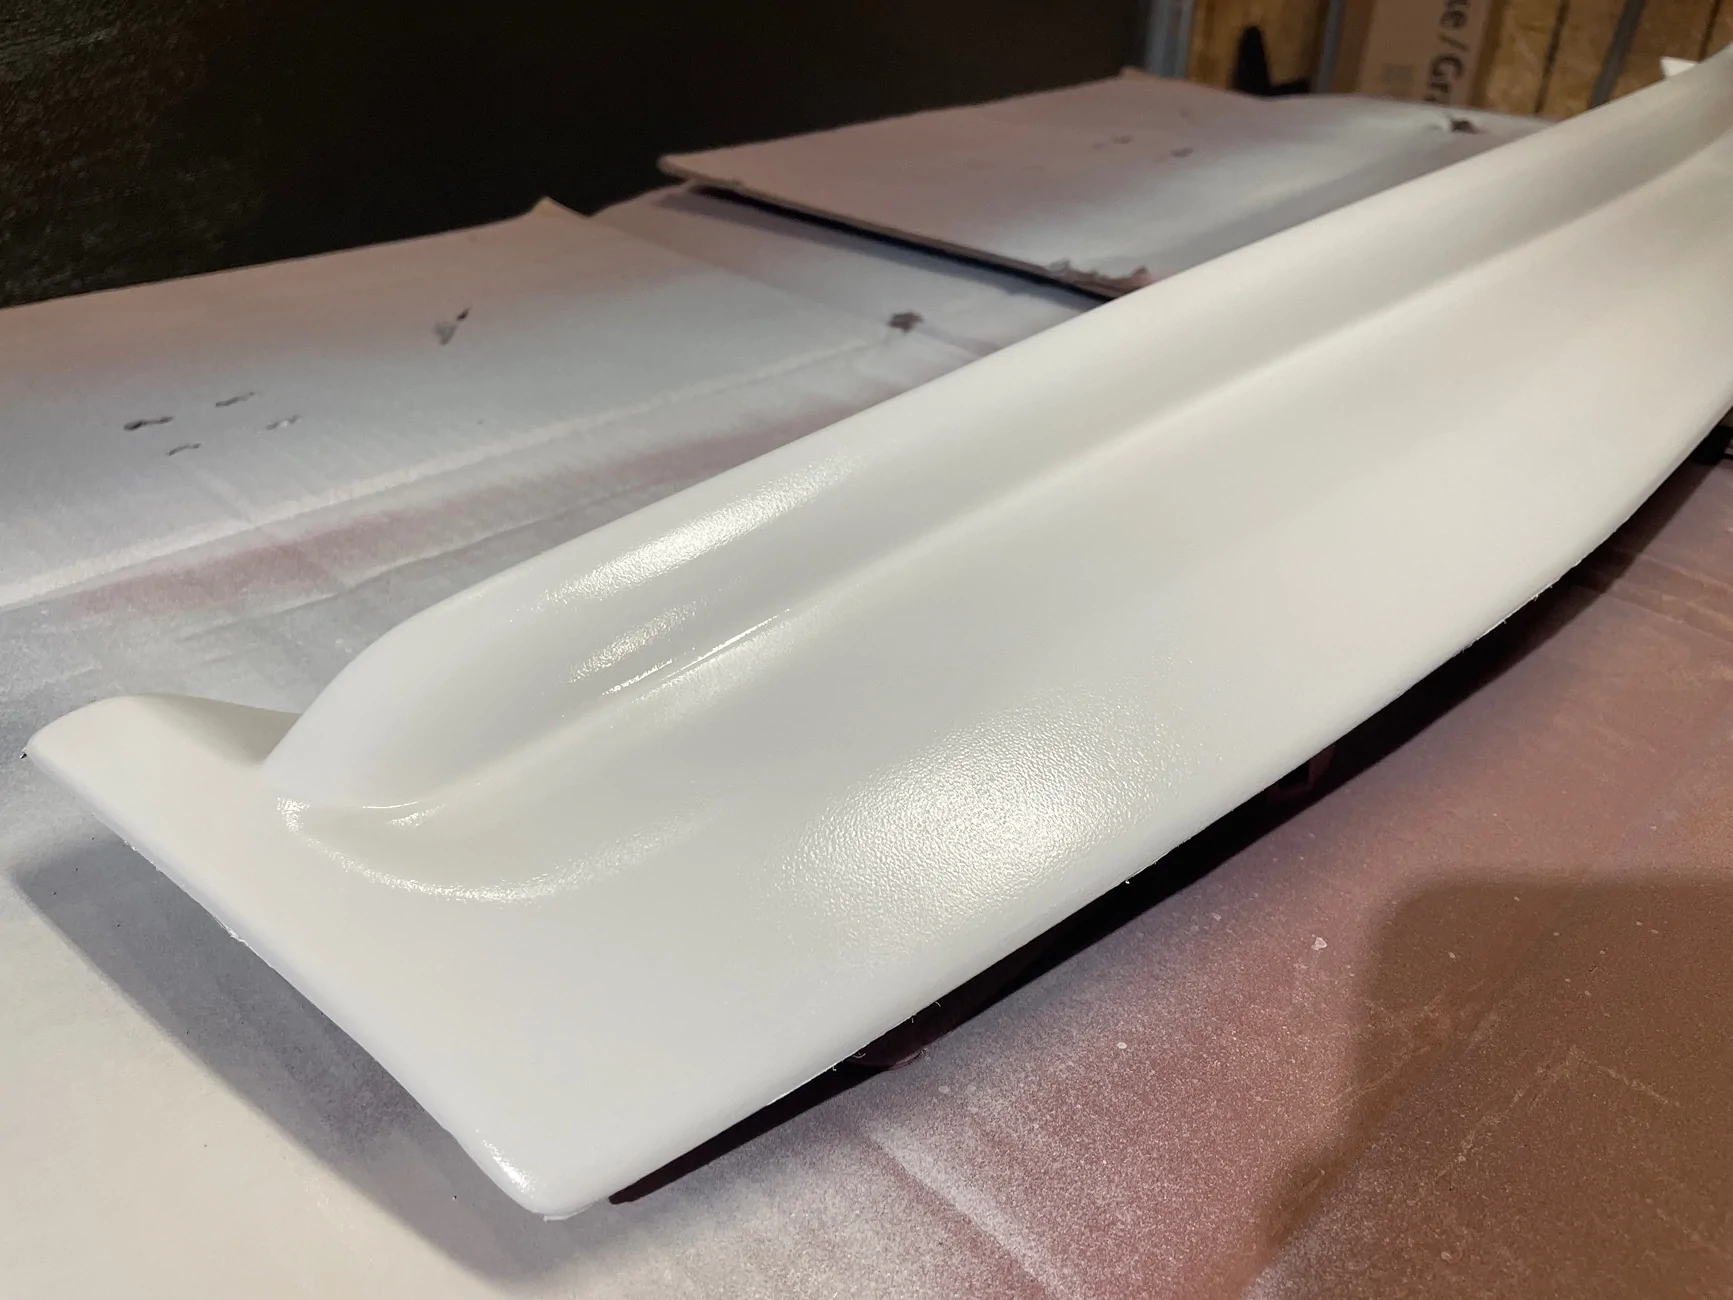
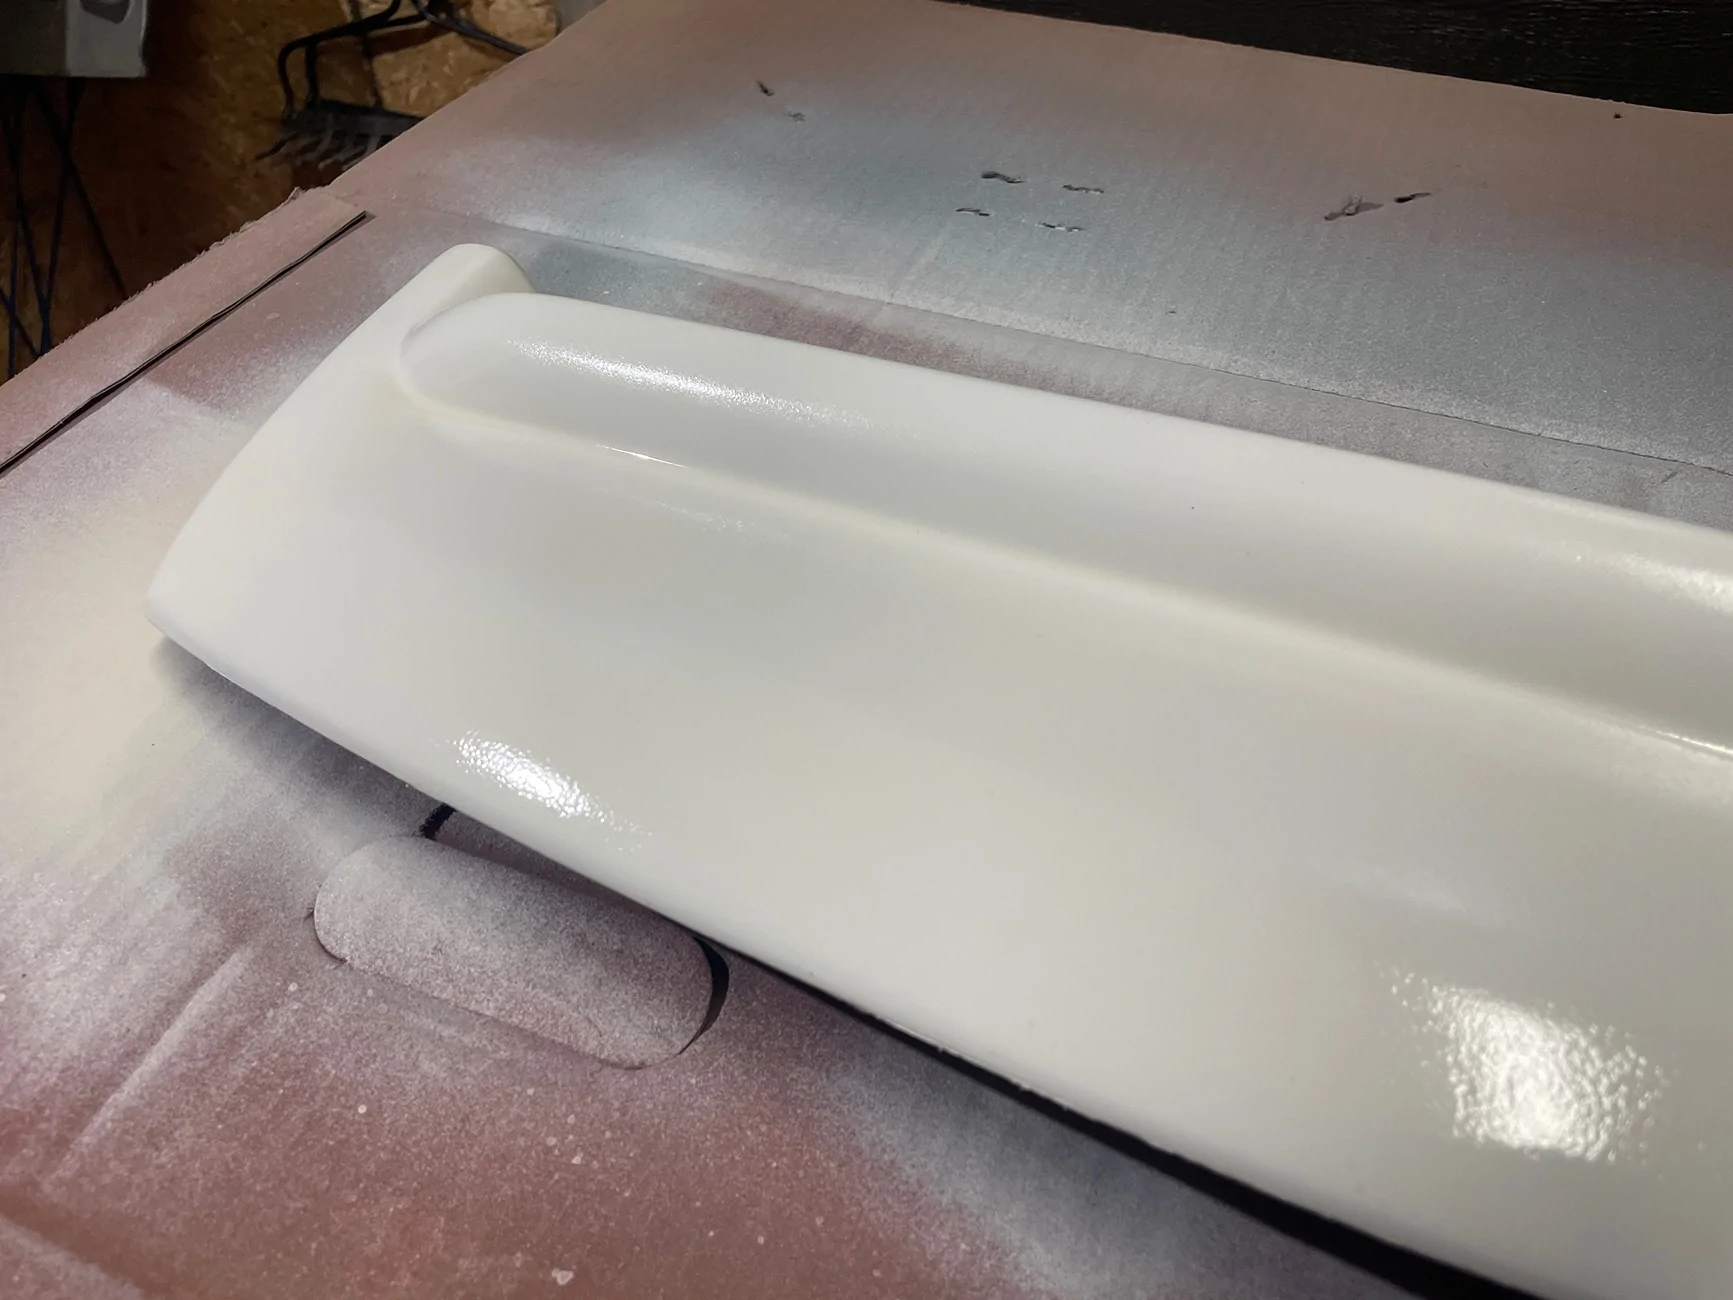
After about 7 coats of primer to try to hide the remaining texture, I moved onto about 4 coats of Oxford White and then 5 coats of clear coat. I sanded 1000 and 2000 between the paint and the clear coat.
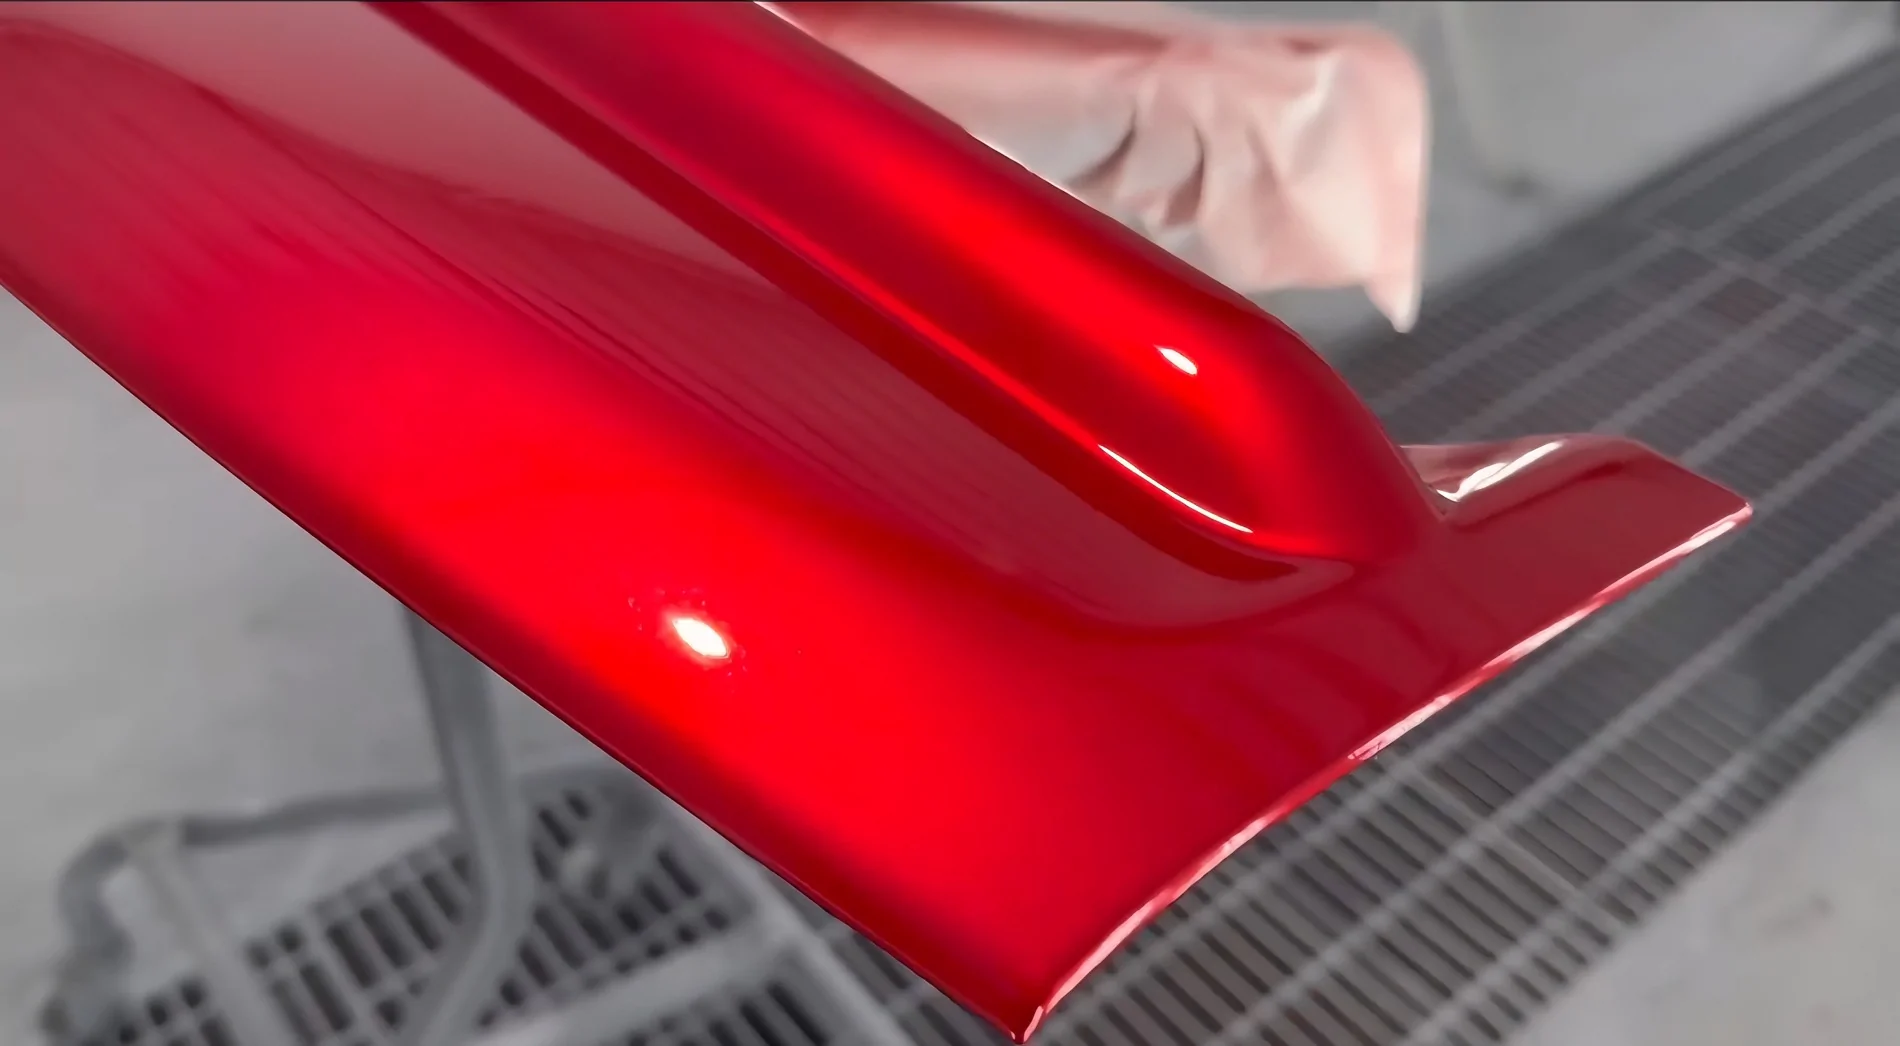
Installed after compound polishing off the ceramic coat that was on top of the PPF. Then cleaning with a surface preparer and finally wiping everything down with alcohol.
So I spent weeks searching for an IAG Gloss White version or a simple gloss black, which would at least match the Wildtrak gloss grill. Both appear discontinued. Also, there was a gloss black version that doesn’t have the lip, defeating the windscreen protection goal.
Then I found that there is a non textured version but, again, couldn’t find any in stock. Until my dealership said they could get one in 2 days. When I picked it up, it turned out to be the textured version.
It appears that, if you can find an Aeroskin II in stock (at least in Canada) it’s going to be textured.
So I came up with a plan to sand it down, prime and paint it. In total, it has had 17 layers of adhesion promoter, high build primer, paint and clear coat. Between coats of primer and paint, I used 1000 and 2000 grit. I degreased and used alcohol between sanding.
It took about 4 days and I left plenty of time between the primer, paint and clear coats.
That being said, either the material doesn’t like to be painted or (more likely) I made an error somewhere as I find the coatings very fragile and I’ve already had to do touch-ups after installing.
Suggestions welcome to improve the process.
Hopefully, this post helps anyone wishing to do the same, or put people off enough for them to be more satisfied with the matte textured look.
The photos show parts of the process and materials used.
Sanding from about 200 to 800 grit to remove as much texture as I face removing.

Priming and making the error of not using an adhesion promoter at first and sanding off the original red primer to start the priming process again. I couldn’t remove the red primer that had settled inside the pores.
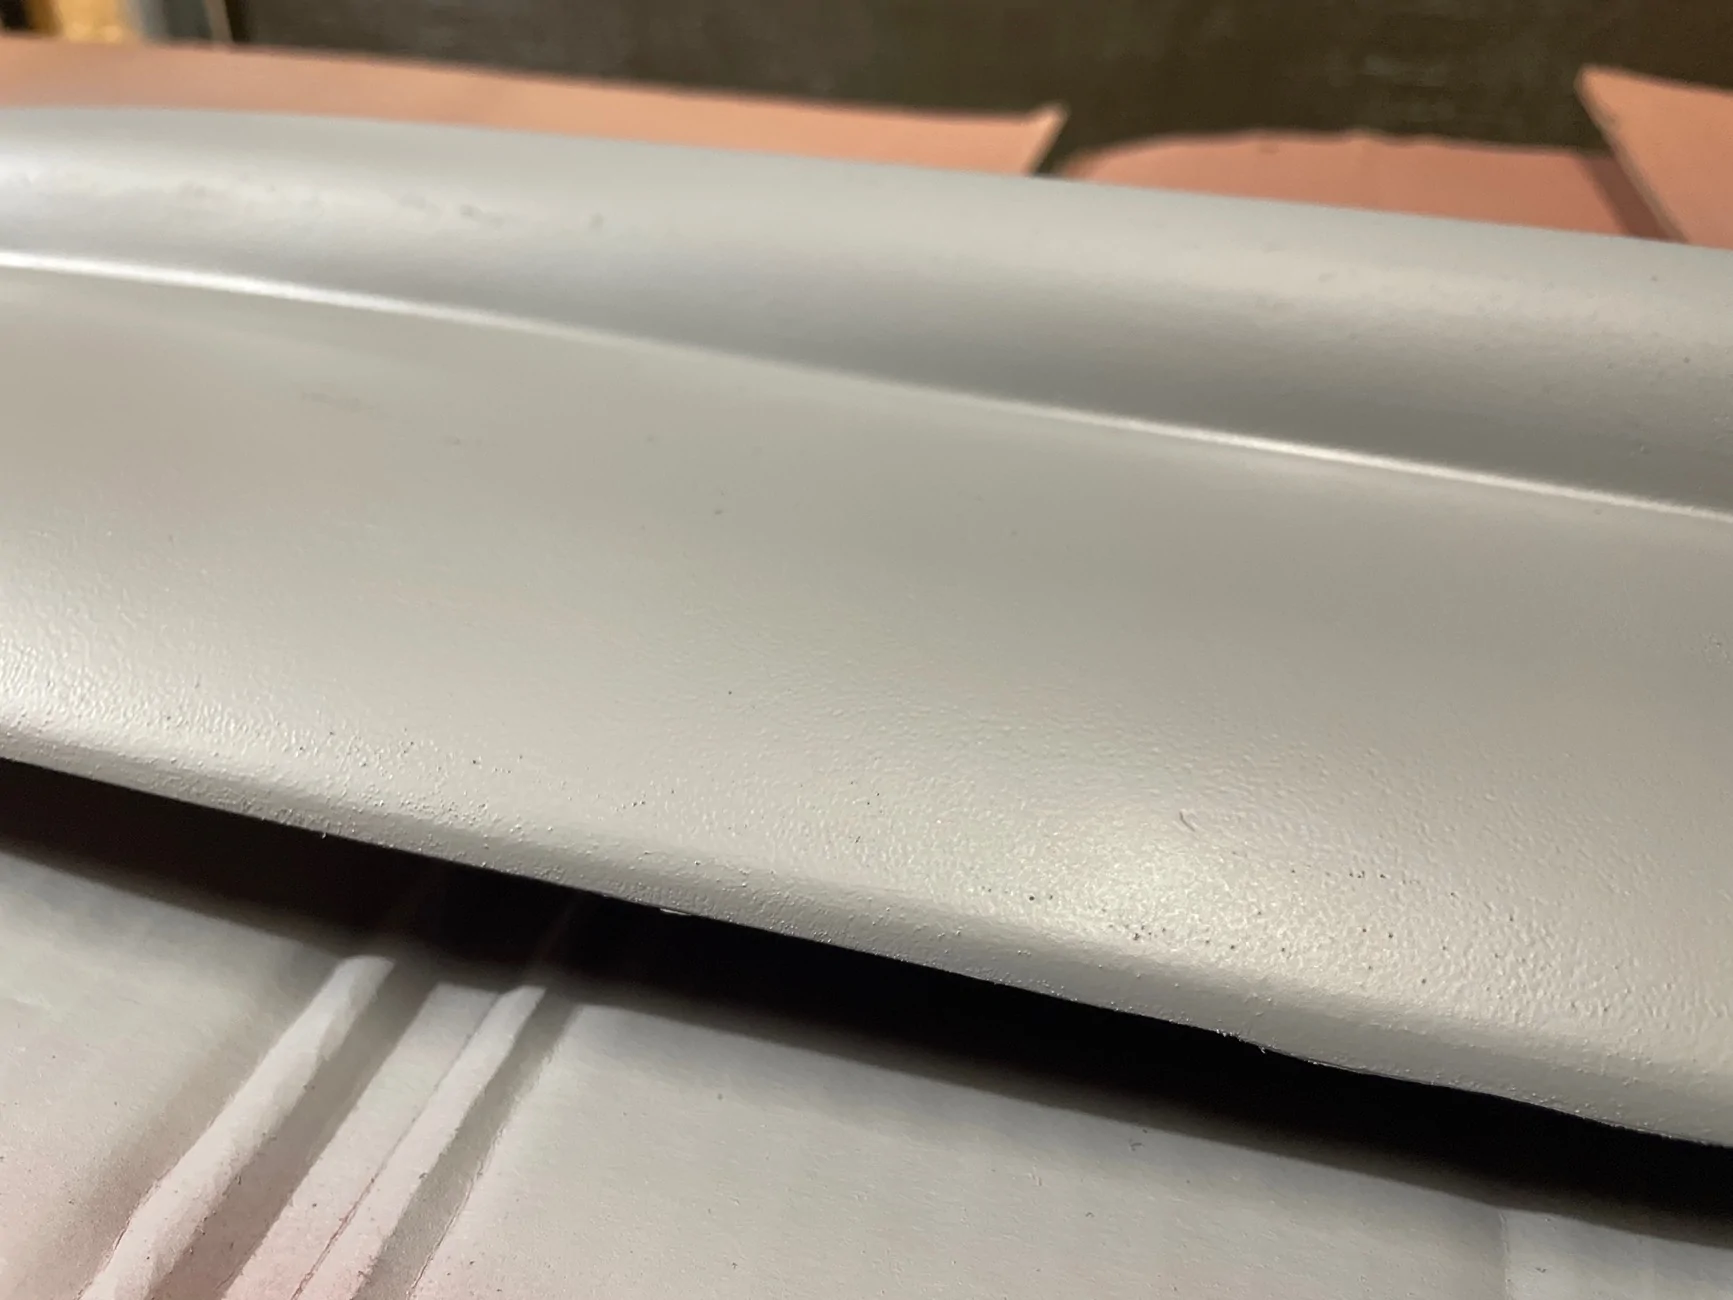
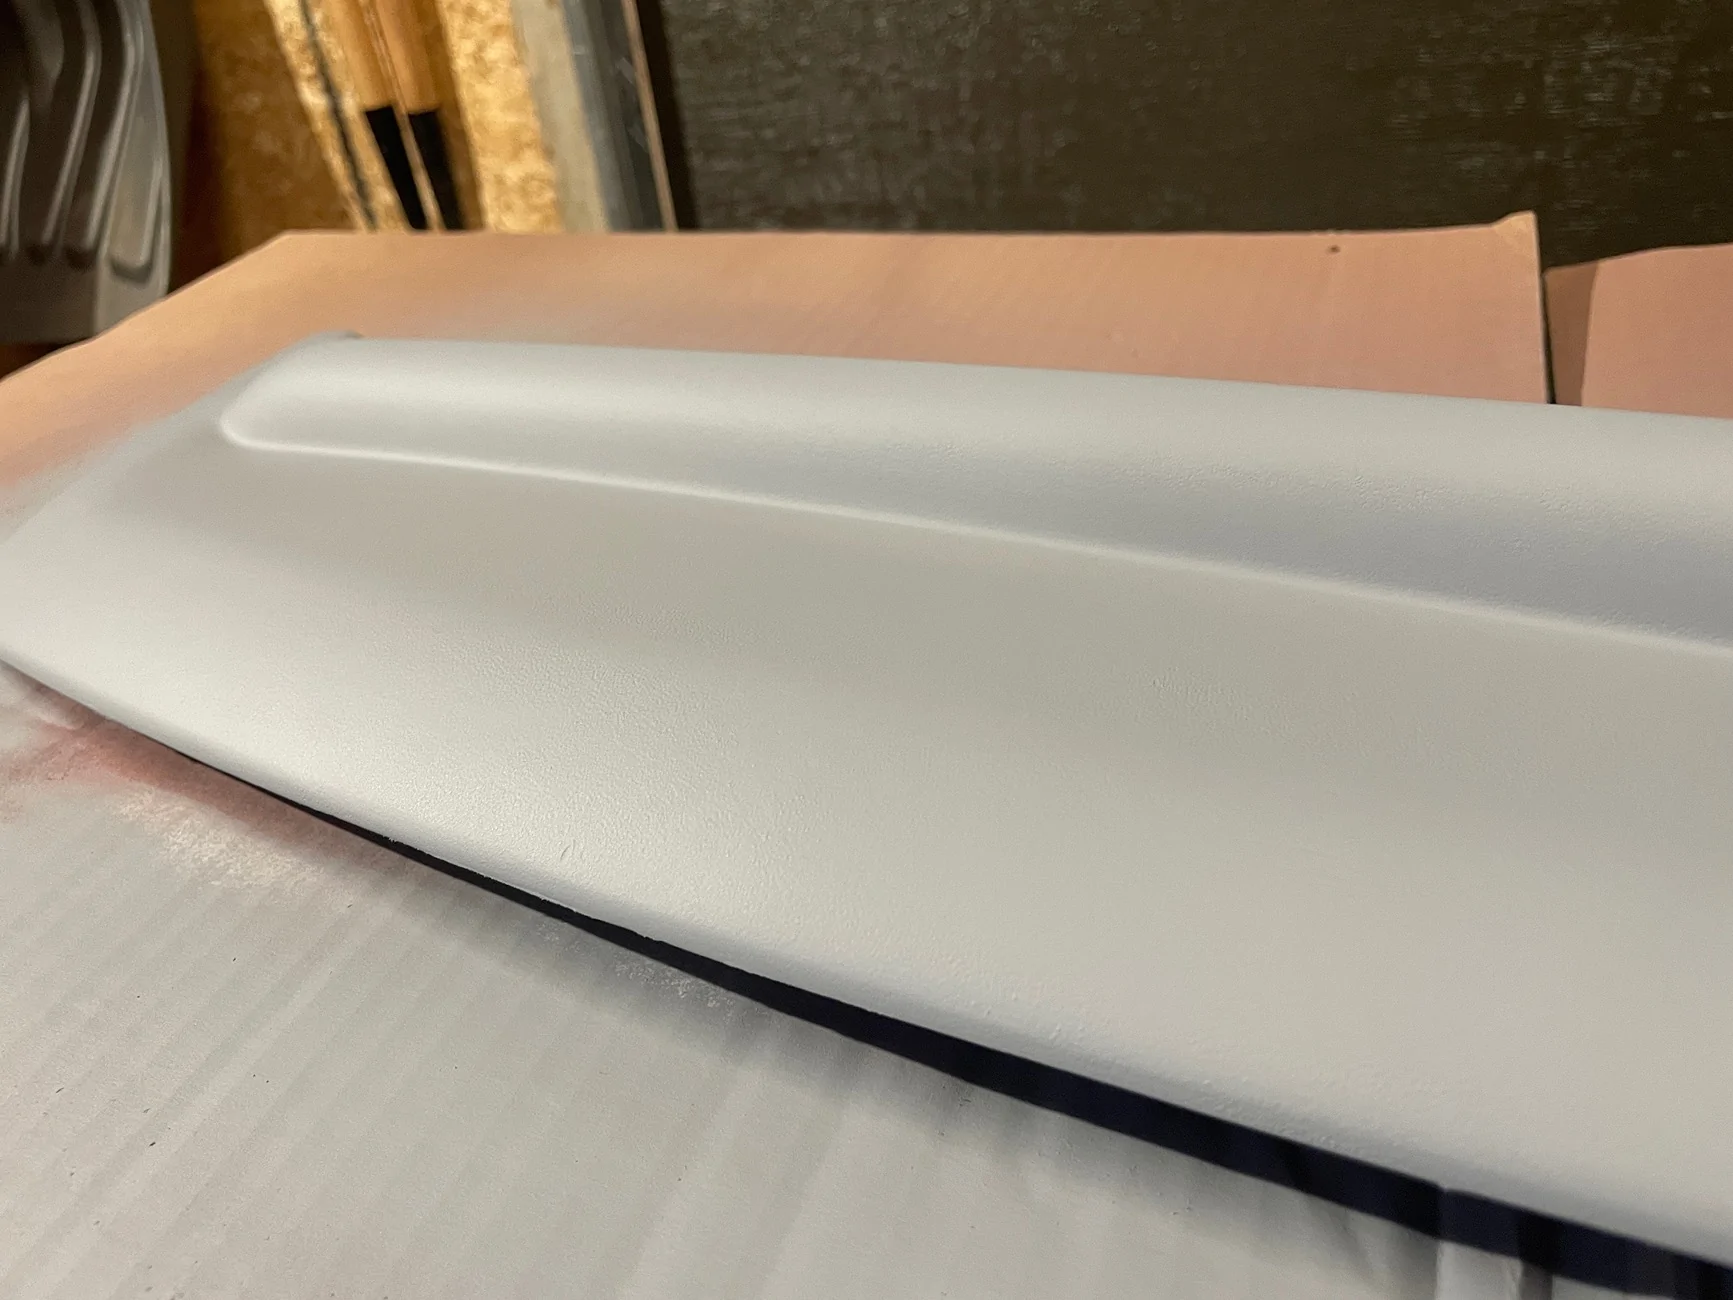
After about 7 coats of primer to try to hide the remaining texture, I moved onto about 4 coats of Oxford White and then 5 coats of clear coat. I sanded 1000 and 2000 between the paint and the clear coat.
Installed after compound polishing off the ceramic coat that was on top of the PPF. Then cleaning with a surface preparer and finally wiping everything down with alcohol.
Sponsored
Last edited: