- Joined
- Aug 21, 2023
- Threads
- 6
- Messages
- 24
- Reaction score
- 111
- Location
- Abilene, Tx
- Vehicle(s)
- 2023 Ford Bronco Badlands 4Dr
- Your Bronco Model
- Badlands
- Thread starter
- #1
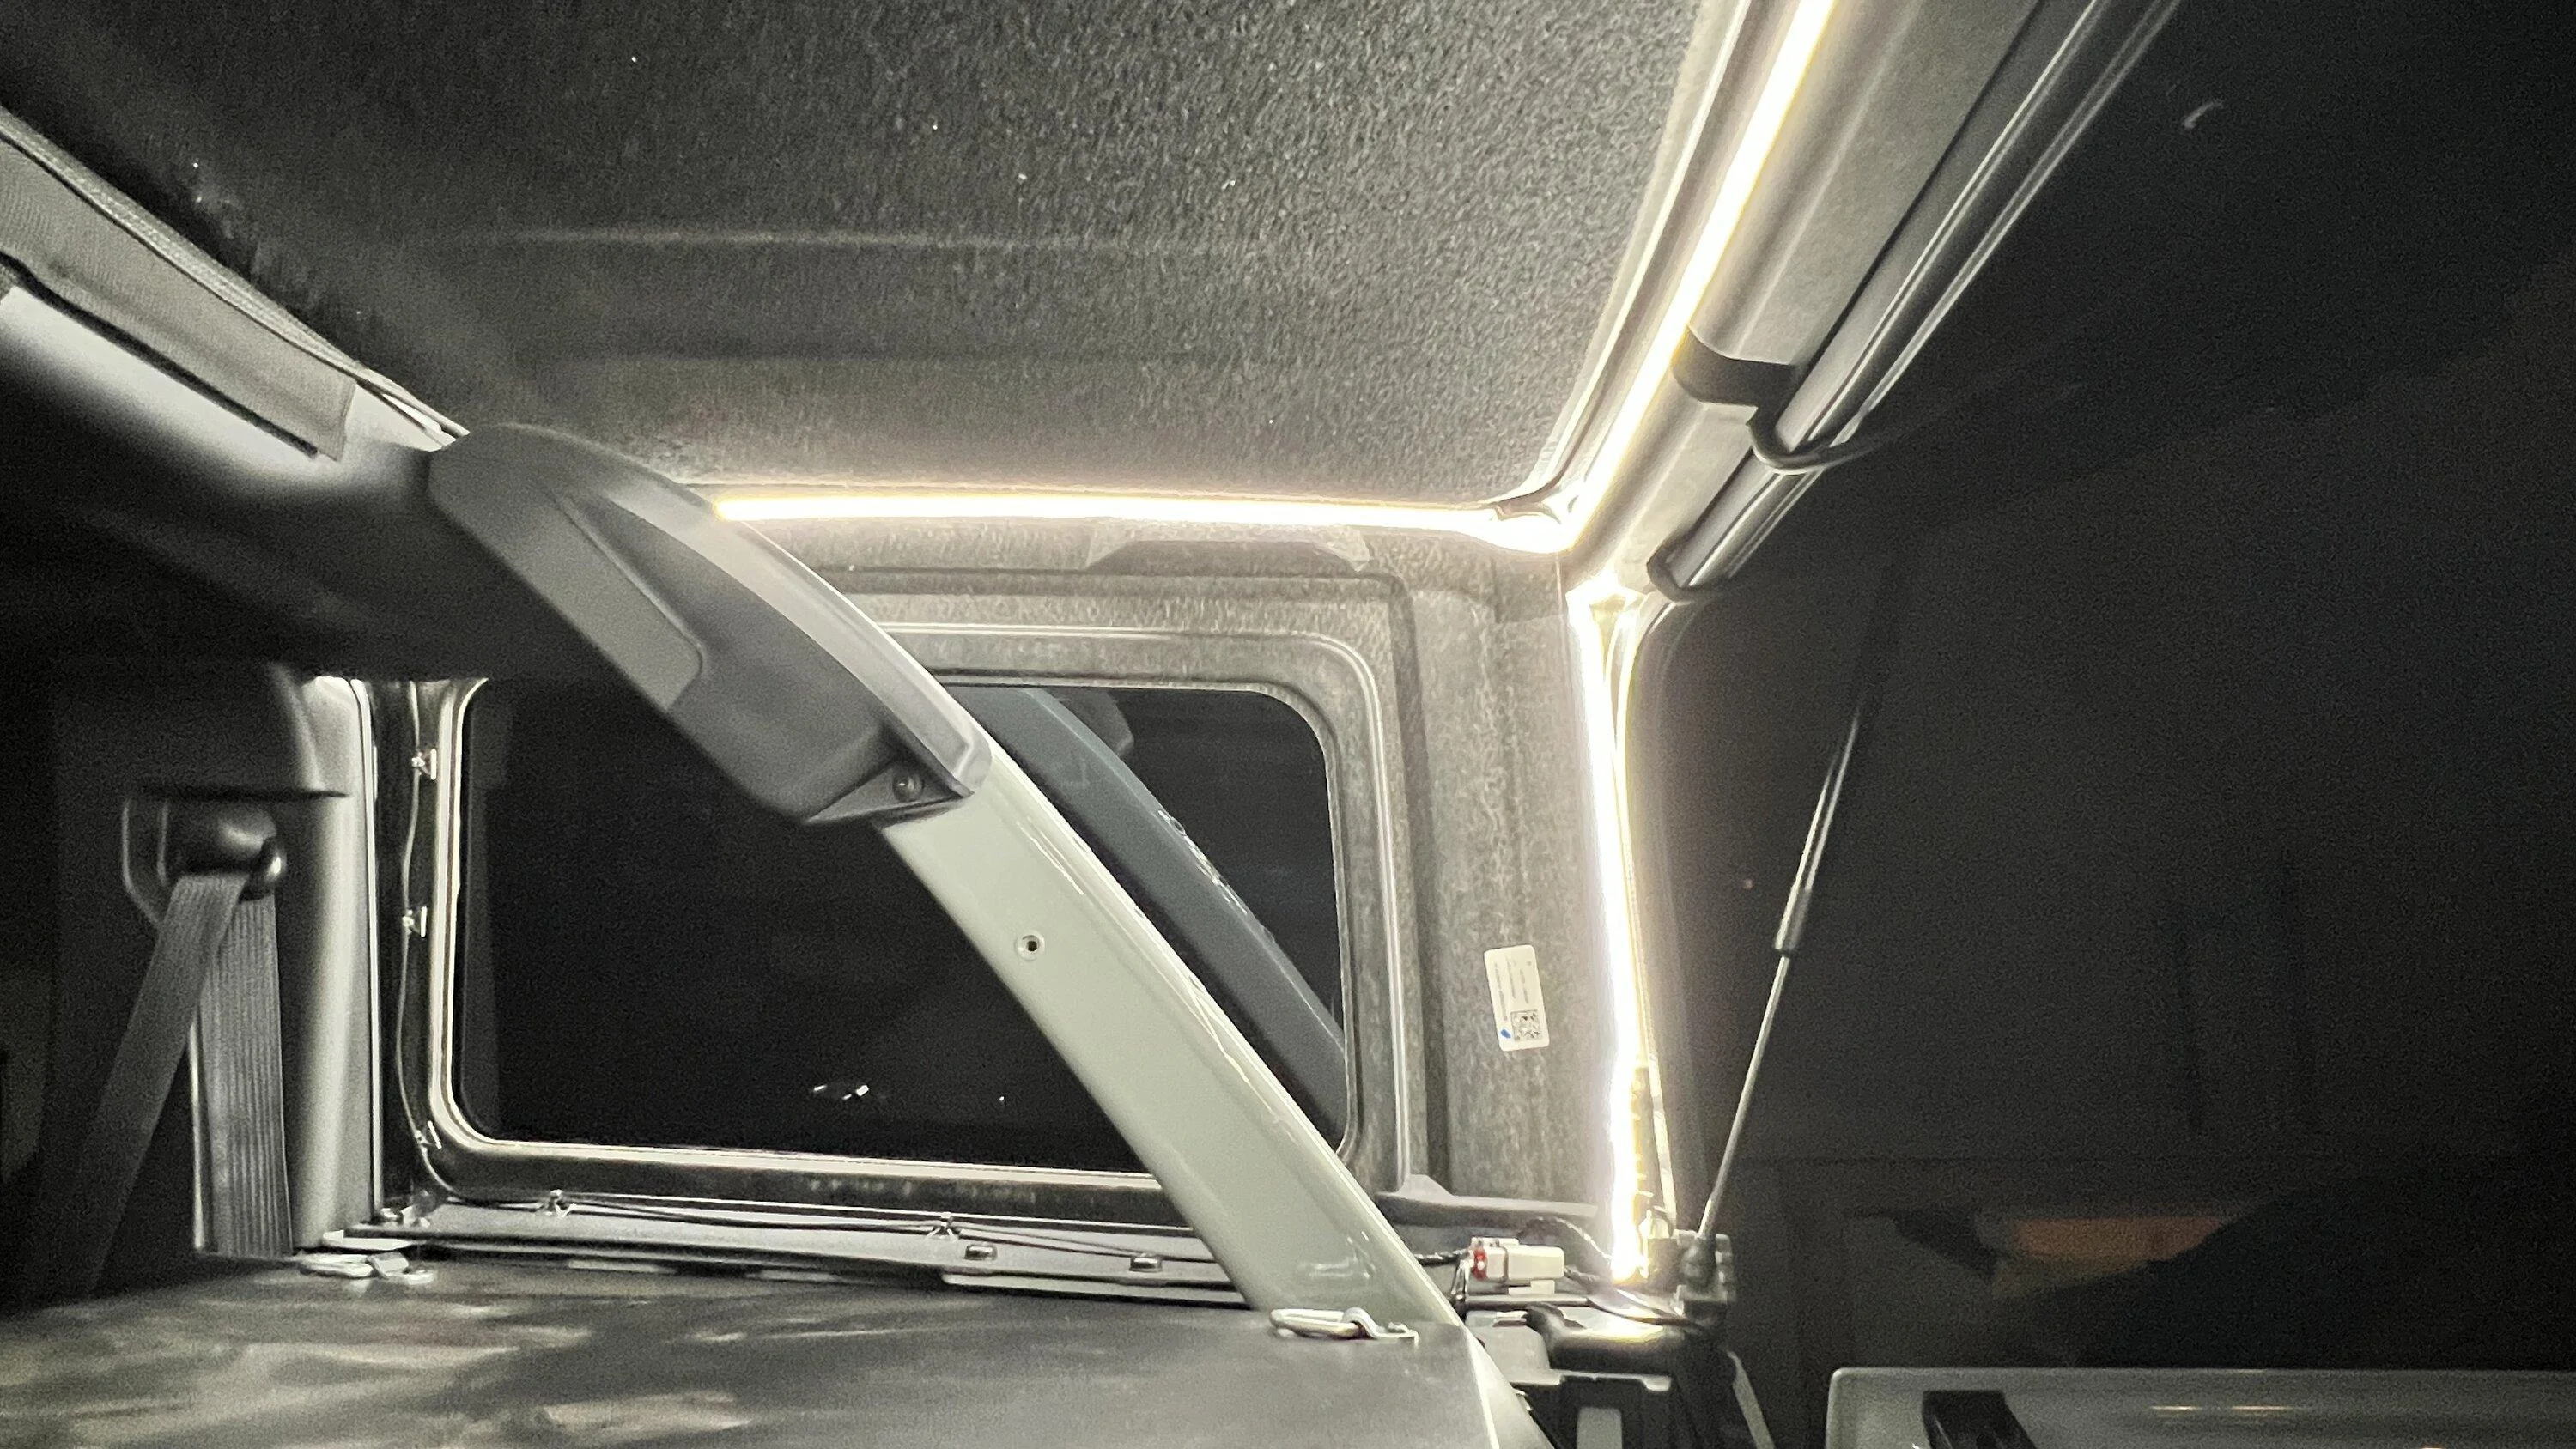
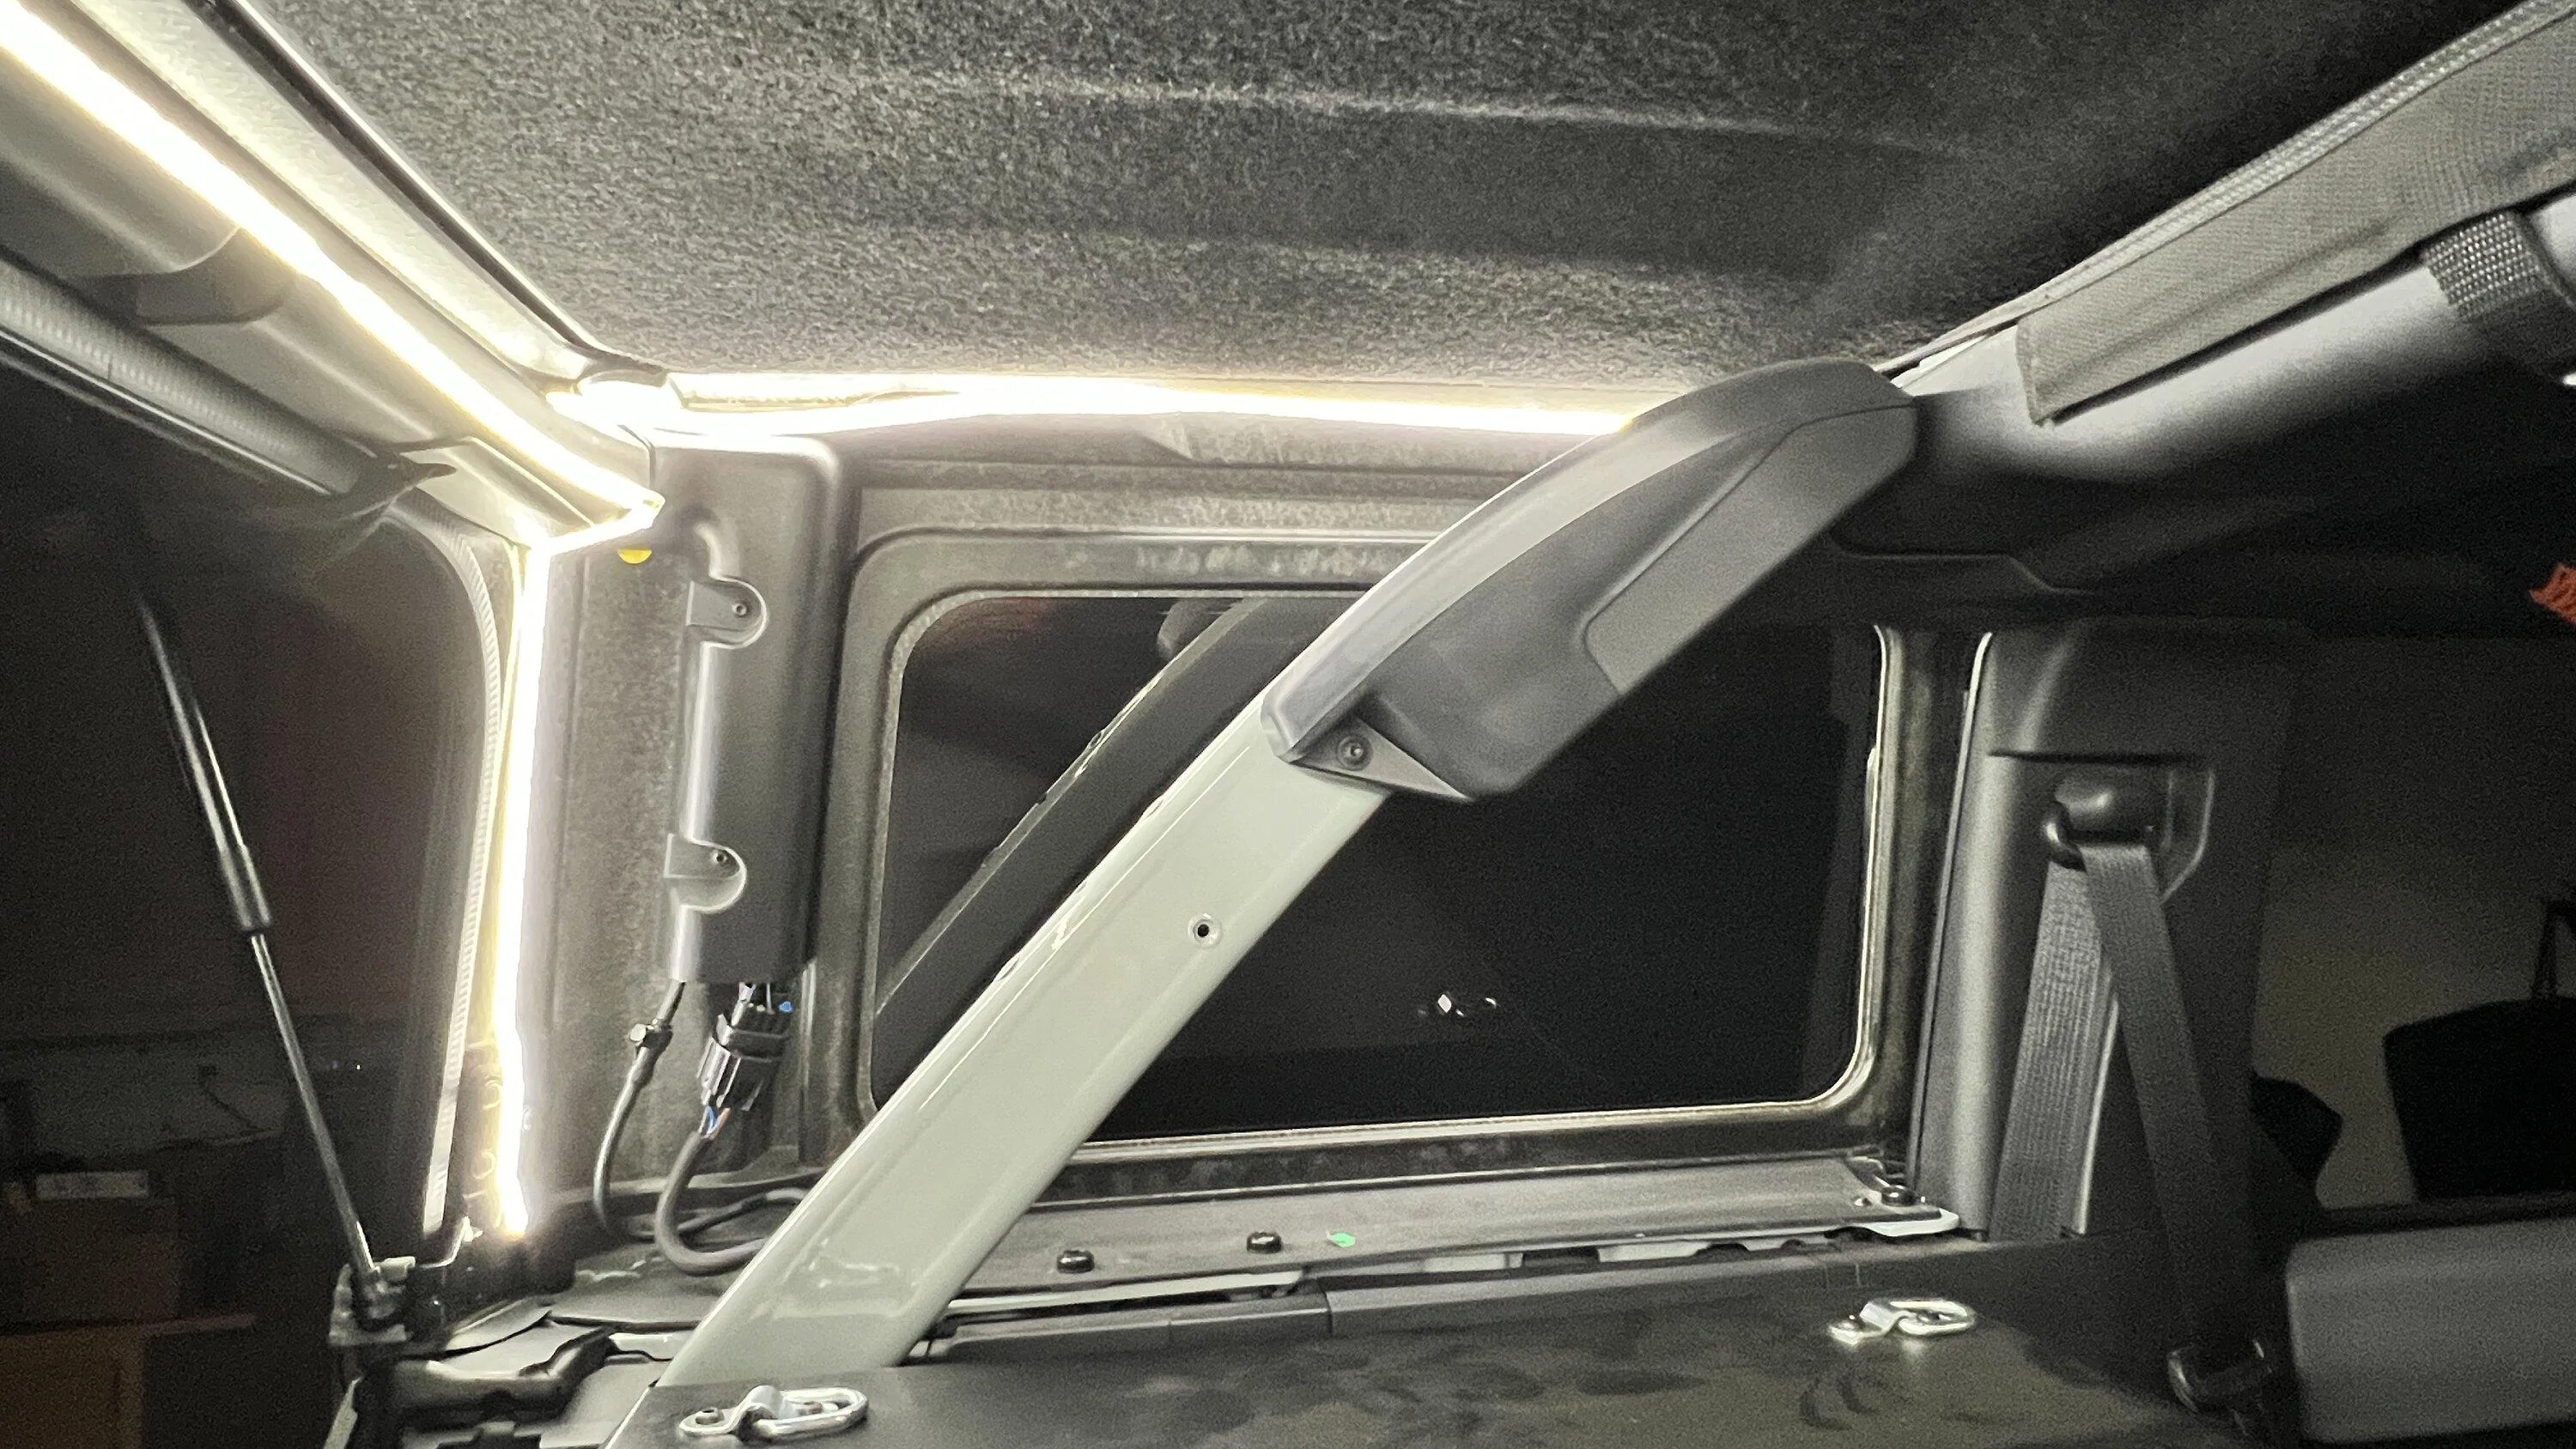
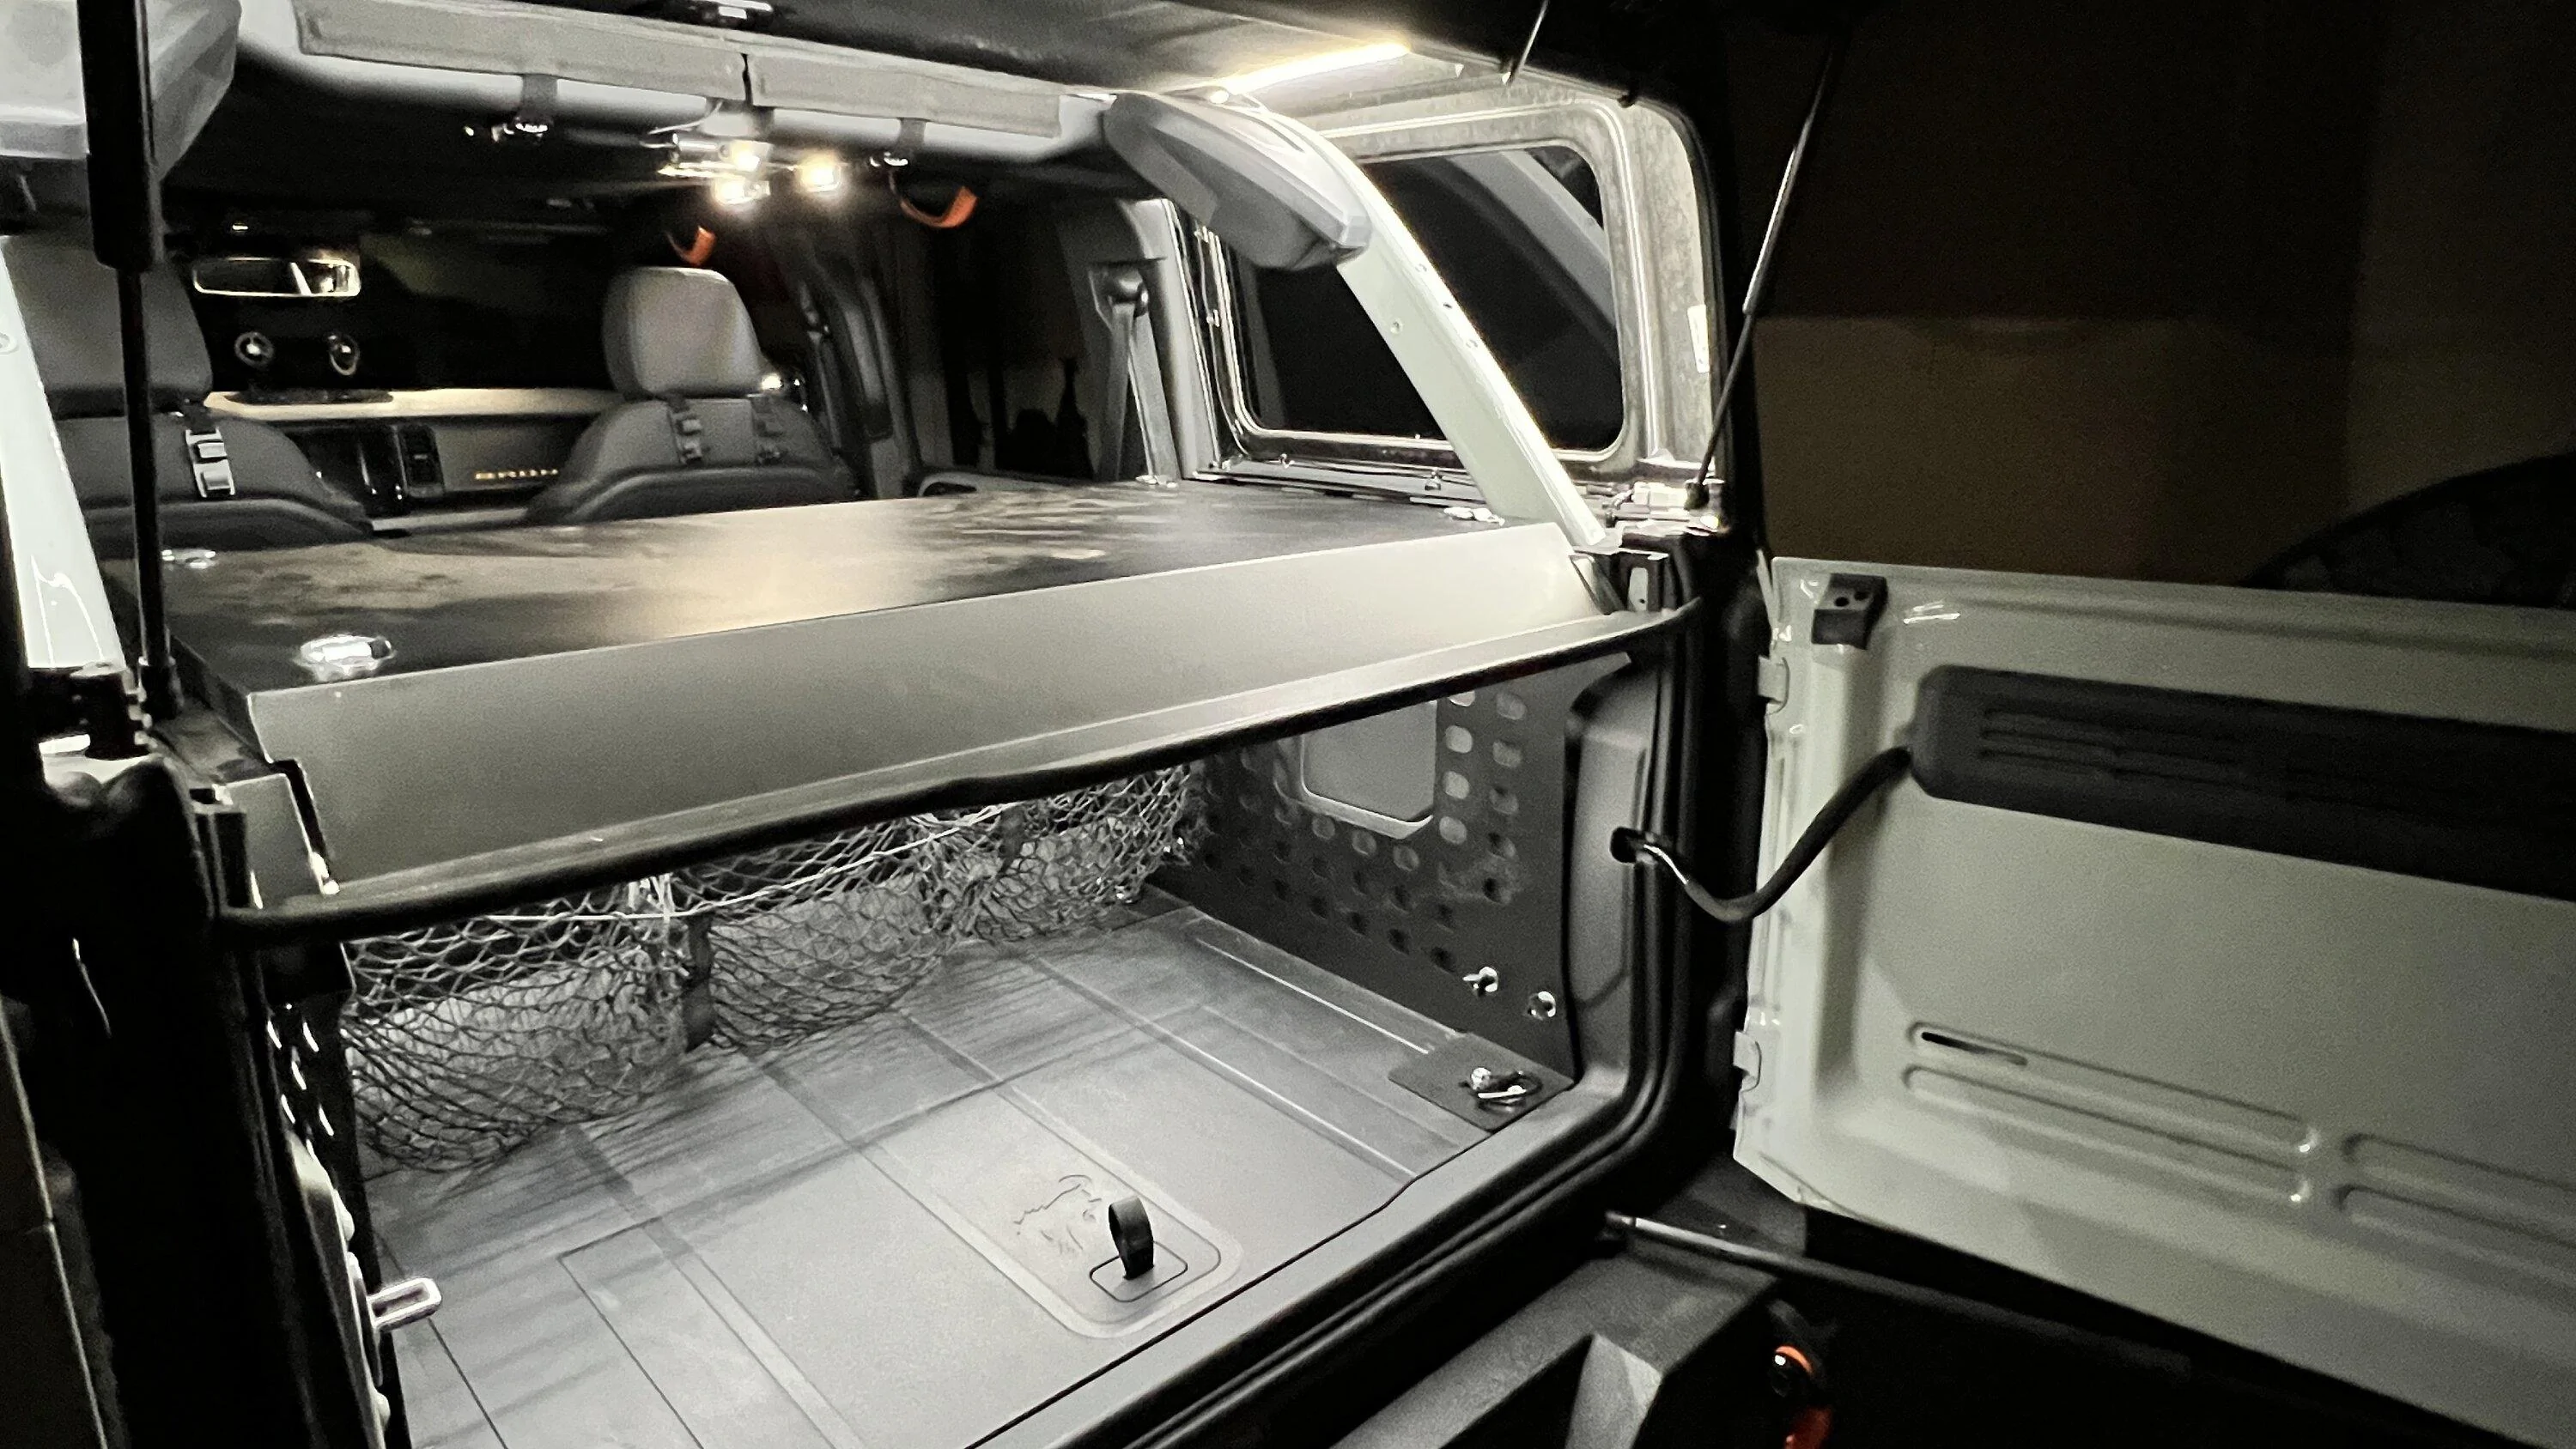
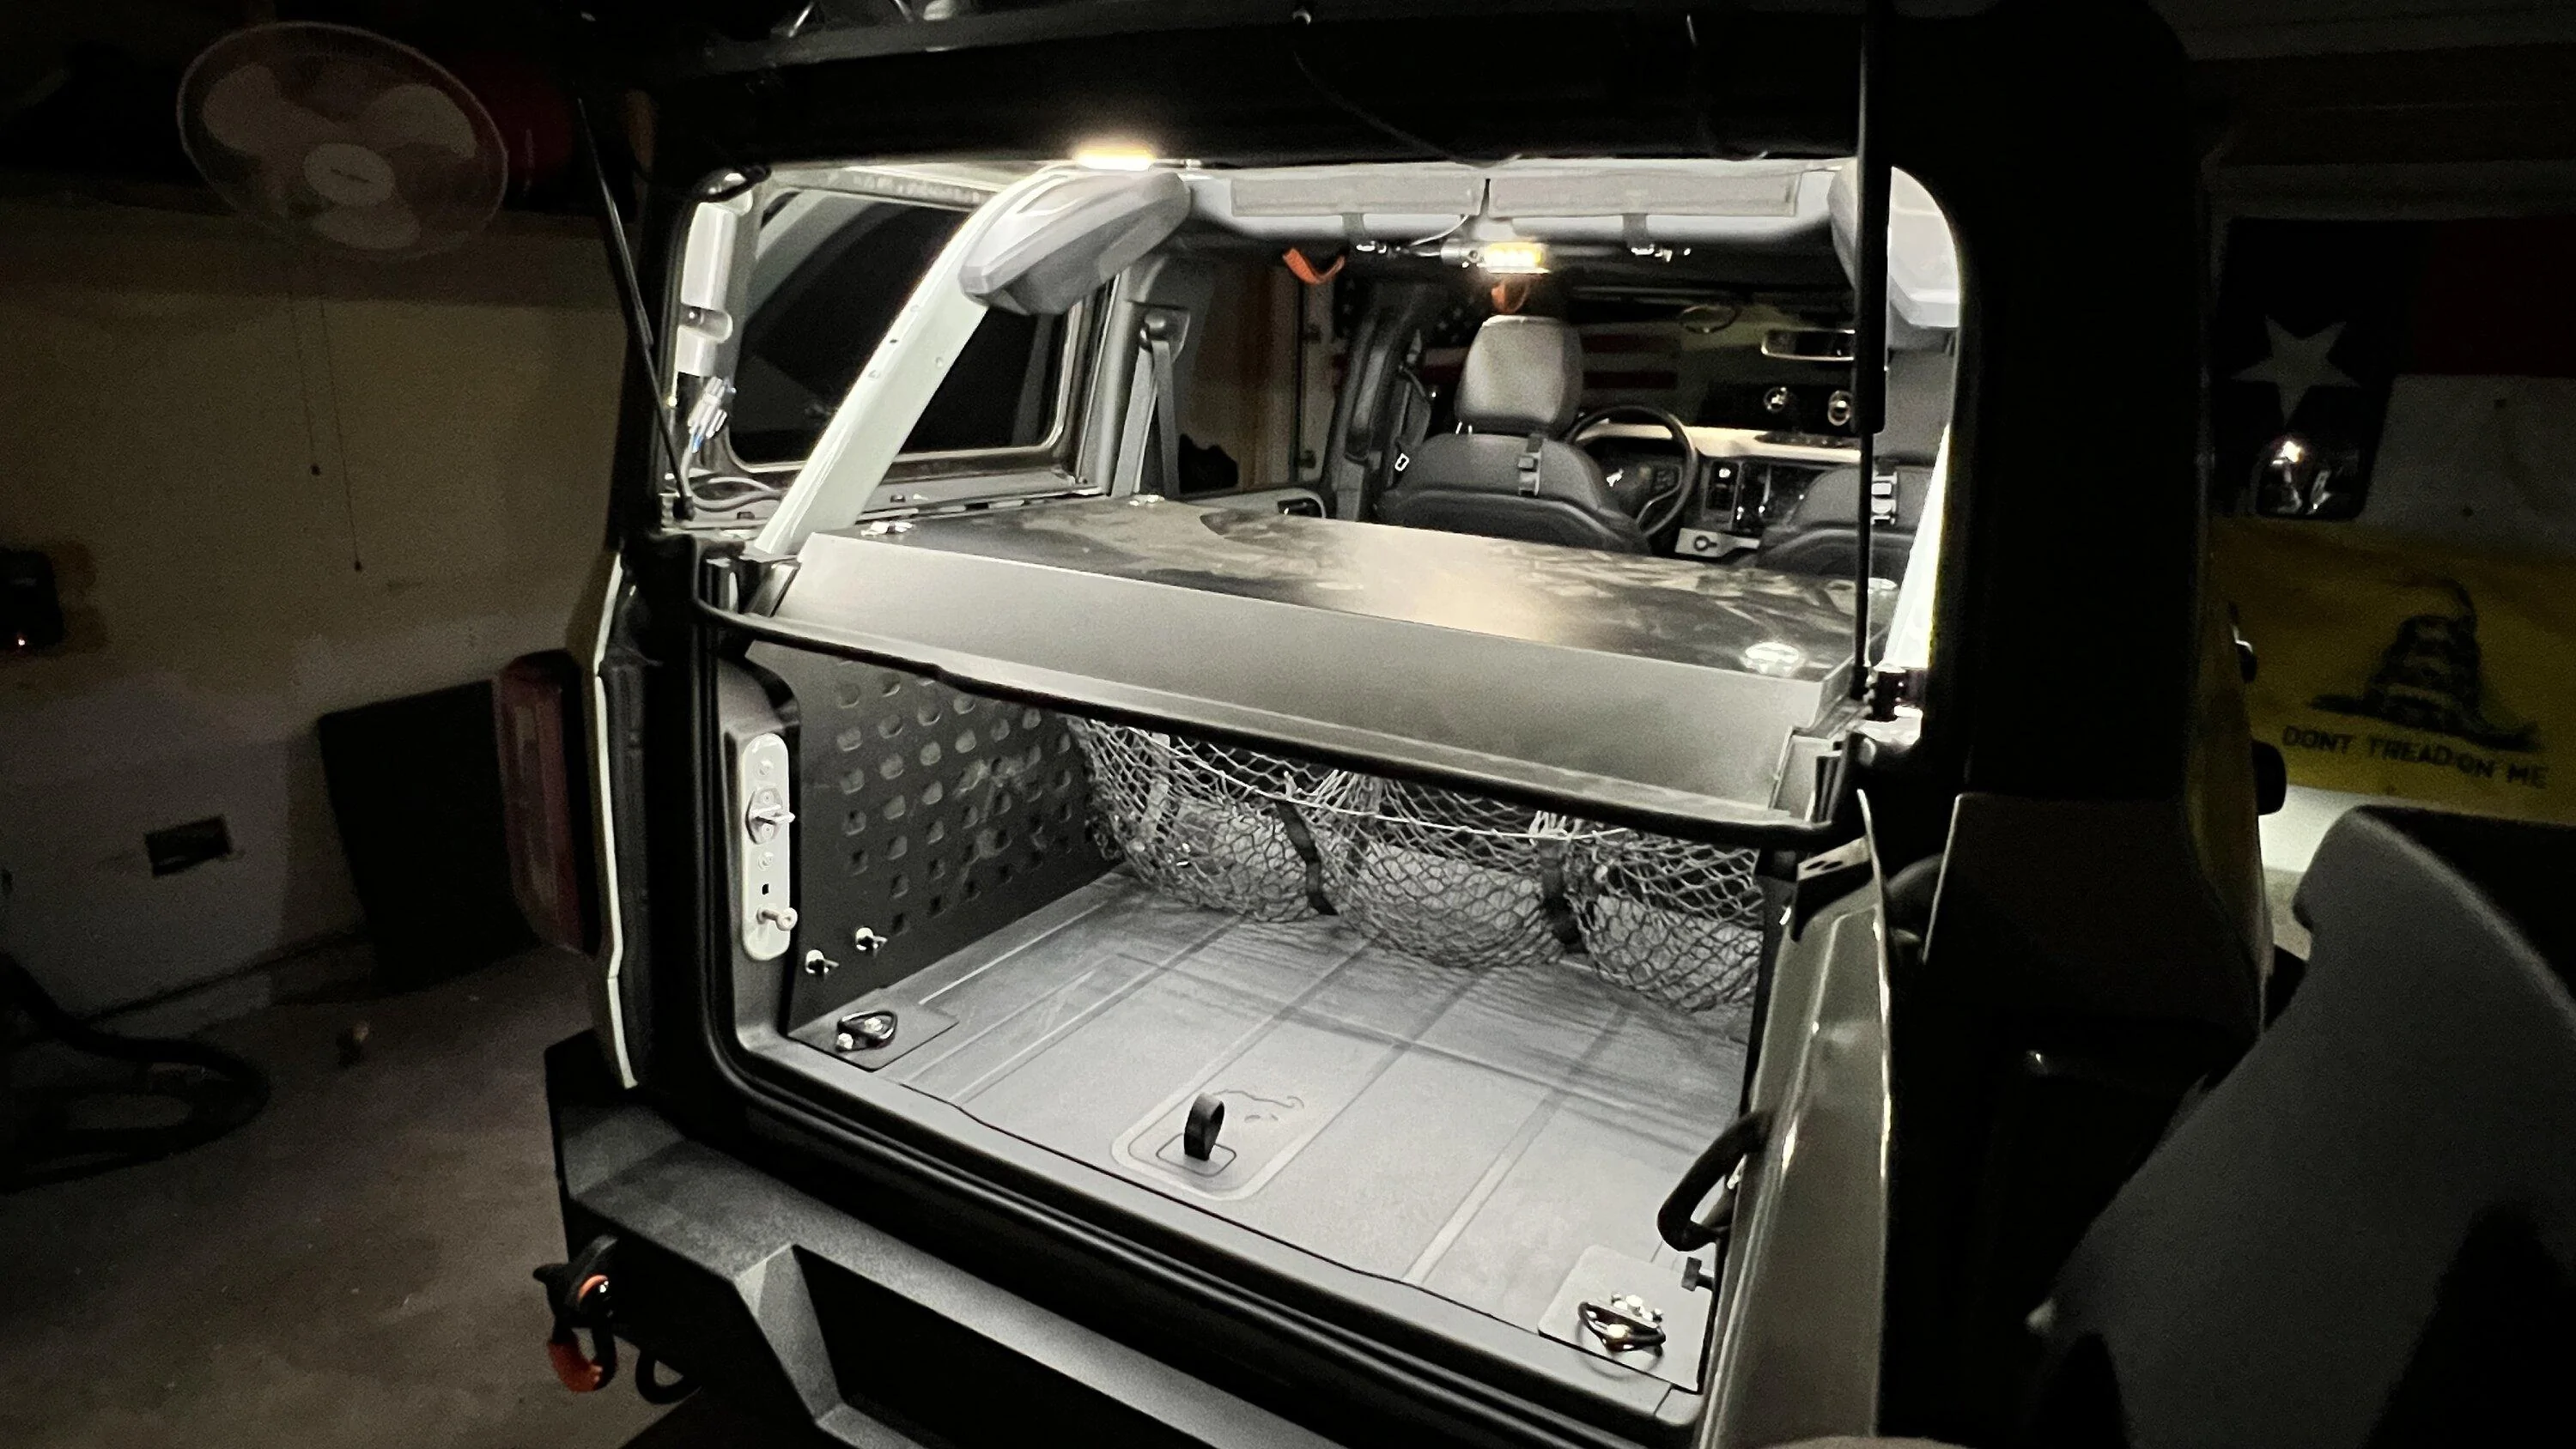
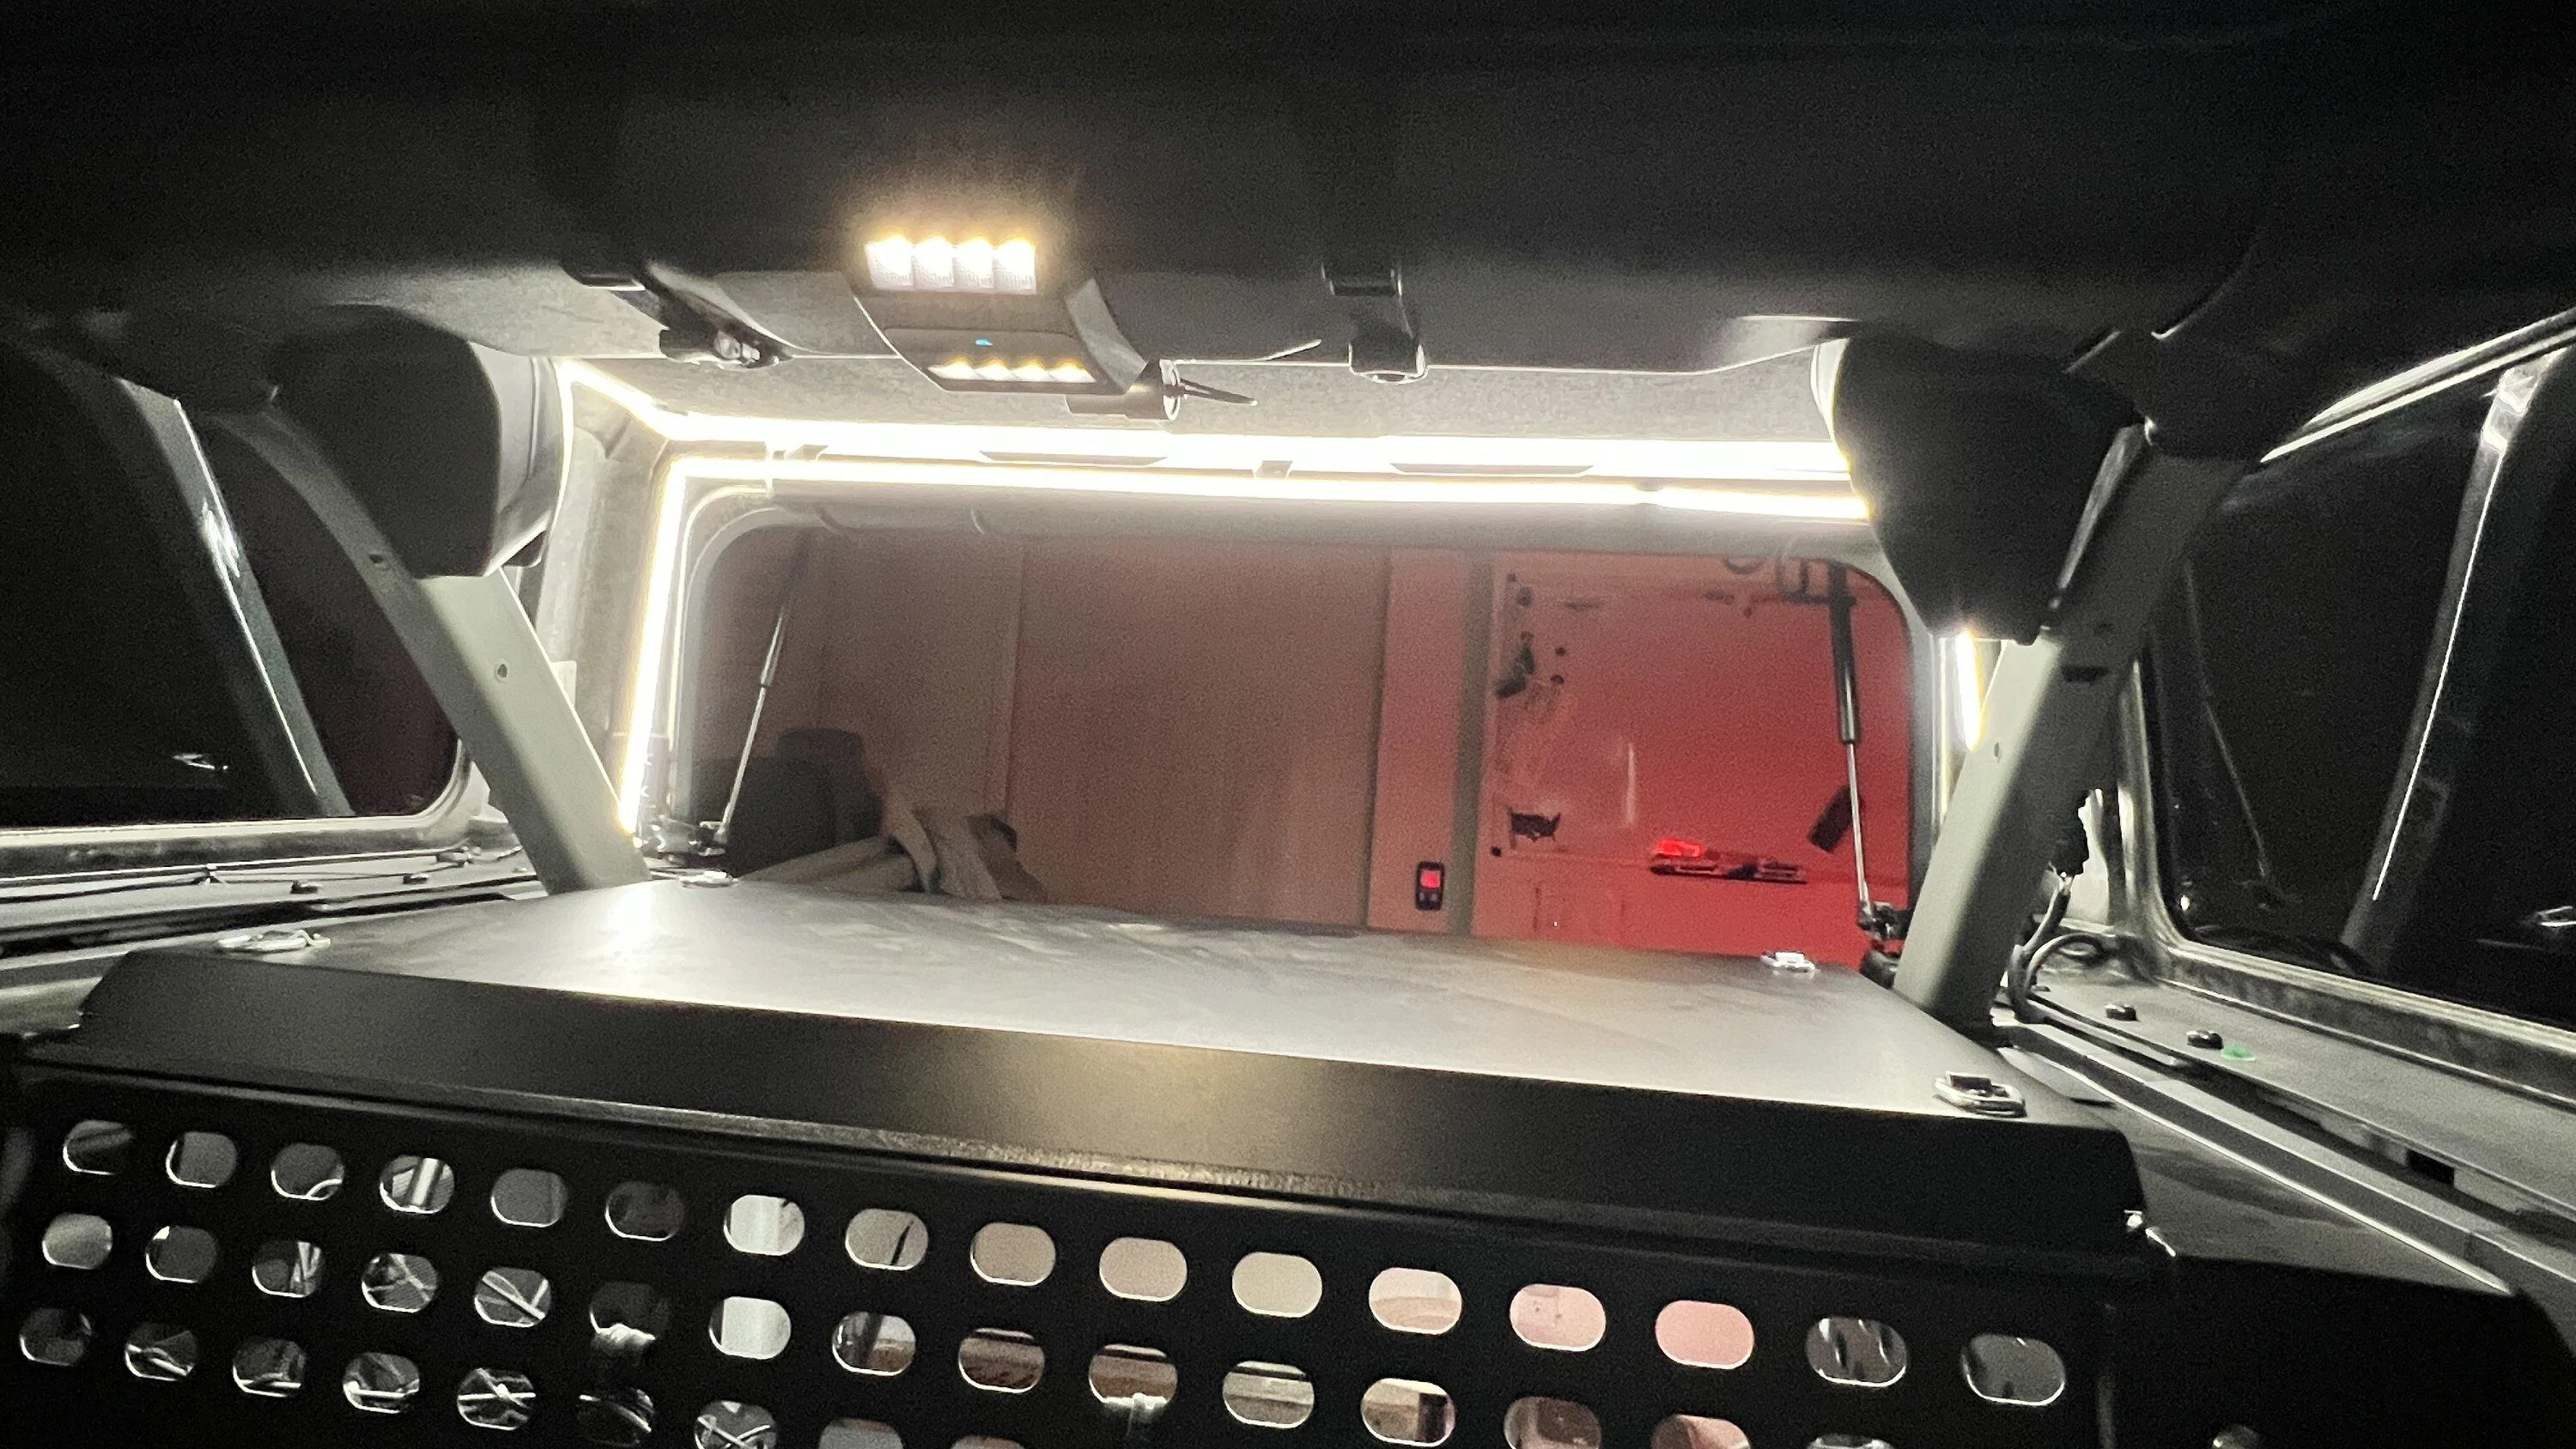
I added some LEDs to my engine bay and cargo area! There are lights under the Ford Security Enclosure lid and on the hard top.
Hood lights come on when the hood is open.
Cargo lights come on when I open the tailgate.
I configured this so I can disconnect the enclouser if I want to remove it.
The hardtop is configured so I can disconnect the lights when I remove the hardtop too.


Hood lights come on when the hood is open.
Cargo lights come on when I open the tailgate.
I configured this so I can disconnect the enclouser if I want to remove it.
The hardtop is configured so I can disconnect the lights when I remove the hardtop too.


Sponsored

") Looks COOL!
Looks COOL!