- First Name
- T
- Joined
- Mar 11, 2021
- Threads
- 18
- Messages
- 567
- Reaction score
- 698
- Location
- Berkeley, CA
- Vehicle(s)
- 2023 Badlands, 2013 Toyota Highlander, 2000 Miata
- Your Bronco Model
- Badlands
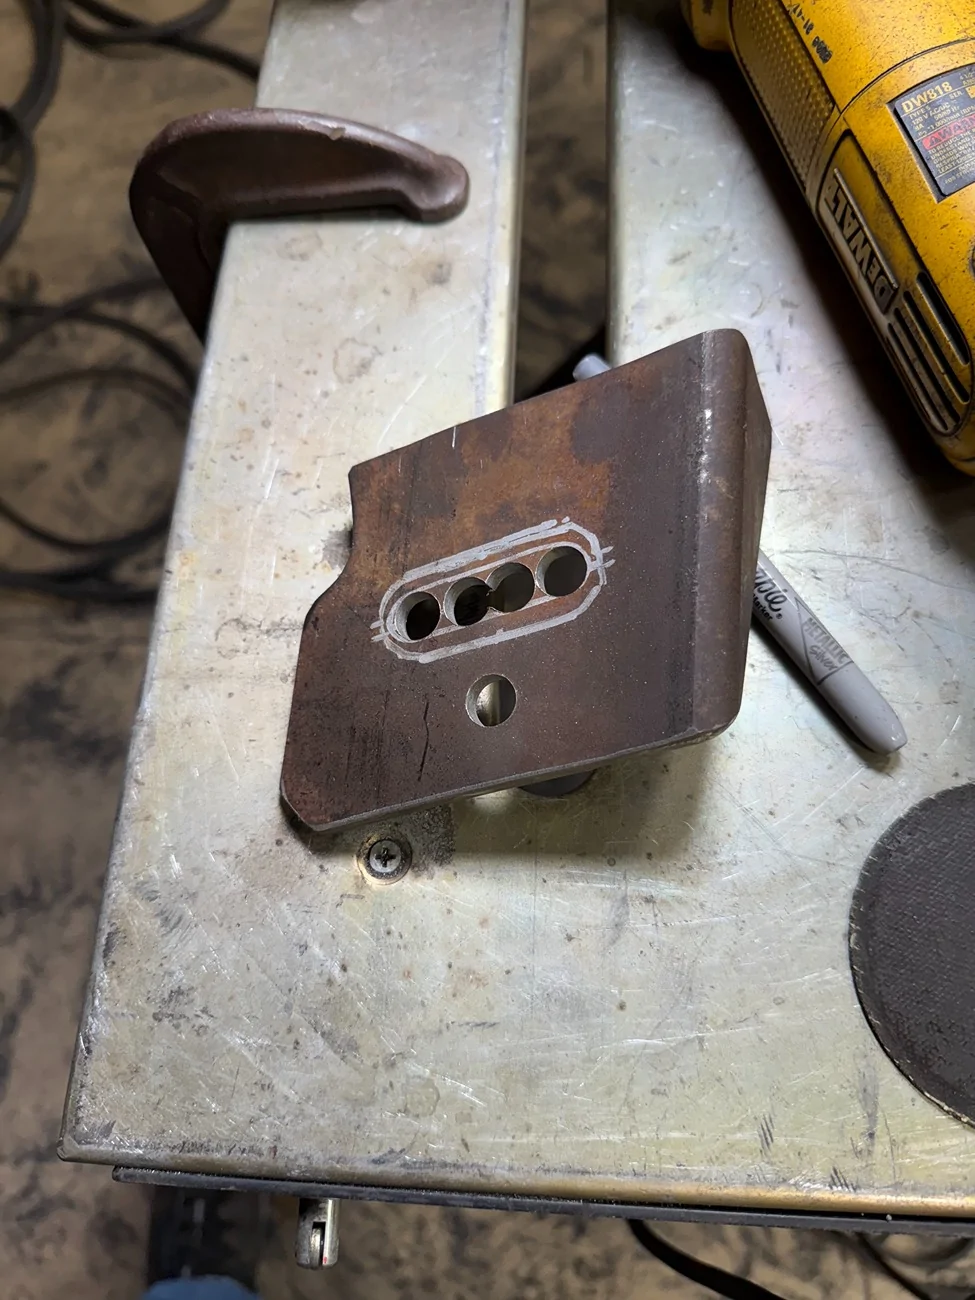
Nice. How do you complete the long oval hole after drilling it out? Cut it then grind? Only grind it?Epic.
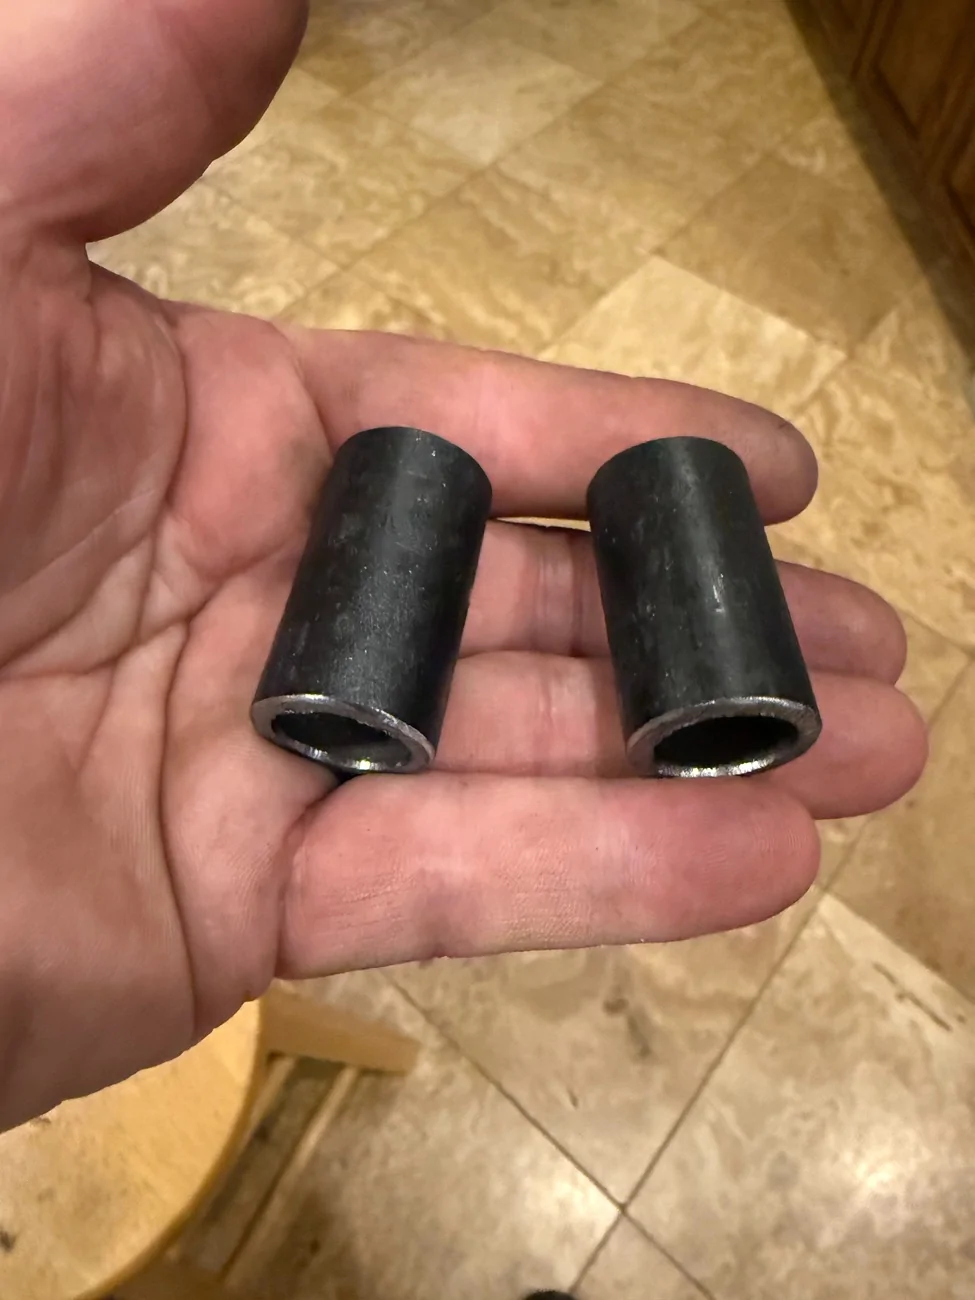
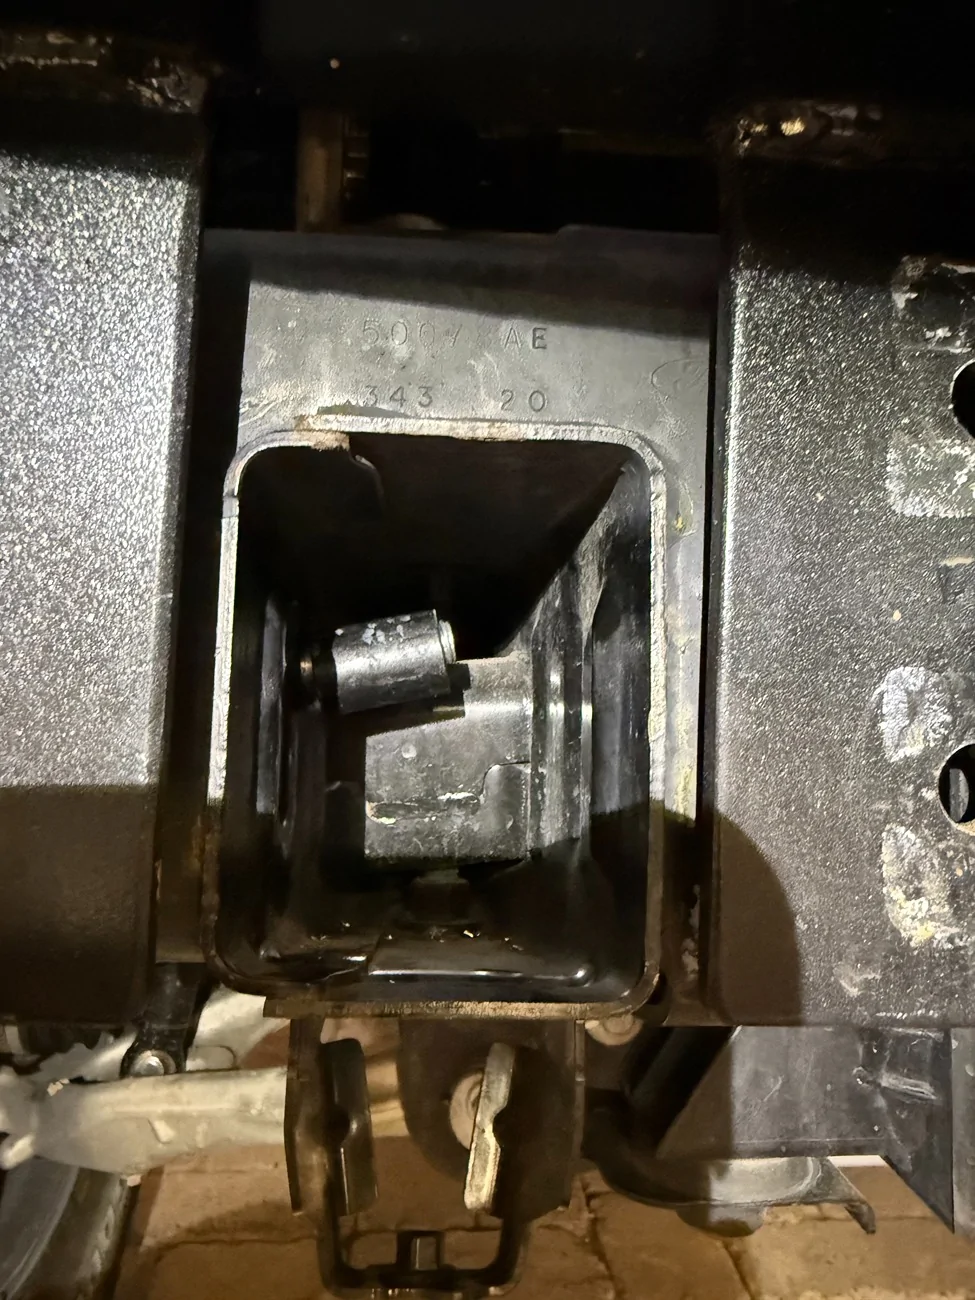
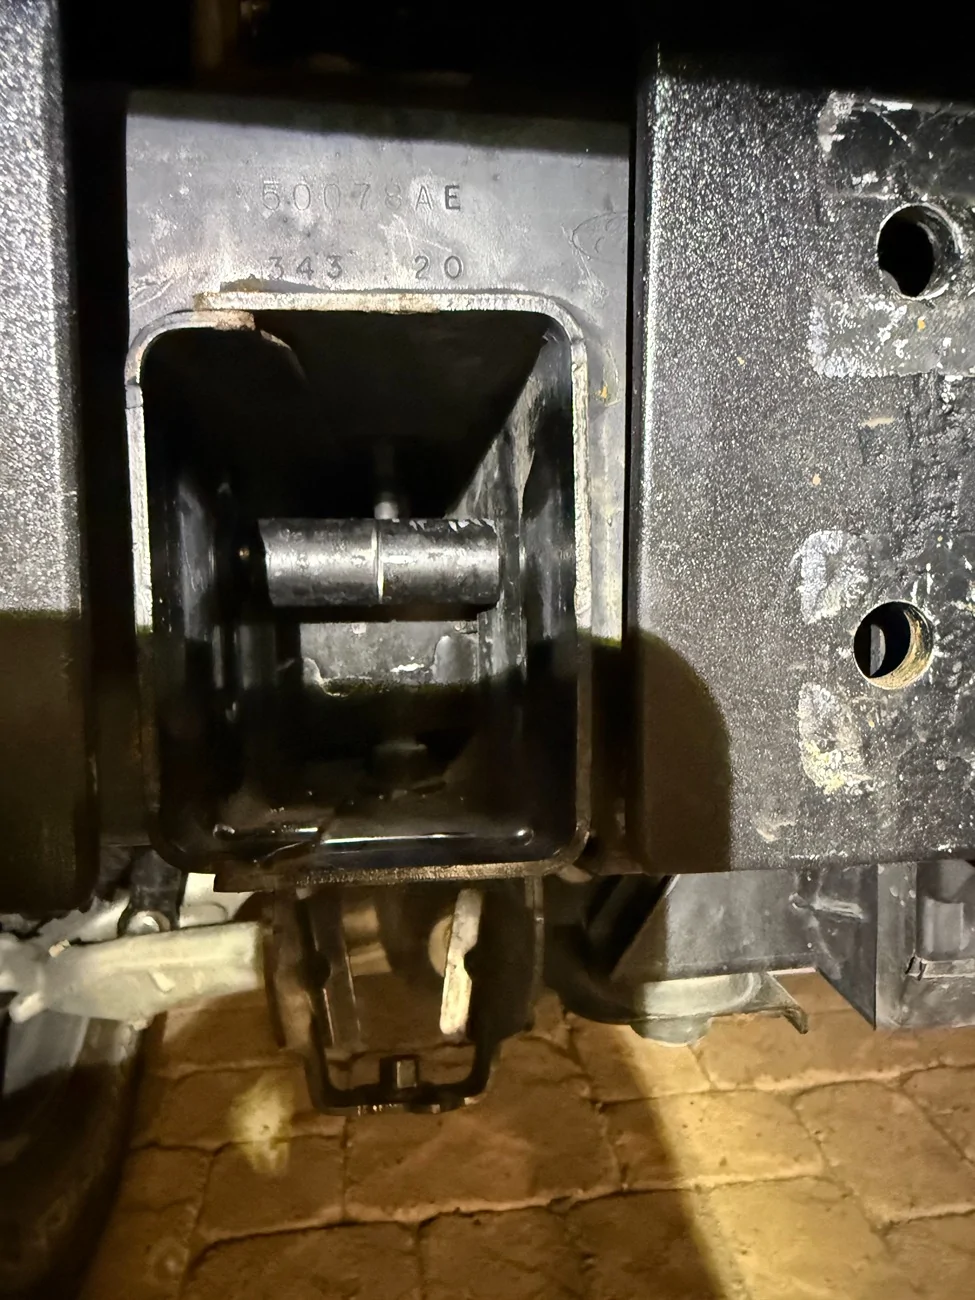
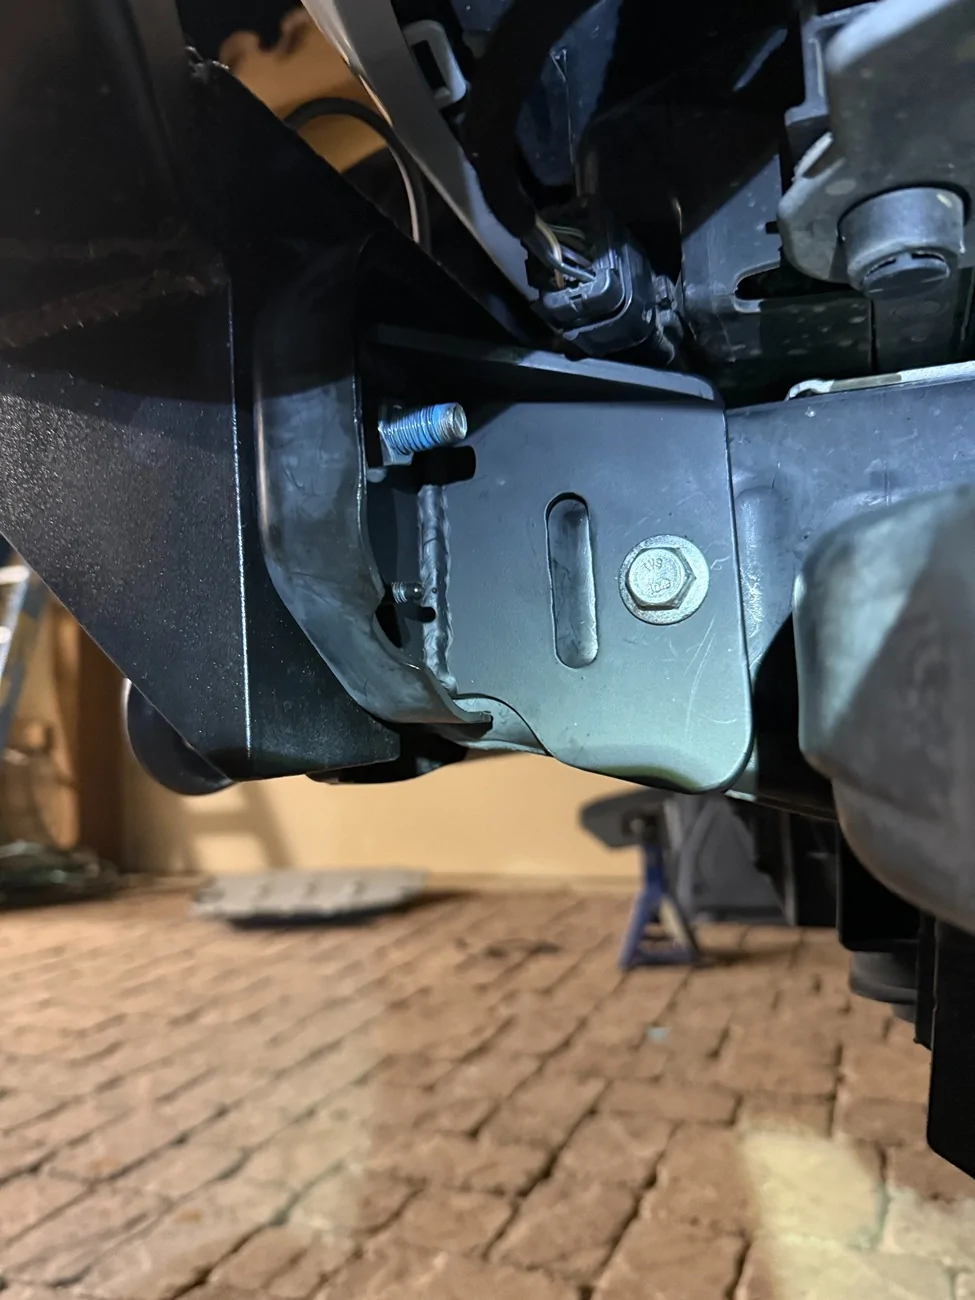
Driver's side is done. I scrapped the old parts which had been mirror image copies of the pieces I cut for the passenger's side... without knowing that the frame holes are in a different position.
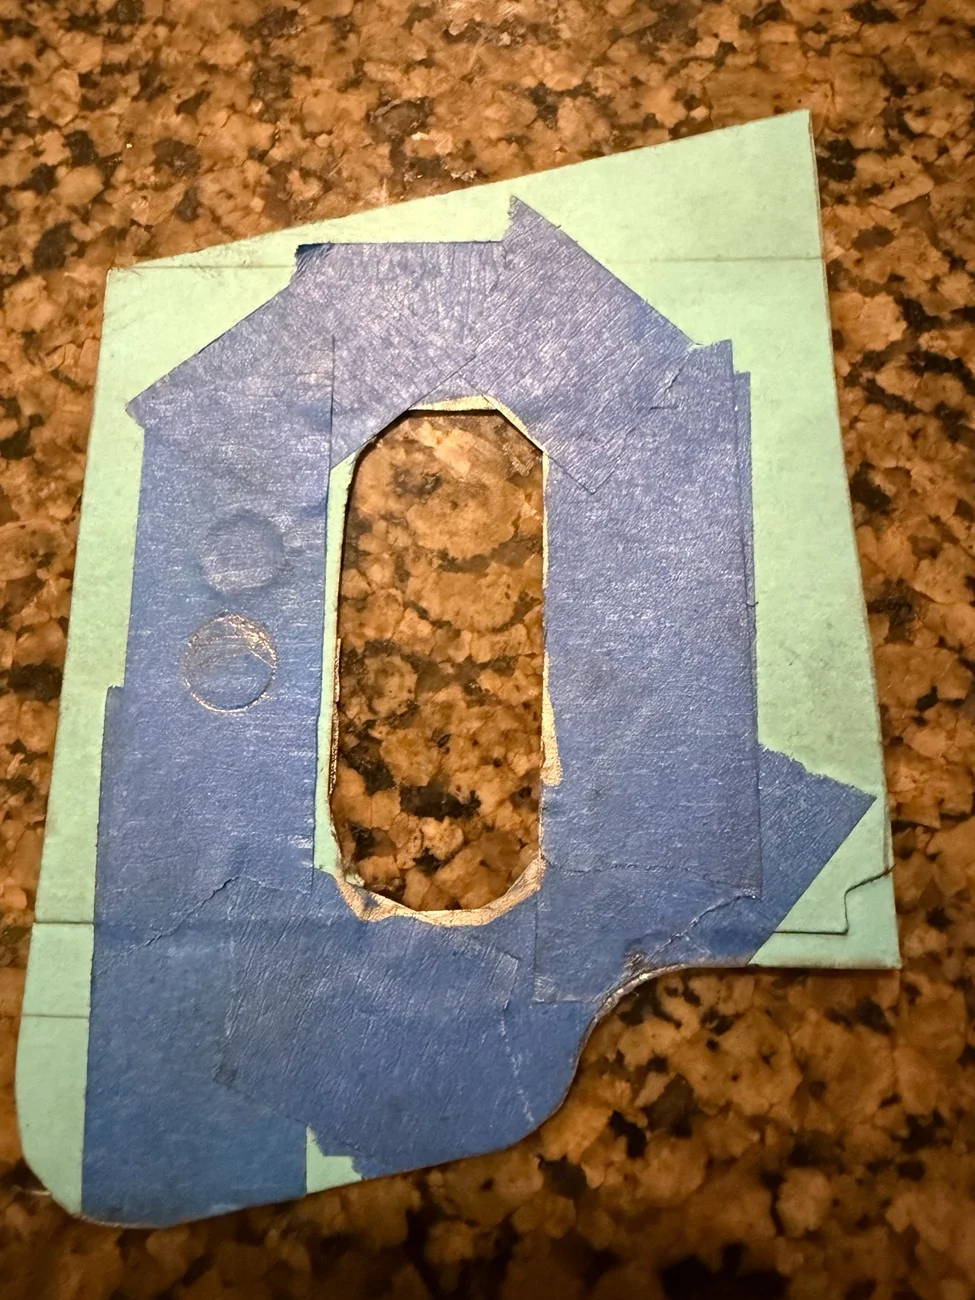
I modified my template, tracing the new hole position.
Here's the template. The old hole location is visible as a circular indentation in the masking tape. The new hole is traced with pencil. They don't even overlap. *facepalm*

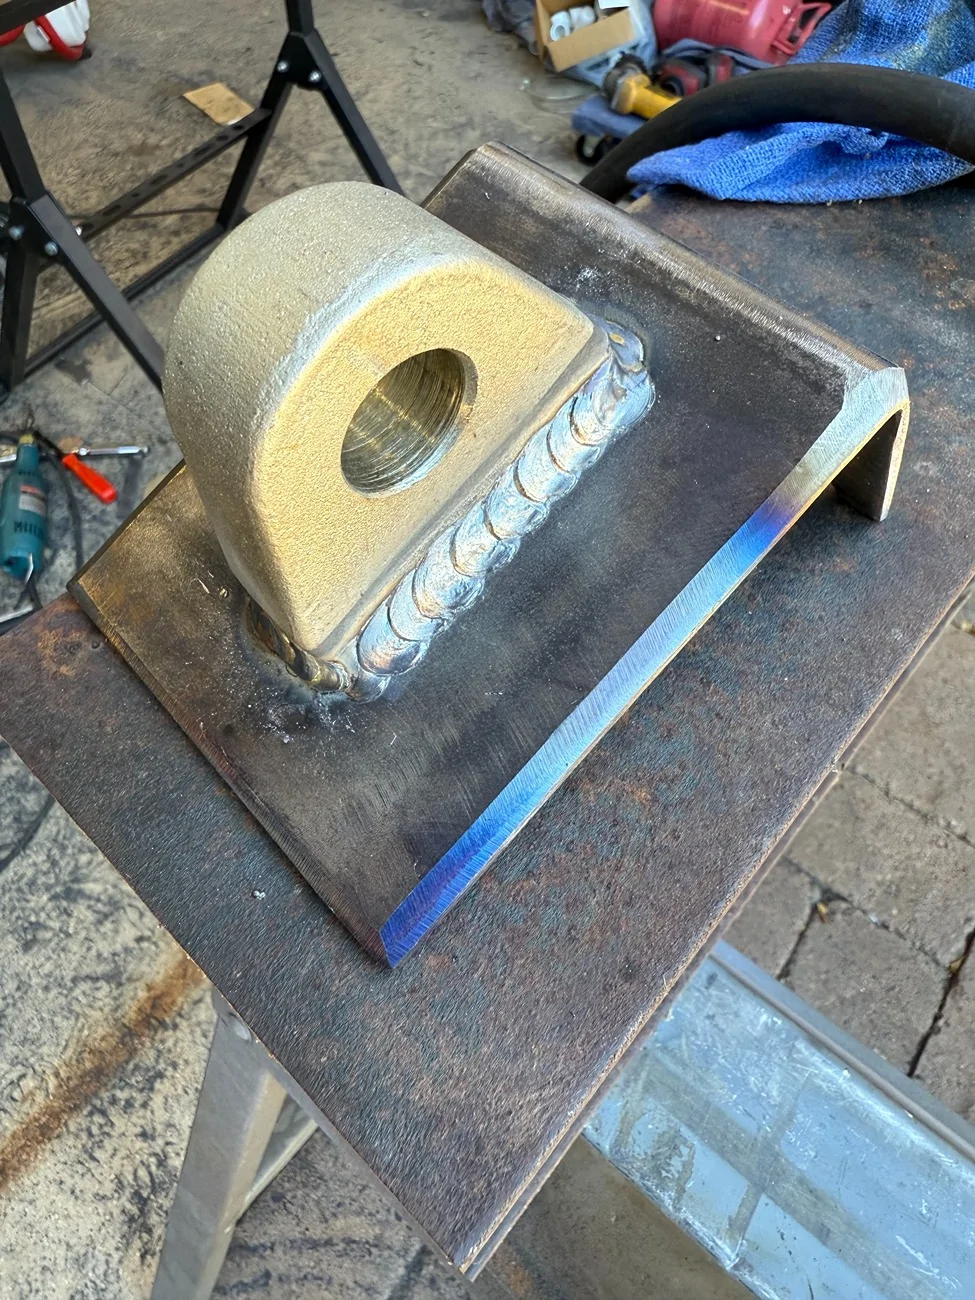
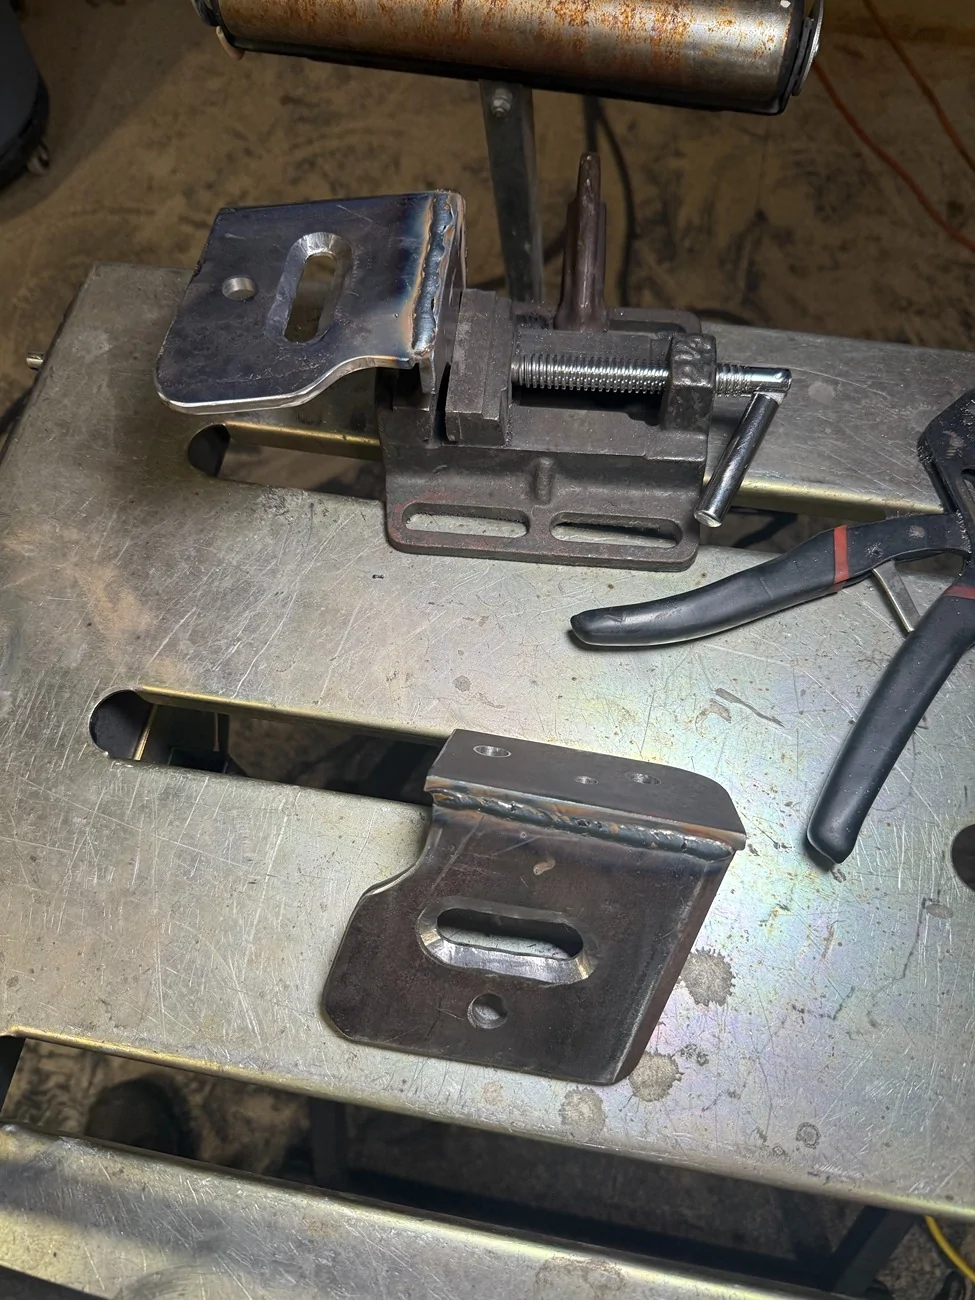
I roughed out the new pieces last night after dinner.
Today, I got home and finished shaping them out. I just finalized the welds and they're cooling before I grind flat on the outer surfaces and then spray paint.
I'll re-assemble tomorrow afternoon.
Scrapping parts added 1 day.
Sponsored