
- First Name
- Paul
- Joined
- Jan 14, 2021
- Threads
- 12
- Messages
- 353
- Reaction score
- 781
- Location
- Nfld, Canada
- Vehicle(s)
- 1993 GMC 4X4 / 2012 Mustang convert
- Your Bronco Model
- Outer Banks
- Thread starter
- #1
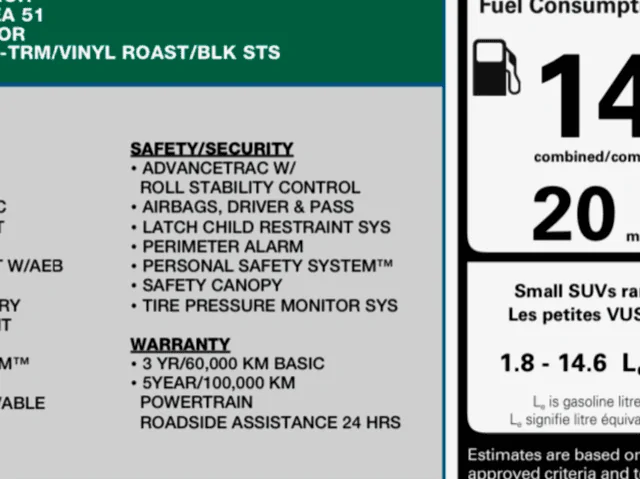
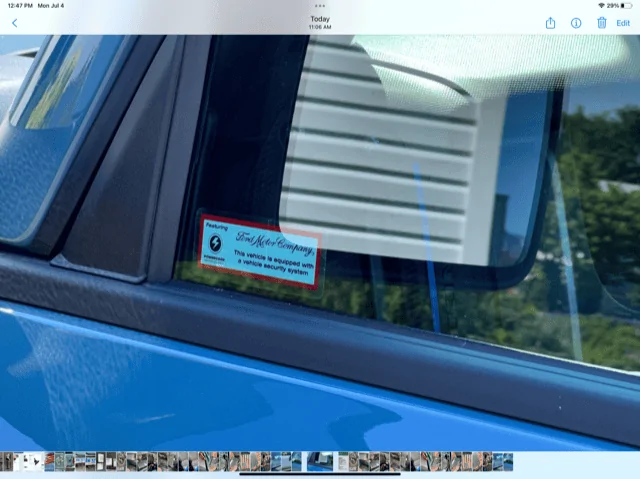
Well the window sticker said perimeter alarm and technically it’s there but it’s just half of it. I looked around the this site and found a 10 page topic on which left me with some confusion and even more questions so I’m starting this new post on the perimeter alarm Plus to try and make it easier for others that might want to do this install.
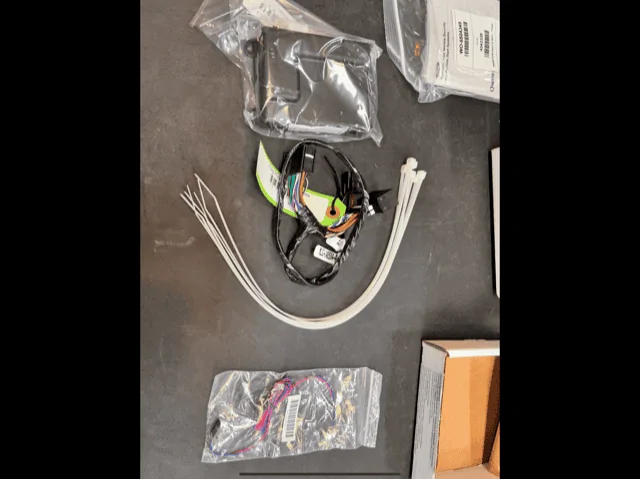
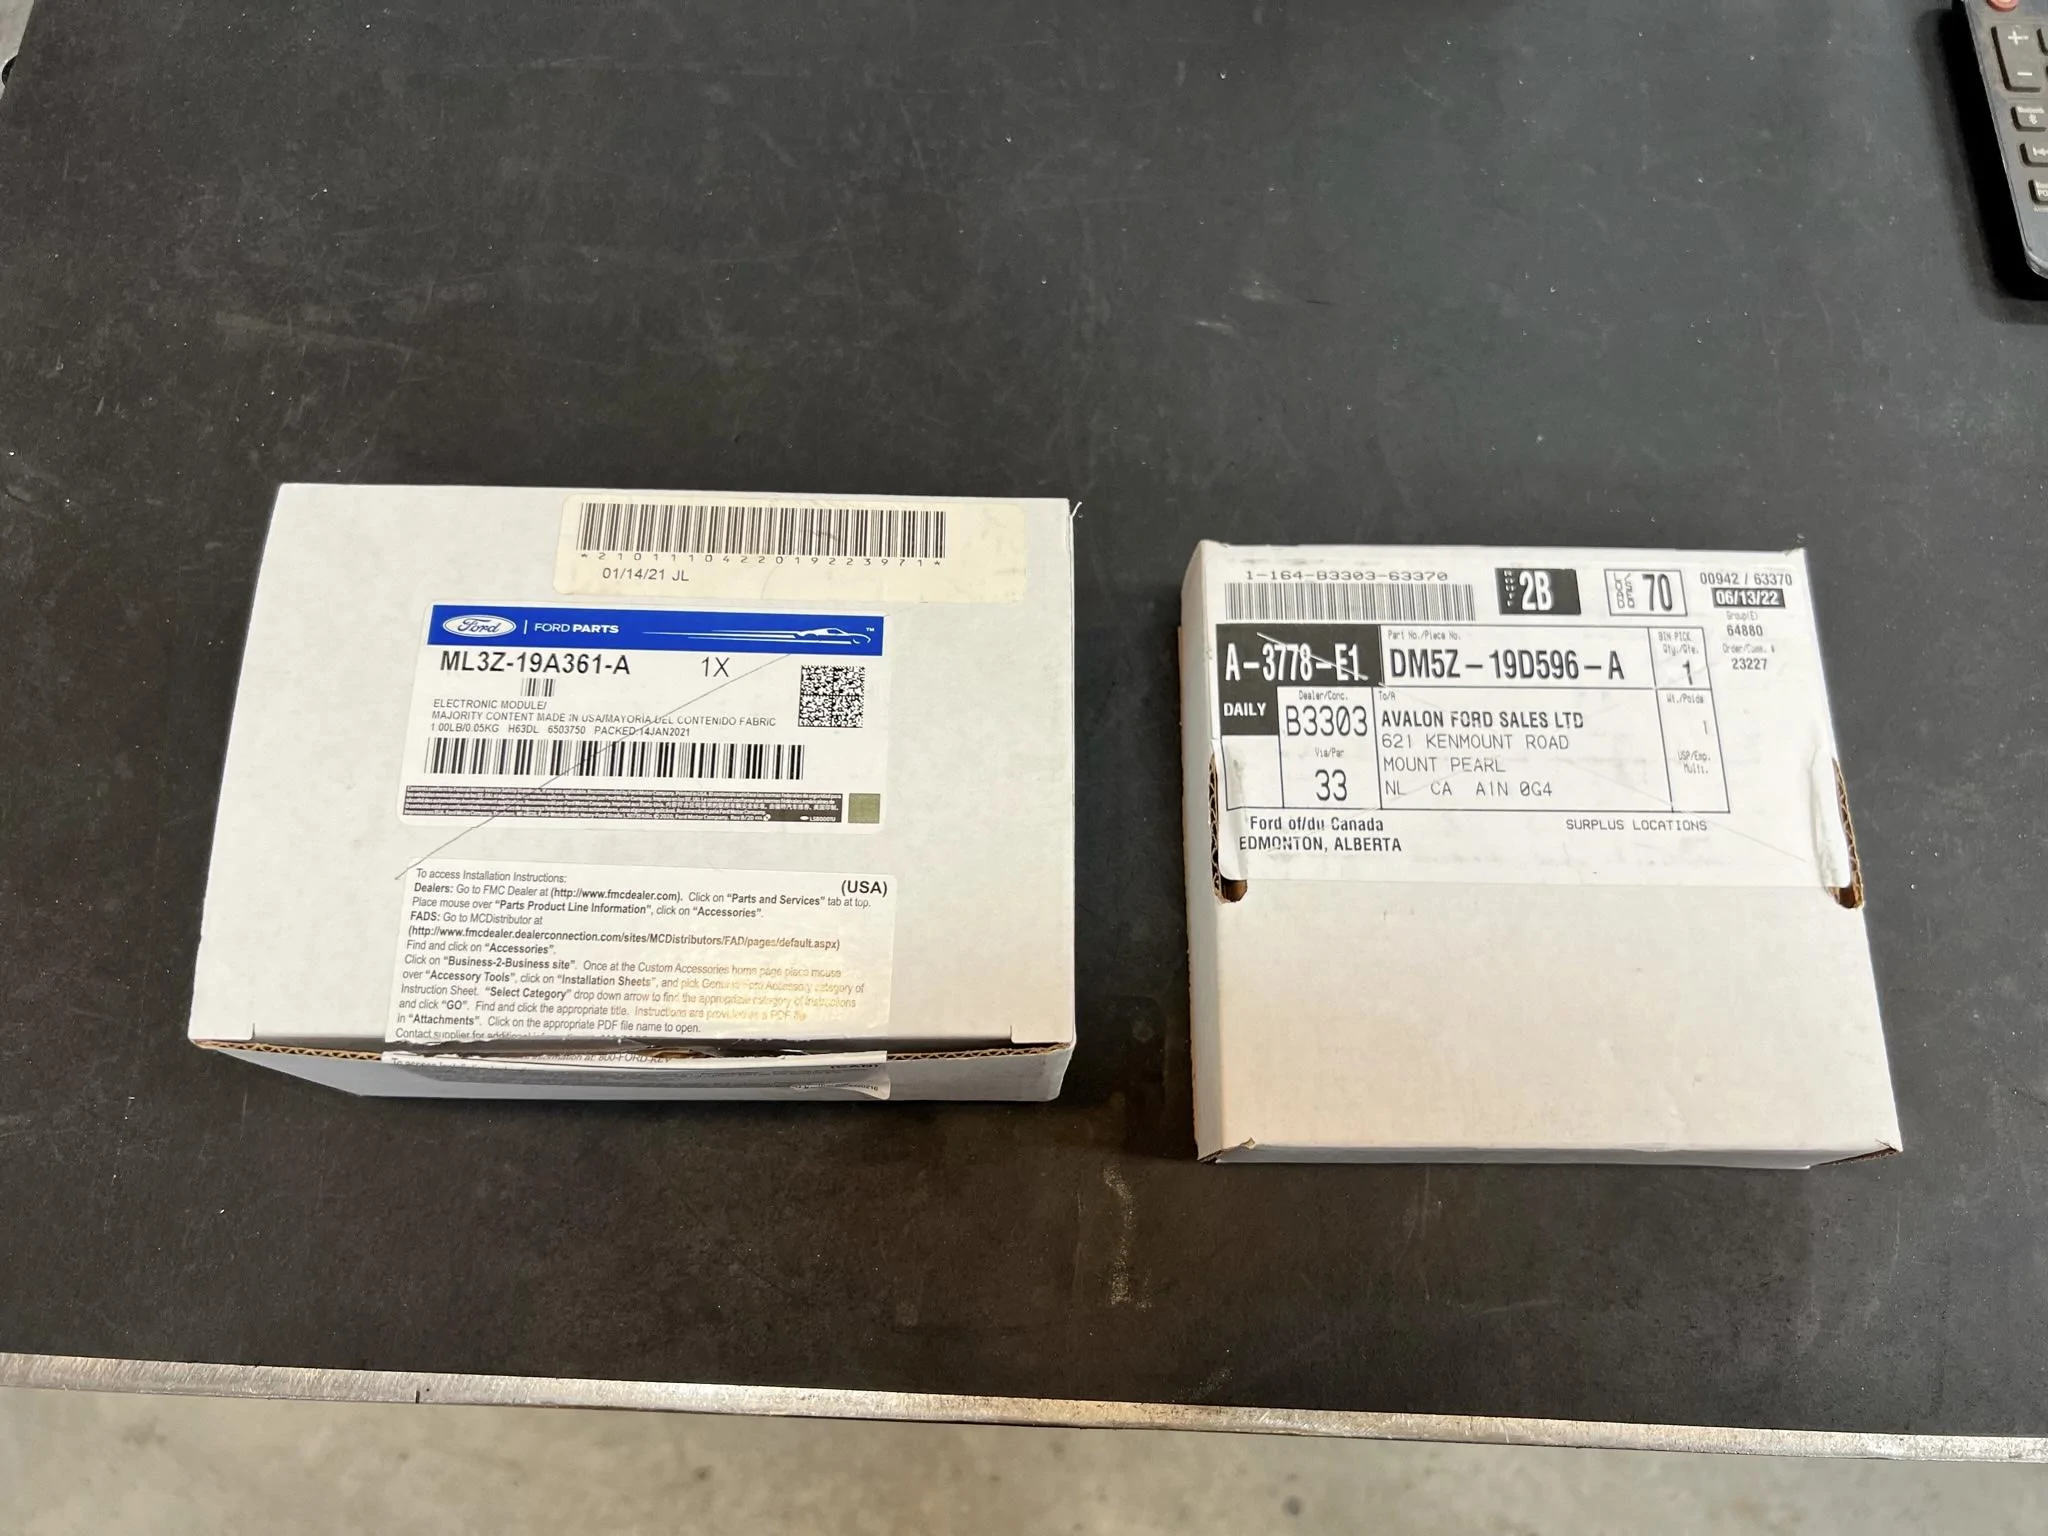
I bought the perimeter alarm module and the optional LED light and harness( the part numbers are on the boxes pictured) Keep in mind these are Canadian part numbers so they might differ from the American part numbers.
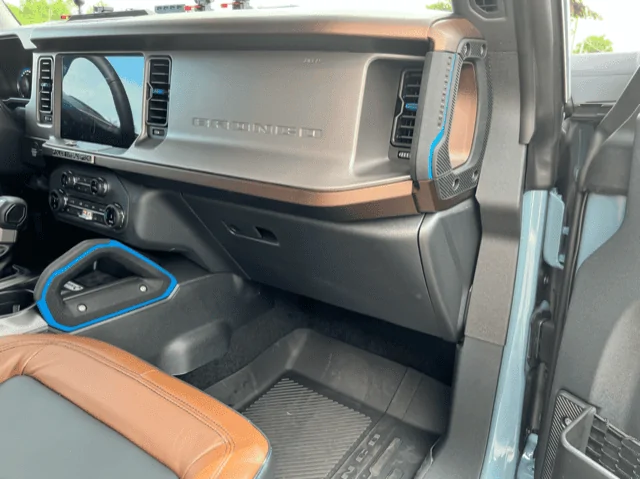
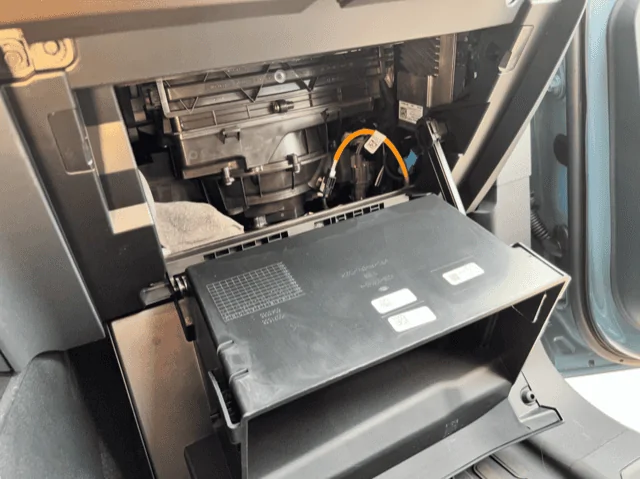
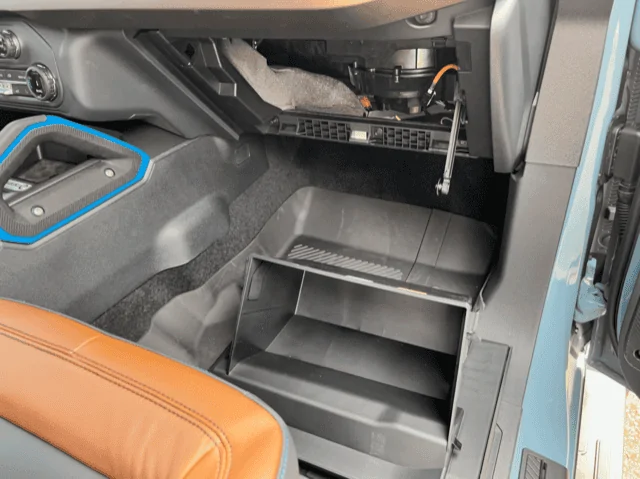
Open your glove box. Theres a dampener to the right of the box that you can pull out from the box. There’s a push in tab on each side of the glove box that you need to push in on to release the complete box. Let the box swing down all the way then lift it off it’s hinge. Now you’ll see the perimeter alarm to the right of the opening. It’s all aluminum with two electric plugs in it. One small one close to the top. Push the lock tab on the plug and pull out.
Theres also a plug on the bottom of that box but it’s tough to remove But that’s the plug you need to get out for this installation. I removed the three 5/16th nuts and pulled the module up where I could release that plug.
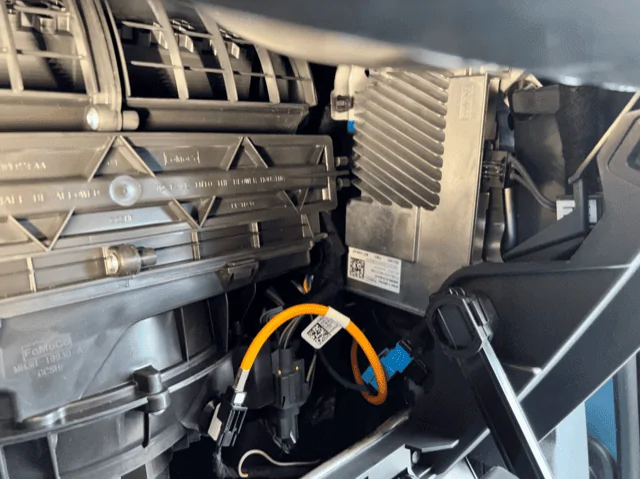
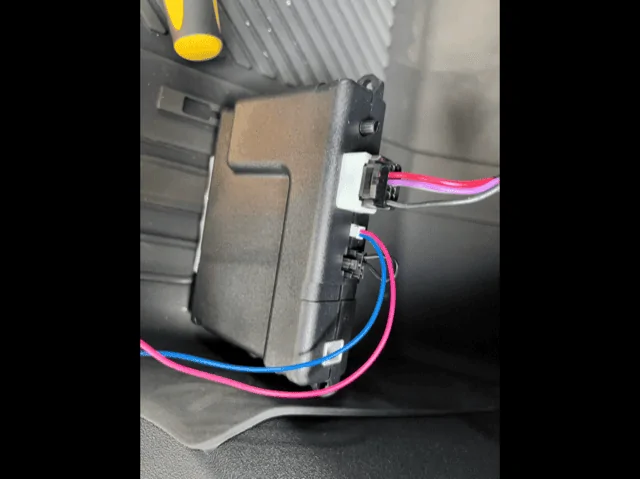
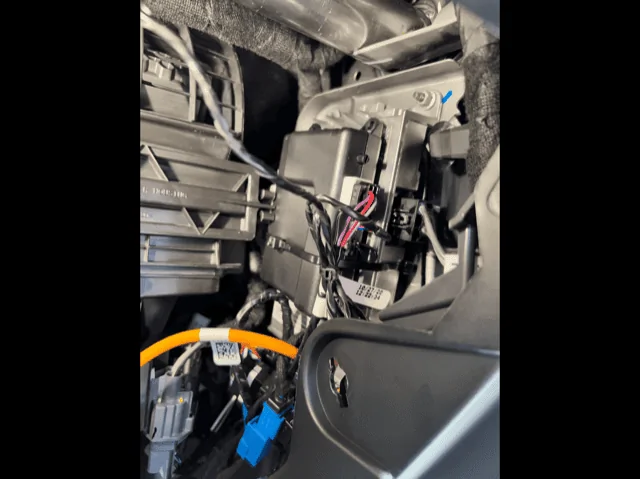
Once that plug is removed take the small harness that came with the perimeter plus module and plug it into the oem module. The other end of the plug will be you pulled out of the oem module will plug into The perimeter alarm plus module. There’s also a tiny black plug that came with the kit that has a wire loop on it. Plug that into the new module as well. Before you install the led light you should wrap it in some electrical tape to help protect the harness as I did in the photo.
reinstall the oem back to its original position with reusing the 3 5/16 nuts. Hand tight will do.
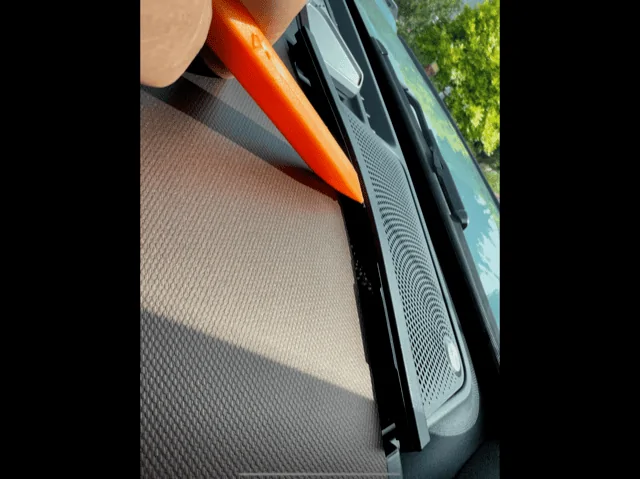
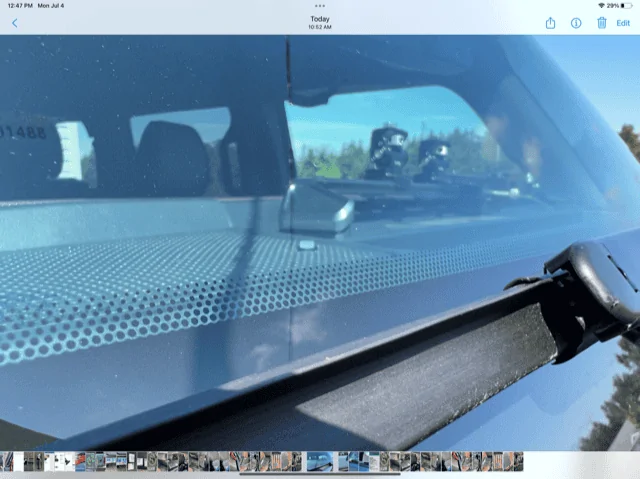
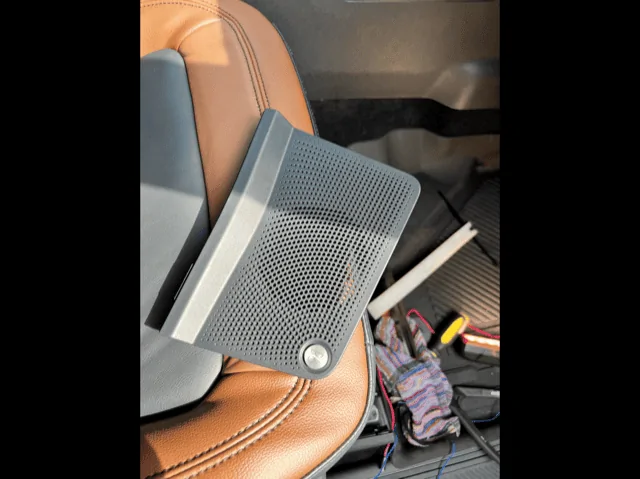
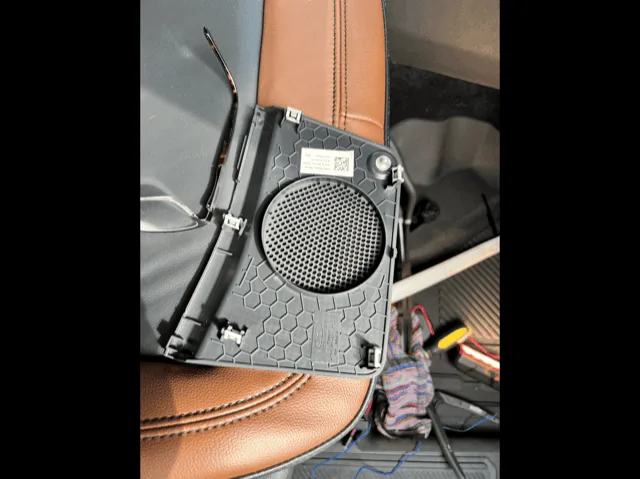
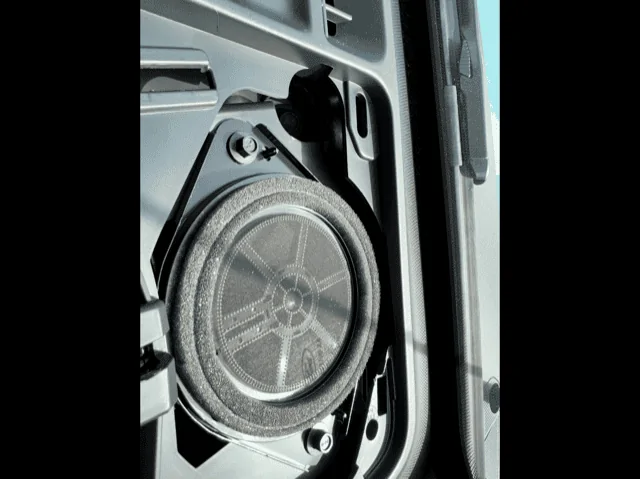
I removed the right speaker grill and drilled a 1/8th hole then up to 9/32nd and install the lord light. Fish the wire to the side of the speaker and down to the perimeter alarm plus module and plug it in.
Please keep in mind there are very sharp edges up in that area, you can get injured and make sure you zip tie your new plus module like I did in the photo. Keep all other wiring away from those sharp edges by using more zip ties.
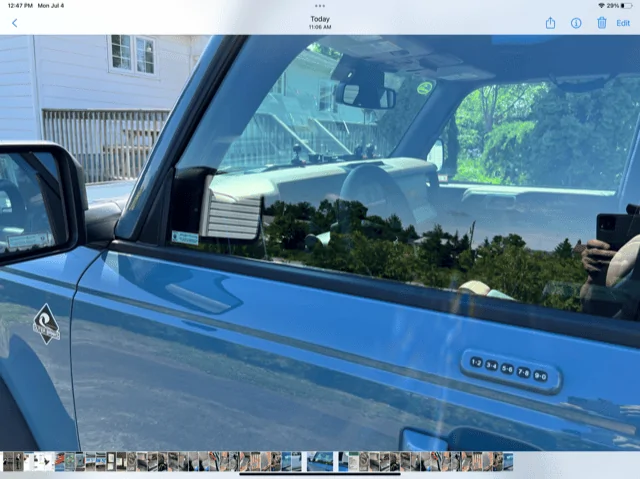
Before you install everything back in place you need to do one important task and that is to cycle the ignition first. Once you do that get out of the vehicle and with your remote and looking at your led through the windshield hit the lock button. The led light will blink fast for 20-30 seconds then blink slow. Once it blinks slow your vehicle is armed. Depending on the sensitivity adjustment that’s on the module you can test the system by hitting the wheel glass,… it should churp and hitting it again it will set the alarm off. To shut off the alarm simply hit the lock or unlock on the key fob.
I’ve gotten a lot of information from everyone one on this site so I wanted to see if I could contribute in some small way.
I hope this helps.
NOTE: NO PROGRAMING IS REQUIRED.


I bought the perimeter alarm module and the optional LED light and harness( the part numbers are on the boxes pictured) Keep in mind these are Canadian part numbers so they might differ from the American part numbers.
Open your glove box. Theres a dampener to the right of the box that you can pull out from the box. There’s a push in tab on each side of the glove box that you need to push in on to release the complete box. Let the box swing down all the way then lift it off it’s hinge. Now you’ll see the perimeter alarm to the right of the opening. It’s all aluminum with two electric plugs in it. One small one close to the top. Push the lock tab on the plug and pull out.
Theres also a plug on the bottom of that box but it’s tough to remove But that’s the plug you need to get out for this installation. I removed the three 5/16th nuts and pulled the module up where I could release that plug.
Once that plug is removed take the small harness that came with the perimeter plus module and plug it into the oem module. The other end of the plug will be you pulled out of the oem module will plug into The perimeter alarm plus module. There’s also a tiny black plug that came with the kit that has a wire loop on it. Plug that into the new module as well. Before you install the led light you should wrap it in some electrical tape to help protect the harness as I did in the photo.
reinstall the oem back to its original position with reusing the 3 5/16 nuts. Hand tight will do.
I removed the right speaker grill and drilled a 1/8th hole then up to 9/32nd and install the lord light. Fish the wire to the side of the speaker and down to the perimeter alarm plus module and plug it in.
Please keep in mind there are very sharp edges up in that area, you can get injured and make sure you zip tie your new plus module like I did in the photo. Keep all other wiring away from those sharp edges by using more zip ties.
Before you install everything back in place you need to do one important task and that is to cycle the ignition first. Once you do that get out of the vehicle and with your remote and looking at your led through the windshield hit the lock button. The led light will blink fast for 20-30 seconds then blink slow. Once it blinks slow your vehicle is armed. Depending on the sensitivity adjustment that’s on the module you can test the system by hitting the wheel glass,… it should churp and hitting it again it will set the alarm off. To shut off the alarm simply hit the lock or unlock on the key fob.
I’ve gotten a lot of information from everyone one on this site so I wanted to see if I could contribute in some small way.
I hope this helps.
NOTE: NO PROGRAMING IS REQUIRED.

Sponsored
Last edited:


