- Thread starter
- #1
I wanted to share my @wheelsfeels.com drawer storage system install since there was only an autocad video provided by the manufacturer. I like the kit, the CNC cuts are precise and it was relatively easy to assemble. It weighs in at about 13 pounds and provides some additional storage while allowing you to access the factory storage when the draw is out and the lid is lifted.
I ordered this box kit on 10 NOV and received 15 JAN (66 days) - It was well packaged, had some extra hardware and a small cross point screwdriver and a hex wrench. It did not have instructions, when I contacted them, I could not get anyone to answer the phone, but did receive an email to a video (follow link - Guide). When I asked about written instructions, I received no reply. So I decided to take some pictures and with my laptop on hand, I was able to sort it out and install in about 2 hours time.

Here is the completed install with my back seats folded flat - their website says that they have a model for those that removed seats, but I wanted to keep my seats in place. Note that the left side is slightly different than the right to allow the tailgate indentation to fit properly. I have a tailgate mounted table that did not interfere with the drawer.

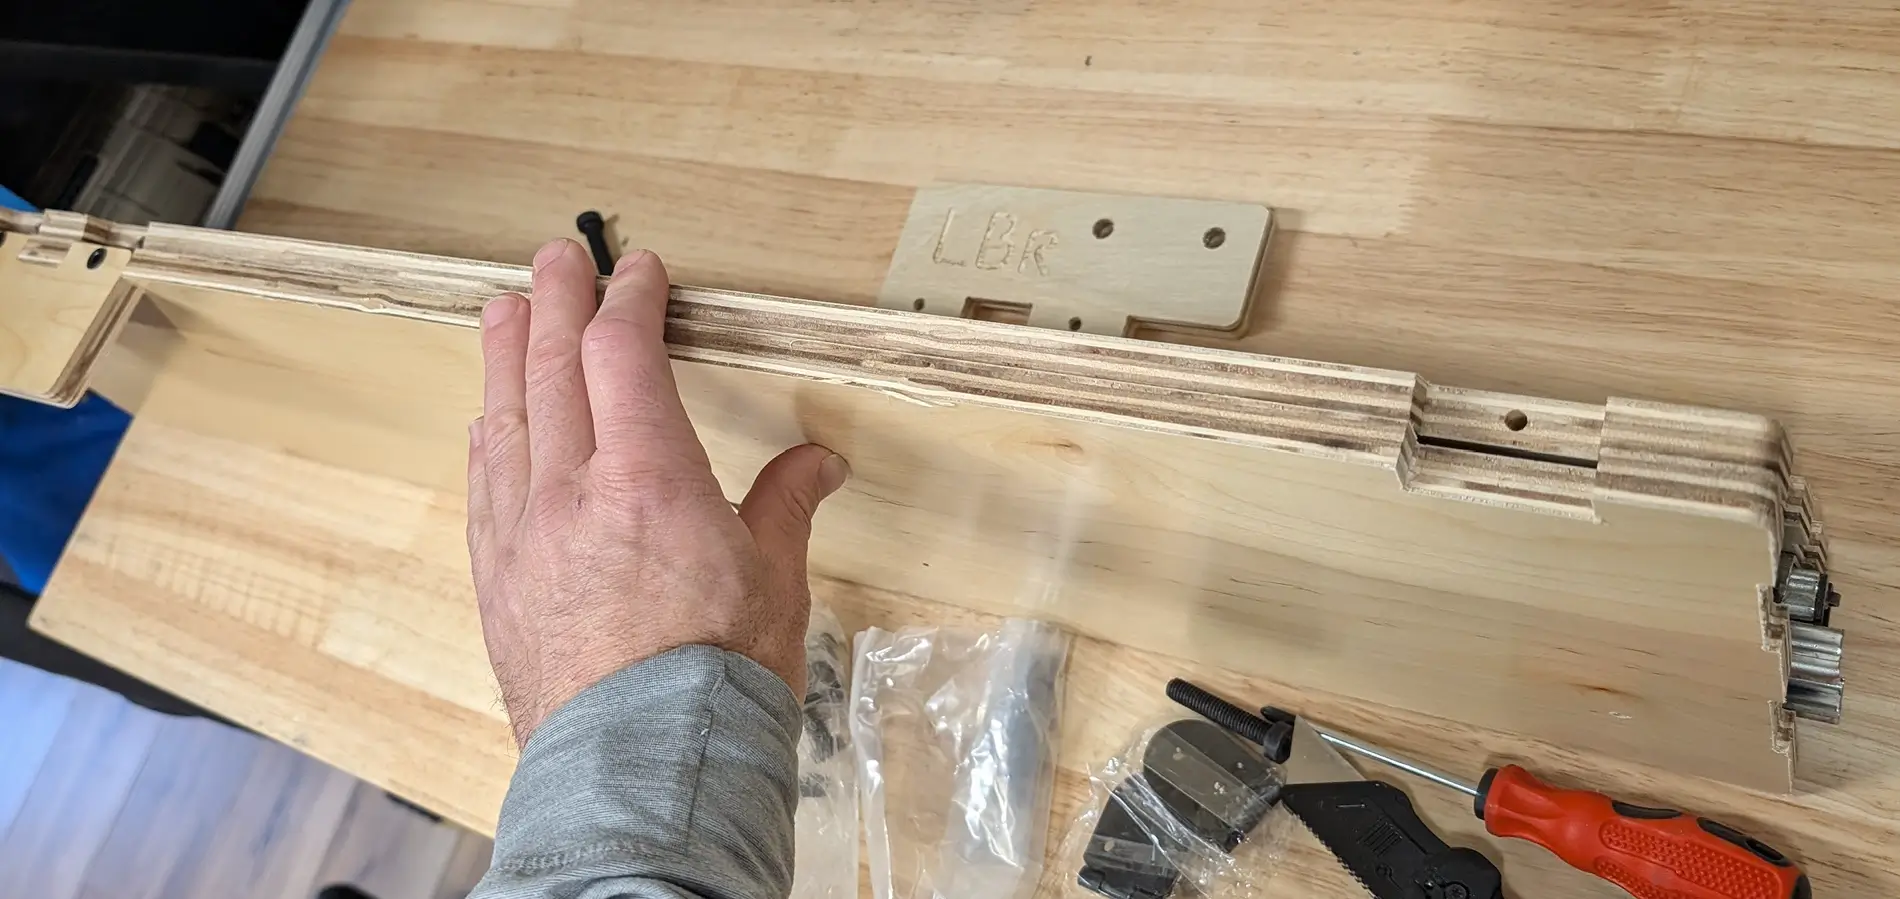
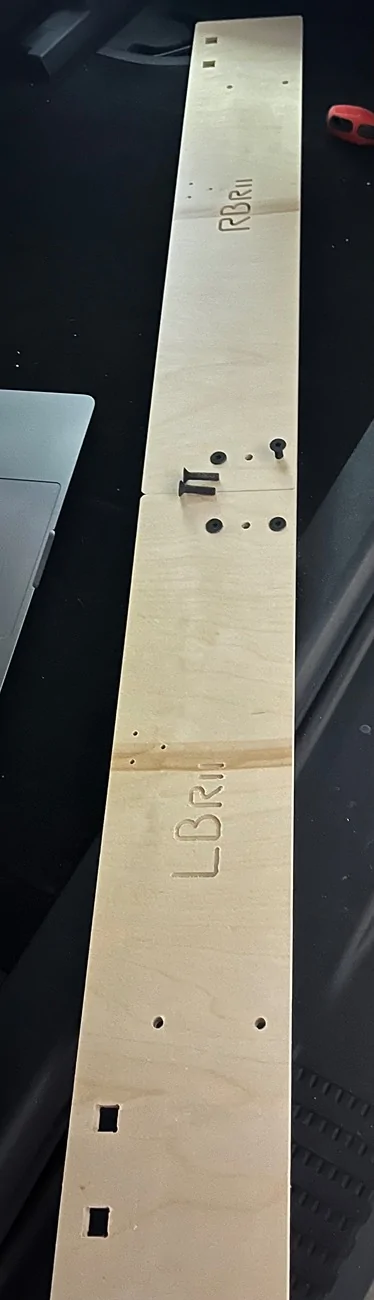
The first piece appears to be one piece in the instructions, but it is two pieces that are joined with 6 of the M6 x 25 screws.
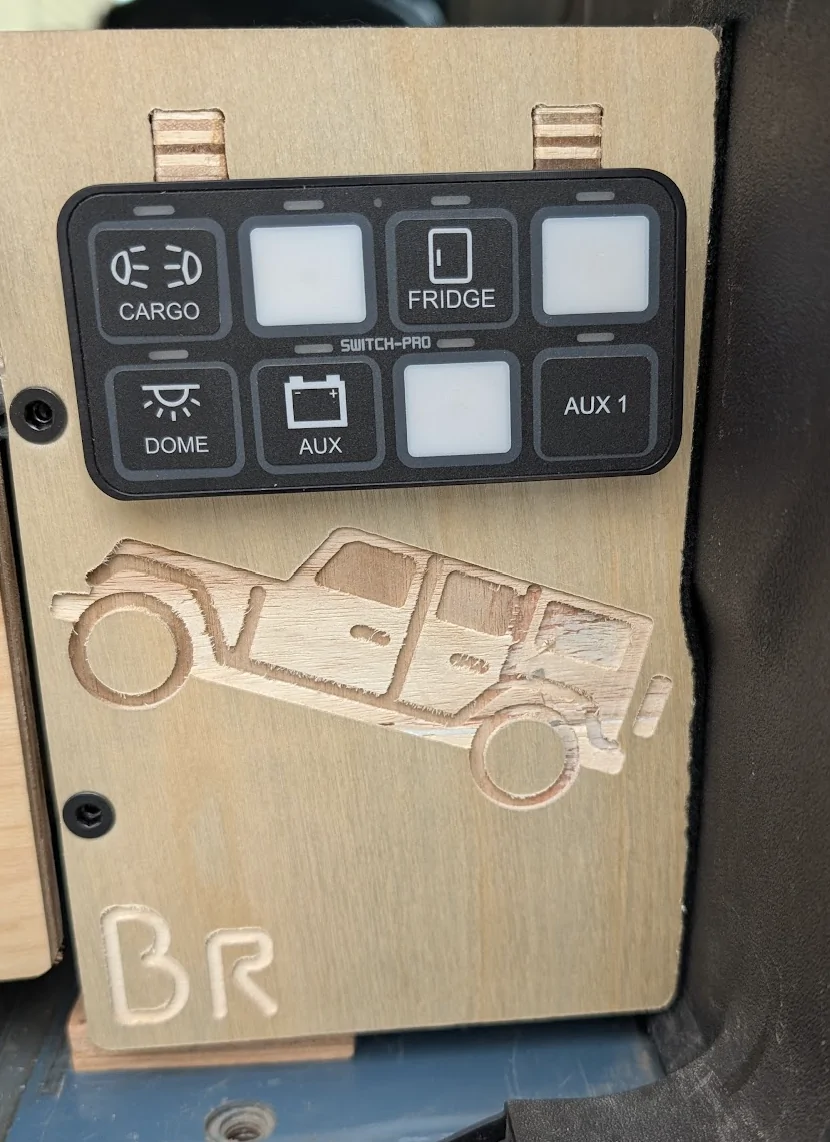
Panels and pieces are marked "L" and "R" which reference the left or right of the drawer as viewed from the back of the truck looking forward.


The majority of the remaining screws are M6 x 40.
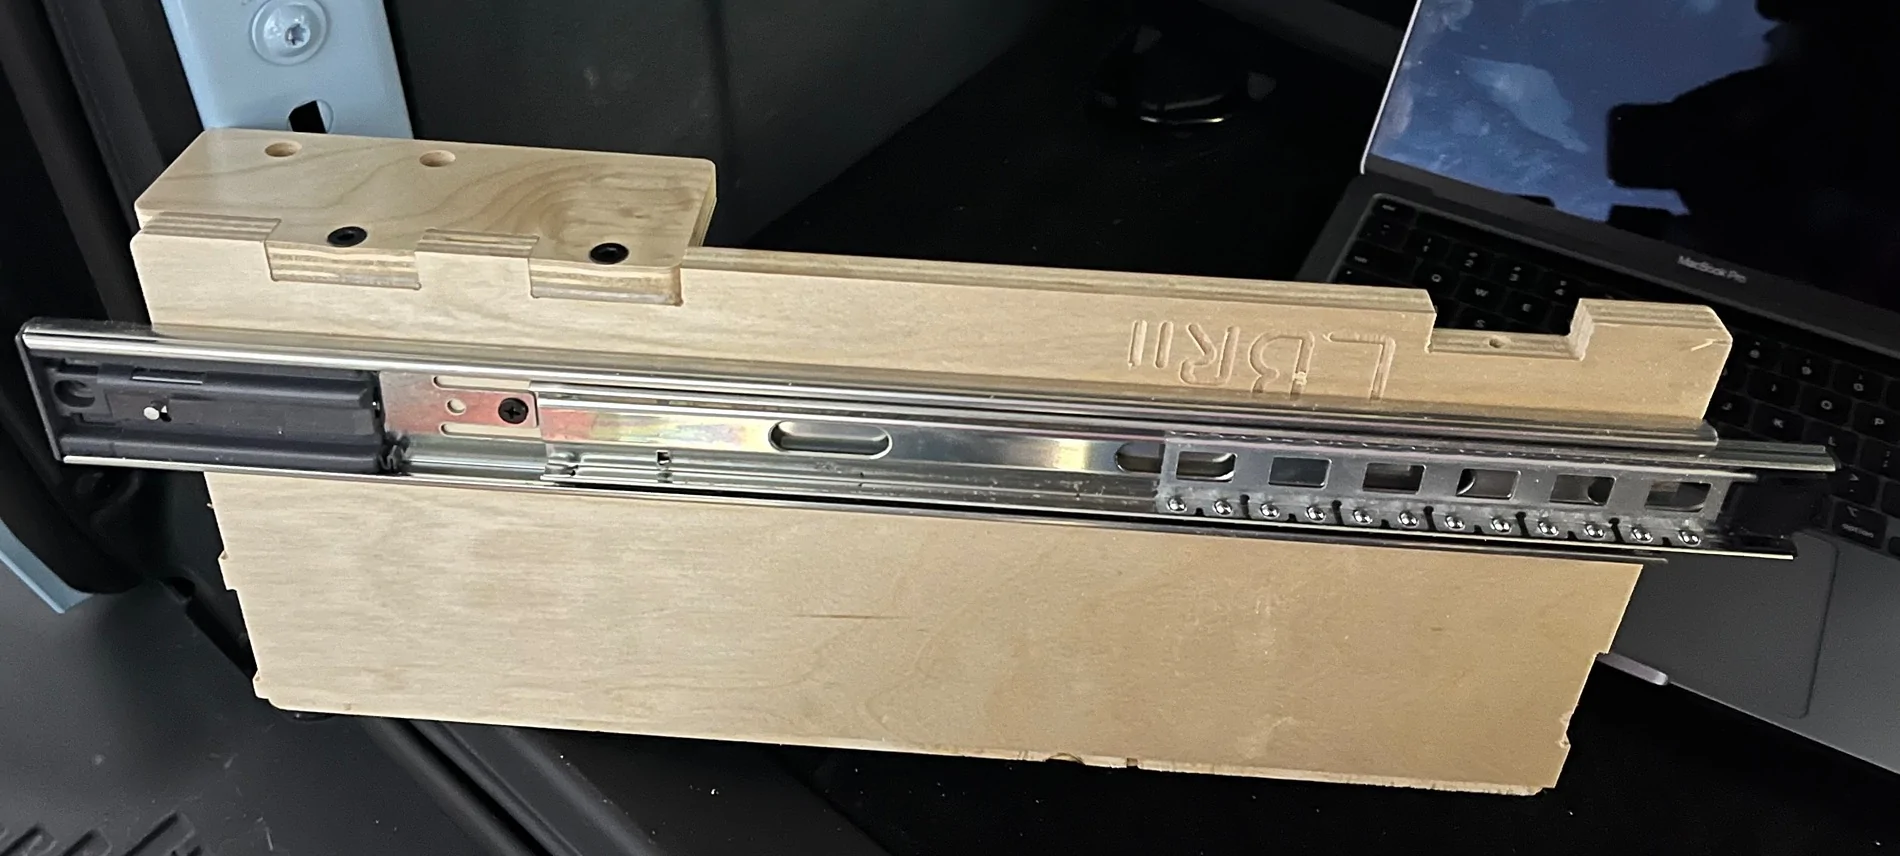
Next, both the left and right side of the base need to have the pieces that allow you to secure the system to the locations of the tie downs. They are secured on the bottom of the pieces that have the drawer slides - the larger of the two requires two screws while the smaller takes one. The drawer slides are on the interior of the piece for both the left and the right sides. Both of the smaller pieces are installed so that the writing Is facing up while the writing on the pieces that have the slides are facing the space where the drawer will be located.

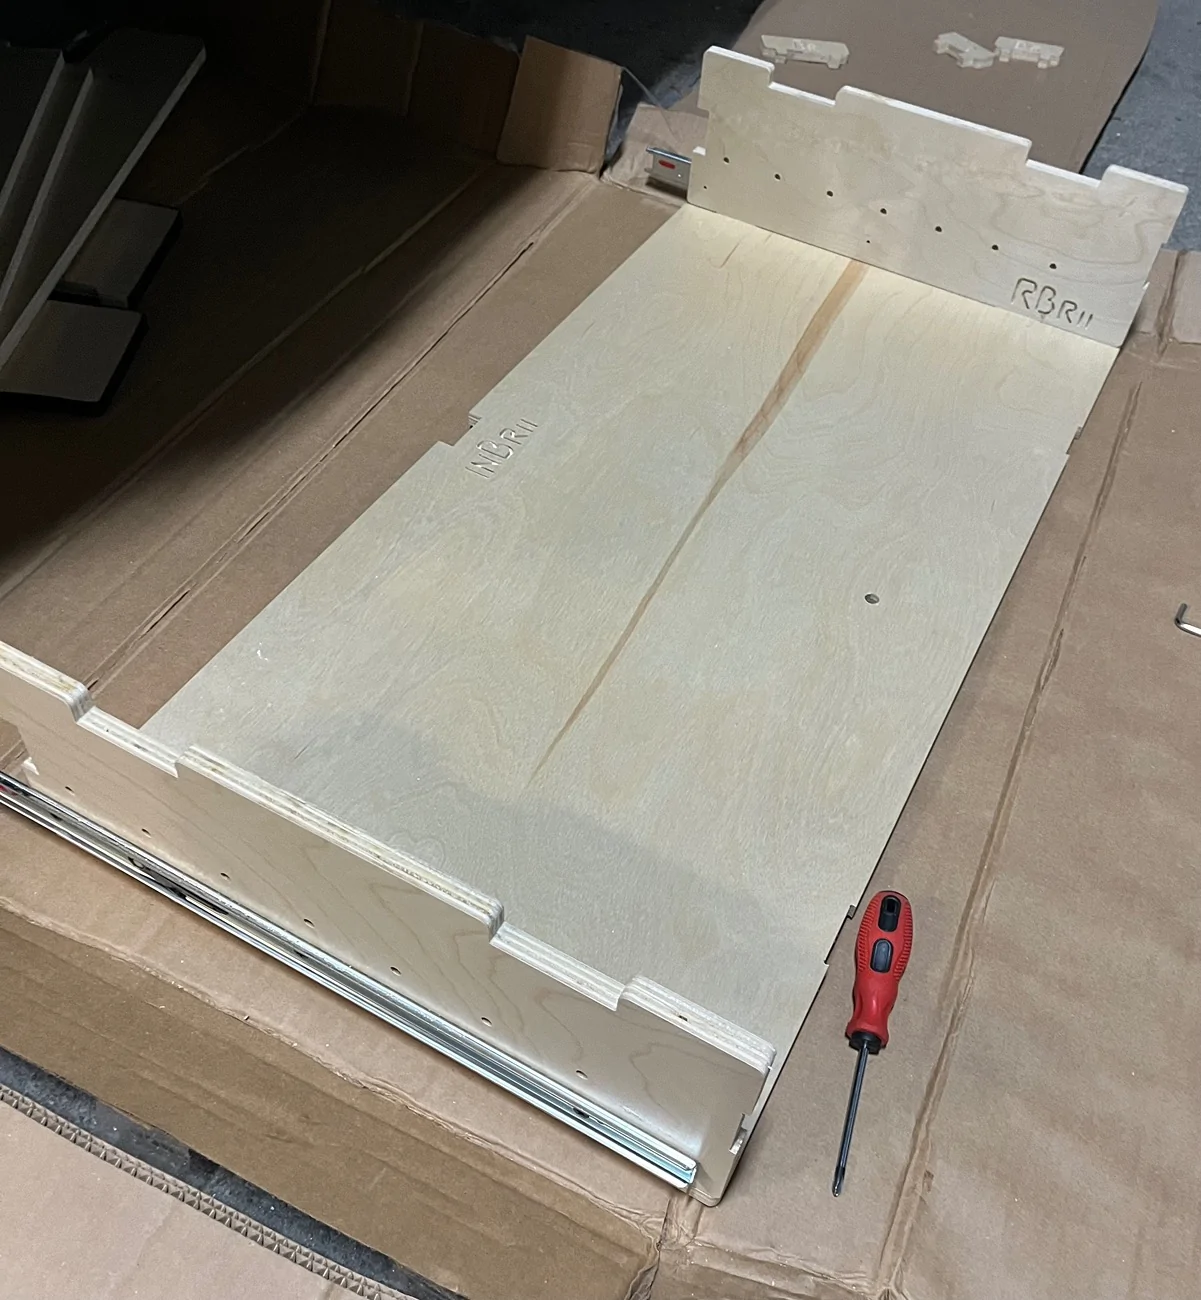
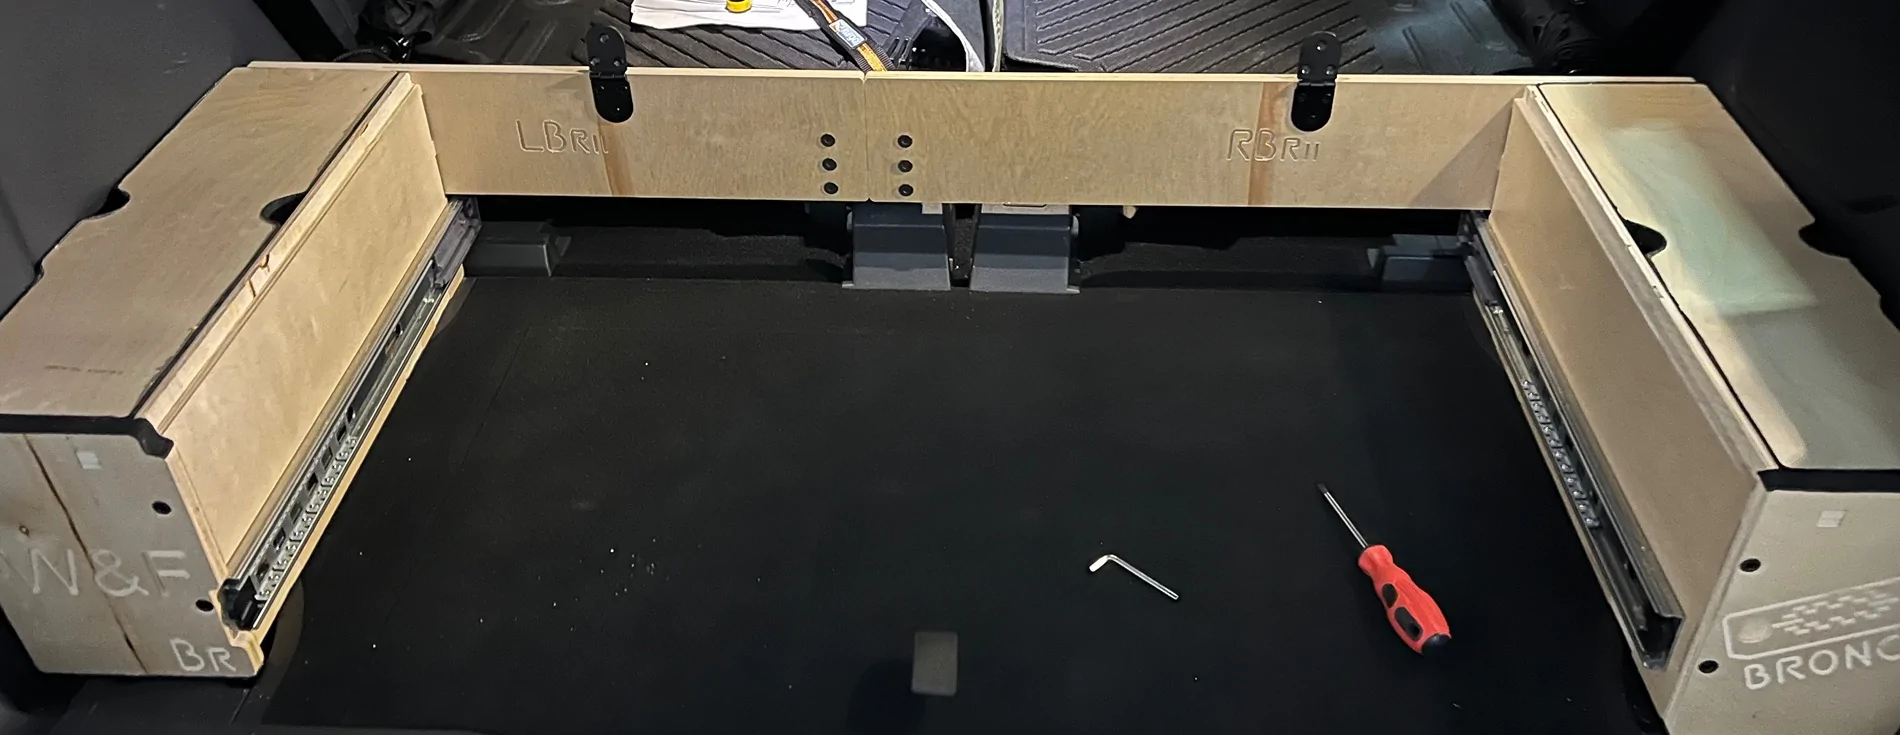
Once the two drawer sides are assembled attach the first piece to the two side pieces using two screws on each side - completed it looks like this. Note how the first, longer piece's joint is not centered with the left side being shorter.

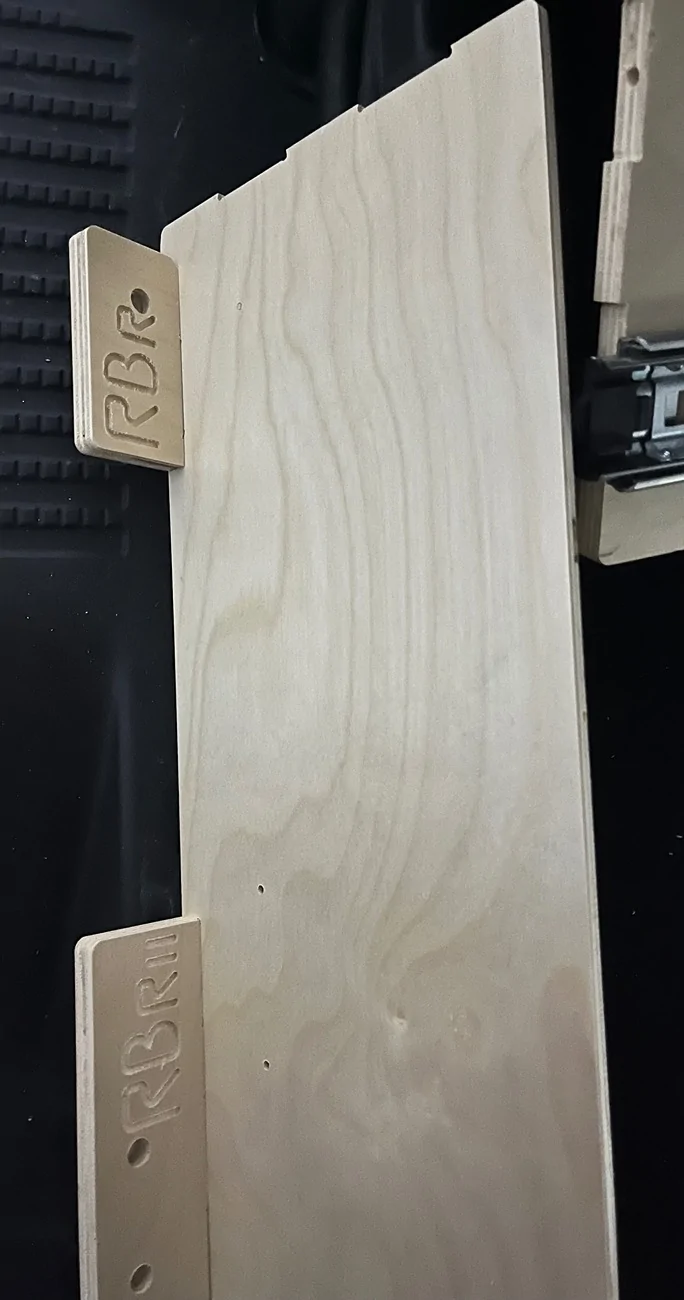
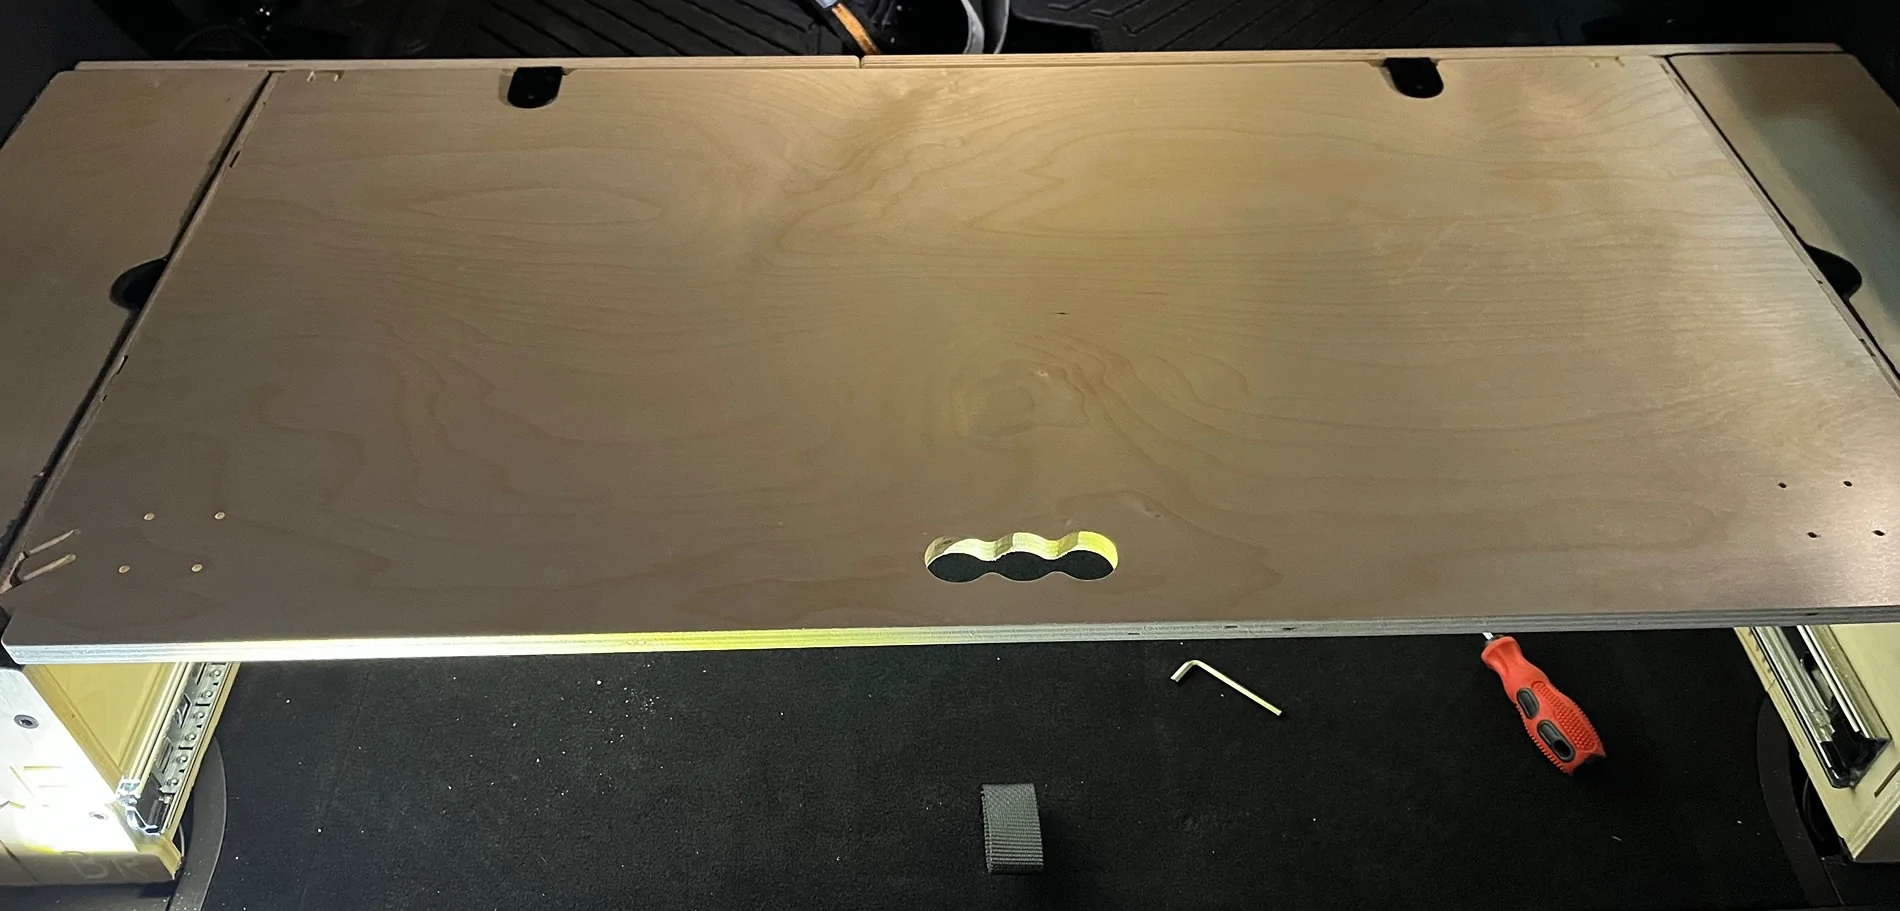
On the drawer, each side is secured to the base with two screws on each side which are located at the base of the side pieces, below the drawer guides. The guides extend beyond the surface of the drawer as shown on the side that has the notch in the base of the drawer bottom.

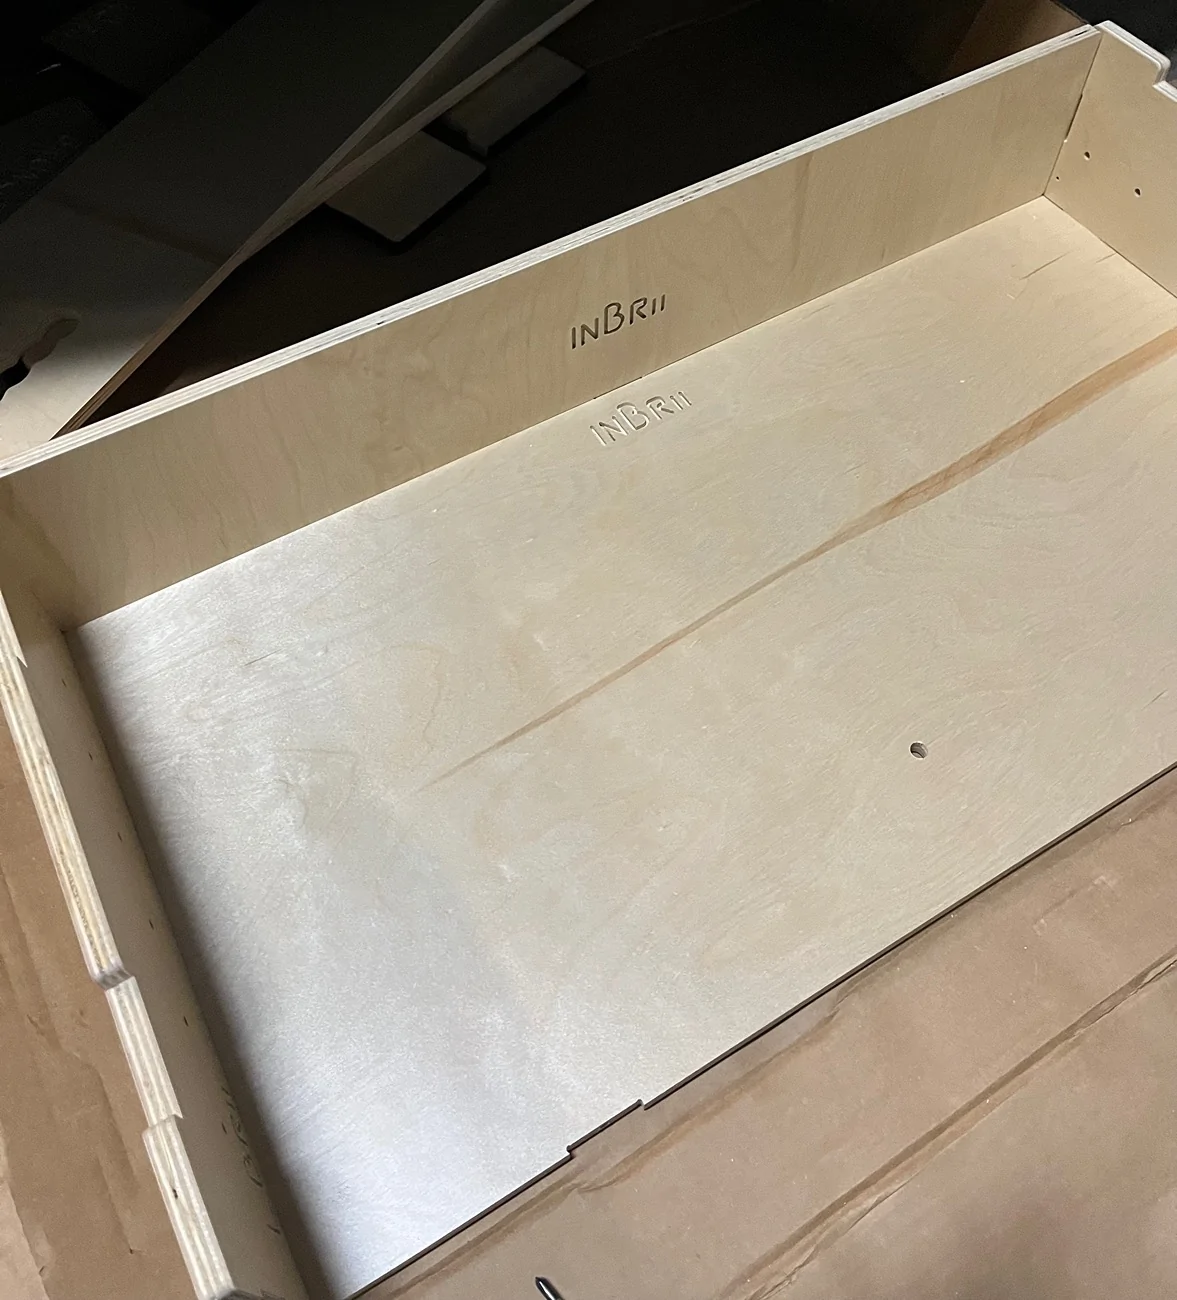
The back of the drawer is installed with three screws, one on each side and one centered attaching to the bottom of the drawer.

The front of the drawer is installed with four screws as shown. All writing faces the interior of the drawer.

Using a 10mm socket, remove three M8 x 1.25 pitched bolts as shown - two forward and the forward most of the rear tie down point. The instructions show that you can re-use this hardware, but it is not possible as they are too short. I purchased 6 each M8 x 50mm 1.25 pitch bolts and washers that allowed enough thread to hold the drawer in place. Additionally, the plastic covers can not be reused when you install the drawer. The kit comes with 6 M6 x 40 bolts, but unfortunately on my 2024 they are not the correct size.
I do not have a picture of the bolts installed as I had to install them after a trip to the hardware store. I used a 16p nail to help align the holes and had no significant issues bolting the system in place.


On each side use two screws to attach the end pieces as shown.

On each side press into place the small blocks into the notches as shown. The larger one is at the rear of the vehicle as depicted. I pressed them into place by hand.

Next, Install the two hinges as shown with three of the small wood screws each - I also have placed the removable covers over each side.

Attach the lid using three more wood screws per side as shown.
Finally, carefully install the drawer rails into the slides - this must be done straight and at the same time to prevent misalignment. Gently push the drawer all the way into its space.

Last you can install two or no dividers using one screw on each side. The optional table top fits nicely on top of the drawer as shown in the last photo.

I ordered this box kit on 10 NOV and received 15 JAN (66 days) - It was well packaged, had some extra hardware and a small cross point screwdriver and a hex wrench. It did not have instructions, when I contacted them, I could not get anyone to answer the phone, but did receive an email to a video (follow link - Guide). When I asked about written instructions, I received no reply. So I decided to take some pictures and with my laptop on hand, I was able to sort it out and install in about 2 hours time.
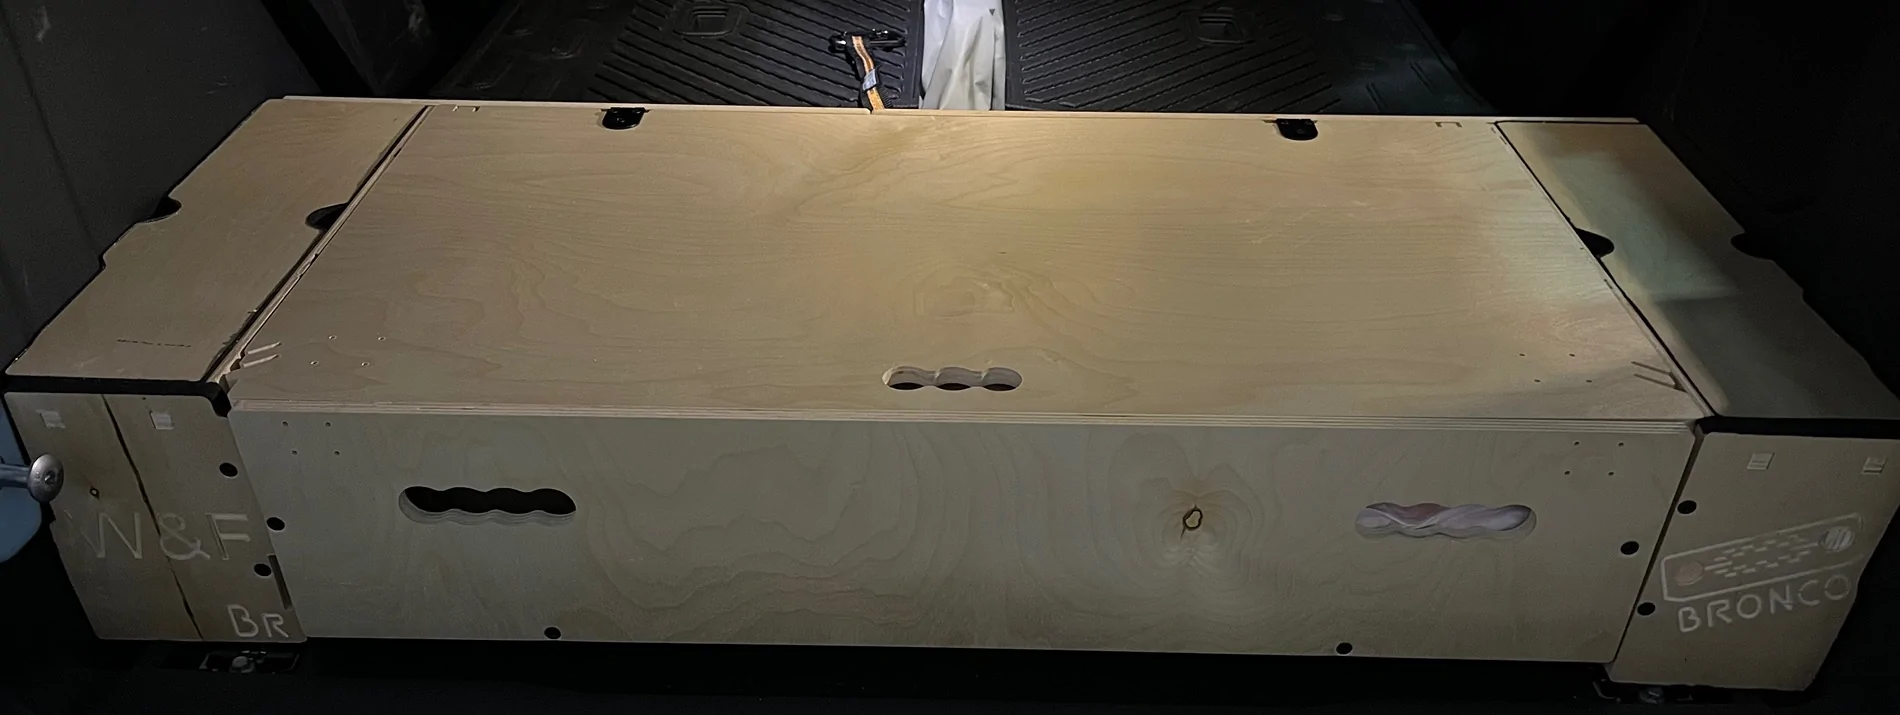
Here is the completed install with my back seats folded flat - their website says that they have a model for those that removed seats, but I wanted to keep my seats in place. Note that the left side is slightly different than the right to allow the tailgate indentation to fit properly. I have a tailgate mounted table that did not interfere with the drawer.
The first piece appears to be one piece in the instructions, but it is two pieces that are joined with 6 of the M6 x 25 screws.
Panels and pieces are marked "L" and "R" which reference the left or right of the drawer as viewed from the back of the truck looking forward.
The majority of the remaining screws are M6 x 40.
Next, both the left and right side of the base need to have the pieces that allow you to secure the system to the locations of the tie downs. They are secured on the bottom of the pieces that have the drawer slides - the larger of the two requires two screws while the smaller takes one. The drawer slides are on the interior of the piece for both the left and the right sides. Both of the smaller pieces are installed so that the writing Is facing up while the writing on the pieces that have the slides are facing the space where the drawer will be located.
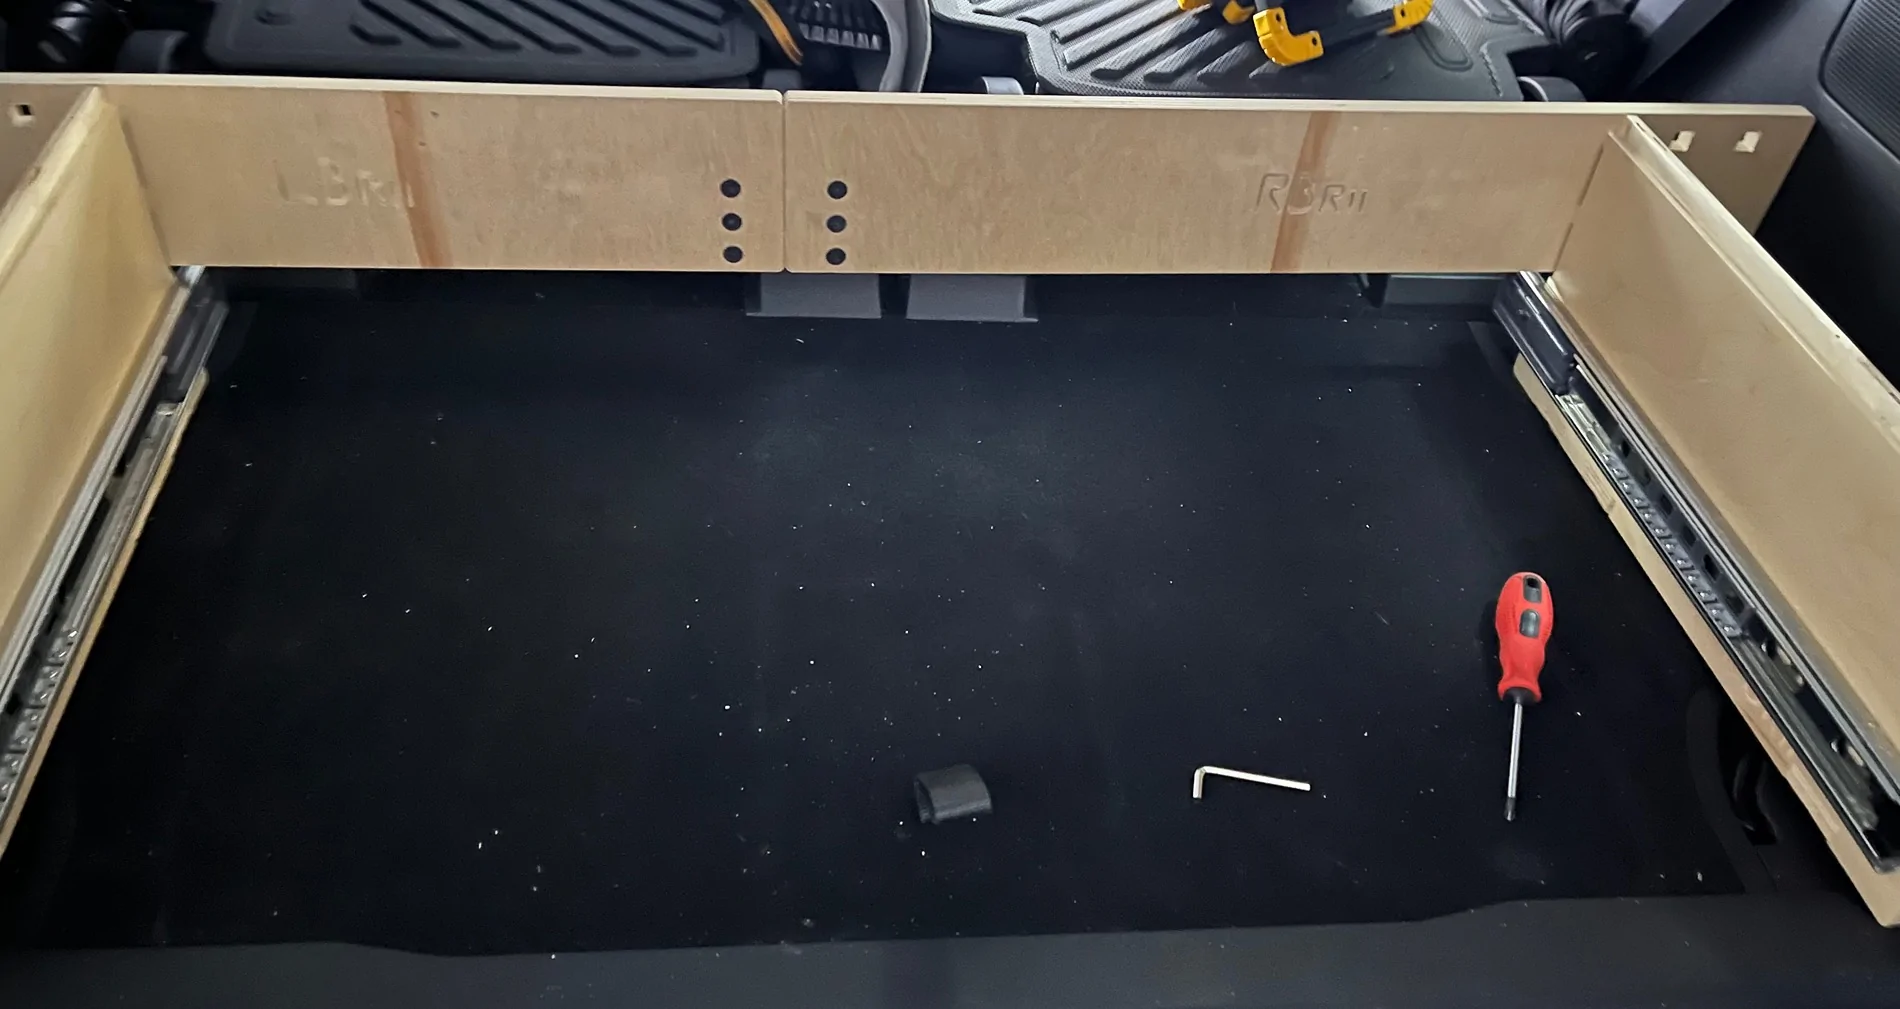
Once the two drawer sides are assembled attach the first piece to the two side pieces using two screws on each side - completed it looks like this. Note how the first, longer piece's joint is not centered with the left side being shorter.
On the drawer, each side is secured to the base with two screws on each side which are located at the base of the side pieces, below the drawer guides. The guides extend beyond the surface of the drawer as shown on the side that has the notch in the base of the drawer bottom.

The back of the drawer is installed with three screws, one on each side and one centered attaching to the bottom of the drawer.
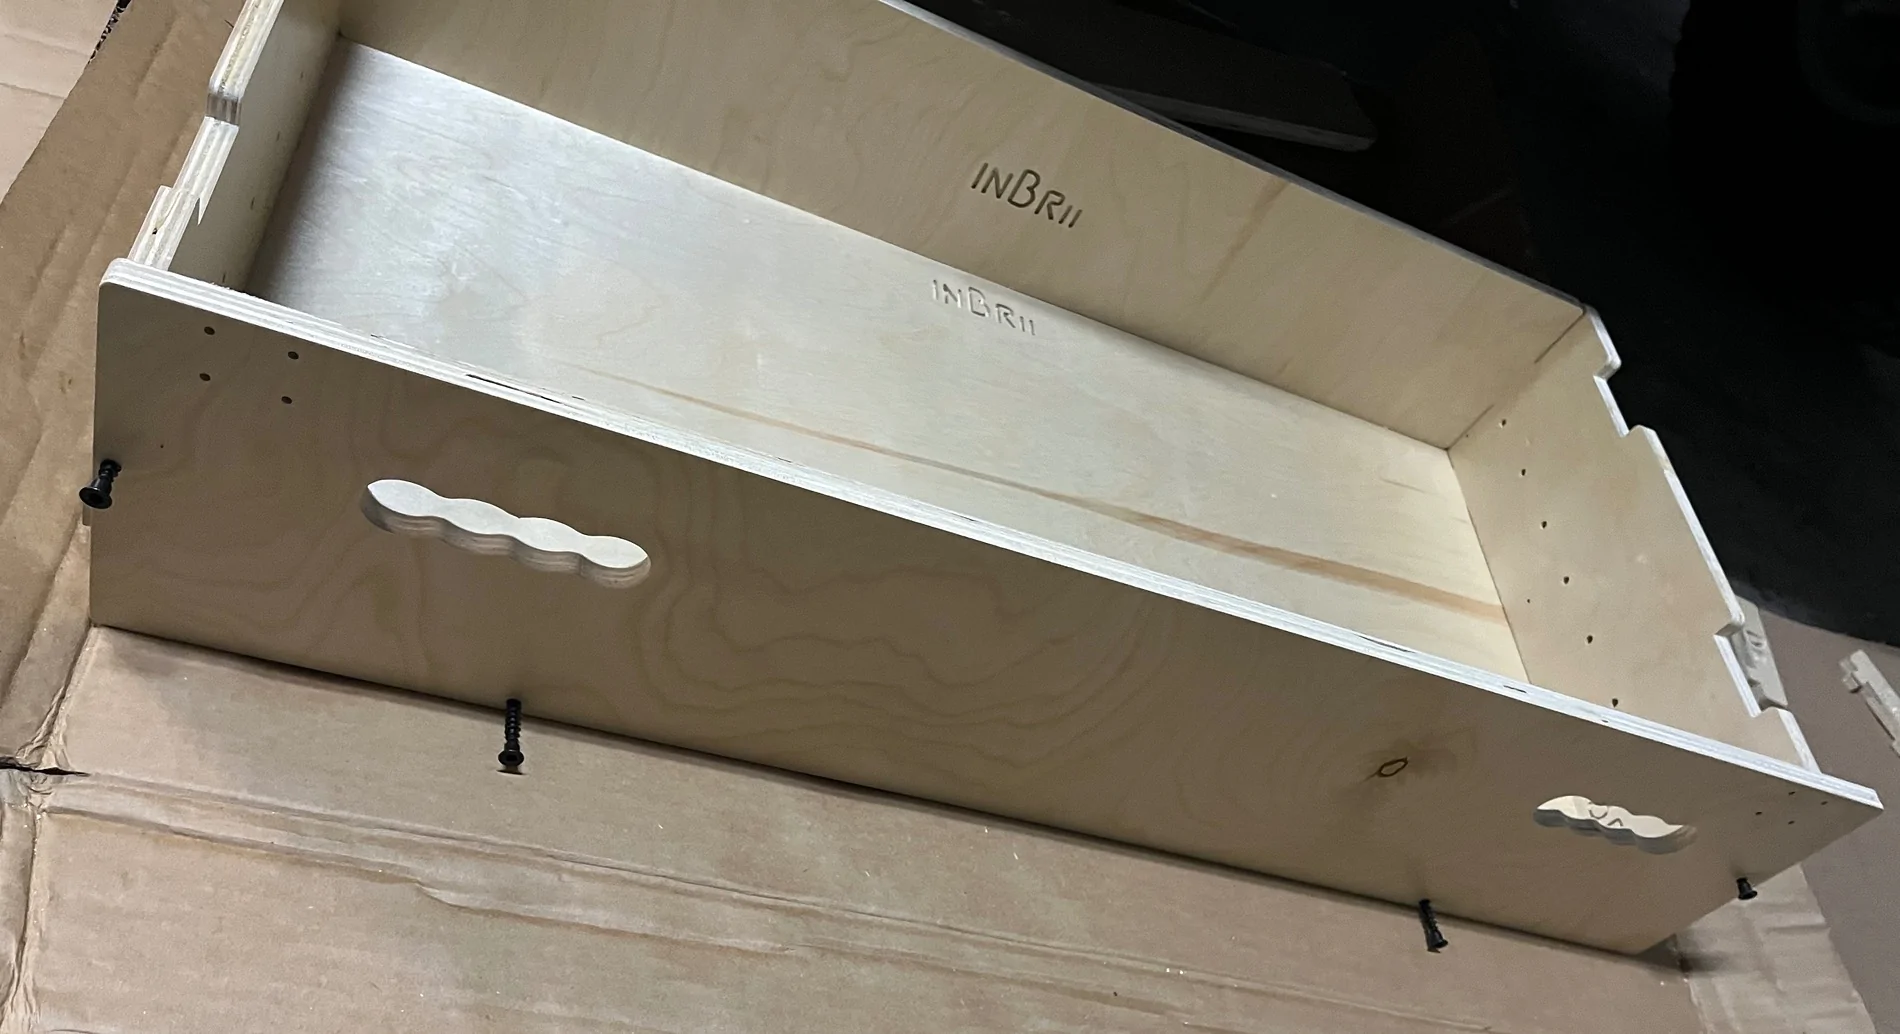
The front of the drawer is installed with four screws as shown. All writing faces the interior of the drawer.
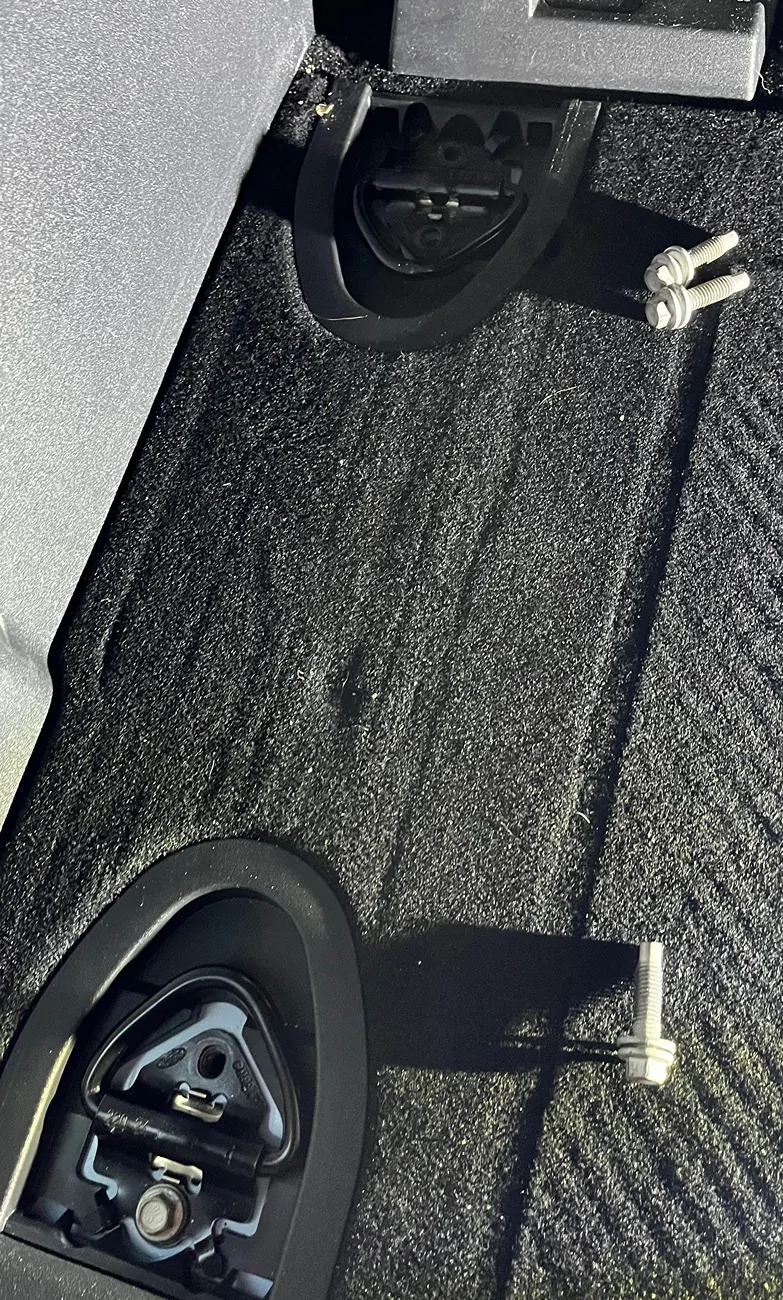
Using a 10mm socket, remove three M8 x 1.25 pitched bolts as shown - two forward and the forward most of the rear tie down point. The instructions show that you can re-use this hardware, but it is not possible as they are too short. I purchased 6 each M8 x 50mm 1.25 pitch bolts and washers that allowed enough thread to hold the drawer in place. Additionally, the plastic covers can not be reused when you install the drawer. The kit comes with 6 M6 x 40 bolts, but unfortunately on my 2024 they are not the correct size.
I do not have a picture of the bolts installed as I had to install them after a trip to the hardware store. I used a 16p nail to help align the holes and had no significant issues bolting the system in place.
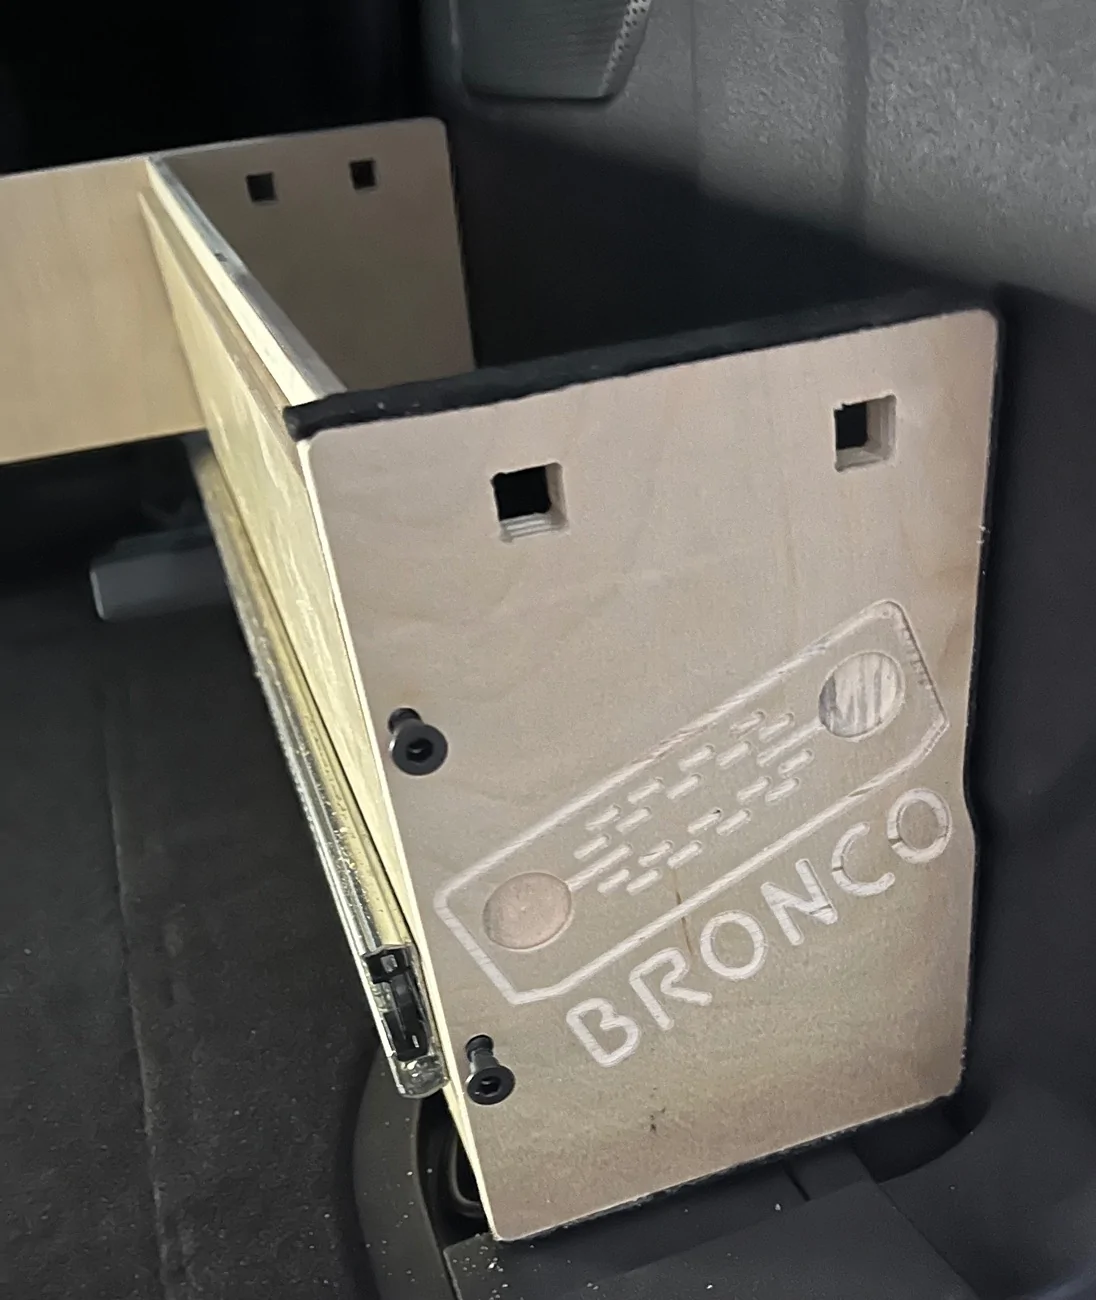

On each side use two screws to attach the end pieces as shown.

On each side press into place the small blocks into the notches as shown. The larger one is at the rear of the vehicle as depicted. I pressed them into place by hand.
Next, Install the two hinges as shown with three of the small wood screws each - I also have placed the removable covers over each side.
Attach the lid using three more wood screws per side as shown.
Finally, carefully install the drawer rails into the slides - this must be done straight and at the same time to prevent misalignment. Gently push the drawer all the way into its space.

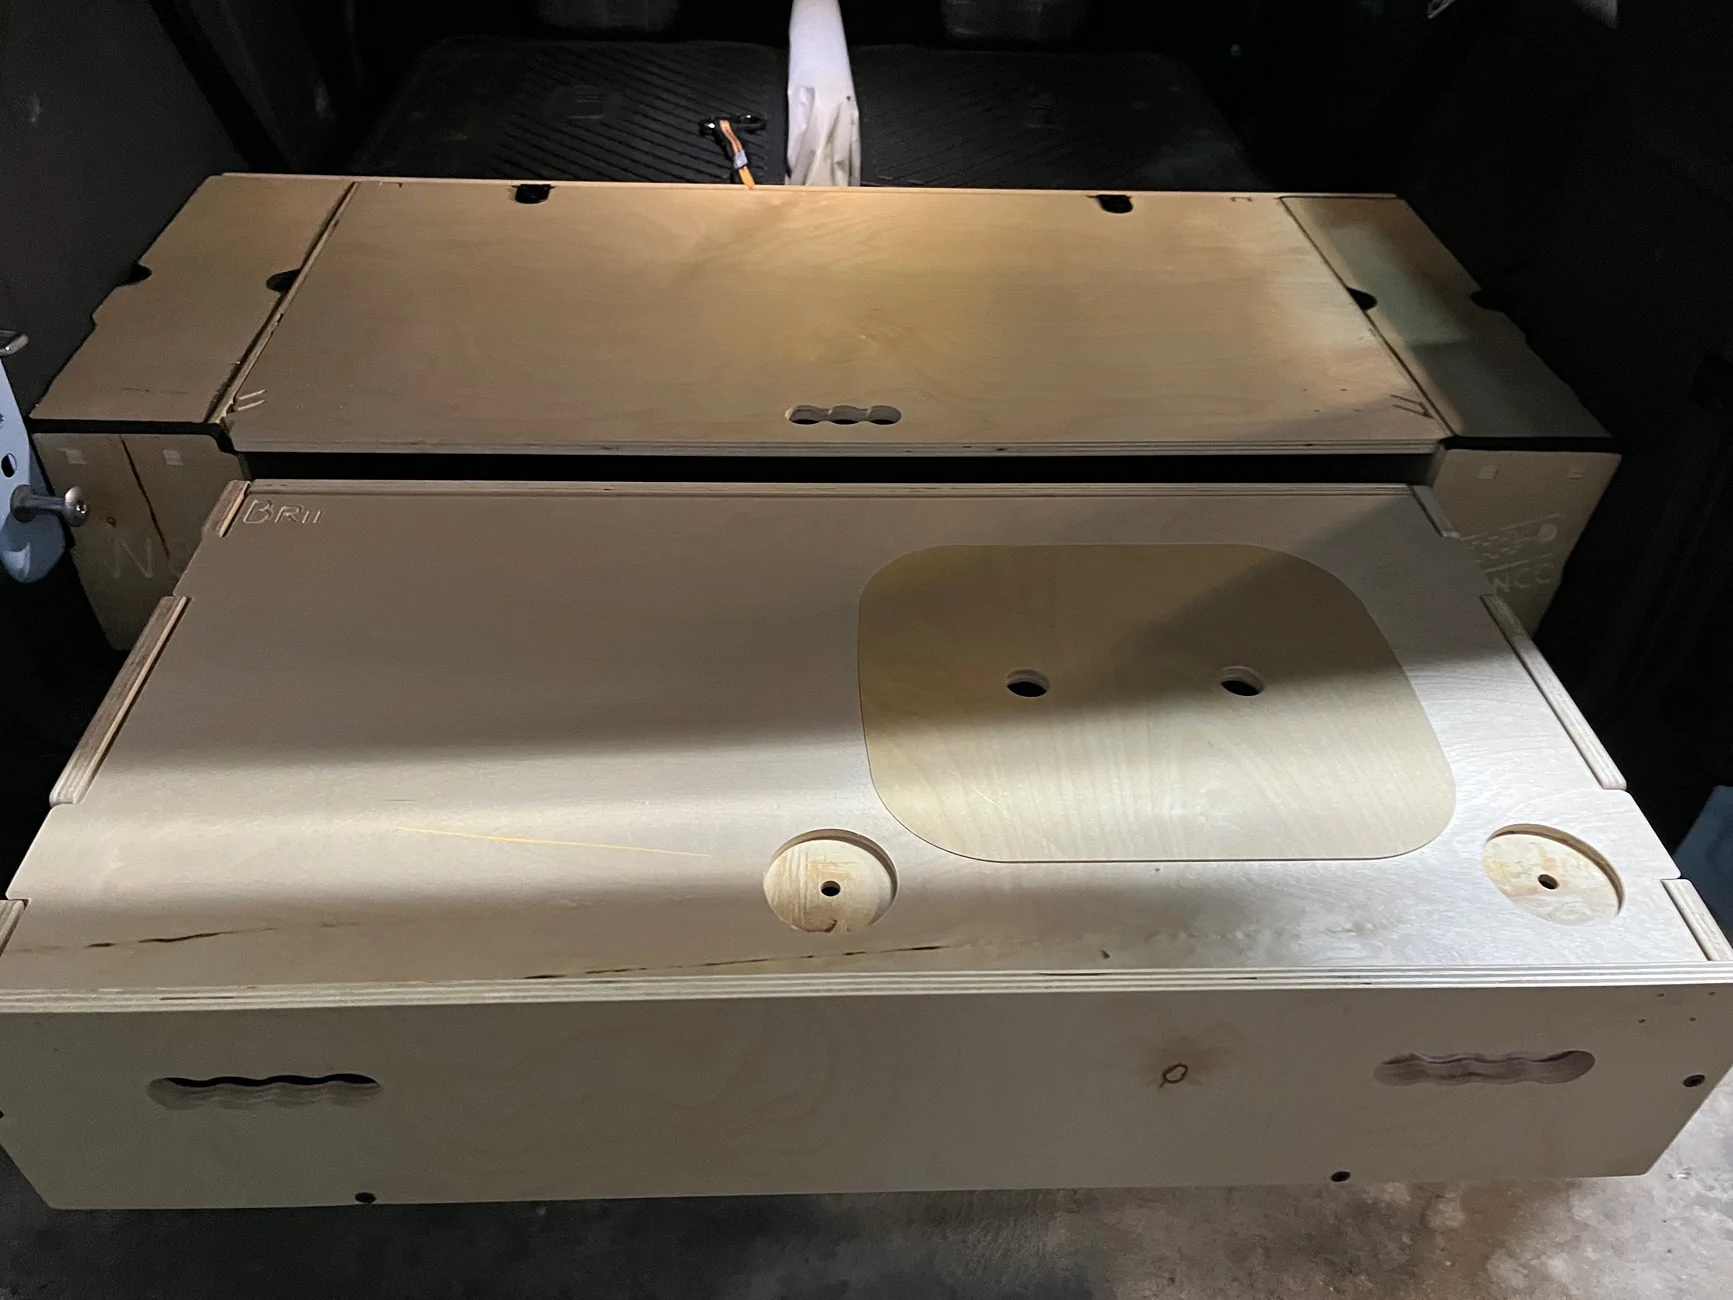
Last you can install two or no dividers using one screw on each side. The optional table top fits nicely on top of the drawer as shown in the last photo.
Sponsored