
- Joined
- Jun 3, 2019
- Threads
- 24
- Messages
- 999
- Reaction score
- 3,288
- Location
- Plymouth Michigan
- Vehicle(s)
- 2021 Bronco Badlands non-sas 4 door manual
- Your Bronco Model
- Badlands
- Thread starter
- #1
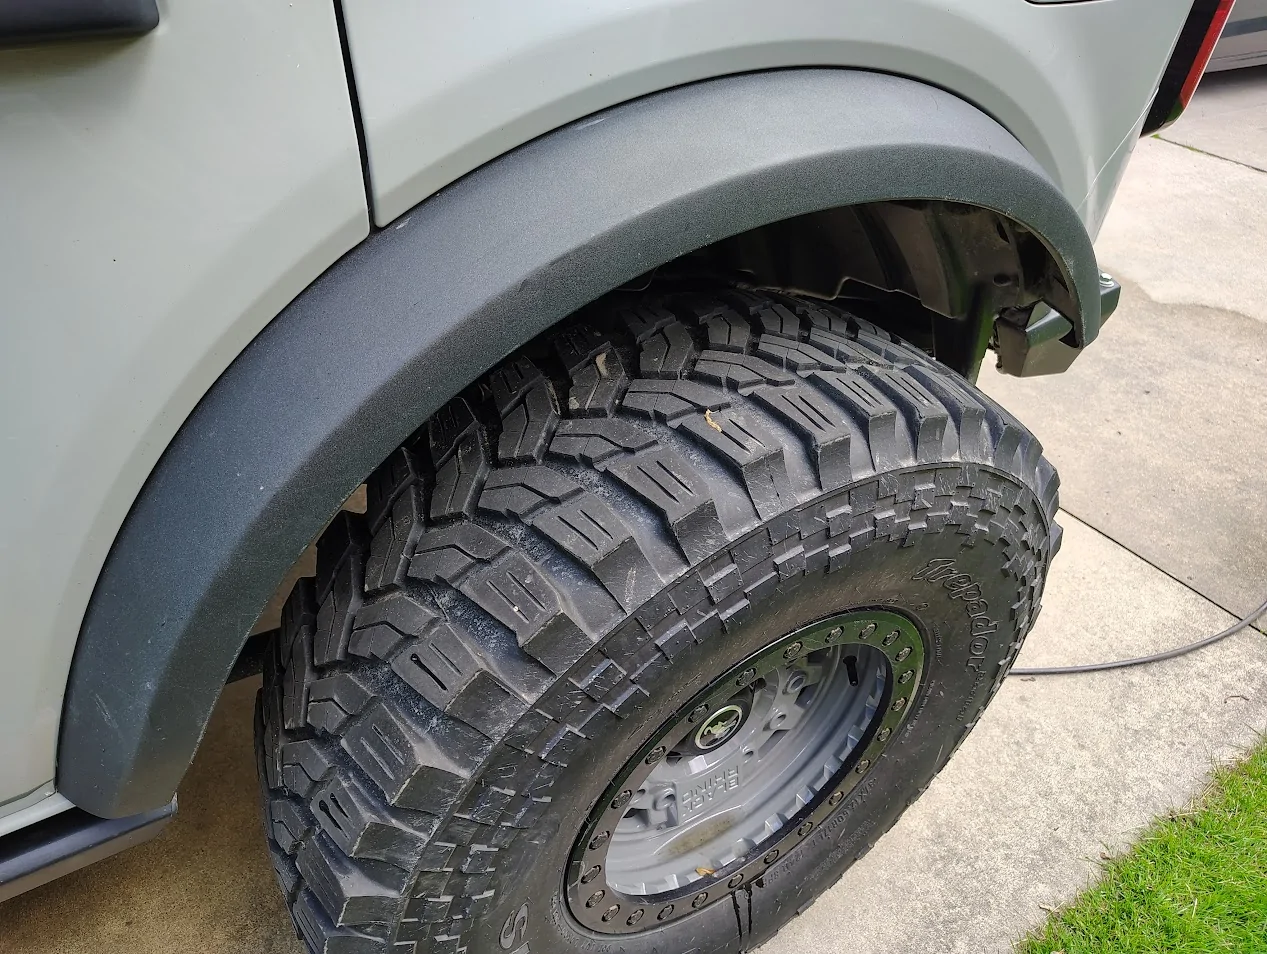
Hey Guys, if you're running 37's or bigger, you have probably realized that the OEM fender flares do not clear larger tires properly. You can daily drive just fine, but if you do anything beyond light off-roading you need to remove them. Before doing this trim, I had damaged both front flares 2 or 3 times each. If the tire made contact too aggressively it would pop the outer (visible) portion of the flare (partially) off of the inner reinforcement structure (plastic spot welds). I had to clean/prep/reglue them together in multiple times.
There are options to address this out there already (since basically day 1), anything from simple deletes all the way up to totally different fiberglass quarter panels.
If you're like me and you either like the OEM look, or are cheap (or both) then you may consider trimming them like I have. I highly doubt I'm the first to do this, but I hadn't seen it posted so I wanted to share my DIY method.
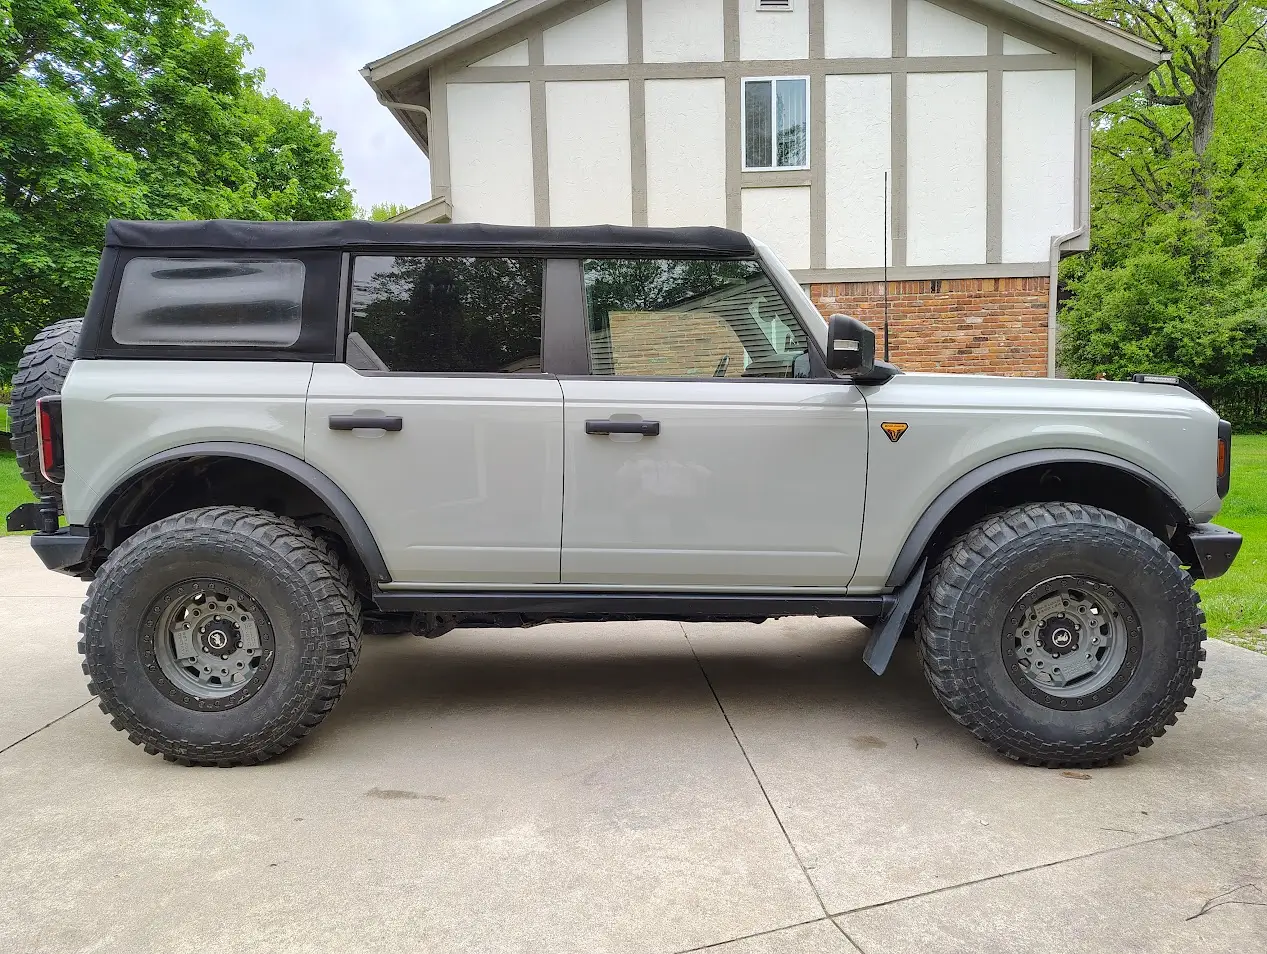
Here is the finished product: With this clearance I am able to wheel at about 100% travel (flex, not jumps) without needing to remove the flares.

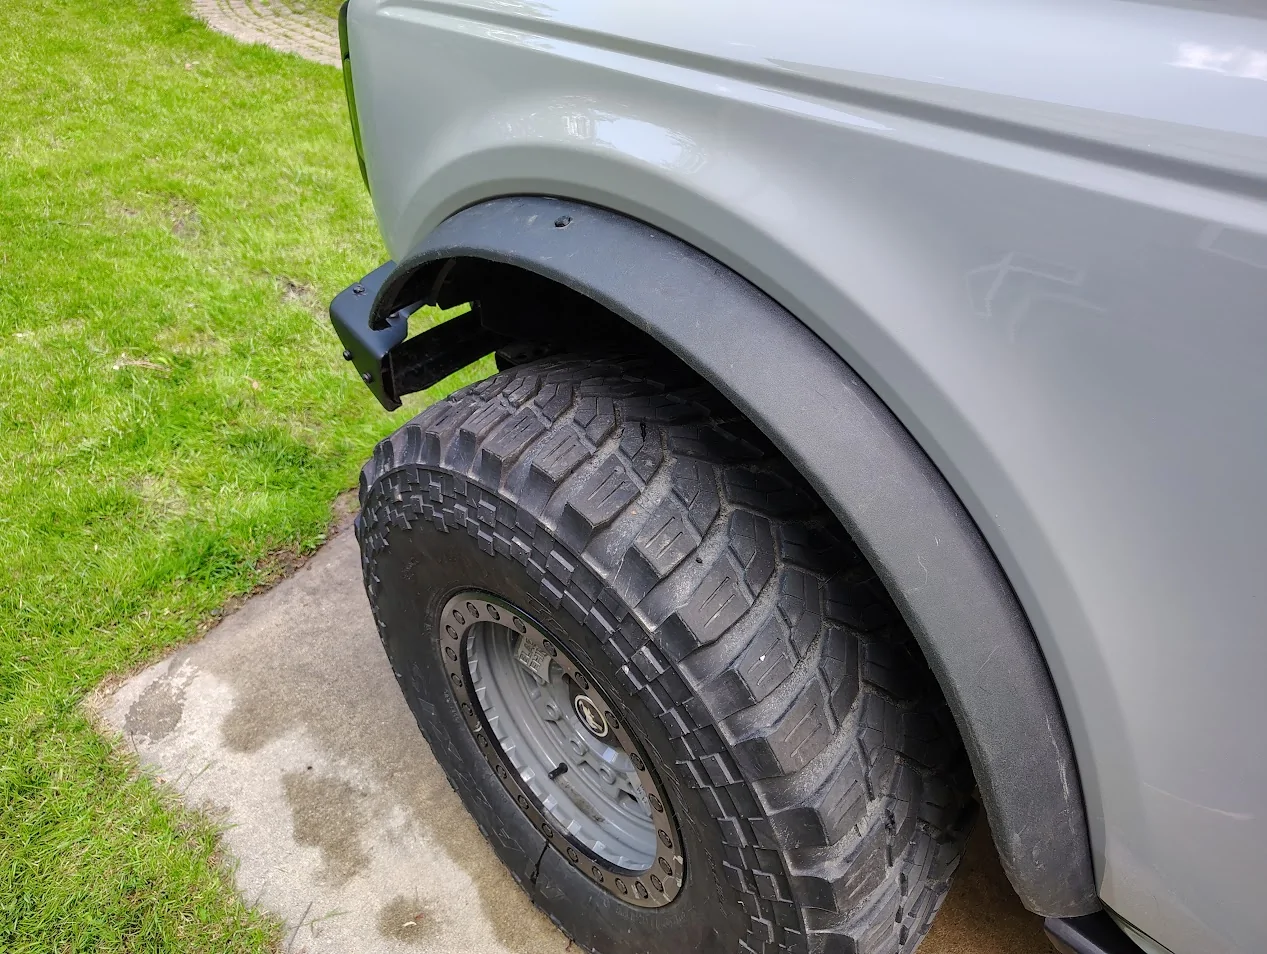
Before and after: Note the front left fender was the most recent to detach, leading to my decision to go ahead with a trim. To reattach the flare this time around I opted to use a couple 3D printed rivets I could melt in place rather than trying to re-glue the clamshells back together again. (only front portion was detached)
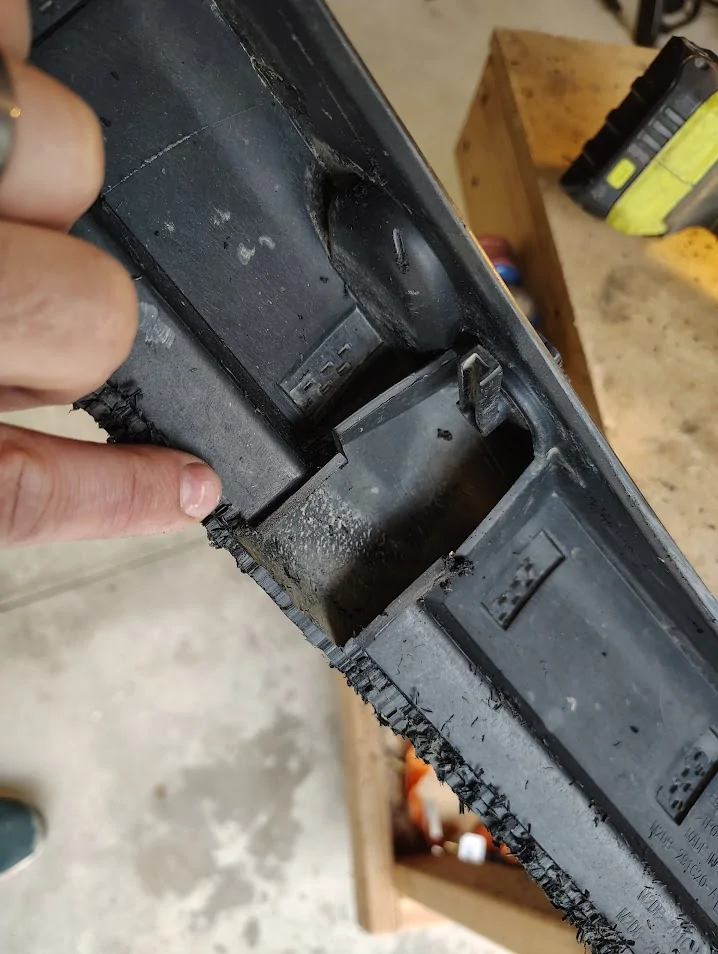
I used a router with a small diameter bit to do the rough cut trim. I'm sure you could use a number of different tools, but I felt this was my best shot for getting a controlled cut that would follow the exact profile I wanted. (Left after rough cut, right after sanding)
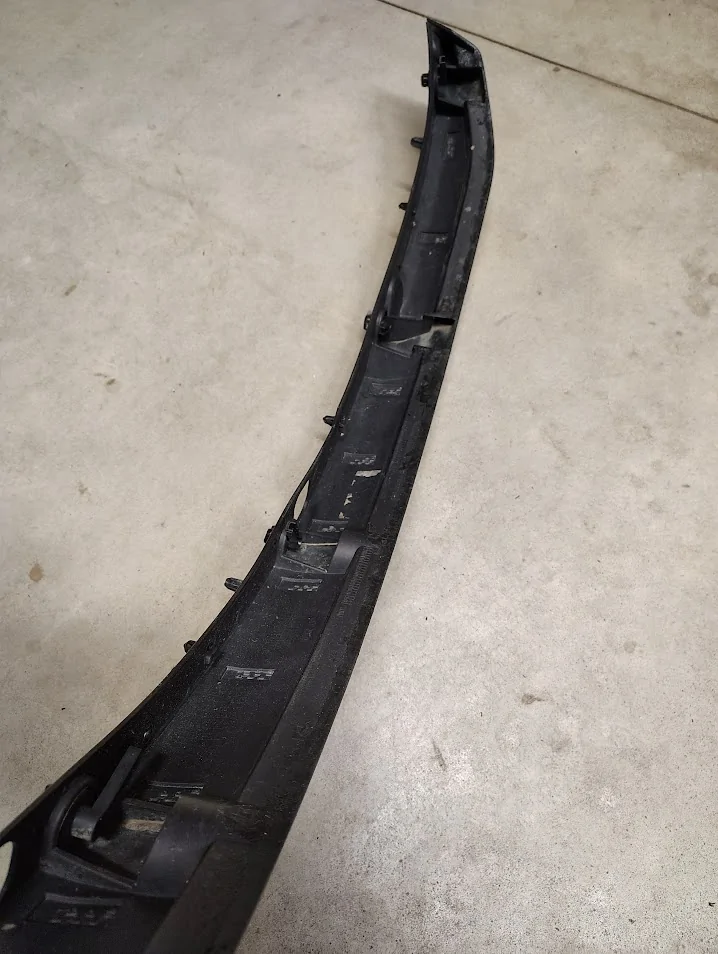
I followed the natural line of the "skirt" portion of the flare that hangs down below the inner reinforcement structure. This "skirt" zone also has about half of the plastic weld zones so that needed to be addressed later. Overall this portion is about 3/4" of an inch.
The rear fenders have a couple spots where the "skirt" zone is interrupted by a half circle extrusion. I opted to just plow right through that and remove it along the same arc. Shown before and after sanding:

It is hard to see in any of my photos, but after the rough cut and sanding, I went over the seam between the outer flare and inner substructure with a plastic iron to "weld" the two surfaces together. This was to make up for the lack of several key structural connections that were cut off.
Overall I cant believe I waited until nearly 4 years of ownership to make this modification! Its super functional, and honestly I prefer the unique look!
The benefit is twofold as well, there's the obvious 3/4" increase in tire clearance, but less obvious is the reduction in stiffness. Without that side skirt on the flare, it is much more flexible, which means if my tire does make contact, it is more prone to deflection rather than failure.
There are options to address this out there already (since basically day 1), anything from simple deletes all the way up to totally different fiberglass quarter panels.
If you're like me and you either like the OEM look, or are cheap (or both) then you may consider trimming them like I have. I highly doubt I'm the first to do this, but I hadn't seen it posted so I wanted to share my DIY method.
Here is the finished product: With this clearance I am able to wheel at about 100% travel (flex, not jumps) without needing to remove the flares.
Before and after: Note the front left fender was the most recent to detach, leading to my decision to go ahead with a trim. To reattach the flare this time around I opted to use a couple 3D printed rivets I could melt in place rather than trying to re-glue the clamshells back together again. (only front portion was detached)
I used a router with a small diameter bit to do the rough cut trim. I'm sure you could use a number of different tools, but I felt this was my best shot for getting a controlled cut that would follow the exact profile I wanted. (Left after rough cut, right after sanding)
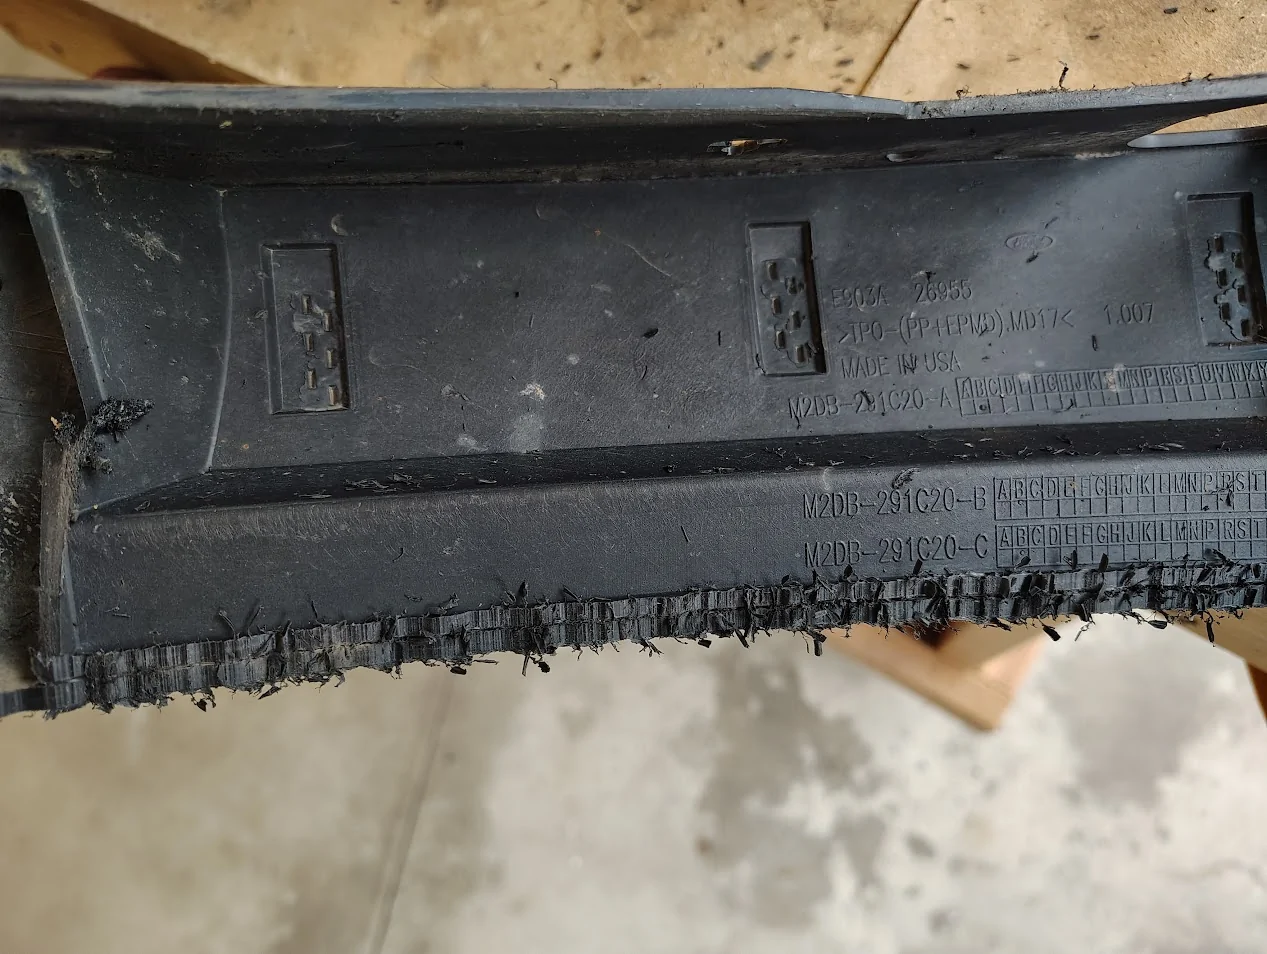

I followed the natural line of the "skirt" portion of the flare that hangs down below the inner reinforcement structure. This "skirt" zone also has about half of the plastic weld zones so that needed to be addressed later. Overall this portion is about 3/4" of an inch.


The rear fenders have a couple spots where the "skirt" zone is interrupted by a half circle extrusion. I opted to just plow right through that and remove it along the same arc. Shown before and after sanding:

It is hard to see in any of my photos, but after the rough cut and sanding, I went over the seam between the outer flare and inner substructure with a plastic iron to "weld" the two surfaces together. This was to make up for the lack of several key structural connections that were cut off.
Overall I cant believe I waited until nearly 4 years of ownership to make this modification! Its super functional, and honestly I prefer the unique look!
The benefit is twofold as well, there's the obvious 3/4" increase in tire clearance, but less obvious is the reduction in stiffness. Without that side skirt on the flare, it is much more flexible, which means if my tire does make contact, it is more prone to deflection rather than failure.
Sponsored
