- Joined
- Jun 21, 2022
- Threads
- 31
- Messages
- 808
- Reaction score
- 1,086
- Location
- Horicon Wisconsin
- Vehicle(s)
- 2012 F-150 Raptor
- Your Bronco Model
- Raptor
no clearance issues with the deep pan?Transmission Fluid Flush (3X):
At 50k. Not going with the Ford 100k BS or whatever that is. There are plenty of posts/threads on this so I will keep it fairly brief.
I got prices for this, using a flushing machine to get all of the fluid out, from $250 to $1100, here in San Diego. Yes, $1100. Unfortunately, when I got to the place that said $250, all of a sudden they did not have said flushing machine (suggested to drop pan and I'm sure only one drain/fill cycle) and their price also went up to $400-ish. I throttled my anger, explained my disappointment and said they need to do better on accuracy over the phone, on price and technique, and promptly walked out. This was Sparkys Transmission in Santee (San Diego). Don't give them any business!
- Put down 3x as much cardboard or plastic sheet as you think you will need as the pan drains very fast and will splash or possibly overwhelm your drain pan.
- I have the PPE extra capacity pan which adds 1.75 quarts to the 13.1 full capacity (13.1 is NOT the drain and fill capacity). Thus each drain, which was right about 6 1/4 quarts or 6 liters drained, gives 58% of the fluid remaining. Its a lot! So after 3 flushes, I should have 80% of the fluid totally new/fresh. Not as great of a percentage as I wanted but this went through about 21 quarts total and they are not cheap. I did this math wrong in another post (really just the inputs) as I had the pre PPE pan full fluid capacity incorrect. Of course you should "exercise" the transmission before draining after each refill, just use all of the gears on the stick and power brake it a bit in 1st and 2nd gear. Of course each flush had the fluid looking less brown and more red.
- I did overfill once using more like 7.5 liters. Don't do it, it's messy.
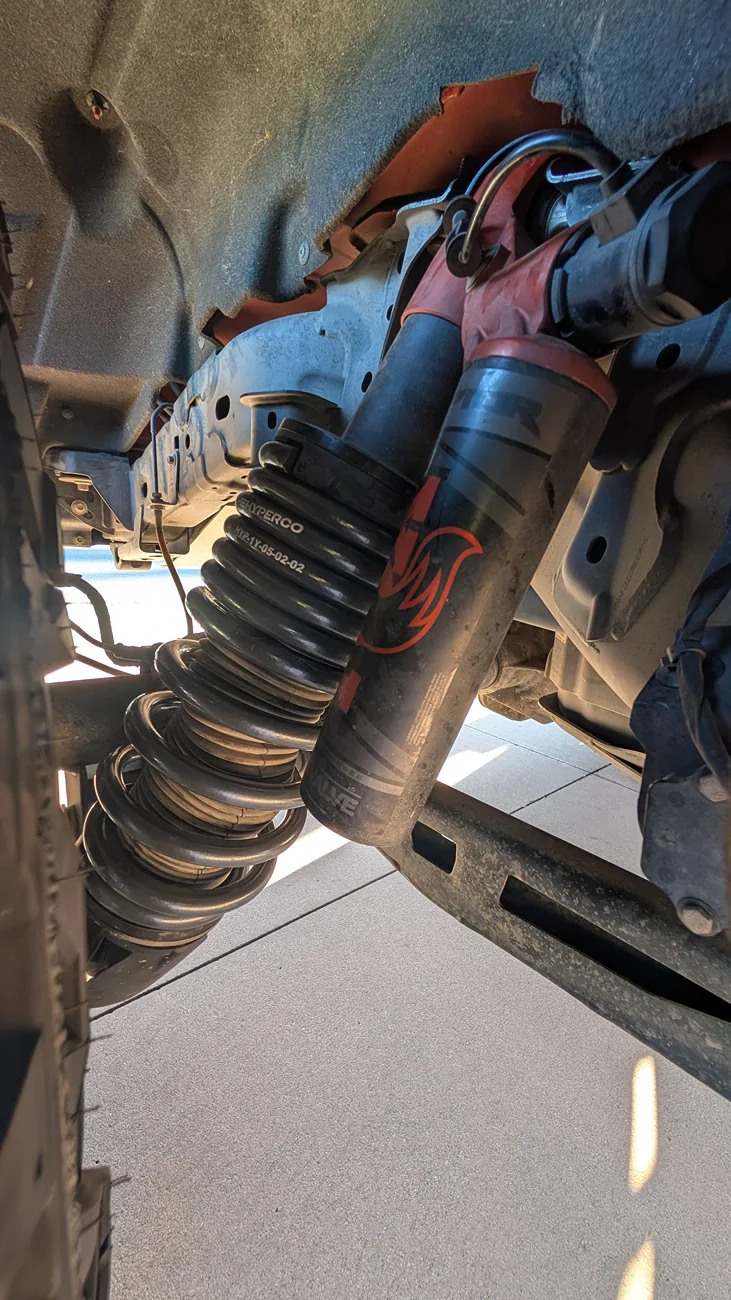
- My magnetic drain plug had a very thin and very fine layer on the magnet. I changed 1 flush at 1k and another single flush later when installing the pan. I'll do another 3x flush around 100k
- Unfortunately, the used o-ring on the plug did not look good at all. PPE lists a complete odd ball size o-ring, not appearing to be a metric nor imperial standard. I used a -119 viton and it is close and sealing fine. Make sure you get a replacement before starting the job (unlike me...)
- To work around the hot exhaust when getting the hot fluid level correct, I simply used two sweatshirts over one arm and a leather glove. I escaped all burns. I do have fairly thin arms.
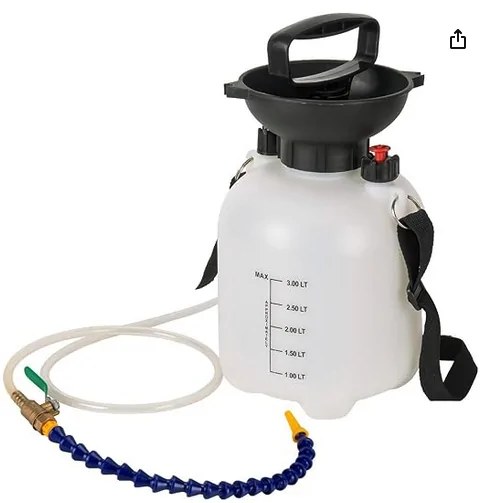
- I'm sure its obvious, but you absolutely need a pump and hook type nozzle or similar to get the fluid into the trans. I used this one (Amazon) which has a nice shut off valve and flexible coolant style pipe (the blue section).

- Ford official warm operating temperature is somewhat difficult to reach without a ton of power braking. I got mine up to about 195 °F tearing around in Baja mode in Manual. I think Ford spec is 206-215 °F. Unfortunately, I checked mine with the engine not running, I just saw running is recommended here in another thread... Probably not a big deal @Ducati1098 ??
Sponsored
 .
.