Deleted member 72780
Guest
- Thread starter
- #1
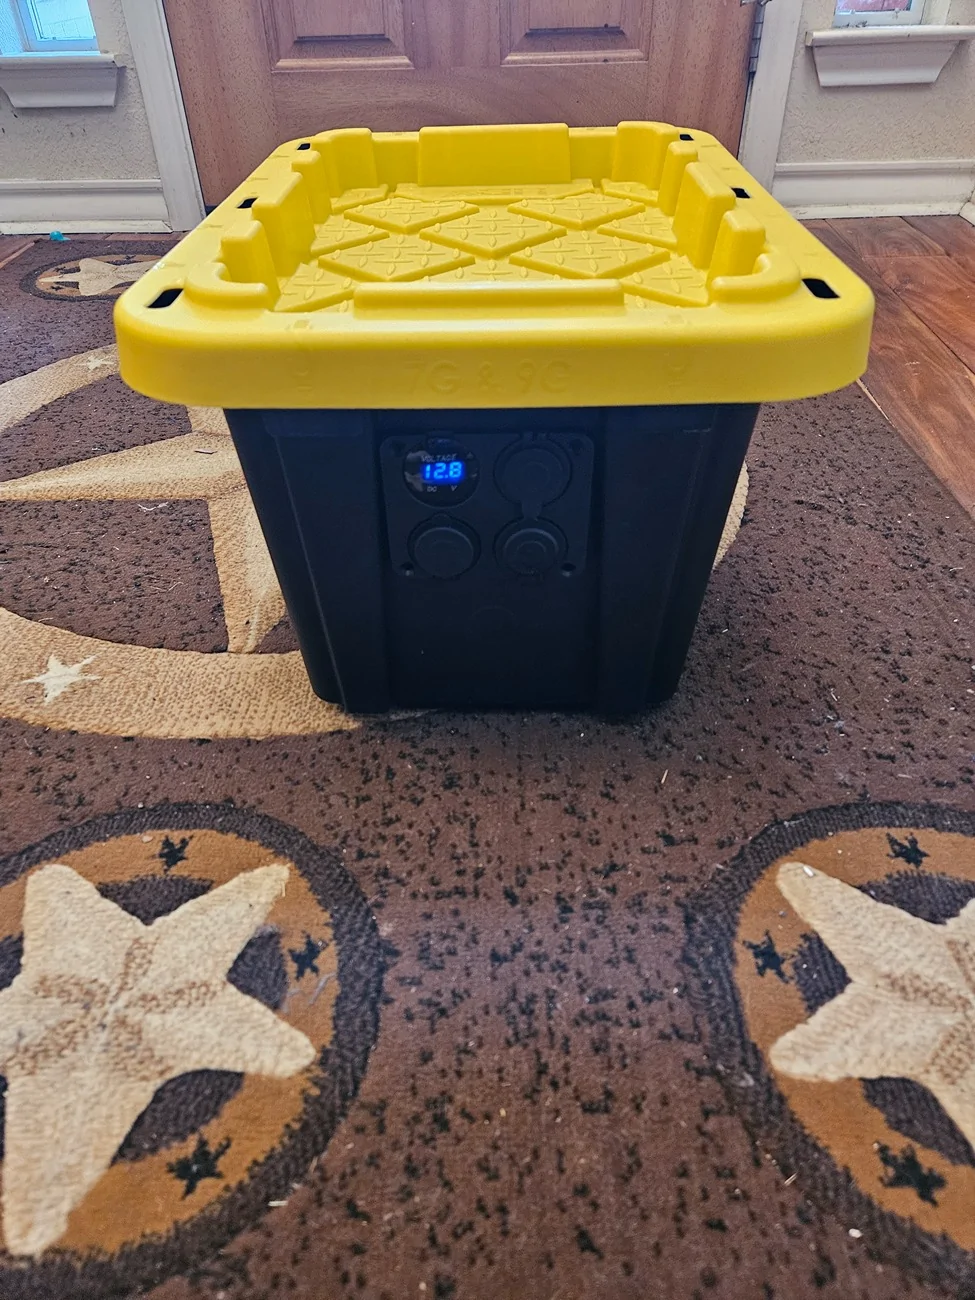
I wasnt trilled with proprietary parts and wanted modular/repairable design. Final will be a sort of link and go system to protect it, ie one at a time fridge, compressor in tail gate, lights etc
Part 1: Project Description
The objective of this project is to install a 200Ah Lithium (LiFePO4) house bank into the internal rear floor cubby of the Bronco. This build utilizes a Split-Architecture strategy to optimize energy density and vehicle balance:
Part 2: Weighted Importance & Comparison
This matrix applies a % Importance Weighting to prioritize safety and capacity. The DIY configuration offers a significantly lower cost per usable Amp Hour.
Part 3: Component Matrix (Optimized Cost)
Part 4: Installation Strategy
Part 5: DIY Project Sourcing Links


Part 1: Project Description
The objective of this project is to install a 200Ah Lithium (LiFePO4) house bank into the internal rear floor cubby of the Bronco. This build utilizes a Split-Architecture strategy to optimize energy density and vehicle balance:
- Internal Energy Zone (Trunk Cubby): The house bank is housed inside the cabin to protect the cells from extreme engine heat and freezing temperatures. Placing the batteries here allows them to benefit from the vehicle’s HVAC, ensuring an optimal environment for LiFePO4 chemistry.
- The Muscle Zone (Engine Bay): High-current winching remains connected to the factory AGM starter battery. This ensures the winch’s 400A+ draw does not encounter the BMS (Battery Management System) bottleneck of the lithium bank.
- The Power Hub: A Redarc BCDC1250D DC-DC charger, mounted on a Genesis Gen 3 Lid, acts as the central logic gate. It ensures the alternator charges the rear bank efficiently while keeping the house loads completely isolated from your starter battery.
Part 2: Weighted Importance & Comparison
This matrix applies a % Importance Weighting to prioritize safety and capacity. The DIY configuration offers a significantly lower cost per usable Amp Hour.
| Metric | % Weight | DIY 200Ah (Internal) | Score | Genesis Power Hub Kit | Score |
| Redundancy/Safety | 20% | Triple-Layer: Starter + House + NOCO | 10 | Dual-Layer: Starter + Aux AGM | 8 |
| Winching Power | 20% | Direct AGM: No BMS Bottleneck | 10 | Direct AGM: Parallel Solenoid | 10 |
| Energy Capacity | 20% | 200Ah Lithium Reserve | 10 | ~110Ah Total (AGM) | 3 |
| Cost per Ah (Usable) | 10% | $8.17 / Ah (100% usable) | 10 | $27.29 / Ah (50% usable) | 3 |
| Weight Distribution | 15% | Rear-Mount: Better SAS balance | 9 | Front-Heavy: 100lb nose load | 4 |
| Cold Performance | 10% | Cabin-Temp: Protected by HVAC | 9 | Robust: AGM built for freezing | 10 |
| Installation Ease | 5% | Science Project: Clean cable run | 8 | Bolt-on: Minimal engagement | 10 |
| TOTAL SCORE | 100% | 9.53 | 6.65 |
Part 3: Component Matrix (Optimized Cost)
| Category | DIY Hybrid Setup (Rear) | DIY Cost | Genesis Full System (Front) | Genesis Cost |
| Hub / Distribution | Genesis Gen 3 Lid/Plate | $185.00 | Genesis Power Hub | $799.00 |
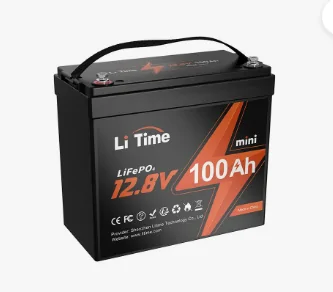
| House Bank | (2) LiTime 100Ah Xtra Mini | $480.00 | (2) Odyssey ODP-AGM25 | $702.00 |
| Mounting / Mats | Monster Marine Aluminum Trays | $45.00 | Integrated Dual Tray | (Included) |
| Tie-Downs | Heavy-Duty Battery Straps | (Included) | Stainless Steel Rods | (Included) |
| Charging Logic | Redarc BCDC1250D | $690.00 | Integrated Smart Combiner | (Included) |
| Redundancy | NOCO Boost X GBX45 | $125.00 | Manual Boost Button | (Included) |
| Protection | Blue Sea MRBF Blocks | $65.00 | 300A Internal Fuse | (Included) |
| Wiring | Pre-cut 4 AWG Copper Kit | $44.00 | 2ga Pure Copper Harness | (Included) |
| TOTAL COST | ~$1,634 | ~$1,501 | ||
| Cost / Usable Ah | $8.17 / Ah | $27.29 / Ah |
Part 4: Installation Strategy
- Under-Hood Power Hub: Mount the Genesis Plate over the driver-side fuse box. Install the Redarc BCDC directly to this plate to minimize heat transfer to sensitive electronics. Connect the Redarc input to the starter battery (+) with a 60A inline fuse.
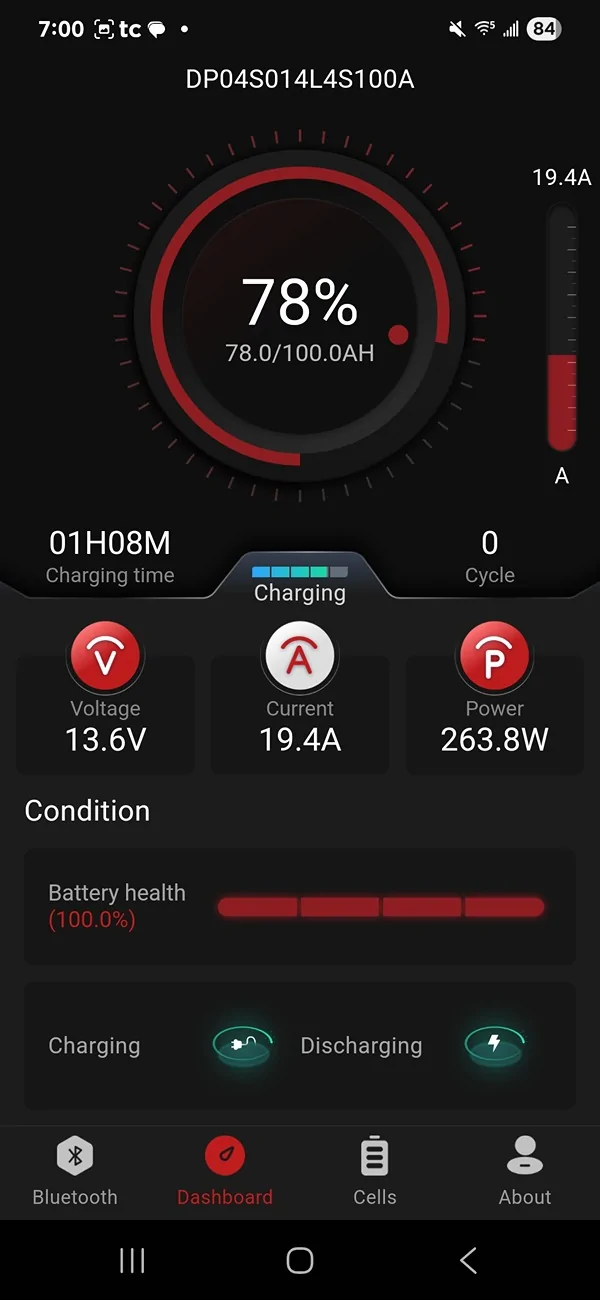
- Internal Energy Conduit: Route the pre-cut 4 AWG copper through the firewall grommet and along the interior sills. The ~1.8% voltage drop at 50A ensures your Lithium bank reaches full charge efficiency from the Redarc unit.
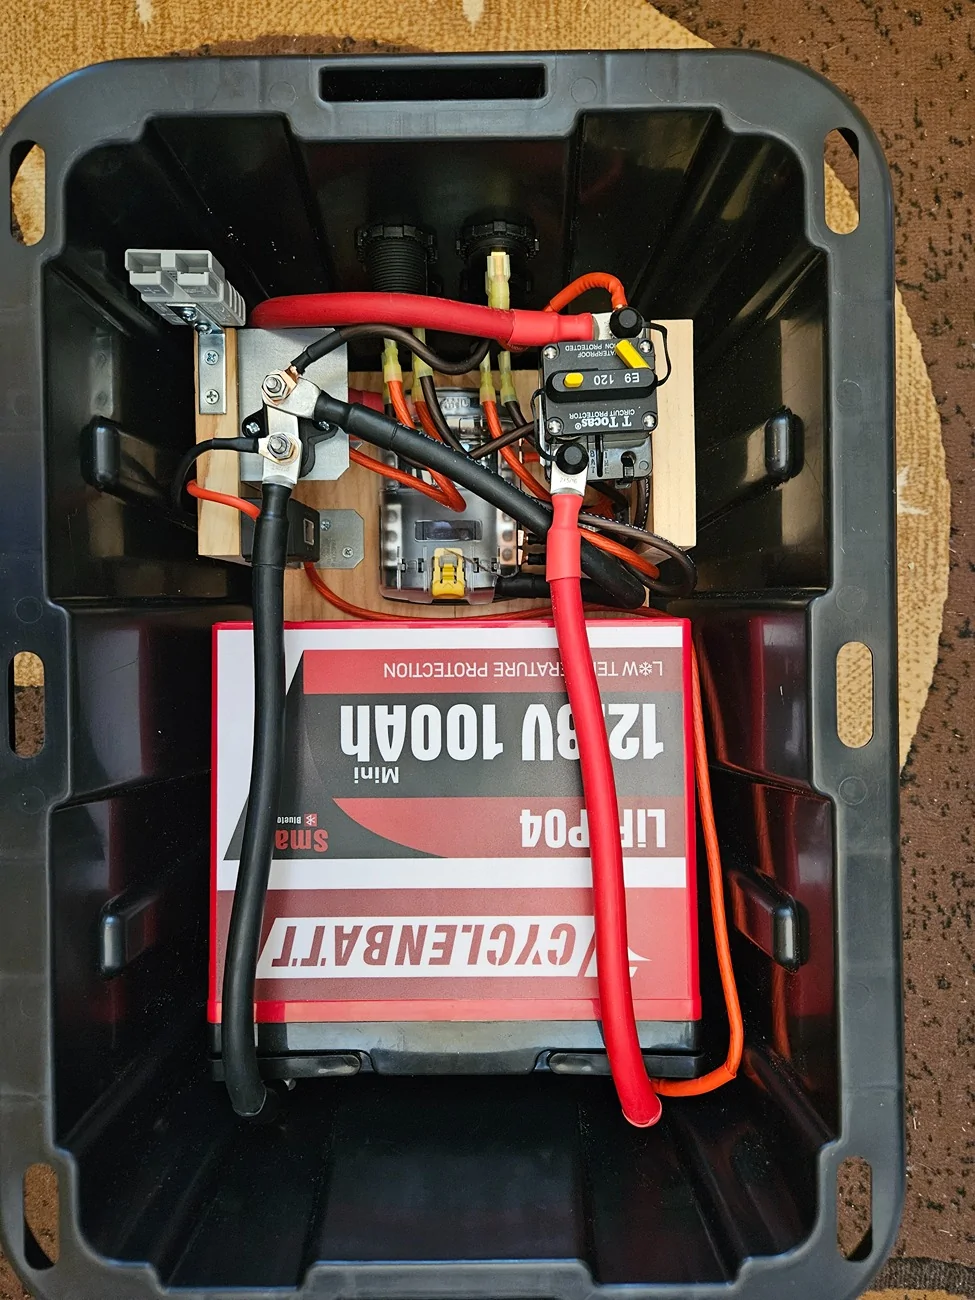
- Trunk Cubby Reserve: Fit the LiTime batteries in the floor cubby using Monster Marine Trays to provide a vibration-dampening pad and secure tie-down straps. Install the MRBF Terminal Fuses directly on the battery posts—this is critical to protect the 15-foot cable run.
- Redundancy Bridge: Install a 12V-to-USB-C (60W) socket in the cubby to keep the NOCO GBX45 permanently topped off, ensuring your emergency jump pack is always ready.
Part 5: DIY Project Sourcing Links
- Batteries: (2) LiTime 100Ah Xtra Mini – $480.00
- Charging: Redarc BCDC1250D 50A DC-DC Charger – $690.00
- Hub Surface: Genesis Gen 3 Plate/Lid – $185.00
- Trays & Pads: Monster Marine Aluminum Battery Tray – $45.00
- Protection: Blue Sea MRBF Terminal Fuse Block – $65.00
- Redundancy: NOCO Boost X GBX45 1250A Jump Starter – $125.00
- Wiring: Pre-cut 4 AWG Copper Cable Kit – $44.00


Sponsored