- Thread starter
- #1
/bitch and moan
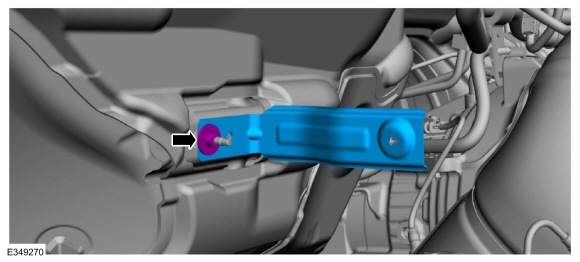
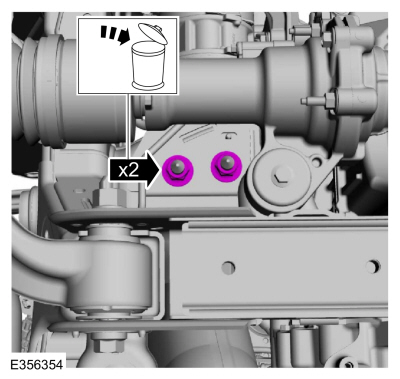
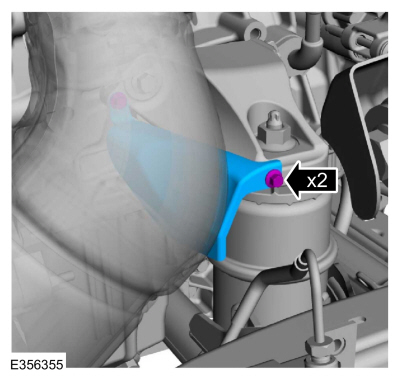
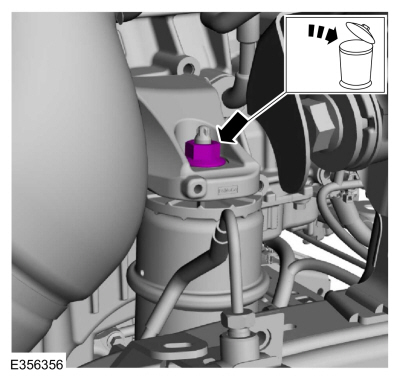
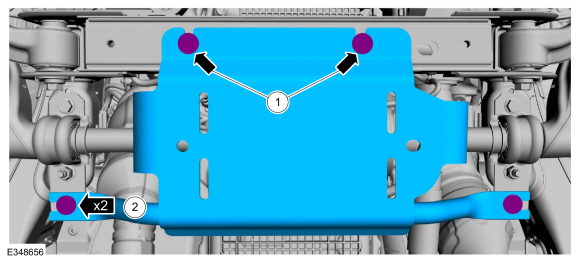
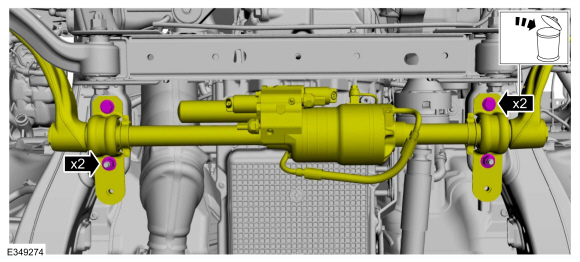
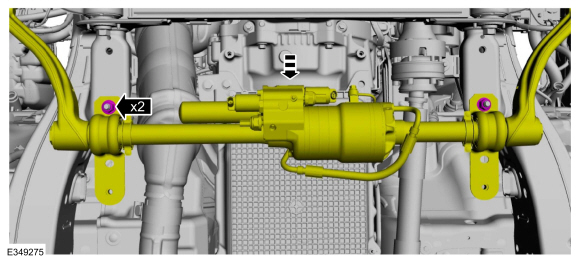
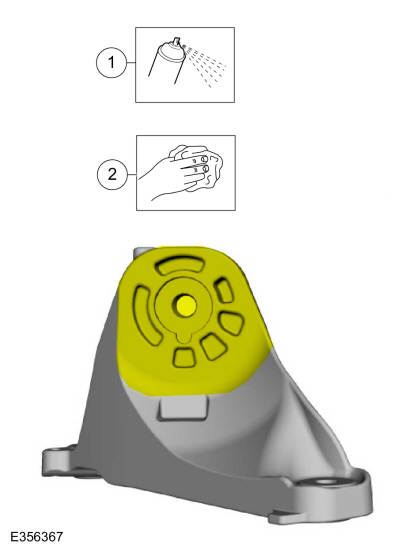
my bronco has 11,000 miles on it. It has a broken motor mount. Extremely doubtful that I as the driver somehow broke the motor mount, therefore would be covered under warranty.
called six dealers in southeast Michigan, no one can get me in until mid February. So I am supposed to drive around like this? What should I do?
Sponsored