Sponsored

Blown Motor Mount - dealers have no appointments until Feb 23

OP
OP

John94

Black Diamond
Well-Known Member
First Name
John
Joined
Jun 15, 2022
Threads
13
Messages
156
Reaction score
61
Location
Detroit
Vehicle(s)
4dr Black Diamond Sas
Your Bronco Model
Black Diamond
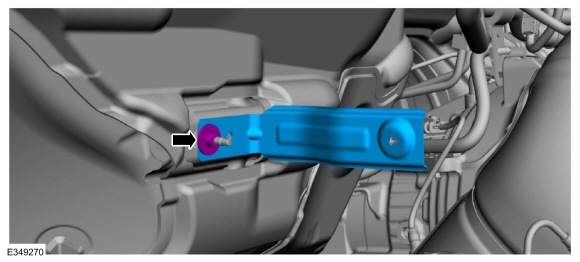
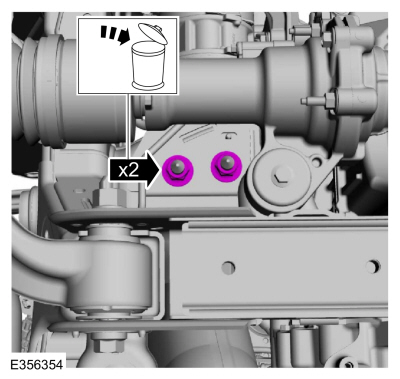
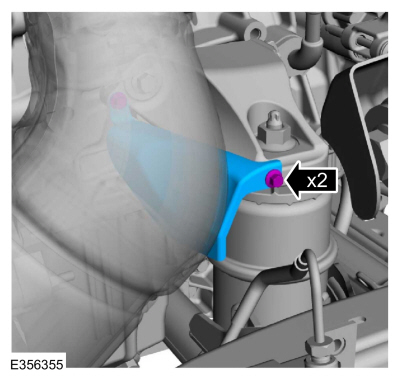
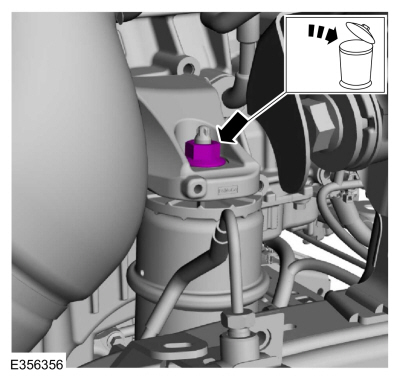
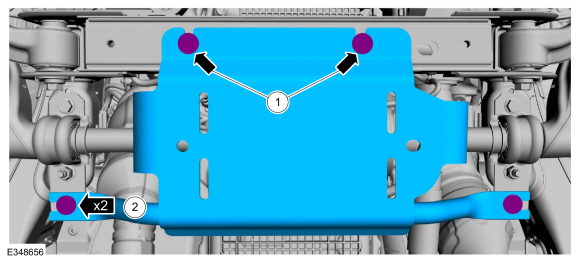
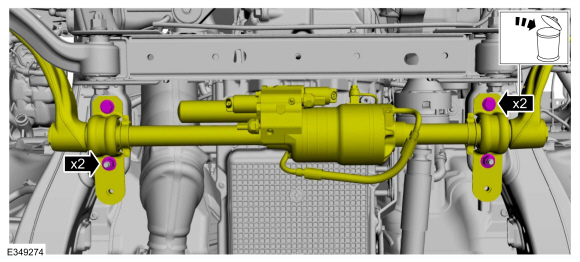
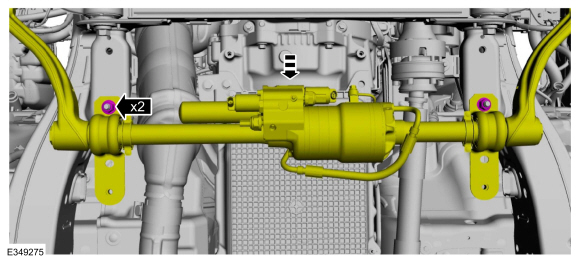
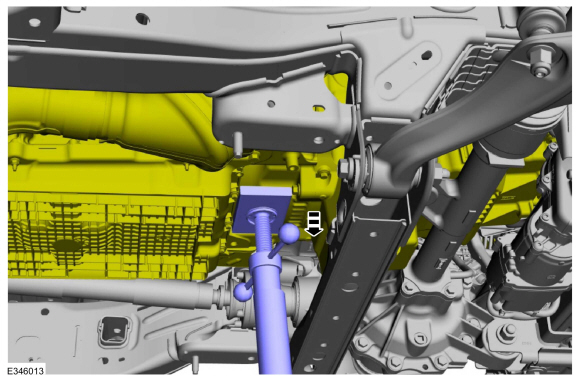
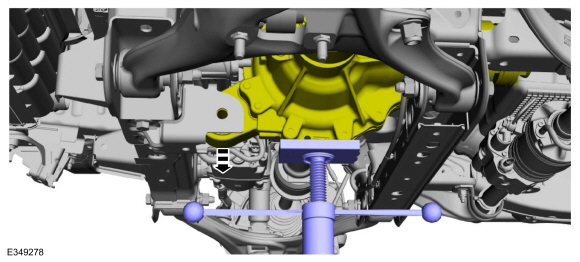
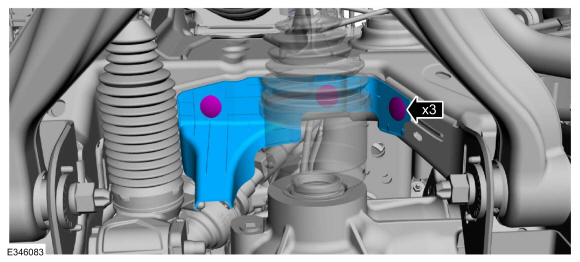
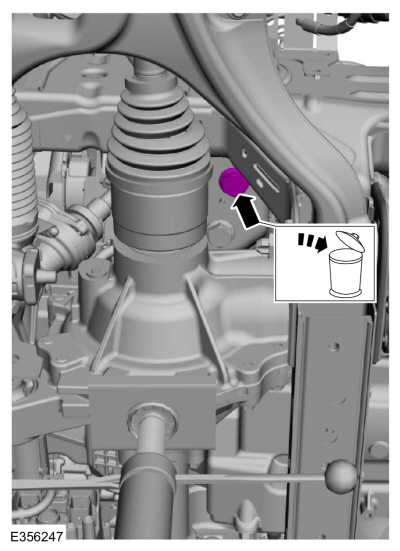
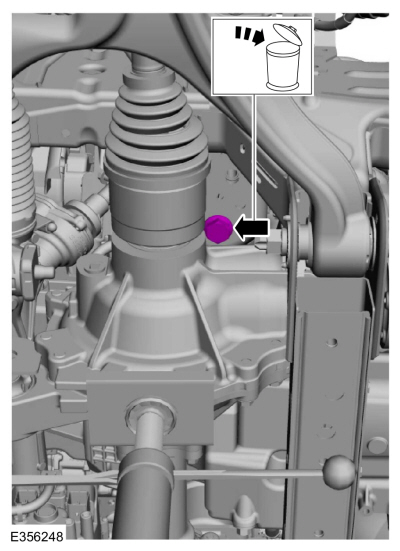
Managed to record a video of the engine while power braking. First in reverse then in drive.
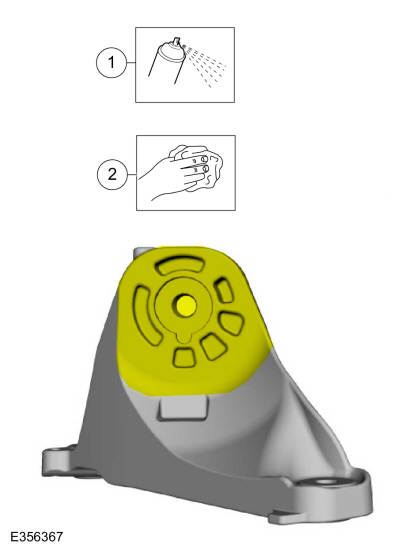
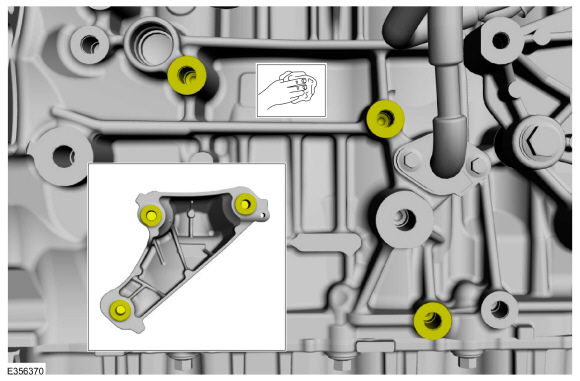
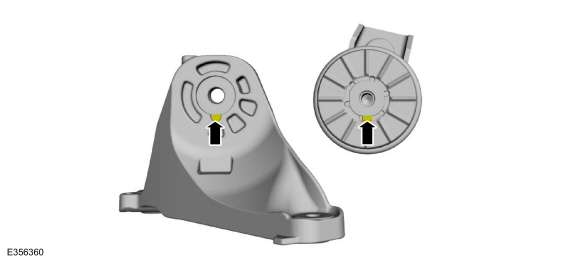
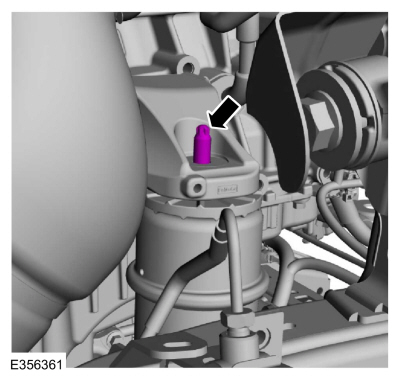
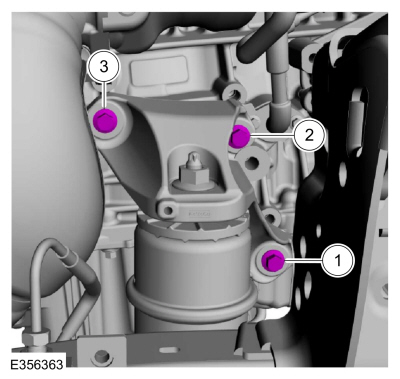
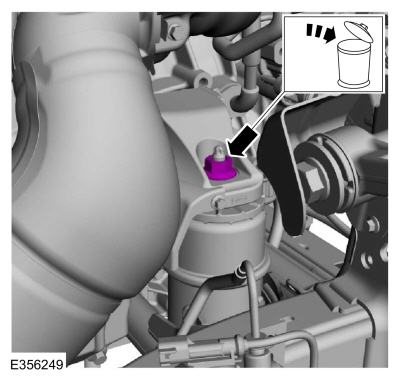
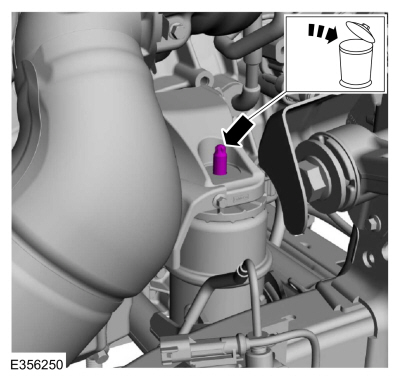
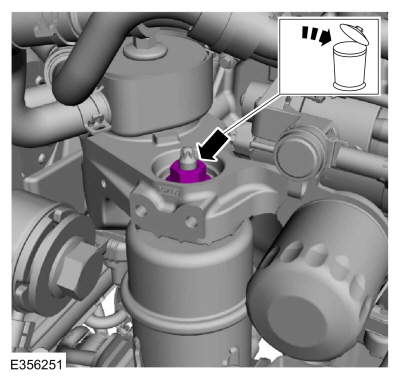
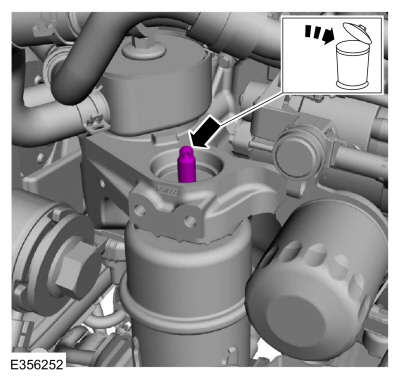
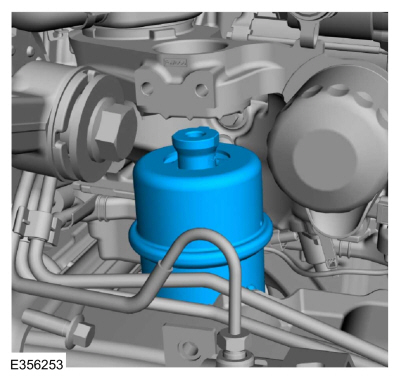
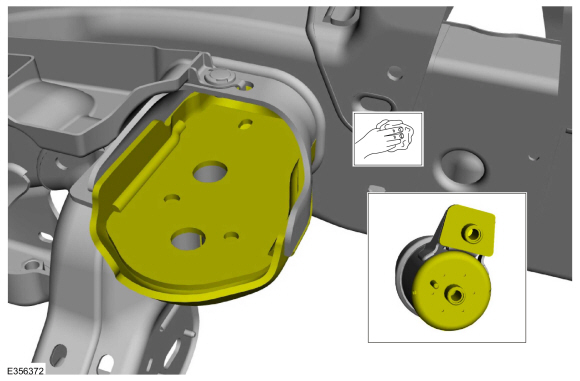
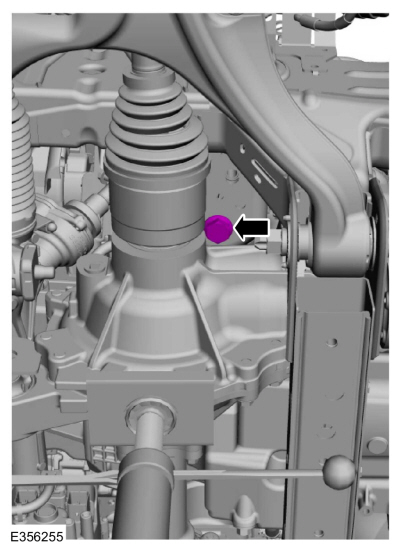
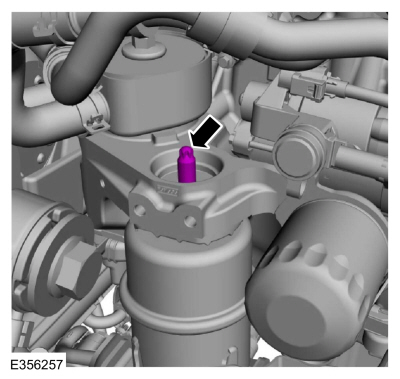
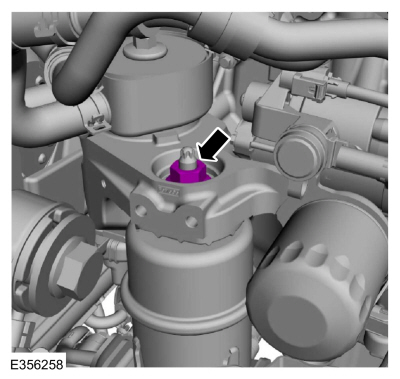
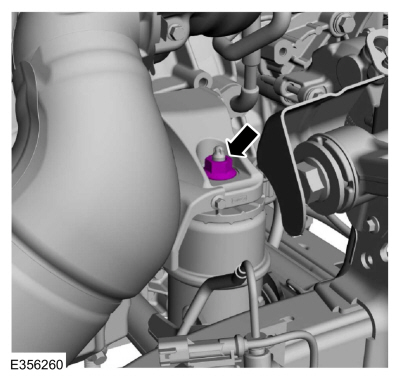
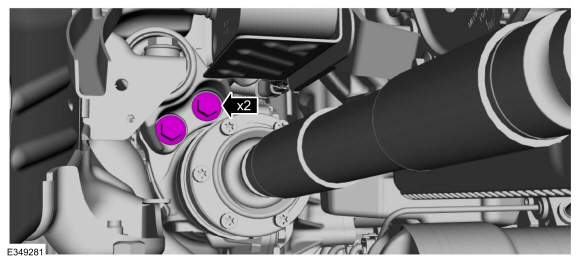
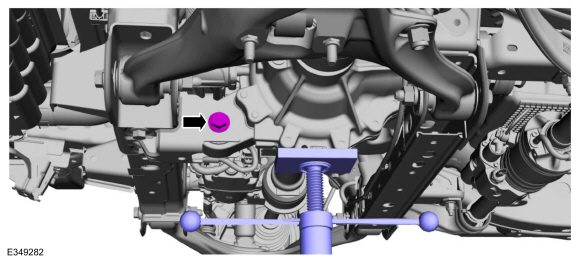
Appears to be a decent amount of movement... does it appear that my mechanic made the right assessment? tried to find the motor mount but man is there a lot of crap in the way

Sponsored


Weekends & Waypoints

Big Bend
Active Member
Joined
Feb 17, 2023
Threads
9
Messages
35
Reaction score
207
Location
Las Vegas
Vehicle(s)
2021 Ford Bronco Big Bend
Your Bronco Model
Big Bend
Not a simple job.

Engine Mount RH
Special Tool(s) / General Equipment
Vehicle/Axle Stands
Materials
NameSpecification
Motorcraft® Engine Shampoo and Degreaser
ZC-20
ESR-M14P3-A
Removal
NOTICE: The turbocharger compressor vanes can be damaged by even the smallest particles. When removing any turbocharger or engine air intake system component, ensure that no debris enters the system. Failure to do so may result in damage to the turbocharger.

  1. With the vehicle in NEUTRAL, position it on a hoist.
    Refer to: Jacking and Lifting (100-02 Jacking and Lifting, Description and Operation).
  2. Remove the following items:
    1. Remove the RH front fender splash shield.
      Refer to: Fender Splash Shield (501-02 Front End Body Panels, Removal and Installation).
    2. Remove the engine rear undershield.
      Refer to: Engine Rear Undershield (501-02 Front End Body Panels, Removal and Installation).
  3. Remove the nut and the splash shield bracket.
Ford Bronco {thread} {filename}
  1. Loosen the transmission mount nuts.
Ford Bronco {thread} {filename}
  1. Remove and discard the RH engine mount nuts.
Ford Bronco {thread} {filename}
  1. Remove the bolts and the RH engine mount heat shield.
Ford Bronco {thread} {filename}
  1. Remove and discard the RH engine mount nut.
Ford Bronco {thread} {filename}
  1. Remove and discard the RH engine mount stud.
Ford Bronco {thread} {filename}
NOTE: Step 9 is for vehicles without sway bar disconnect. Steps 10 thru 13 is for vehicles with sway bar disconnect.
    • Remove the nuts and bolts and lower the sway bar.
    • Discard the nuts and bolts.
Ford Bronco {thread} {filename}
    1. Loosen the bolts.
    1. Remove the bolts and the underbody shield.
Ford Bronco {thread} {filename}
  1. Disconnect the sway bar disconnect wiring harness electrical connectors and retainers.
Ford Bronco {thread} {filename}
    • Remove the nuts and bolts and lower the sway bar disconnect.
    • Discard the bolts.
Ford Bronco {thread} {filename}
  1. Position the sway bar disconnect back so the front sway bar bracket holes are on the sway bar studs bolts and install the old nuts finger tight to position the sway bar aside.
Ford Bronco {thread} {filename}
    • Position an adjustable stand under the rear of the engine/transmission.
      Use the General Equipment: Vehicle/Axle Stands
    • Using the adjustable stand, raise the engine 12.7 mm (1/2 in).
Ford Bronco {thread} {filename}
  1. Remove the bolts and the RH engine mount bracket.
Ford Bronco {thread} {filename}
  1. Remove the RH engine mount.
Ford Bronco {thread} {filename}
Installation
    1. Using engine shampoo and degreaser, clean the engine mount bracket.
      Material: Motorcraft® Engine Shampoo and Degreaser / ZC-20 (ESR-M14P3-A)
    1. Wipe the engine mount bracket clean.
Ford Bronco {thread} {filename}
  1. Clean the RH engine mount bracket-to-cylinder block surfaces of any dirt or foreign material prior to installation.
Ford Bronco {thread} {filename}
  1. Clean the RH engine mount-to-frame surfaces of any dirt or foreign material prior to installation.
Ford Bronco {thread} {filename}
  1. Install the RH engine mount and align bottom tab.
Ford Bronco {thread} {filename}
  1. Install the new RH engine mount nuts finger tight.
Ford Bronco {thread} {filename}
  1. Align the tab on the RH engine mount to the slot on the engine mount bracket.
Ford Bronco {thread} {filename}
  1. Install the RH engine mount bracket and the bolts finger tight.
Ford Bronco {thread} {filename}
  1. Install a new RH engine mount stud.
    Torque: 37 lb.ft (50 Nm)
Ford Bronco {thread} {filename}
  1. Install a new RH engine mount nut finger tight.
Ford Bronco {thread} {filename}
  1. Tighten the RH engine mount bracket bolts in the sequence shown.
    Torque: 52 lb.ft (70 Nm)
Ford Bronco {thread} {filename}
    • Using the adjustable stand, lower the engine to the installed position.
    • Remove the stand.
      Use the General Equipment: Vehicle/Axle Stands
Ford Bronco {thread} {filename}
NOTE: Steps 9 thru 12 is for vehicles with sway bar disconnect. Step 13 is for vehicles without sway bar disconnect.
  1. Remove and discard the nuts and position the sway bar disconnect forward.
Ford Bronco {thread} {filename}
  1. Position the sway bar disconnect and install the new nuts and bolts.
    Torque: 66 lb.ft (90 Nm)
Ford Bronco {thread} {filename}
  1. Connect the sway bar disconnect wiring harness electrical connectors and retainers.
Ford Bronco {thread} {filename}
    1. Install the underbody shield and the bolts.
      Torque: 26 lb.ft (35 Nm)
    1. Tighten the bolts.
      Torque: 26 lb.ft (35 Nm)
Ford Bronco {thread} {filename}
  1. Position the sway bar and install the new nuts and bolts.
    Torque: 66 lb.ft (90 Nm)
Ford Bronco {thread} {filename}
  1. Tighten the RH engine mount nut.
    Torque:
    Stage 1: 35 lb.ft (48 Nm)
    Stage 2: 120°
Ford Bronco {thread} {filename}
  1. Install the RH engine mount heat shield and the bolts and tighten in sequence shown.
    Torque: 124 lb.in (14 Nm)
Ford Bronco {thread} {filename}
  1. Tighten the RH engine mount nuts.
    Torque:
    Stage 1: 81 lb.ft (110 Nm)
    Stage 2: 120°
Ford Bronco {thread} {filename}
  1. Remove and discard the transmission mount nuts.
Ford Bronco {thread} {filename}
  1. Install the new transmission mount nuts and tighten.
    Torque: 85 lb.ft (115 Nm)
Ford Bronco {thread} {filename}
  1. Install the splash shield bracket and the nut.
    Torque: 97 lb.in (11 Nm)
Ford Bronco {thread} {filename}
  1. Install the following items:
    1. Install the engine rear undershield.
      Refer to: Engine Rear Undershield (501-02 Front End Body Panels, Removal and Installation).
    2. Install the RH front fender splash shield.
      Refer to: Fender Splash Shield (501-02 Front End Body Panels, Removal and Installation).
© Copyright 2022, Ford Motor Company.
Hey flip! Any chance you also could share the procedures for the 2.3L LH side motor mount install? I just replaced the RH side one myself, but the LH side seems to be a bit more tricky. Any help is appreciated! Thanks!
 

flip

Badlands
Well-Known Member
Base Sponsor (Level 1)
First Name
Phil
Joined
Jul 21, 2020
Threads
41
Messages
4,314
Reaction score
14,288
Location
IN
Website
www.ruxerparts.com
Vehicle(s)
Fords
Your Bronco Model
Badlands
Clubs
 
Engine Mount LH
Special Tool(s) / General Equipment

Vehicle/Axle Stands
Materials

NameSpecification
Motorcraft® Engine Shampoo and Degreaser
ZC-20
ESR-M14P3-A
Removal

NOTICE: The turbocharger compressor vanes can be damaged by even the smallest particles. When removing any turbocharger or engine air intake system component, ensure that no debris enters the system. Failure to do so may result in damage to the turbocharger.


  1. With the vehicle in NEUTRAL, position it on a hoist.
    Refer to: Jacking and Lifting (100-02 Jacking and Lifting, Description and Operation).
  1. Using a holding device, hold the steering wheel in the straight-ahead position.
Ford Bronco {thread} {filename}
  1. Remove the following items:
    1. Remove the air cleaner.
      Refer to: Air Cleaner (303-12A Intake Air Distribution and Filtering - 2.3L EcoBoost (199kW/270PS), Removal and Installation).
    2. Remove the LH and RH front fender splash shields.
      Refer to: Fender Splash Shield (501-02 Front End Body Panels, Removal and Installation).
    3. Remove the engine front undershield.
      Refer to: Engine Front Undershield (501-02 Front End Body Panels, Removal and Installation).
    4. Remove the engine rear undershield.
      Refer to: Engine Rear Undershield (501-02 Front End Body Panels, Removal and Installation).
  1. Remove the nut and the splash shield bracket.
Ford Bronco {thread} {filename}
    • Remove and discard the bolt.
    • Separate the steering shaft and position aside.
Ford Bronco {thread} {filename}
  1. Release the clips and position the CAC pipes aside.
Ford Bronco {thread} {filename}
NOTE: Step 7 is for vehicles without sway bar disconnect. Steps 8 thru 11 is for vehicles with sway bar disconnect.

    • Remove the nuts and bolts and lower the sway bar.
    • Discard the nuts and bolts.
Ford Bronco {thread} {filename}
    1. Loosen the bolts.
    1. Remove the bolts and the underbody shield.
Ford Bronco {thread} {filename}
  1. Disconnect the sway bar disconnect wiring harness electrical connectors and retainers.
Ford Bronco {thread} {filename}
    • Remove the nuts and bolts and lower the sway bar disconnect.
    • Discard the bolts.
Ford Bronco {thread} {filename}
  1. Position the sway bar disconnect back so the front sway bar bracket holes are on the sway bar studs bolts and install the old nuts finger tight to position the sway bar aside.
Ford Bronco {thread} {filename}
NOTE: Steps 12 thru 14 is for vehicles with an electronic locking axle.

  1. Position an adjustable stand under the axle and remove and discard the bolt.
    Use the General Equipment: Vehicle/Axle Stands
Ford Bronco {thread} {filename}
  1. Remove and discard the rear axle bolts.
Ford Bronco {thread} {filename}
  1. Using the adjustable stand, lower the axle.
    Use the General Equipment: Vehicle/Axle Stands
Ford Bronco {thread} {filename}
  1. Remove the retainers and the LH axle shaft shield.
Ford Bronco {thread} {filename}
  1. NOTE: Use a 1/2 inch drive 12-point 1 inch standard torque adaptor (such as a Snap-on SRDH321, or equivalent).
    Using a standard torque adaptor, remove and discard the LH outboard engine mount bolt.
Ford Bronco {thread} {filename}
  1. NOTE: Use a 1/2 inch drive 12-point 1 inch standard torque adaptor (such as a Snap-on SRDH321, or equivalent).
    Using a standard torque adaptor, remove and discard the LH inboard engine mount bolt.
Ford Bronco {thread} {filename}
  1. Loosen the transmission mount nuts.
Ford Bronco {thread} {filename}
  1. Remove and discard the RH engine mount nut.
Ford Bronco {thread} {filename}
  1. Remove and discard the RH engine mount stud.
Ford Bronco {thread} {filename}
  1. Remove and discard the LH engine mount nut.
Ford Bronco {thread} {filename}
  1. Remove and discard the LH engine mount stud.
Ford Bronco {thread} {filename}
    • Position an adjustable stand under the rear of the engine/transmission.
      Use the General Equipment: Vehicle/Axle Stands
    • Using the adjustable stand, raise the engine 50 mm (2 in).
Ford Bronco {thread} {filename}
  1. Remove the LH engine mount.
Ford Bronco {thread} {filename}
Installation

    1. Using engine shampoo and degreaser, clean the engine mount bracket.
      Material: Motorcraft® Engine Shampoo and Degreaser / ZC-20 (ESR-M14P3-A)
    1. Wipe the engine mount bracket clean.
Ford Bronco {thread} {filename}
  1. Clean the LH engine mount-to-frame surfaces of any dirt or foreign material prior to installation.
Ford Bronco {thread} {filename}
  1. Install the LH engine mount.
Ford Bronco {thread} {filename}
  1. Align the tab on the LH engine mount to the slot on the engine mount bracket.
Ford Bronco {thread} {filename}
  1. NOTE: Use a 1/2 inch drive 12-point 1 inch standard torque adaptor (such as a Snap-on SRDH321, or equivalent).
    NOTE: Calculate the correct torque wrench setting for the following torque using the Torque Wrench Adapter Formulas.
    Install a new LH inboard engine mount bolt and tighten the using the standard torque adaptor.
    Torque:
    Stage 1: 111 lb.ft (150 Nm)
    Stage 2: 60°
Ford Bronco {thread} {filename}
  1. NOTE: Use a 1/2 inch drive 12-point 1 inch standard torque adaptor (such as a Snap-on SRDH321, or equivalent).
    NOTE: Calculate the correct torque wrench setting for the following torque using the Torque Wrench Adapter Formulas.
    Install a new LH outboard engine mount bolt and tighten the using the standard torque adaptor.
    Torque:
    Stage 1: 111 lb.ft (150 Nm)
    Stage 2: 60°
Ford Bronco {thread} {filename}
    • Using the adjustable stand, lower the engine to the installed position.
    • Remove the stand.
      Use the General Equipment: Vehicle/Axle Stands
Ford Bronco {thread} {filename}
  1. Install the LH engine mount stud.
    Torque: 37 lb.ft (50 Nm)
Ford Bronco {thread} {filename}
  1. Install a new LH engine mount nut and tighten.
    Torque:
    Stage 1: 35 lb.ft (48 Nm)
    Stage 2: 120°
Ford Bronco {thread} {filename}
  1. Install a new RH engine mount stud.
    Torque: 37 lb.ft (50 Nm)
Ford Bronco {thread} {filename}
  1. Install a new RH mount nut and tighten.
    Torque:
    Stage 1: 35 lb.ft (48 Nm)
    Stage 2: 120°
Ford Bronco {thread} {filename}
  1. Install the LH axle shield and the retainers.
Ford Bronco {thread} {filename}
NOTE: Steps 13 thru 15 is for vehicles with an electronic locking axle.

  1. Using the adjustable stand, raise the axle and install the new bolt finger tight.
    Use the General Equipment: Vehicle/Axle Stands
Ford Bronco {thread} {filename}
  1. Install the new rear axle bolts.
    Torque:
    Stage 1: 30 lb.ft (40 Nm)
    Stage 2: 70°
Ford Bronco {thread} {filename}
  1. Tighten the bolt and remove the adjustable stand.
    Use the General Equipment: Vehicle/Axle Stands
    Torque: 195 lb.ft (265 Nm)
Ford Bronco {thread} {filename}
NOTE: Steps 16 thru 19 is for vehicles with sway bar disconnect. Step 20 is for vehicles without sway bar disconnect.

  1. Remove and discard the nuts and position the sway bar disconnect forward.
Ford Bronco {thread} {filename}
  1. Position the sway bar disconnect and install the new nuts and bolts.
    Torque: 66 lb.ft (90 Nm)
Ford Bronco {thread} {filename}
  1. Connect the sway bar disconnect wiring harness electrical connectors and retainers.
Ford Bronco {thread} {filename}
    1. Install the underbody shield and the bolts.
      Torque: 26 lb.ft (35 Nm)
    1. Tighten the bolts.
      Torque: 26 lb.ft (35 Nm)
Ford Bronco {thread} {filename}
  1. Position the sway bar and install the new nuts and bolts.
    Torque: 66 lb.ft (90 Nm)
Ford Bronco {thread} {filename}
  1. Remove and discard the transmission mount nuts.
Ford Bronco {thread} {filename}
  1. Install the new transmission mount nuts and tighten.
    Torque: 85 lb.ft (115 Nm)
Ford Bronco {thread} {filename}
    • Inspect the turbocharger or engine air intake system components and clean, if necessary.
    • Position the CAC pipes and install the clips.
Ford Bronco {thread} {filename}
  1. Position and install the steering shaft and the new bolt.
    Torque: 22 lb.ft (30 Nm)
Ford Bronco {thread} {filename}
  1. Install the splash shield bracket and the nut.
    Torque: 97 lb.in (11 Nm)
Ford Bronco {thread} {filename}
  1. Install the following items:
    1. Install the engine rear undershield.
      Refer to: Engine Rear Undershield (501-02 Front End Body Panels, Removal and Installation).
    2. Install the engine front undershield.
      Refer to: Engine Front Undershield (501-02 Front End Body Panels, Removal and Installation).
    3. Install the LH and RH front fender splash shields.
      Refer to: Fender Splash Shield (501-02 Front End Body Panels, Removal and Installation).
    4. Install the air cleaner.
      Refer to: Air Cleaner (303-12A Intake Air Distribution and Filtering - 2.3L EcoBoost (199kW/270PS), Removal and Installation).
  1. Remove the holding device.
Ford Bronco {thread} {filename}

Ford Bronco {thread} {filename}
Sponsored


Top