
- Thread starter
- #1
I picked up the MetalCloak front bumper a couple weeks ago and have been patiently waiting to install. I pulled a Warn EVO 10S off a Jeep JL from a friend and so this weekend with not too much commitments I got after it.
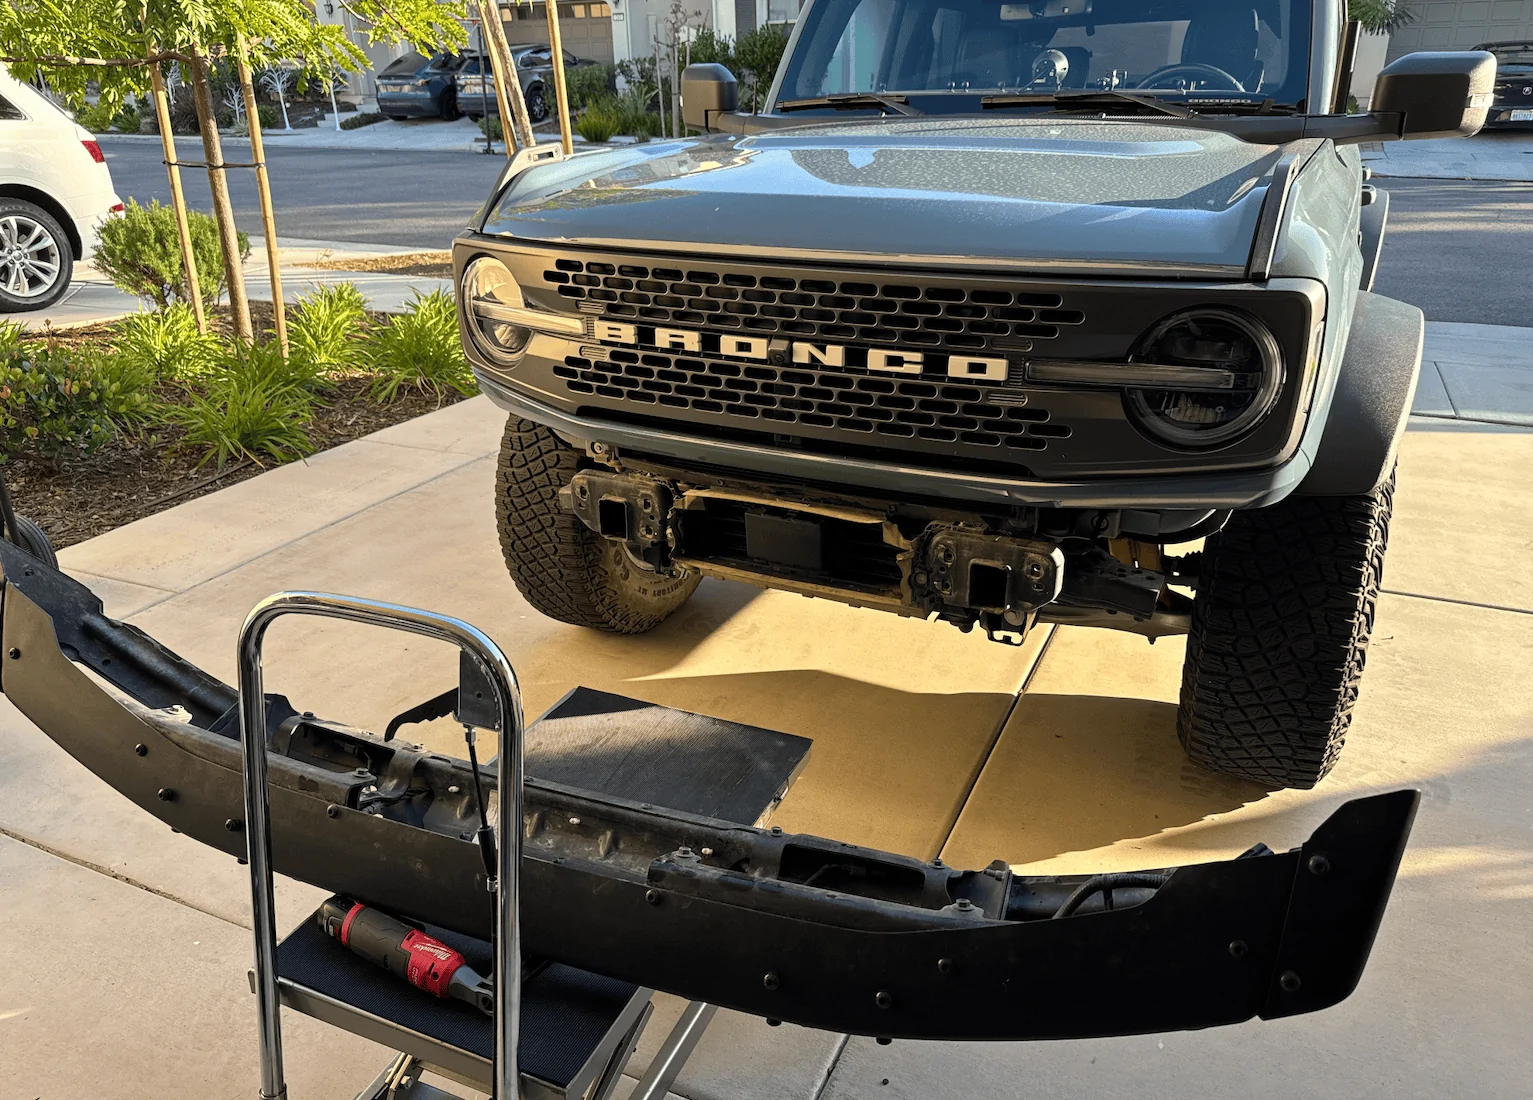
Removal of the OEM bumper, I would say you should commit about 2 hours to remove it and detach the OEM wiring harness and sensors and reassemble for sale. It's also insanely useful to have a hydraulic lift cart around because I did 100% of this myself.

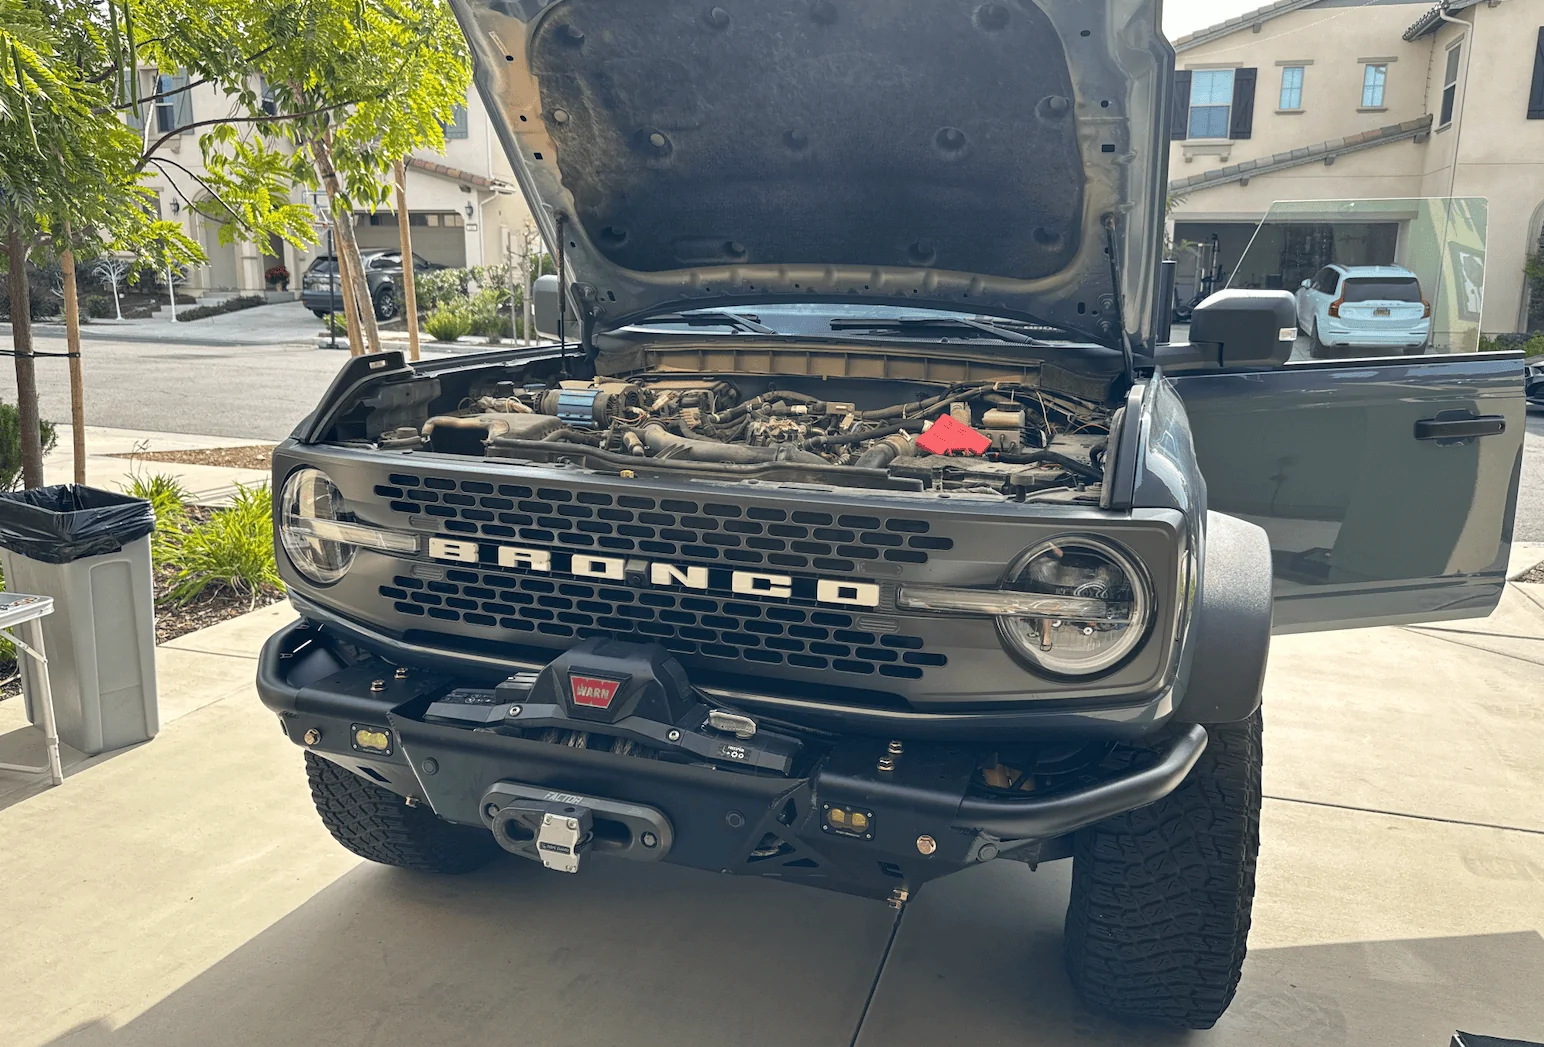
The next morning, it took me another 2.5 to 3 hours to assemble. The MC bumper install process has you loosely fit the ears to mounting points first, then the skid plates, then the main bumper assemble (with the winch installed. Then you basically muscle it into place and tighten everything down and it will all pull into alignment.

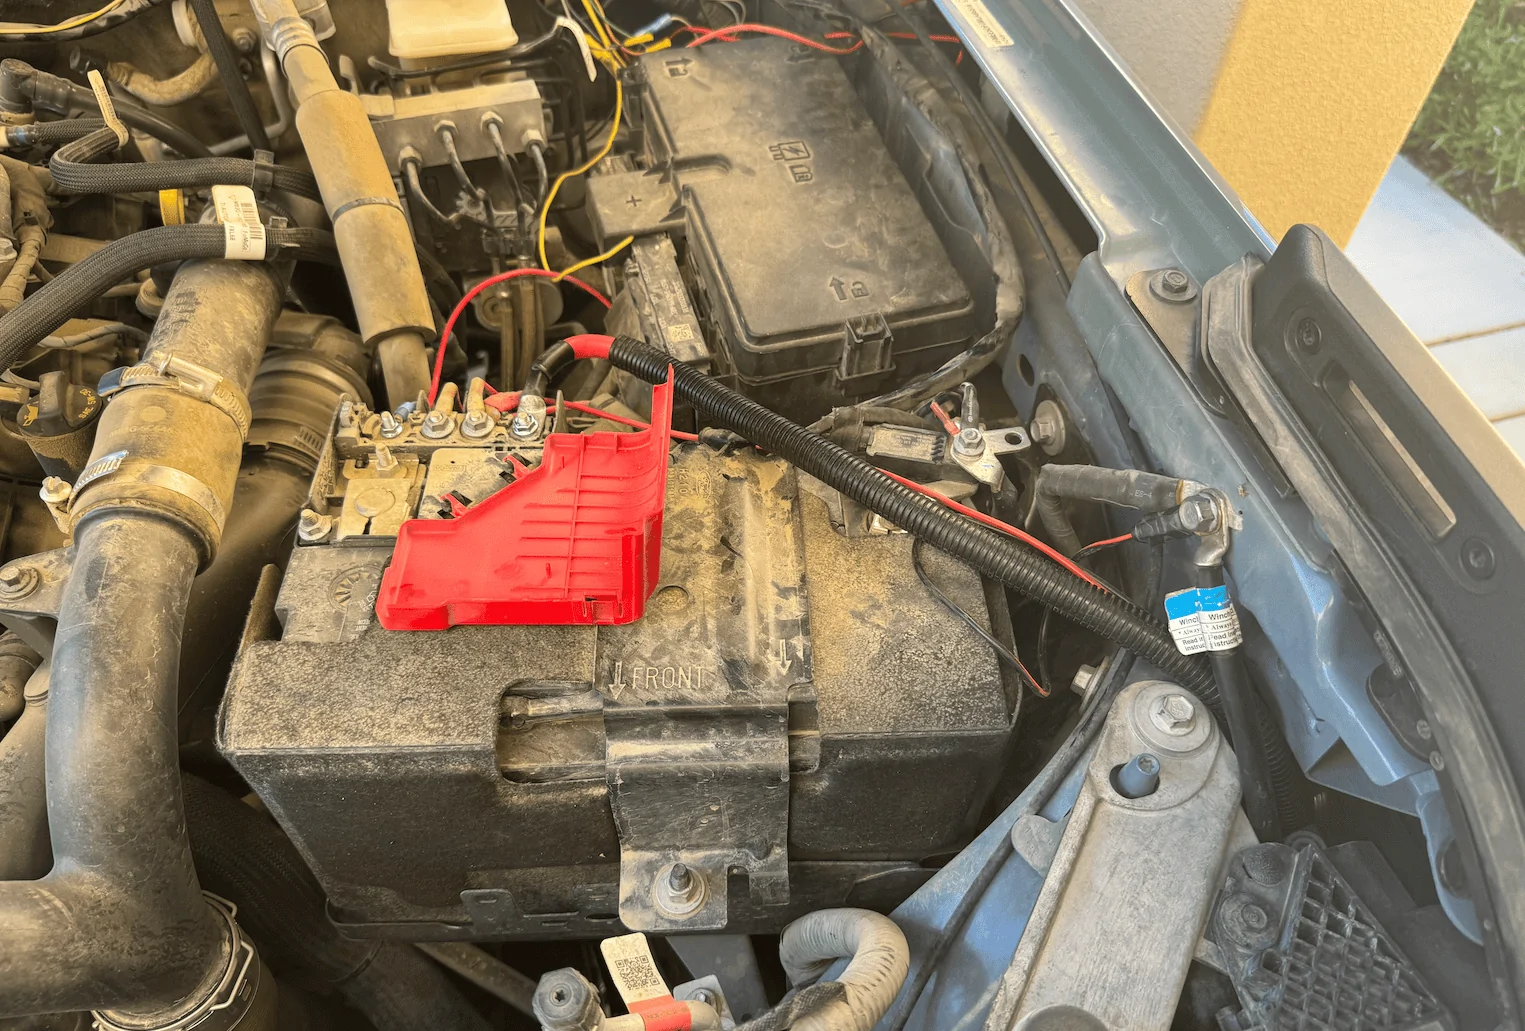
Turns out I ordered the wrong connectors to connect the two Baja S2 SAE to the factory harness. So for now I've left the end covers off as I'm also waiting on 2 x Baja LP6 Pro to be delivered which I'll want to have access to the wiring there as well. Finally, the WARN power cables were only 6 feet long, and running those up the driver fender well left me with some decent slack on the negative wire, but basically just cleared it to the positive to test functionality. I need to remove the driver front wheel and fender liner and find a route that helps me make a better connection because this is no bueno. I'll probably all move the winch negative connection direct to the battery terminal as well, but for testing I just attached it to that body ground point on the right. Overall I'm happy with the result, just have to tidy up some wiring! If there are any better paths for those wires I'd appreciate any suggestions.

Removal of the OEM bumper, I would say you should commit about 2 hours to remove it and detach the OEM wiring harness and sensors and reassemble for sale. It's also insanely useful to have a hydraulic lift cart around because I did 100% of this myself.
The next morning, it took me another 2.5 to 3 hours to assemble. The MC bumper install process has you loosely fit the ears to mounting points first, then the skid plates, then the main bumper assemble (with the winch installed. Then you basically muscle it into place and tighten everything down and it will all pull into alignment.
Turns out I ordered the wrong connectors to connect the two Baja S2 SAE to the factory harness. So for now I've left the end covers off as I'm also waiting on 2 x Baja LP6 Pro to be delivered which I'll want to have access to the wiring there as well. Finally, the WARN power cables were only 6 feet long, and running those up the driver fender well left me with some decent slack on the negative wire, but basically just cleared it to the positive to test functionality. I need to remove the driver front wheel and fender liner and find a route that helps me make a better connection because this is no bueno. I'll probably all move the winch negative connection direct to the battery terminal as well, but for testing I just attached it to that body ground point on the right. Overall I'm happy with the result, just have to tidy up some wiring! If there are any better paths for those wires I'd appreciate any suggestions.
Sponsored
