- Thread starter
- #16
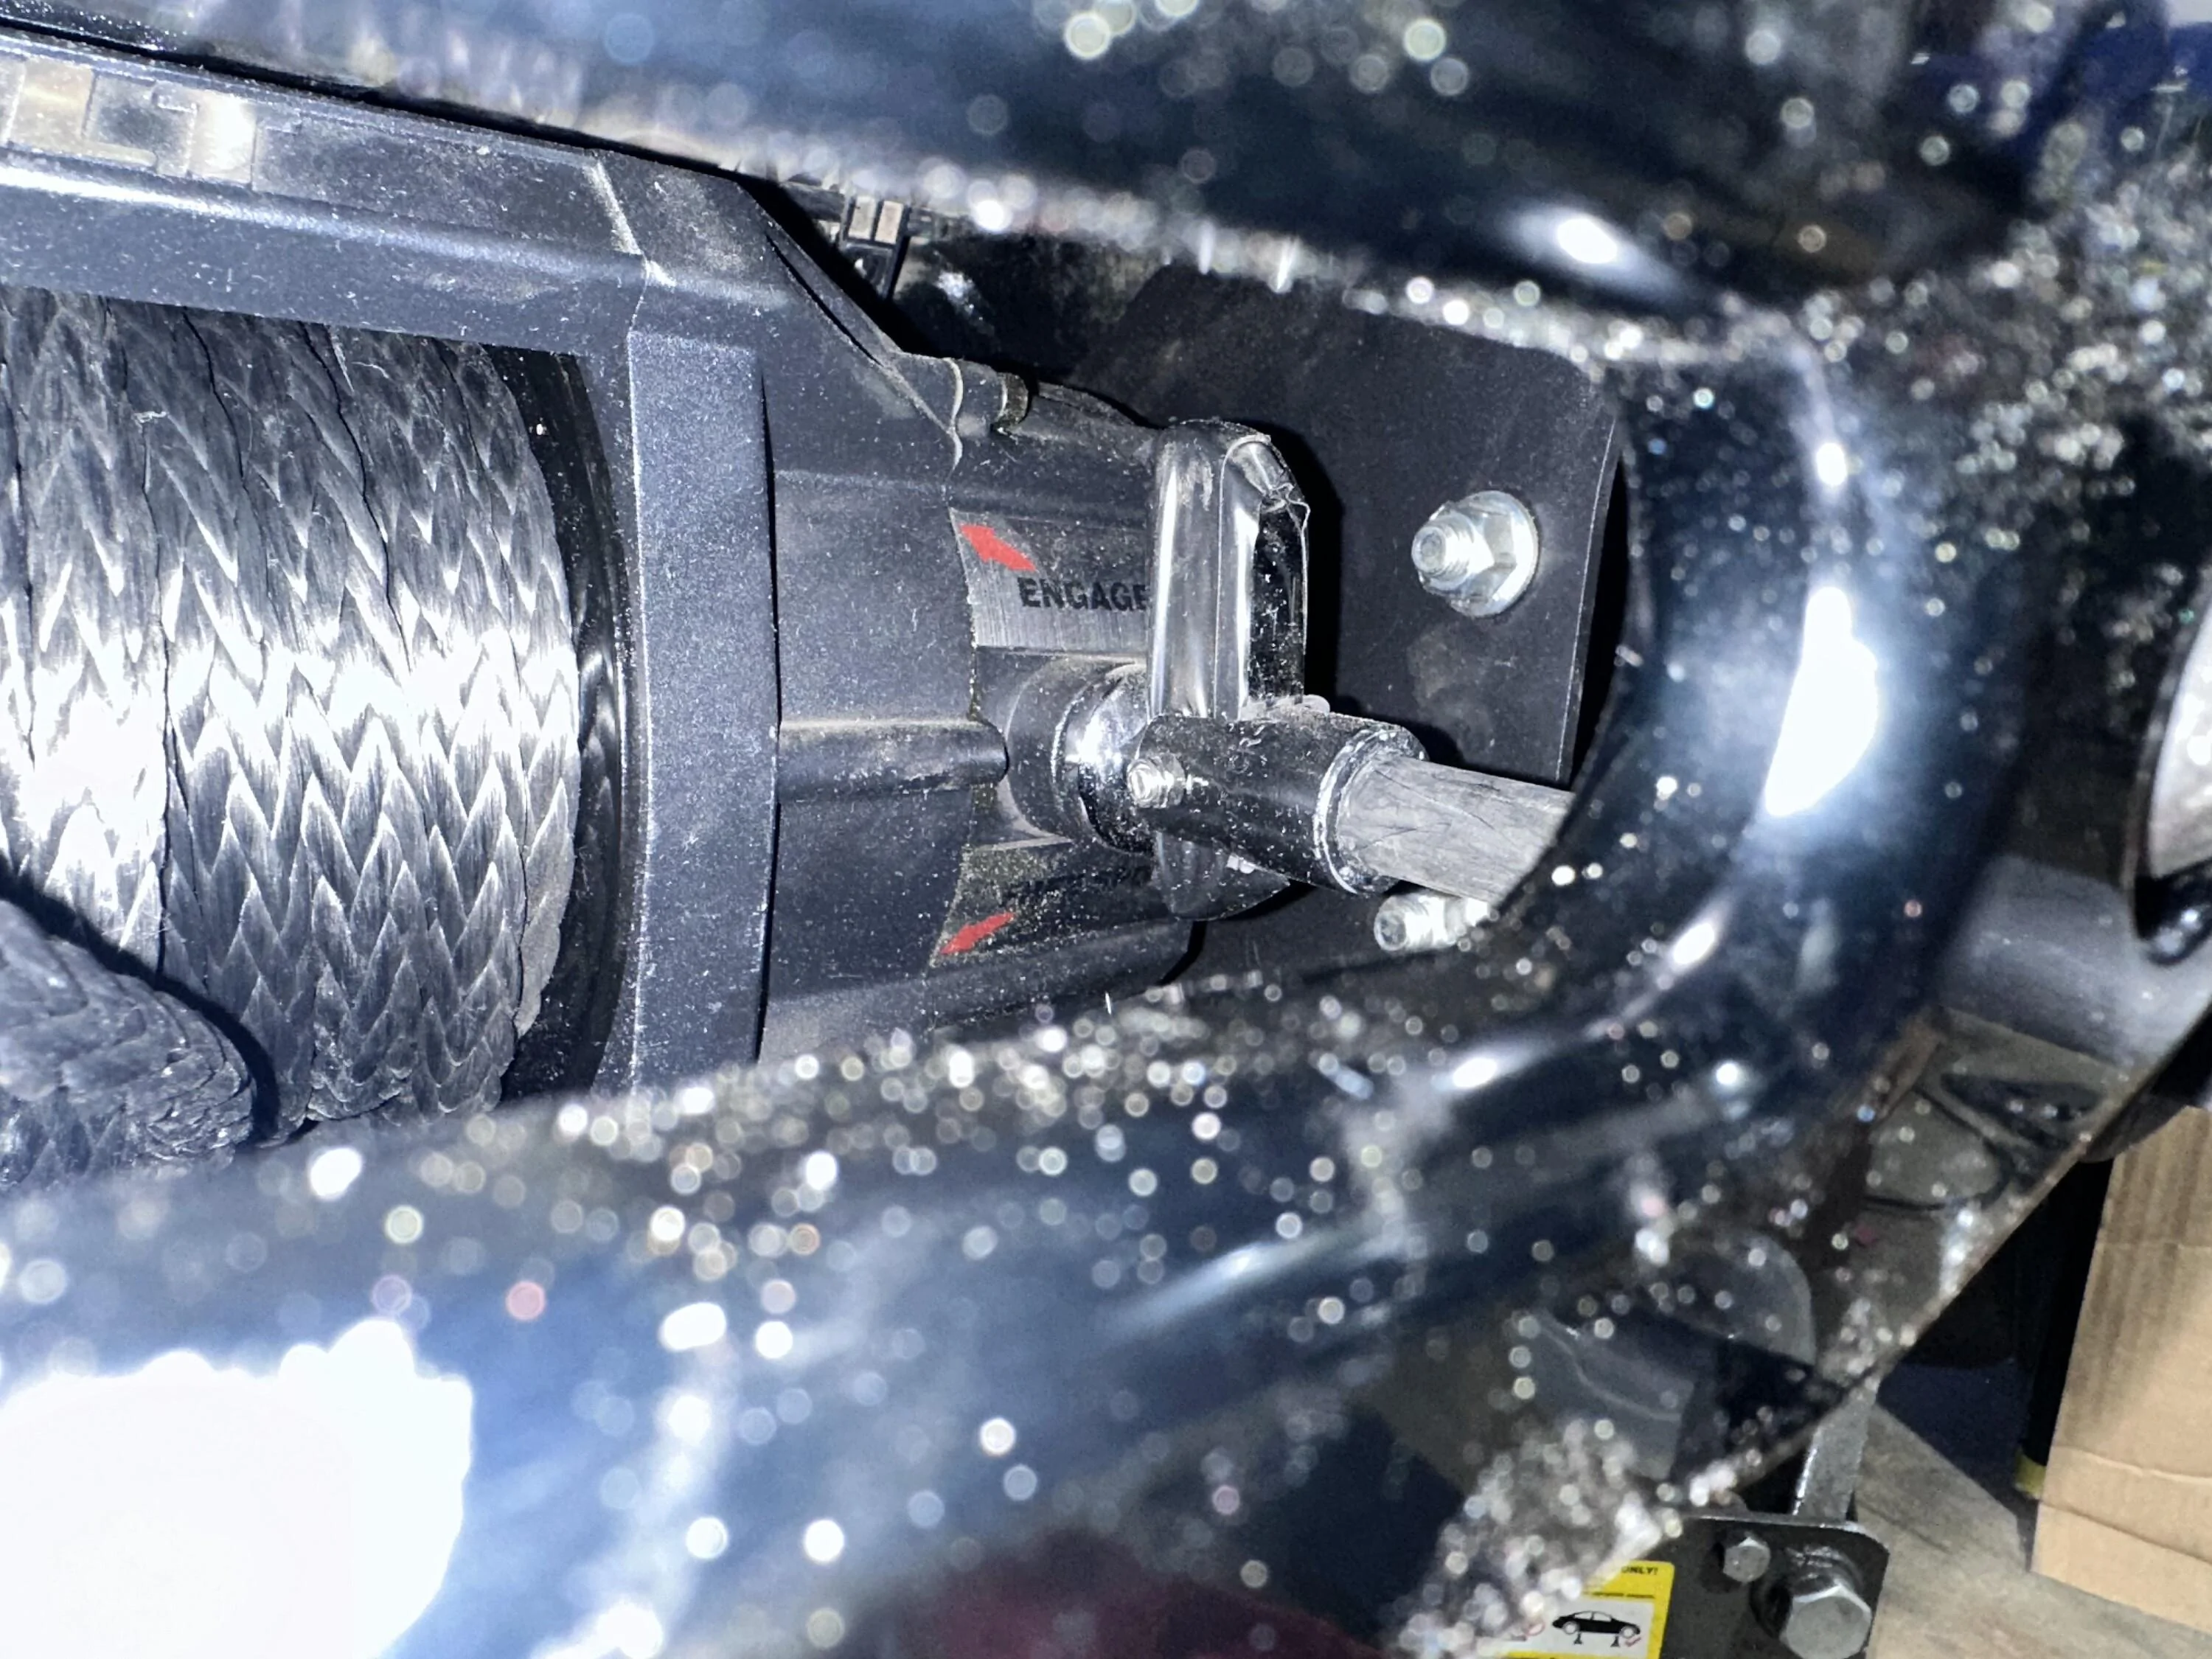
Yeah, I wish I had tried to clock the motor forward too. It wasn't that bad to hook up the terminals before bolting the cradle up, but it would be super easy to hook them up if they faced forward.
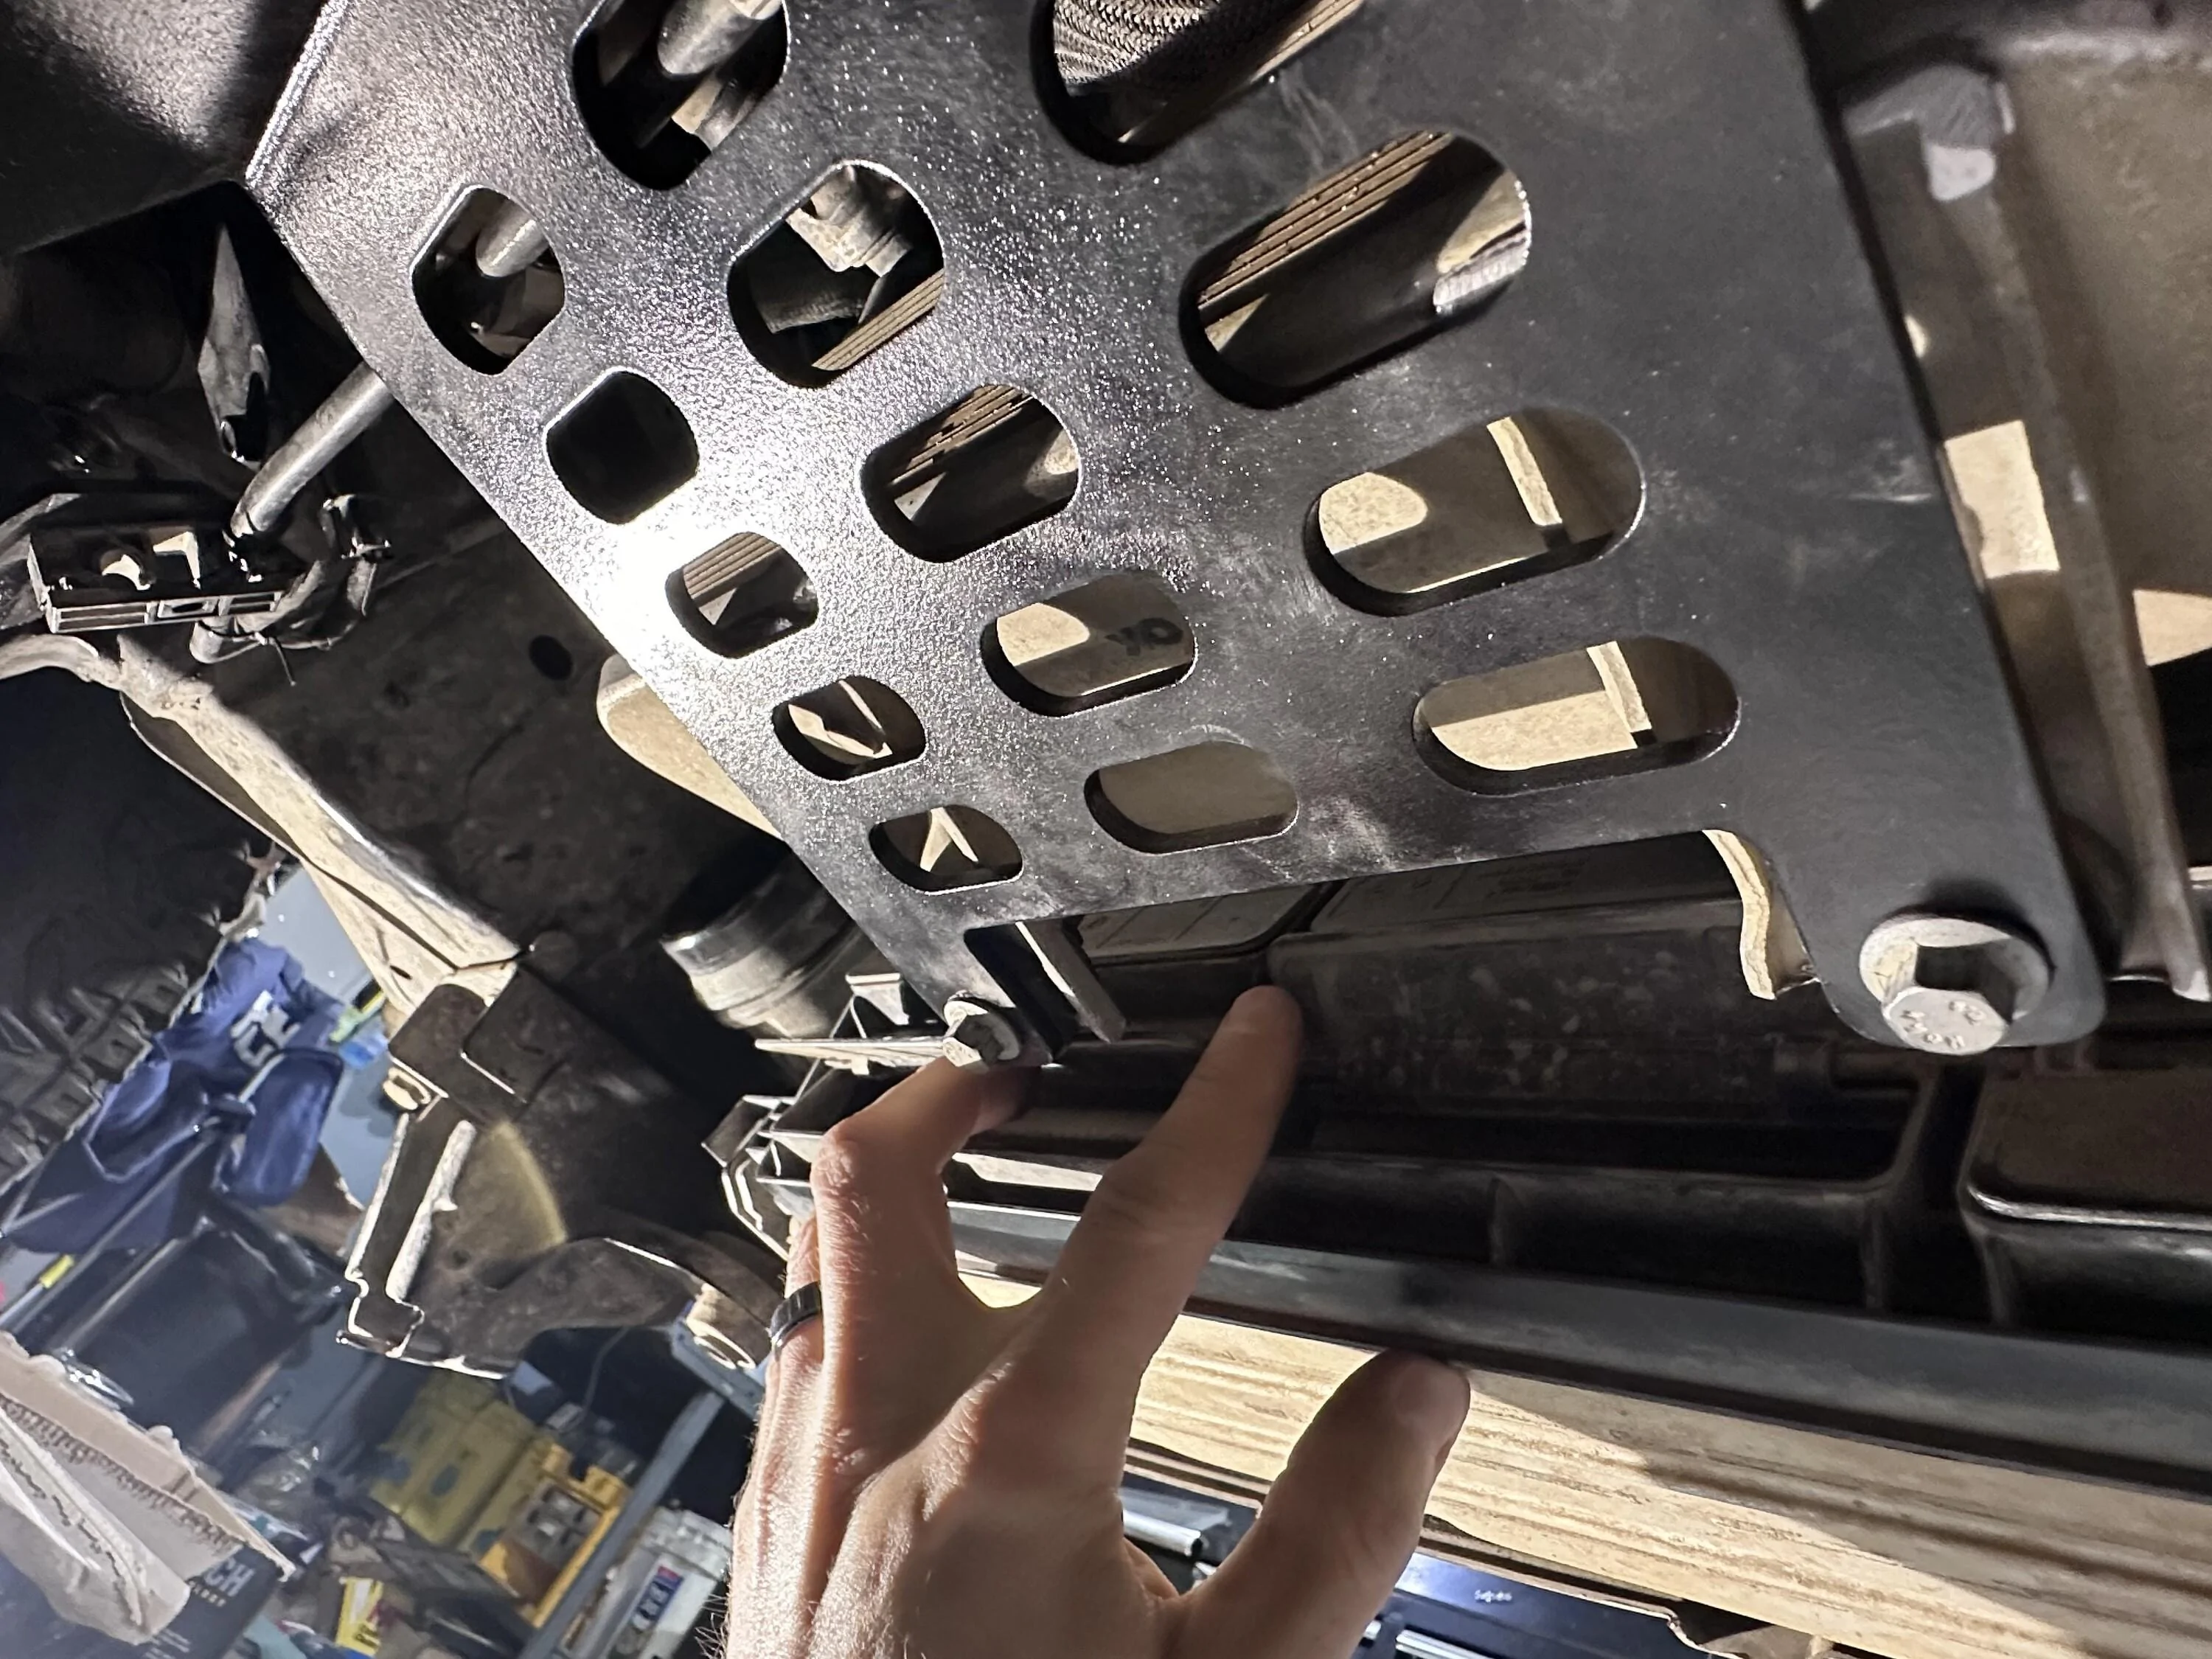
I used to have access to a plasma cutter and bender, but right now I just have SolidWorks for CAD. I sent the file to SendCutSend and had them laser cut and bend the bracket for me. It's surprisingly cheap to have them make one off parts, even cheaper if you can do batches.
I used to have access to a plasma cutter and bender, but right now I just have SolidWorks for CAD. I sent the file to SendCutSend and had them laser cut and bend the bracket for me. It's surprisingly cheap to have them make one off parts, even cheaper if you can do batches.
Sponsored

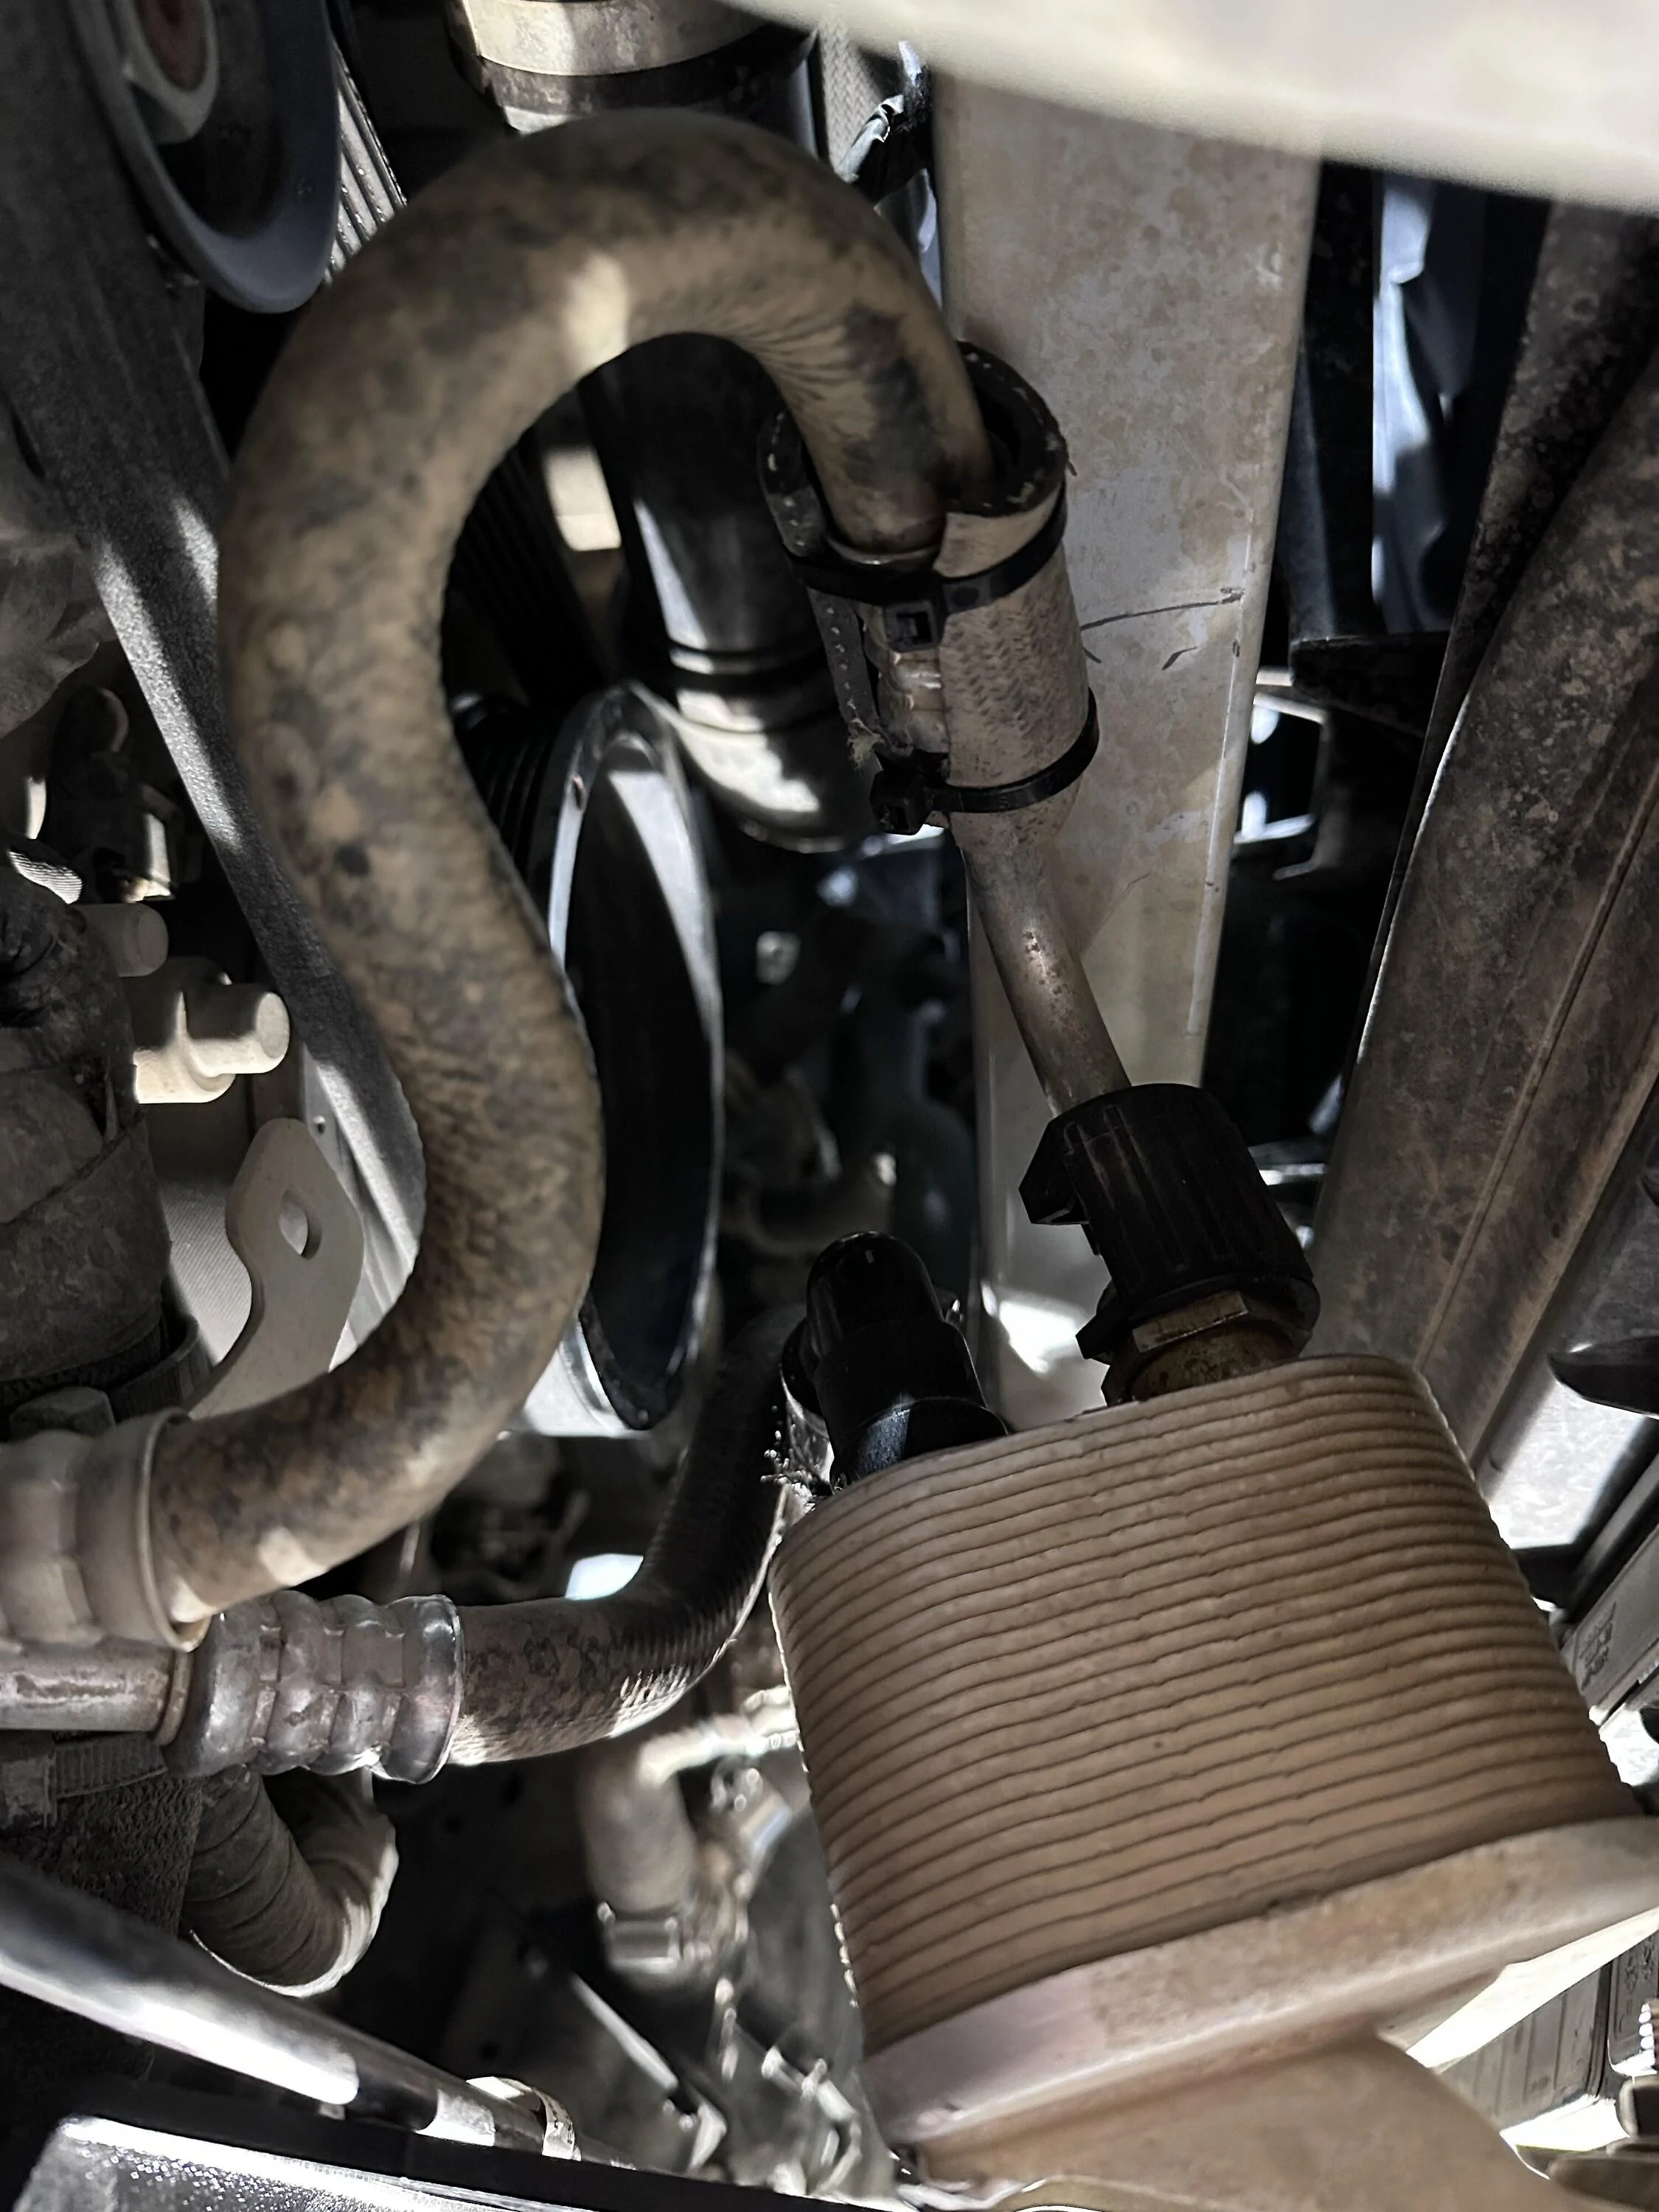
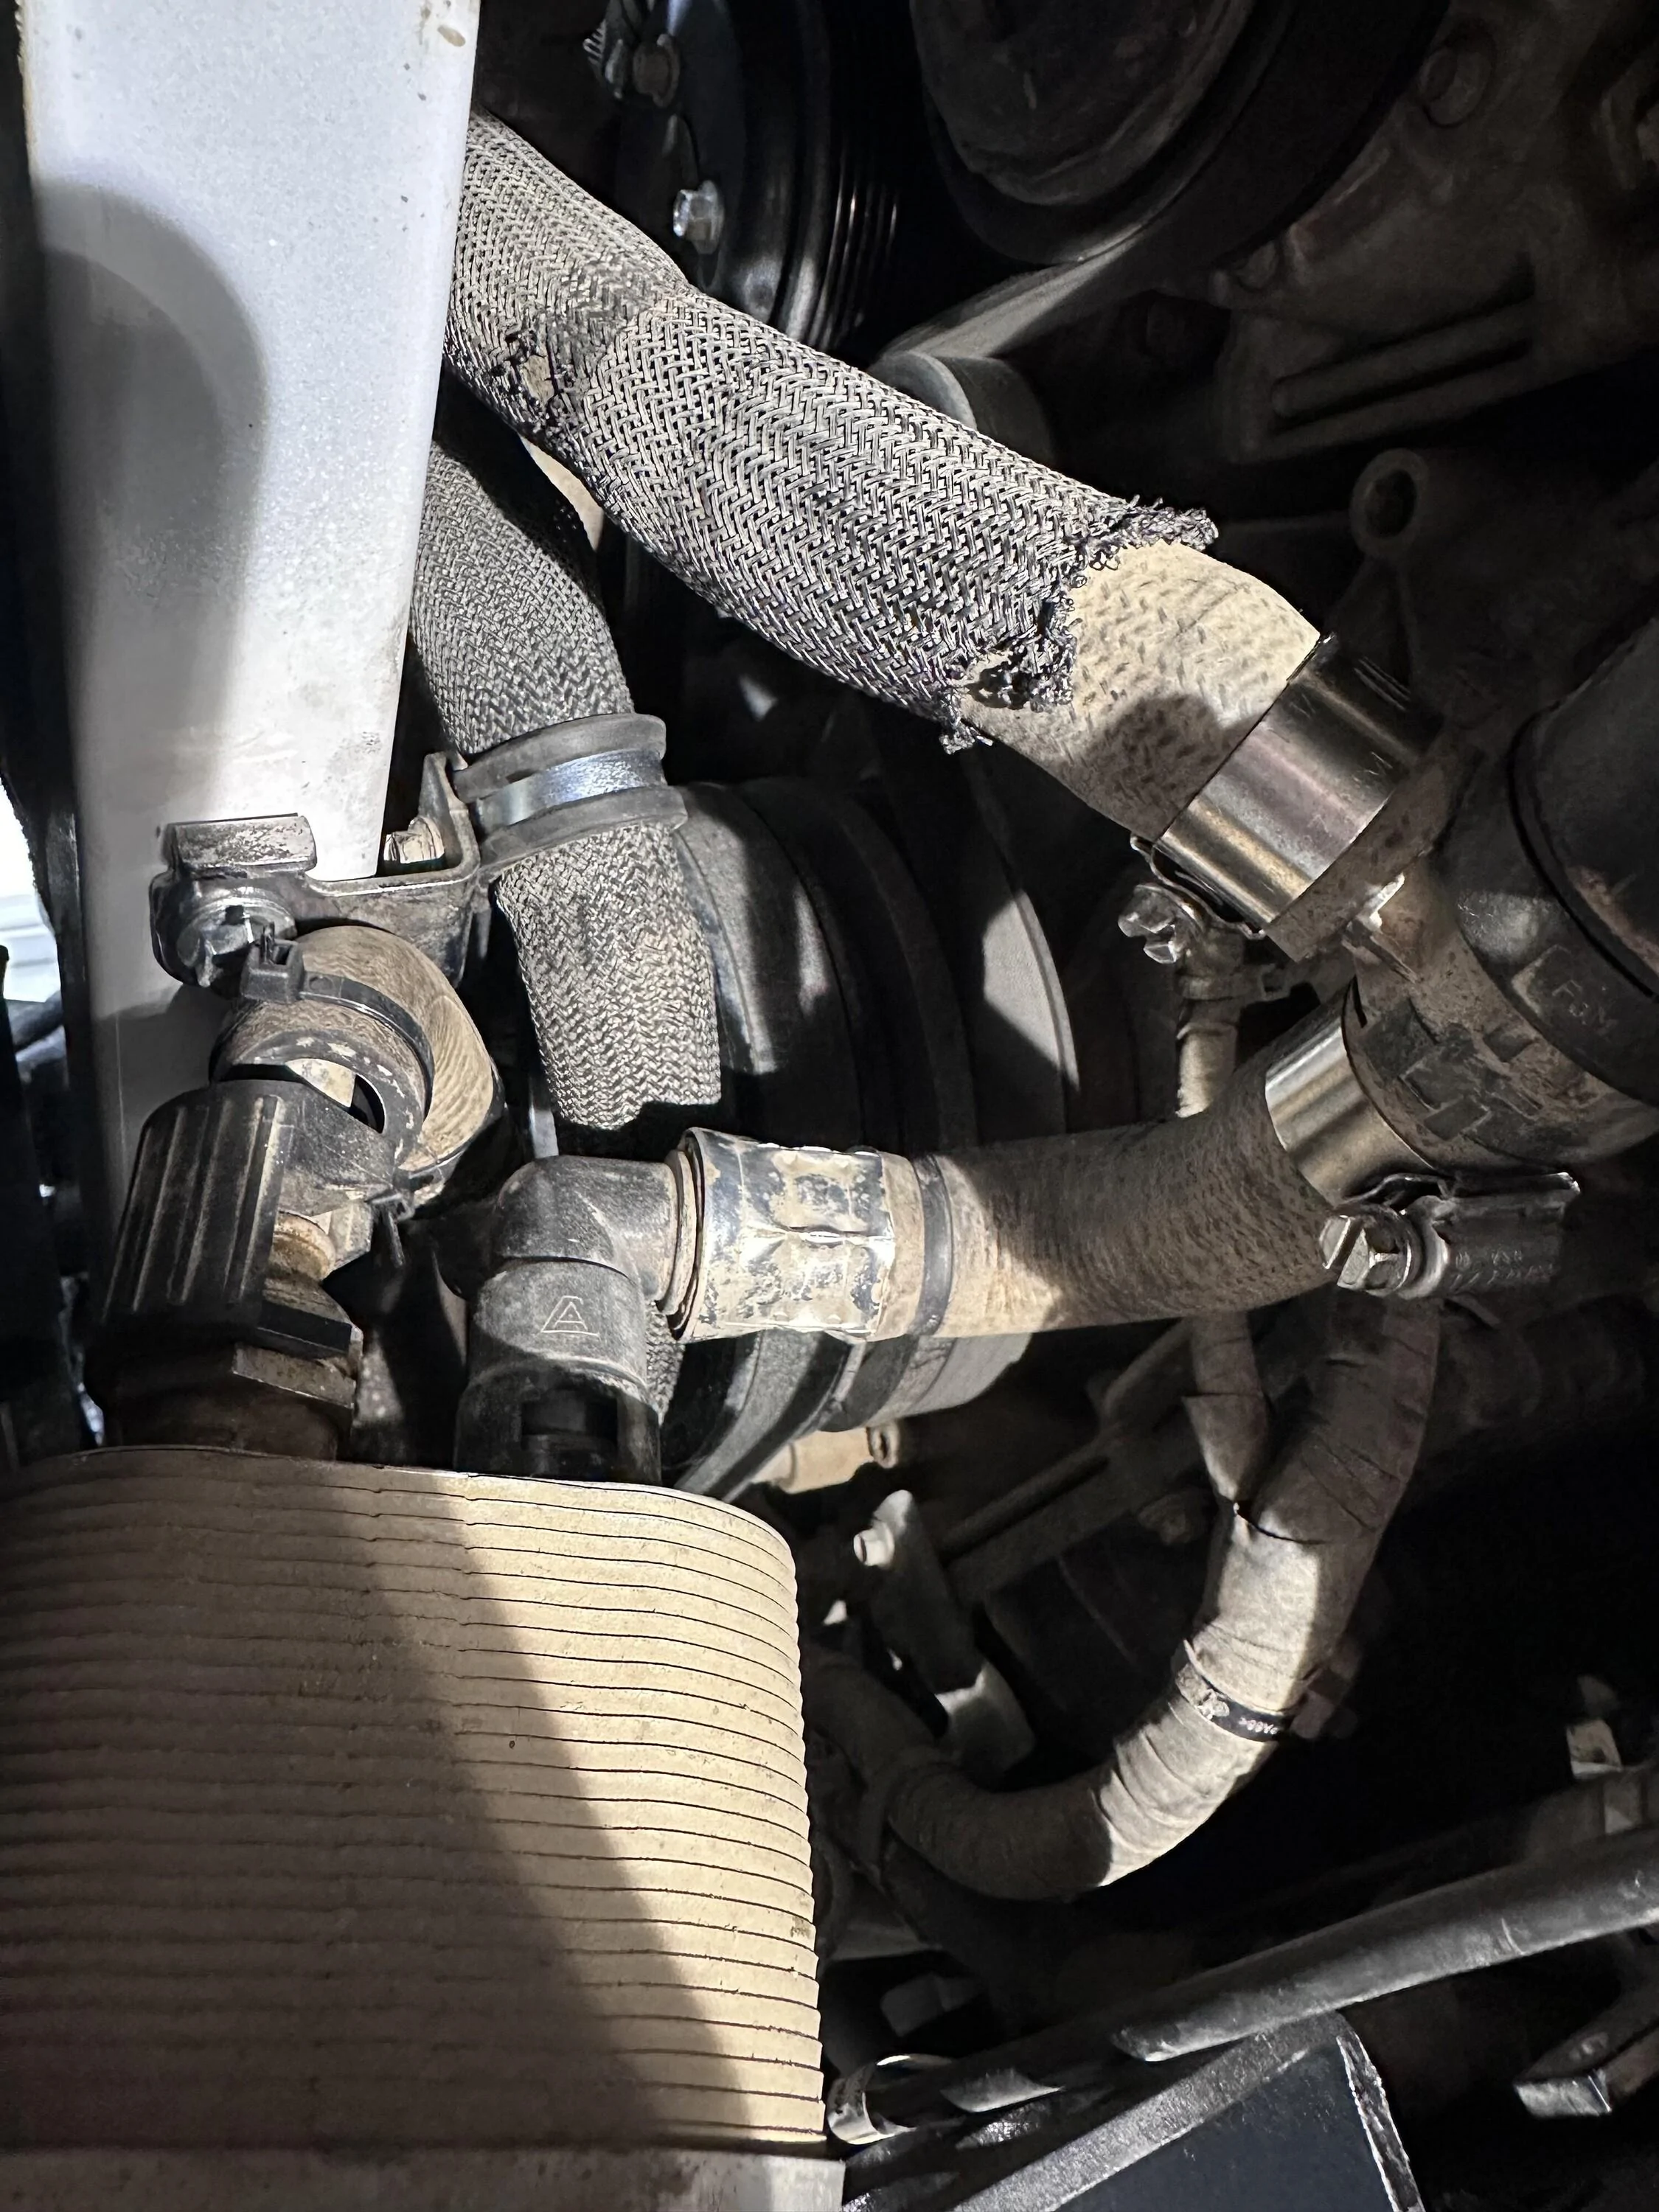
") I ended up not listening to some of the instructions and reused some of the oem hardware for mounting the cooler and bracket . I also feel like if I were to do it again I could easily move that bolt/bracket like 2 inches towards the drivers side and have more clearance over there as well.
I ended up not listening to some of the instructions and reused some of the oem hardware for mounting the cooler and bracket . I also feel like if I were to do it again I could easily move that bolt/bracket like 2 inches towards the drivers side and have more clearance over there as well.