- First Name
- mike
- Joined
- Feb 19, 2022
- Threads
- 4
- Messages
- 279
- Reaction score
- 568
- Location
- southern california
- Vehicle(s)
- ford fusion
- Your Bronco Model
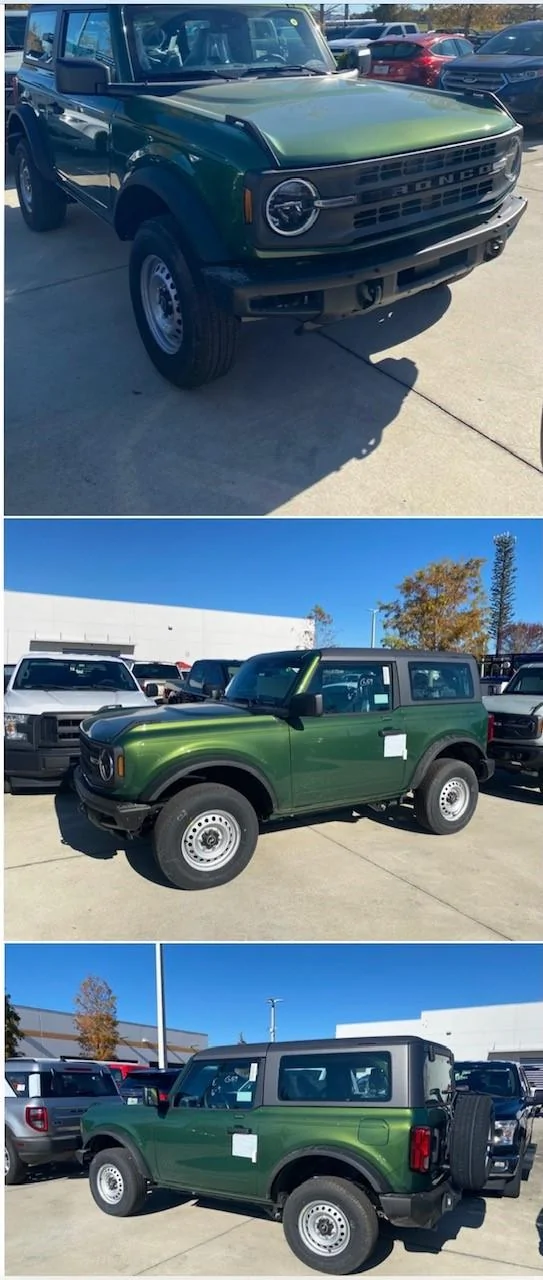
- Base
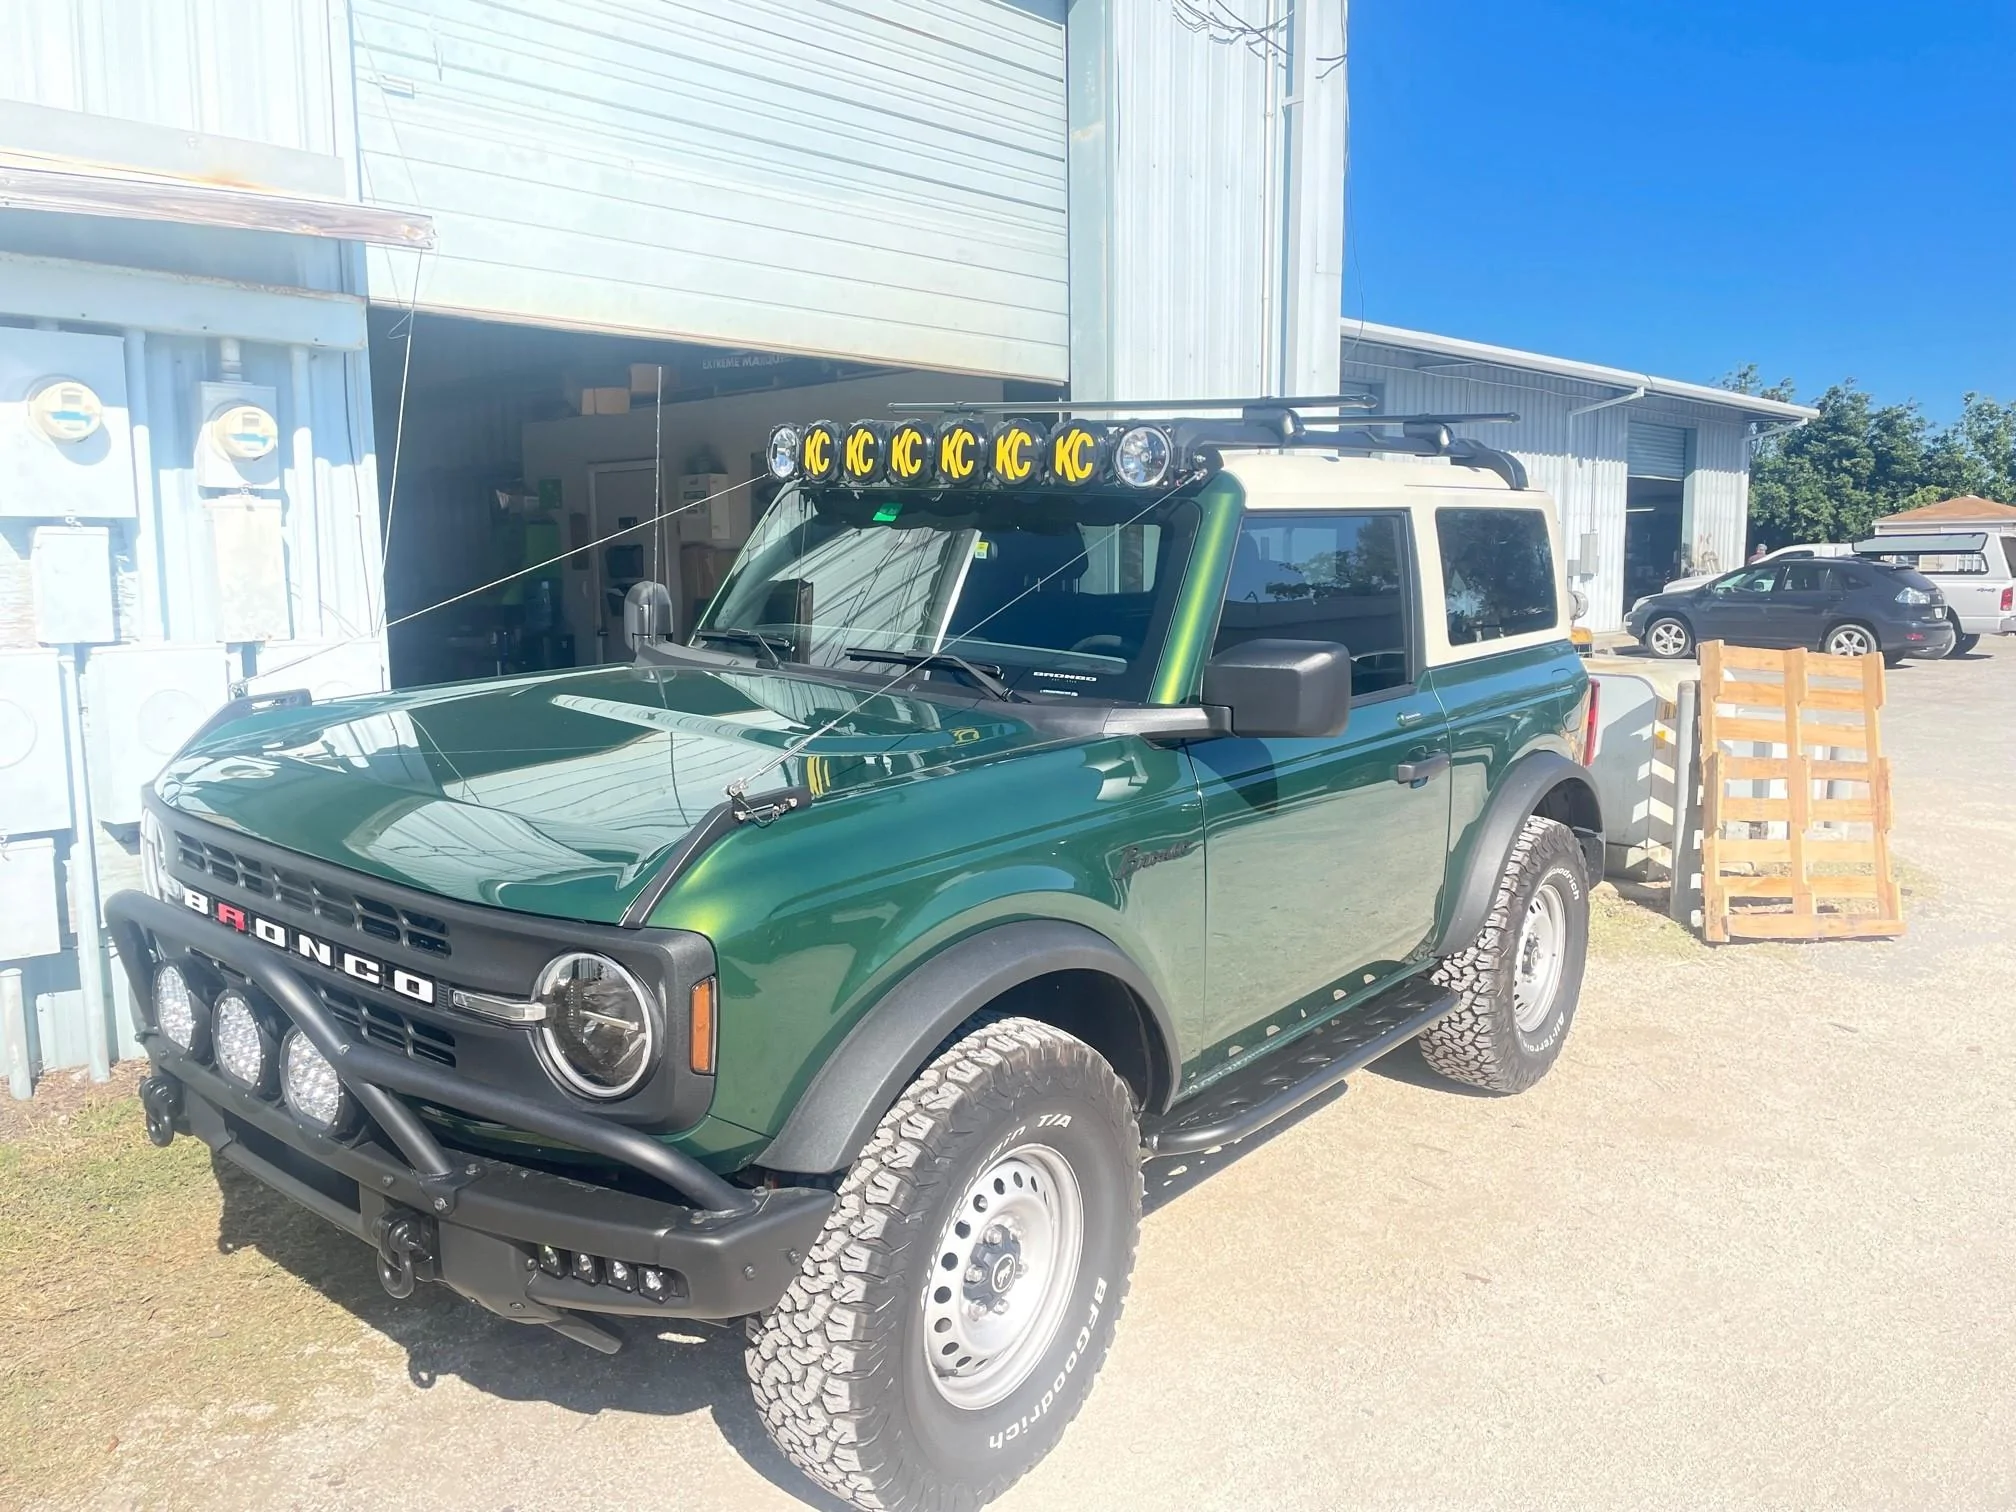
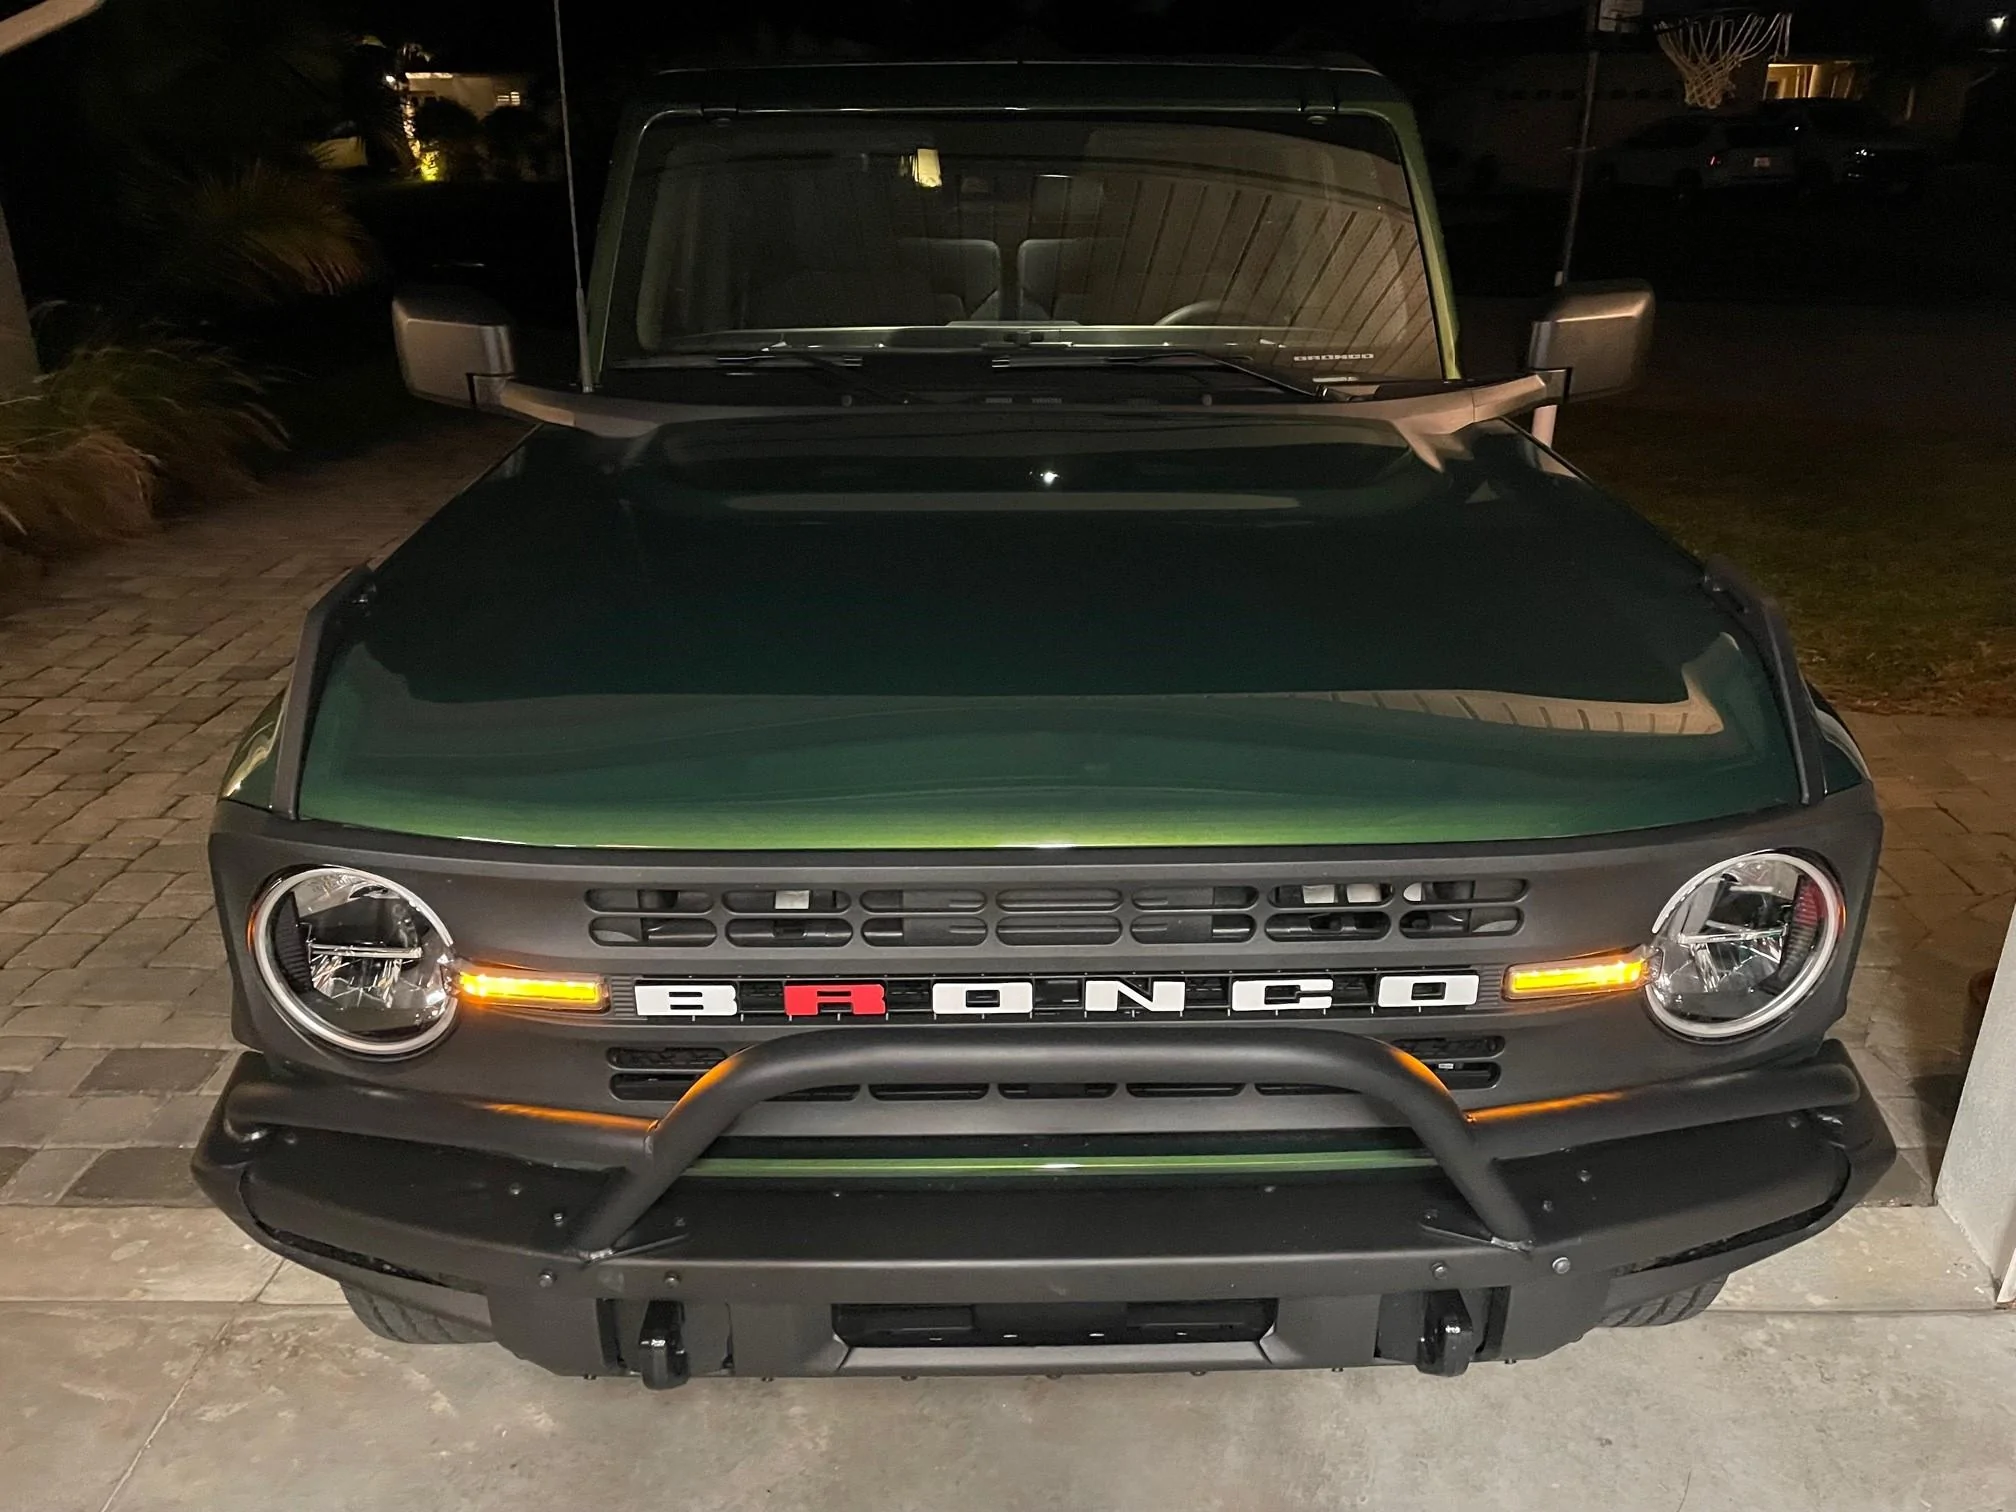
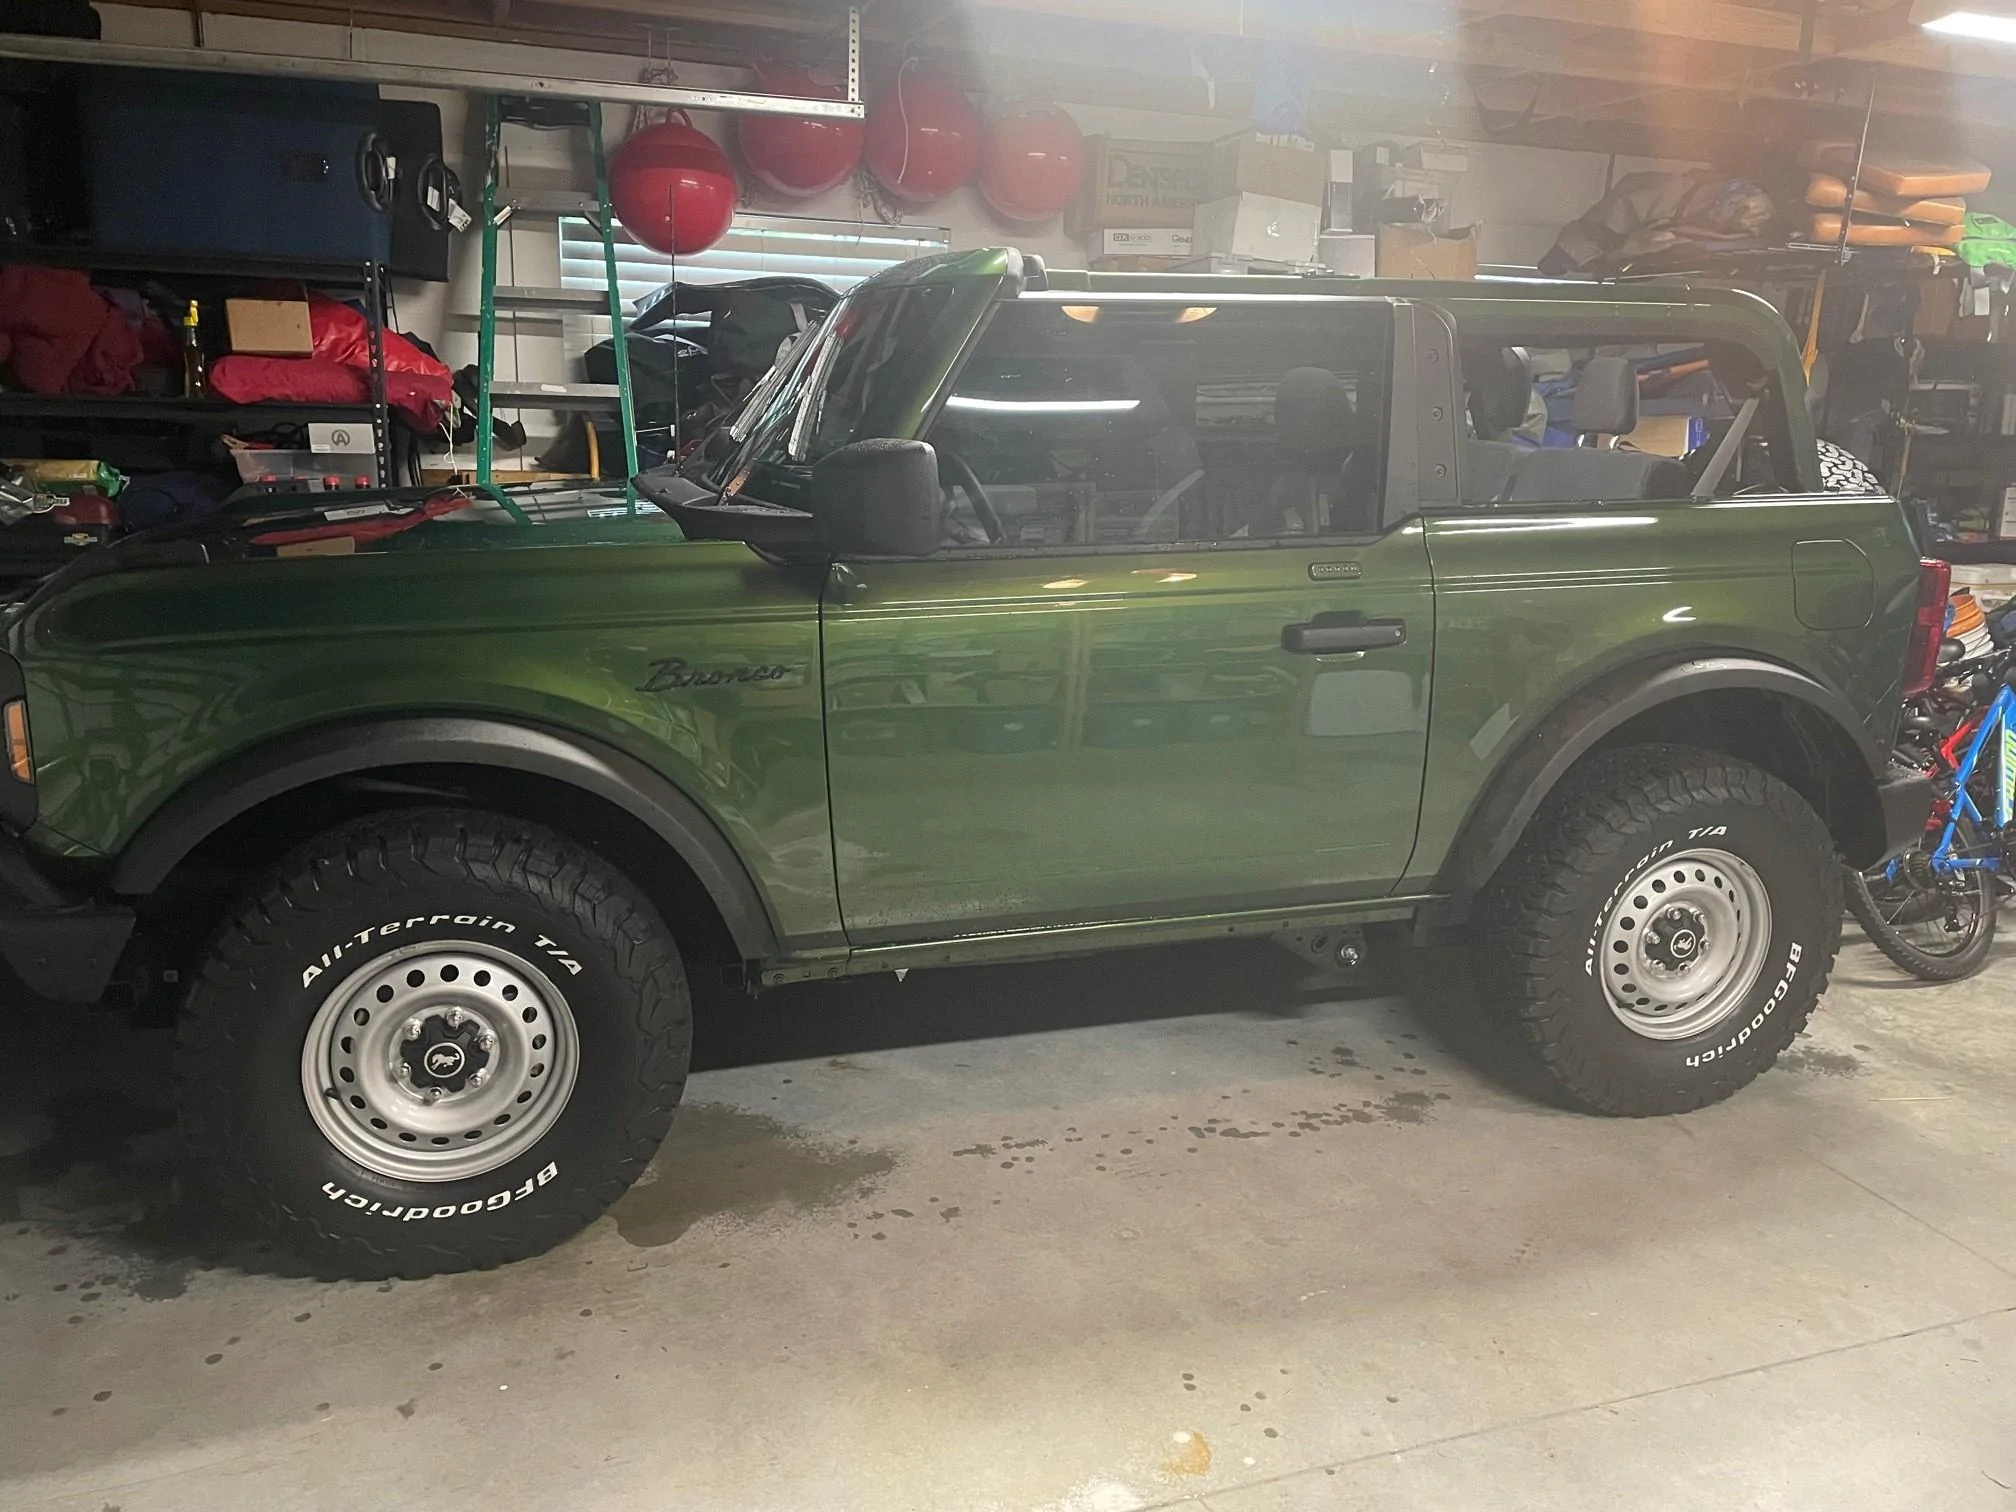
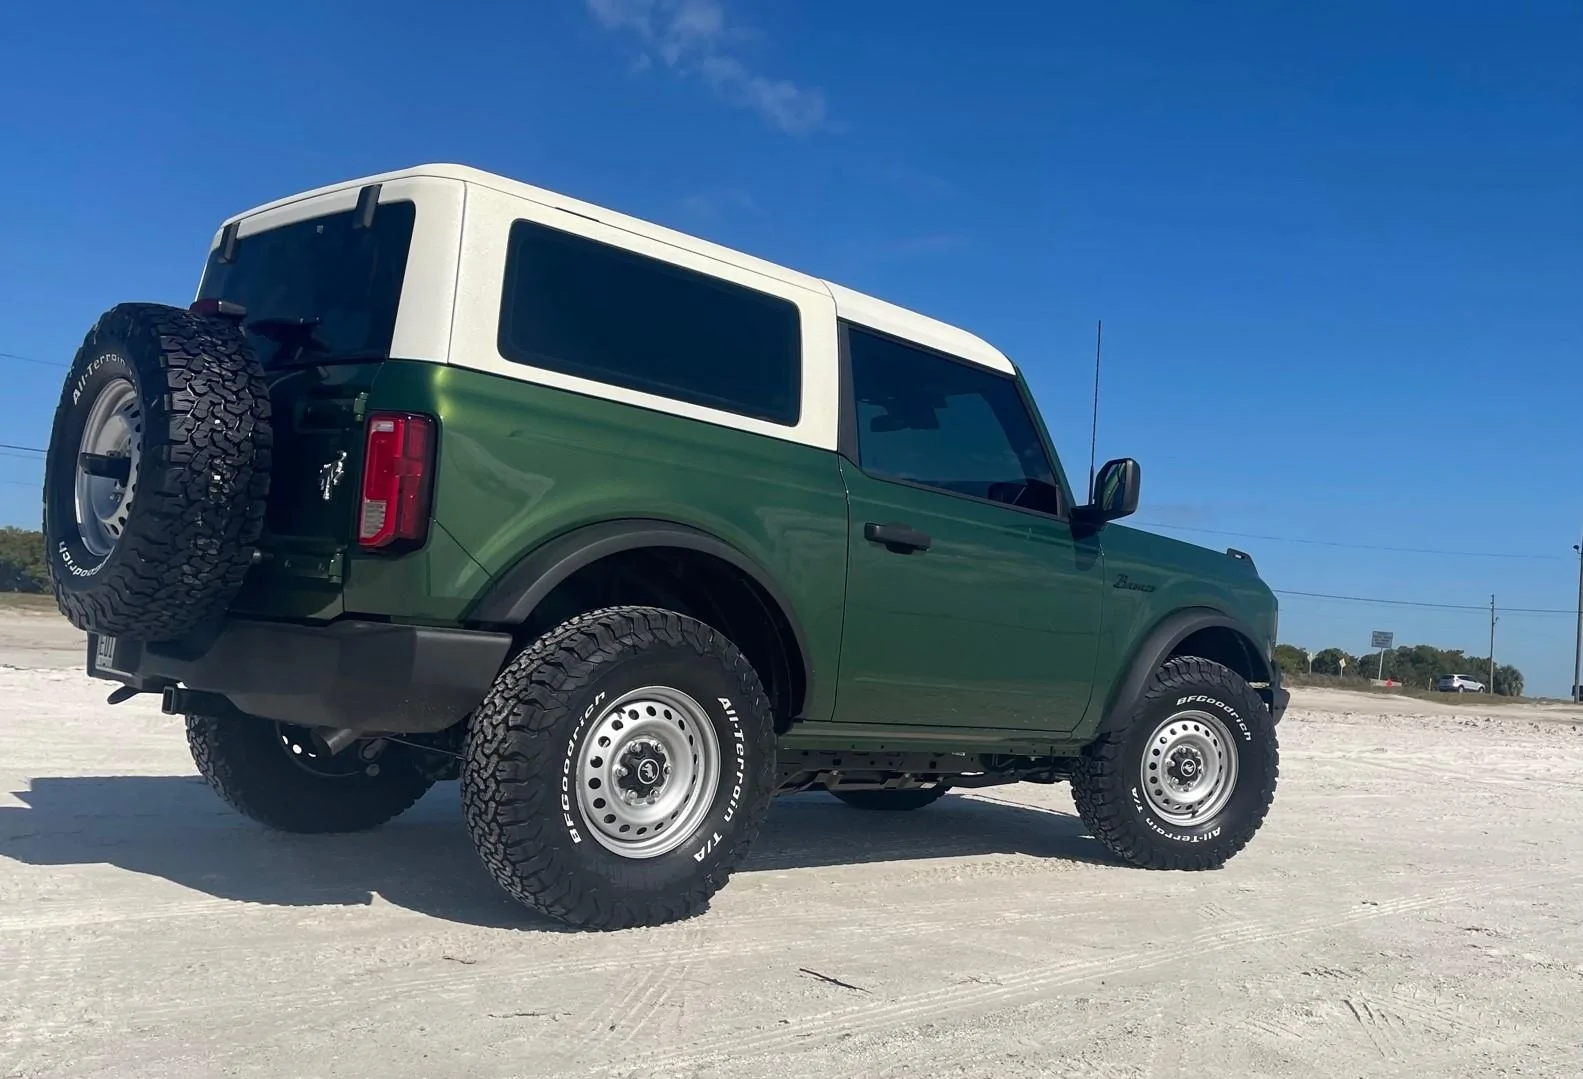
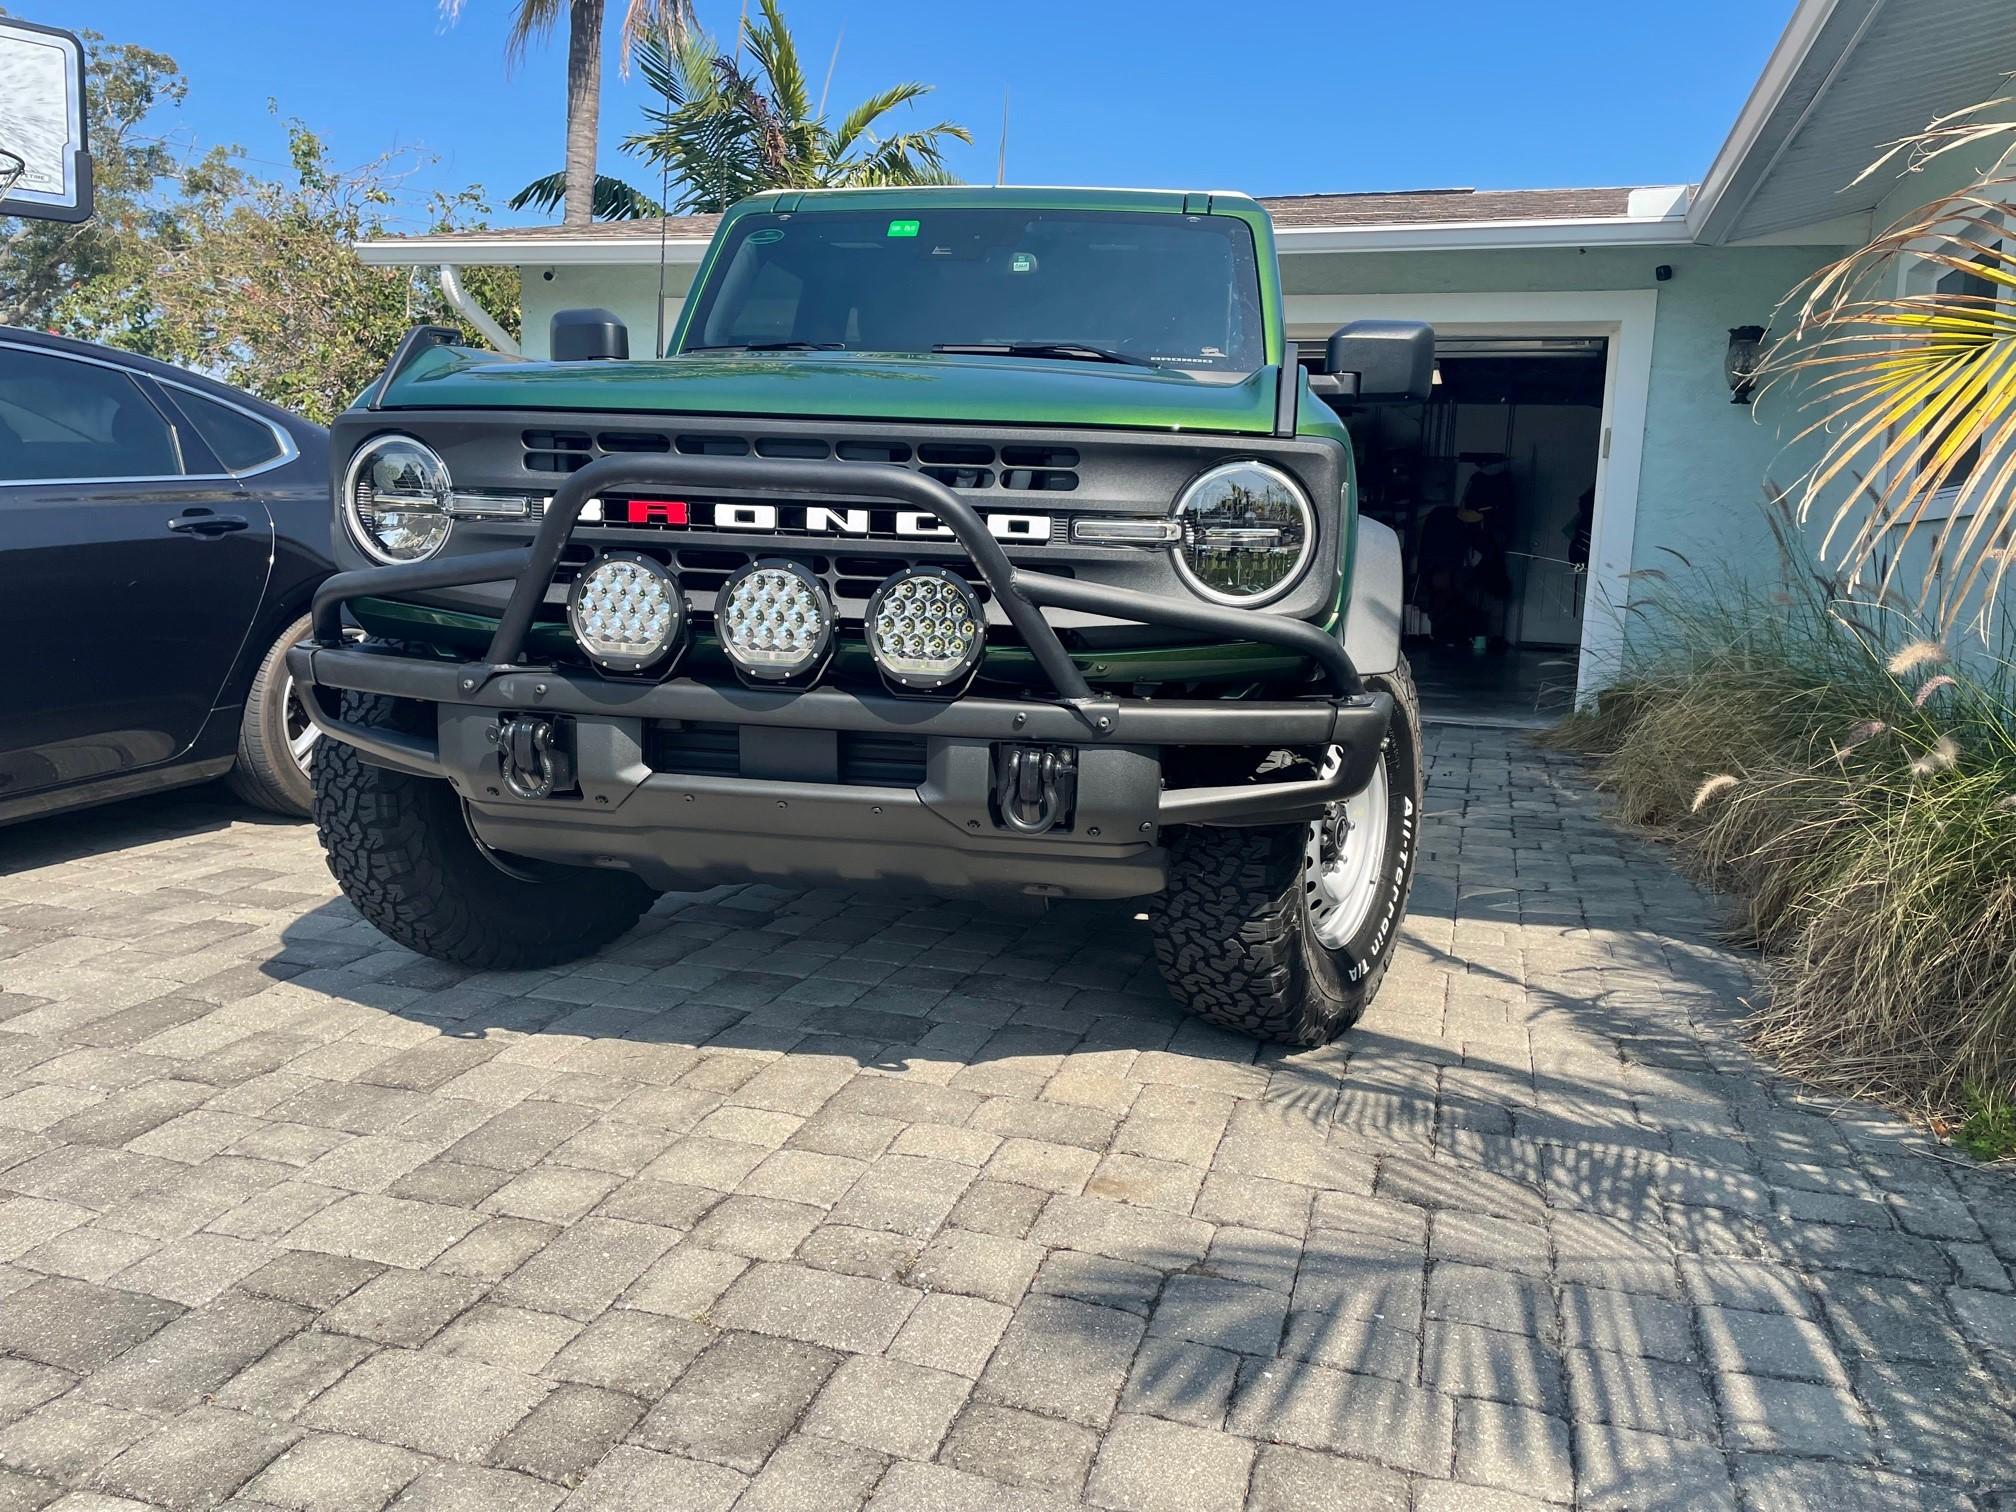
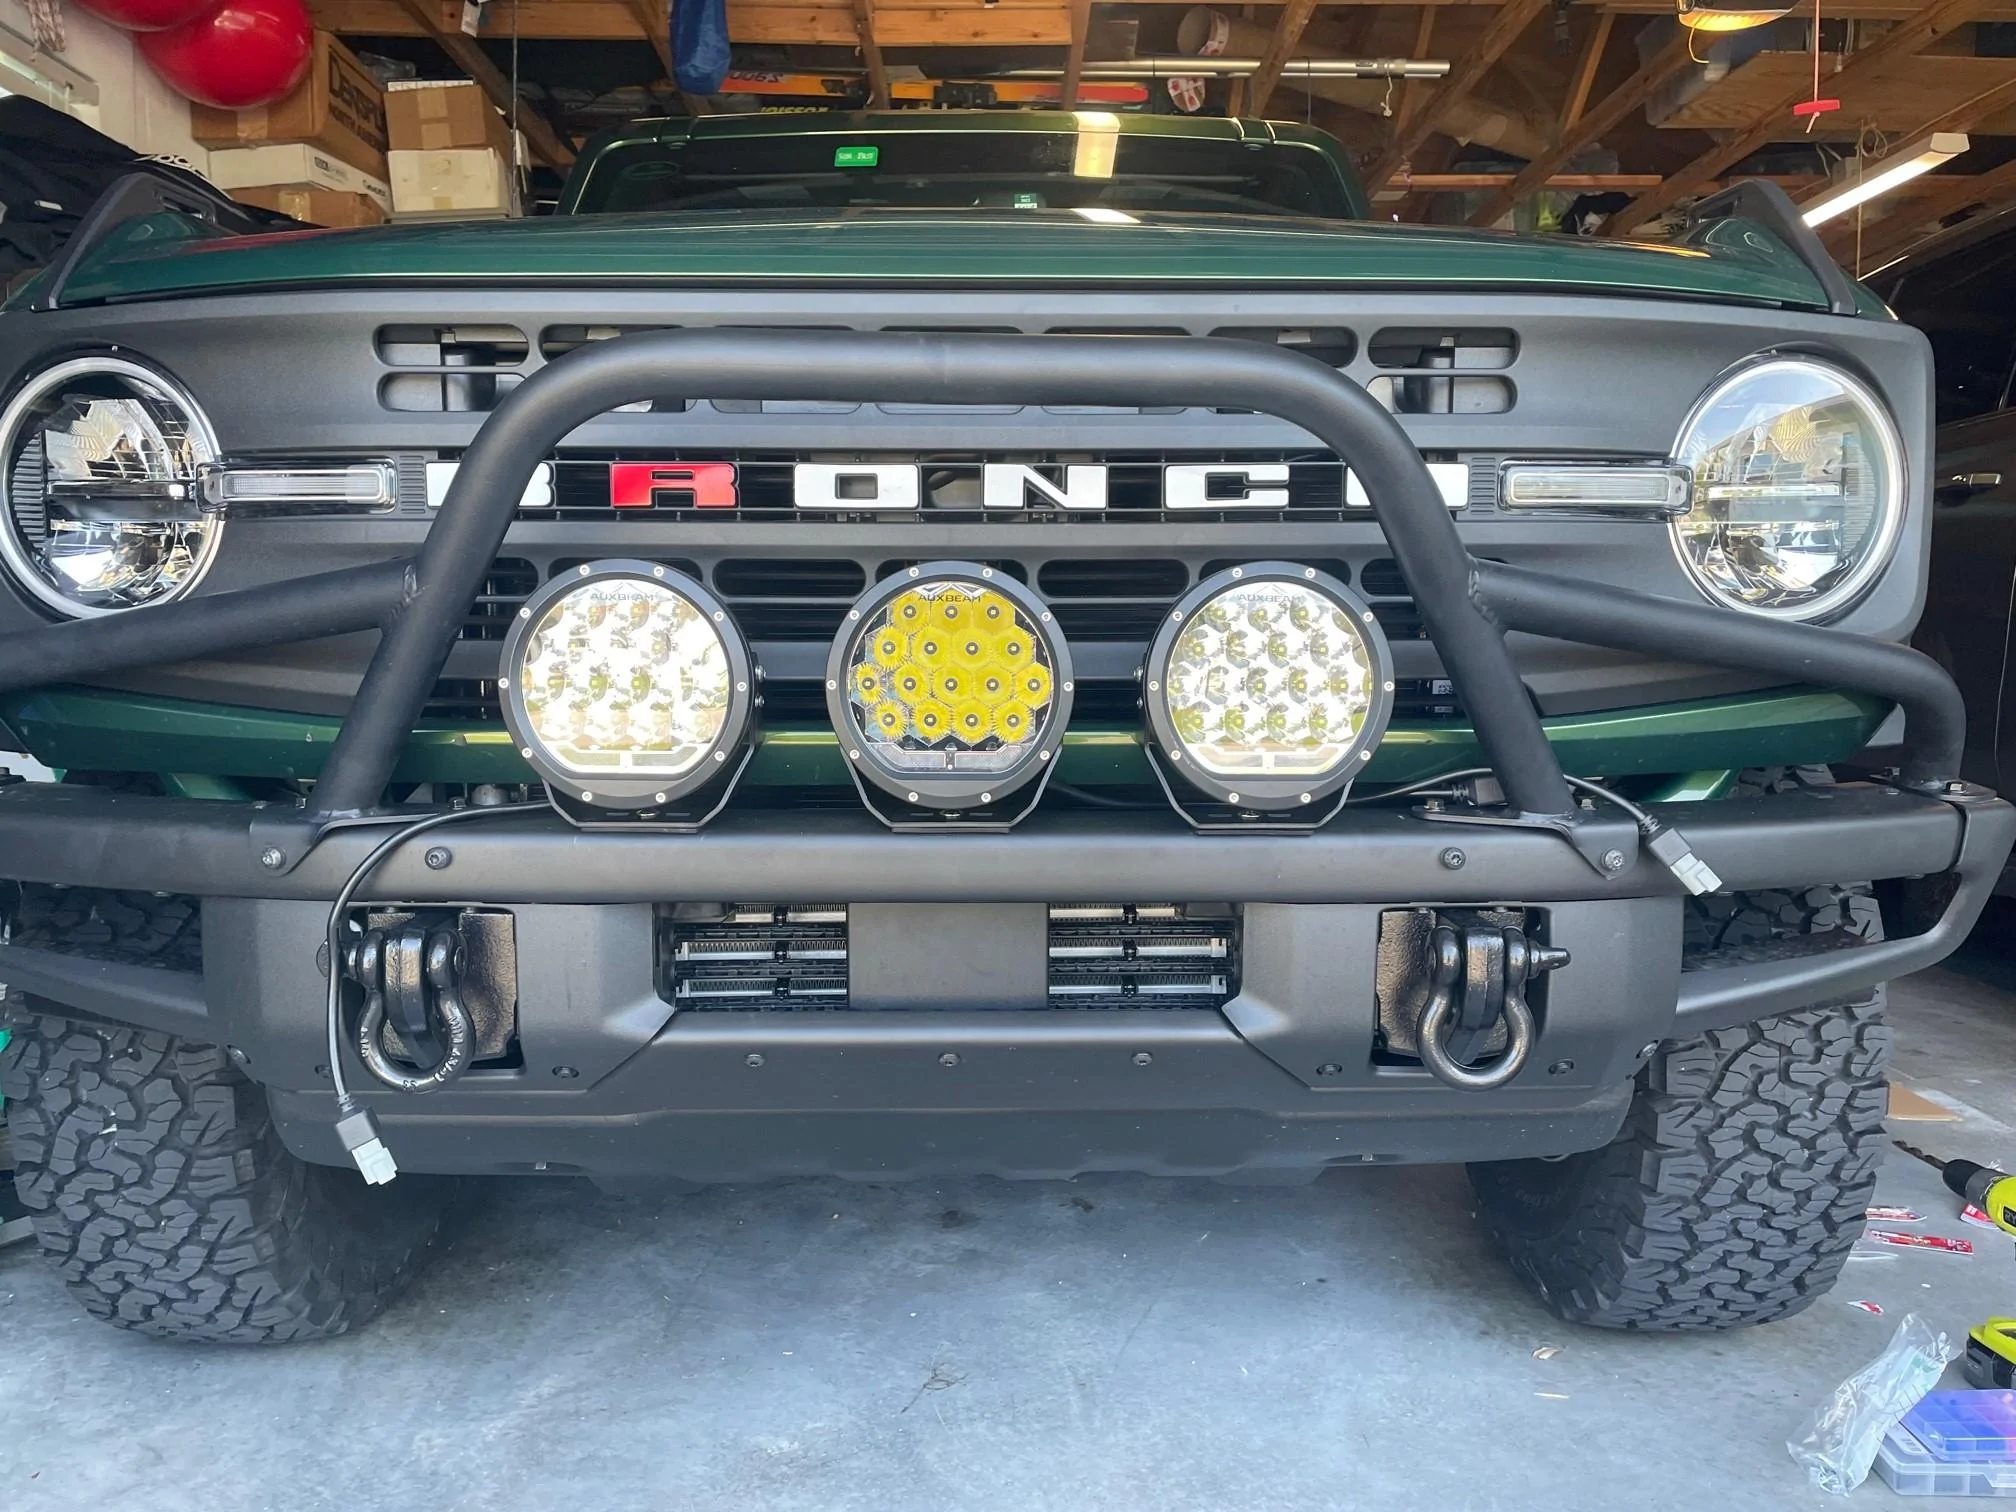
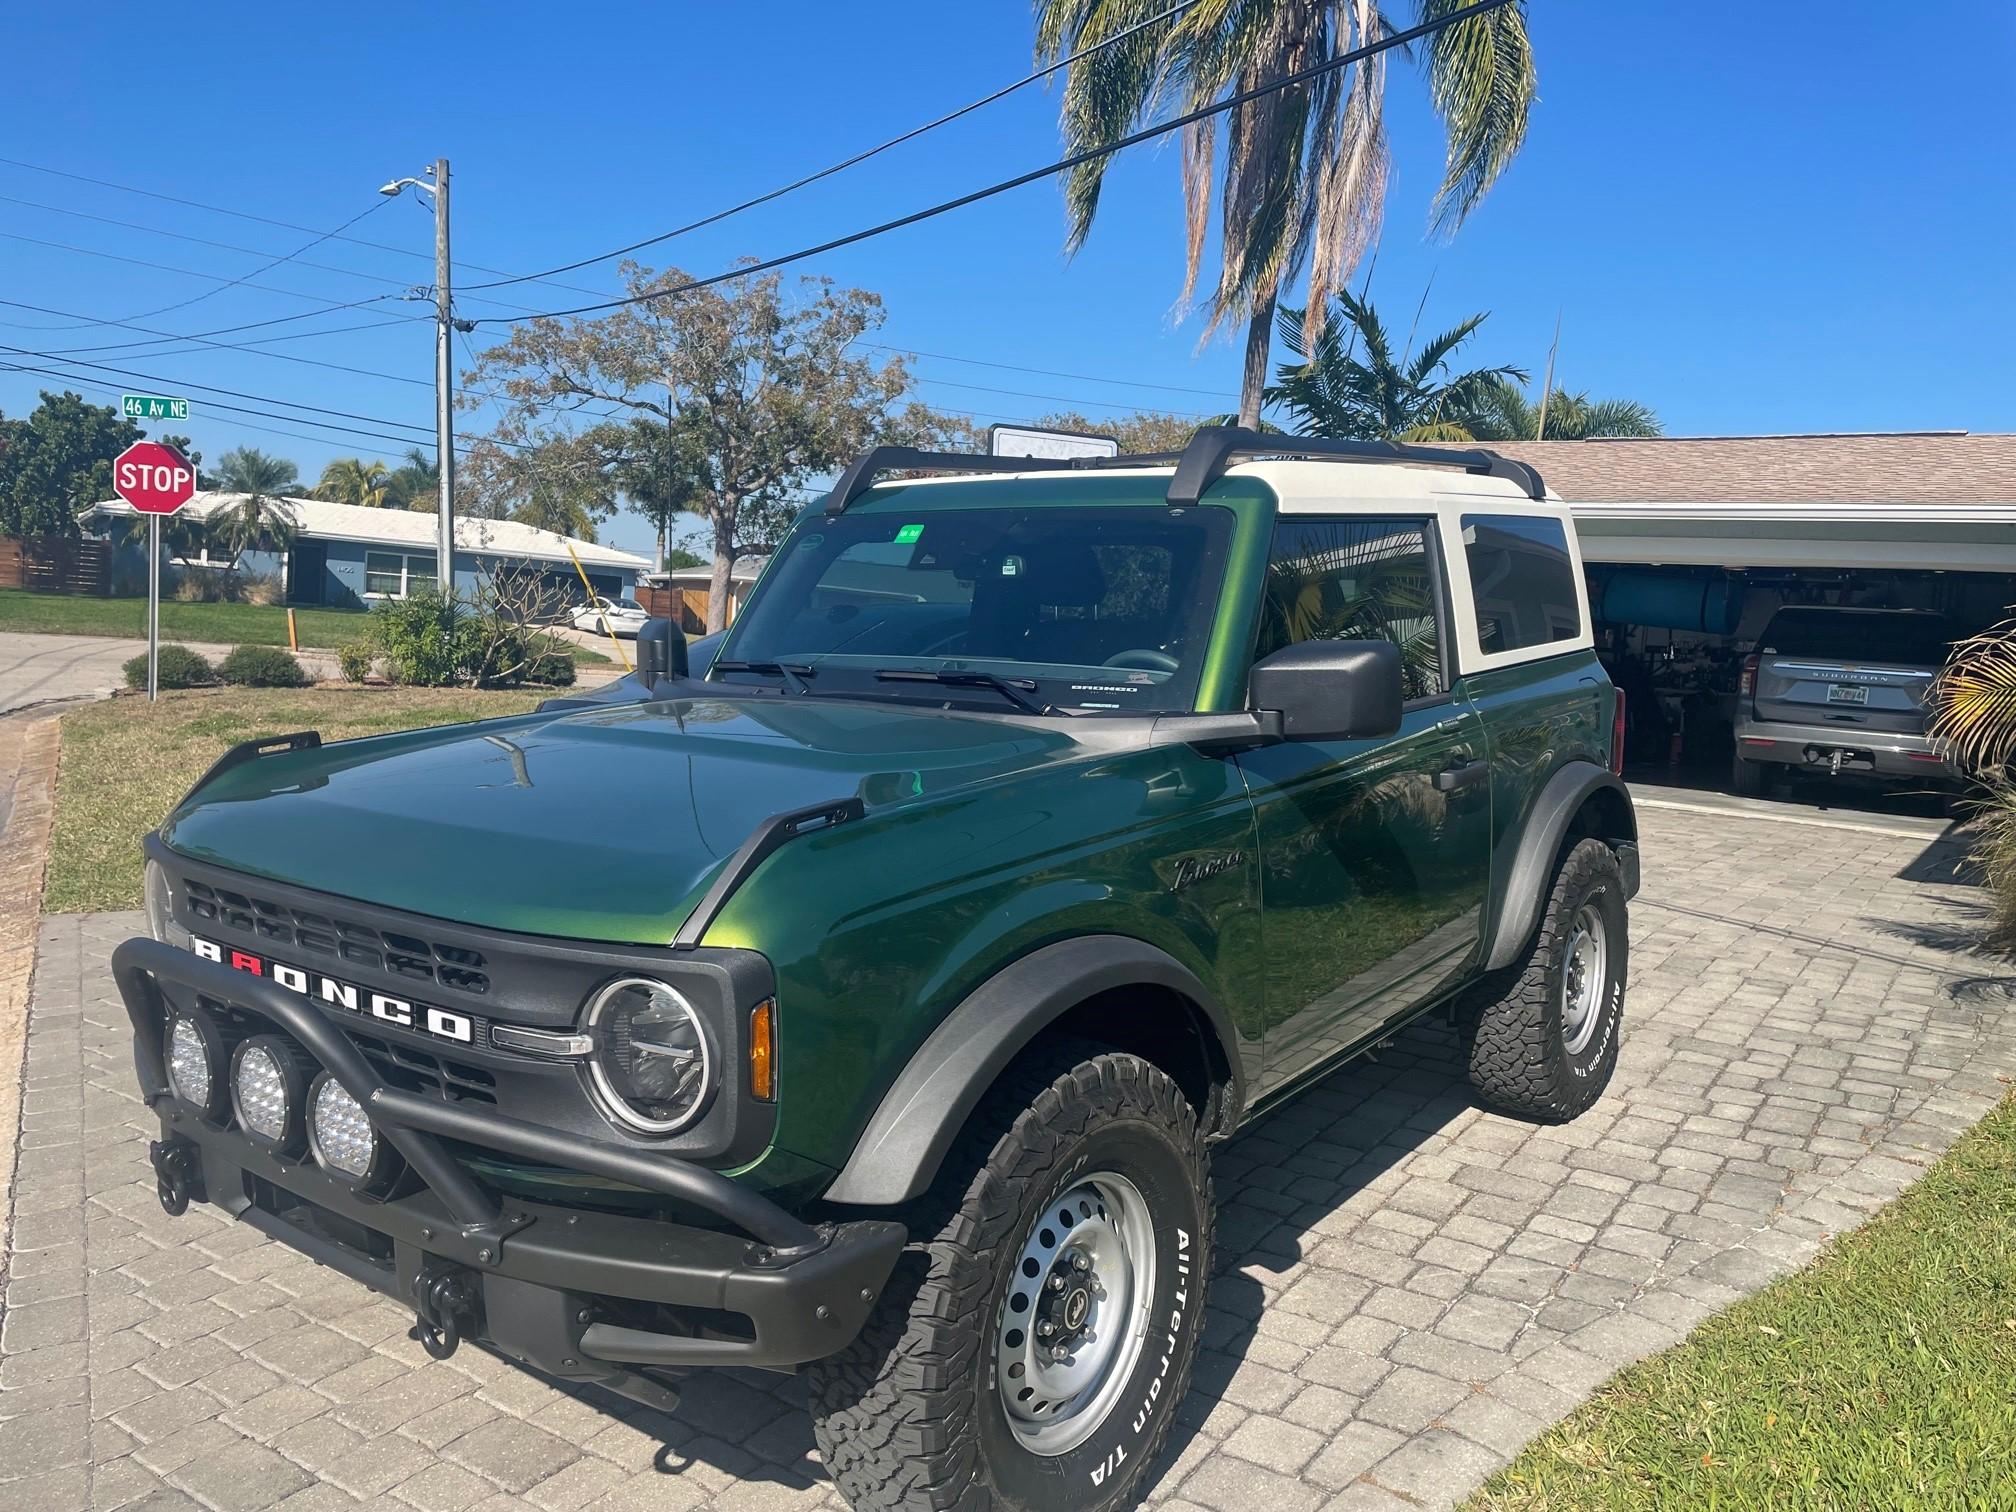
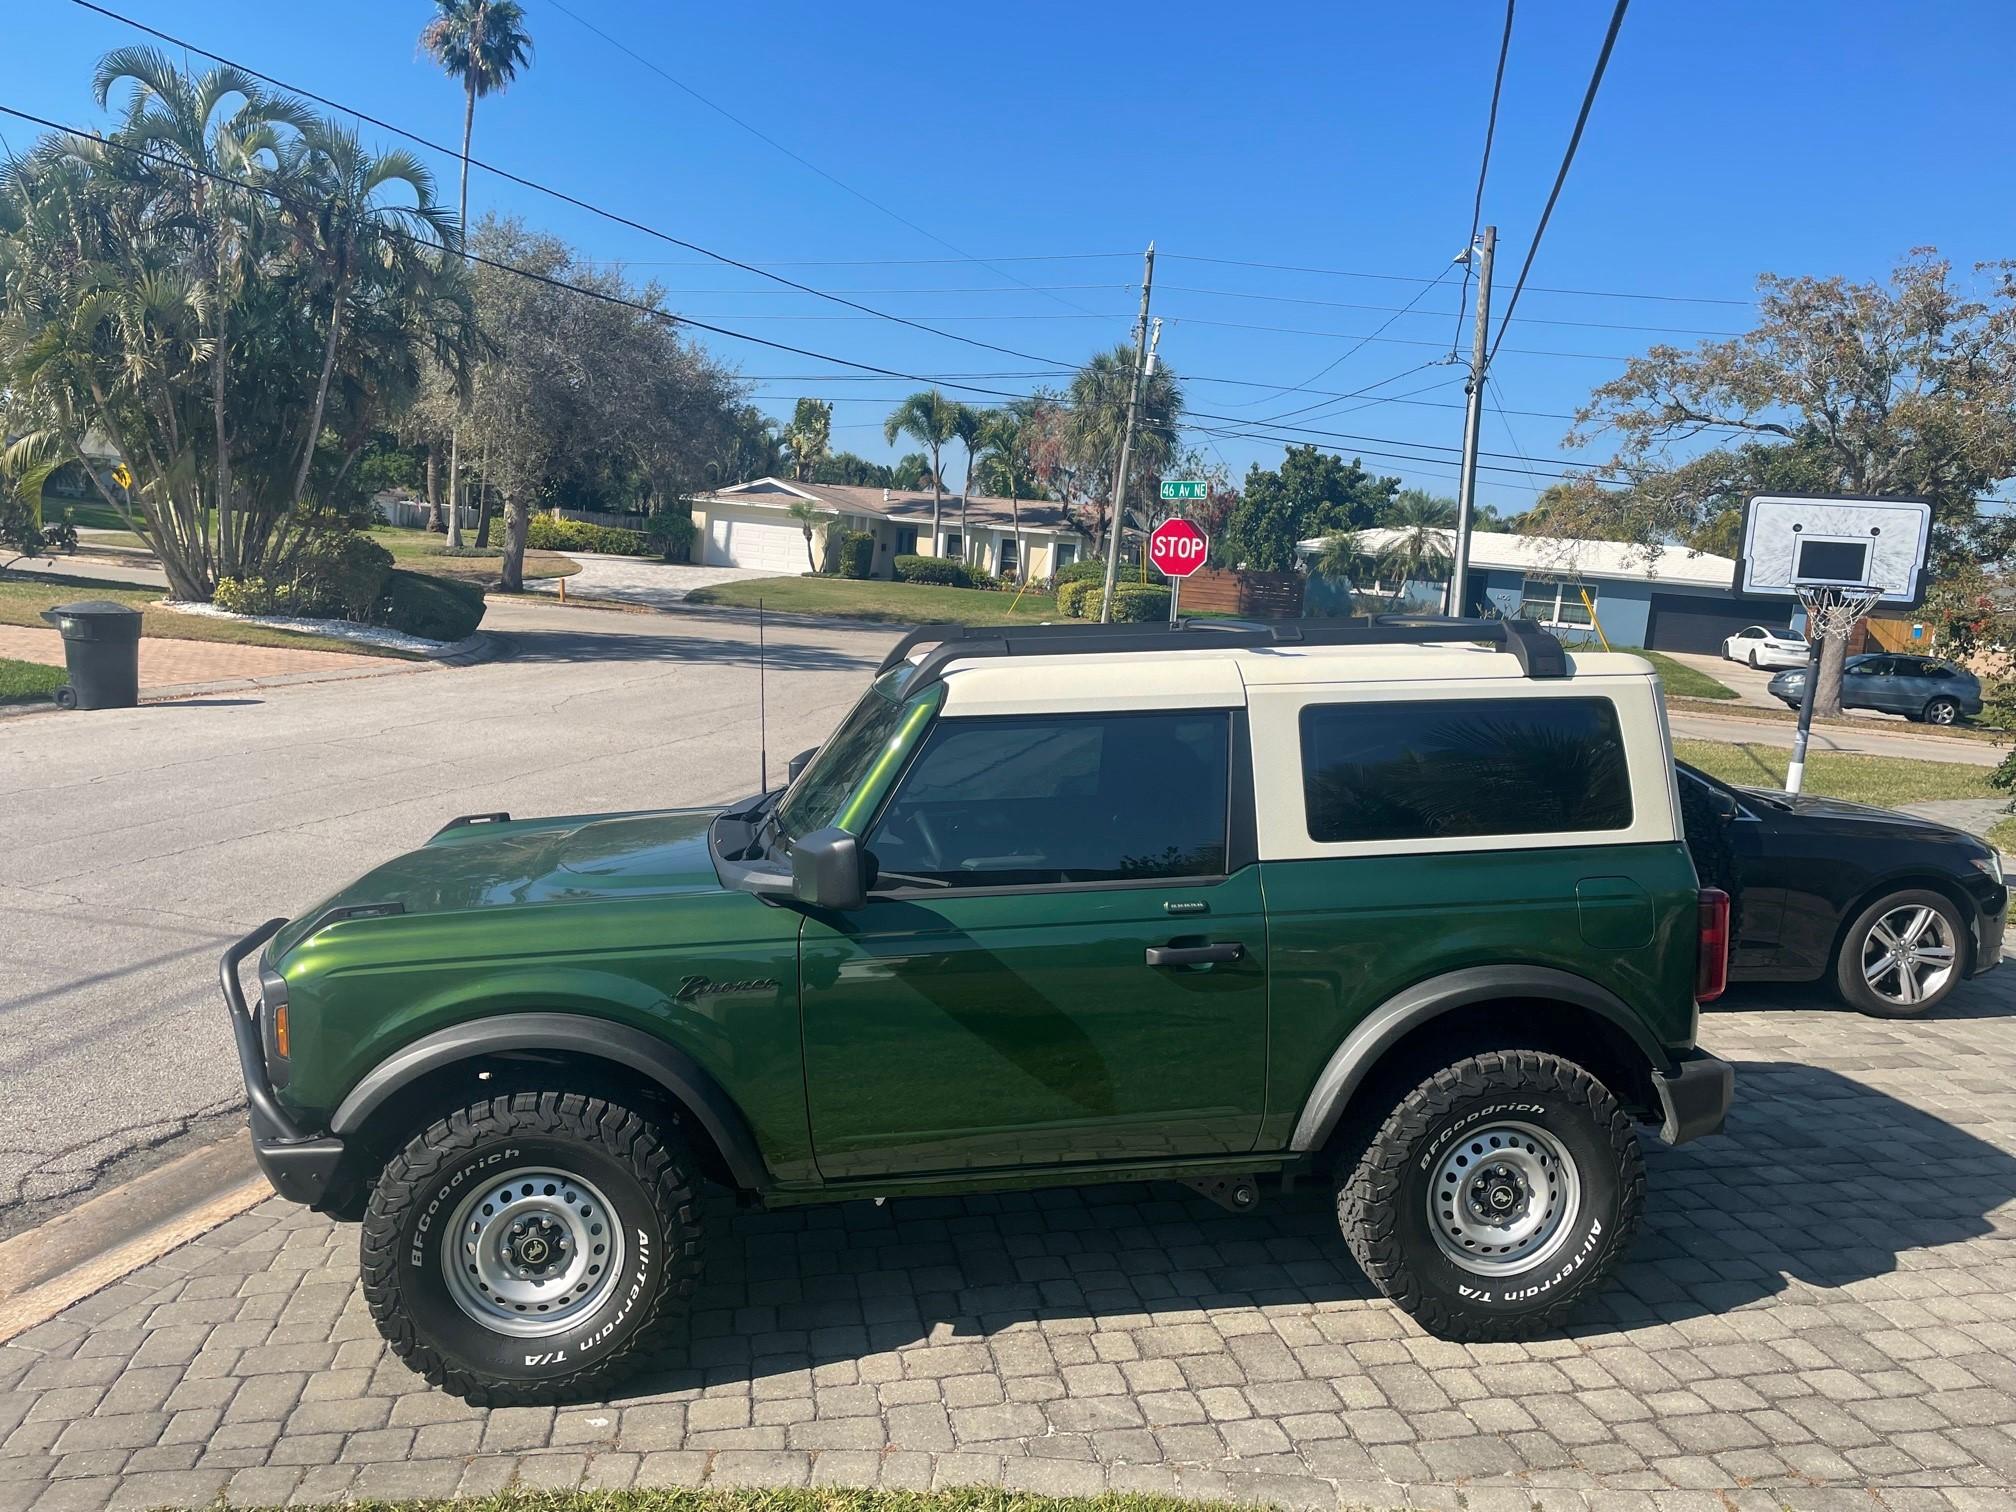
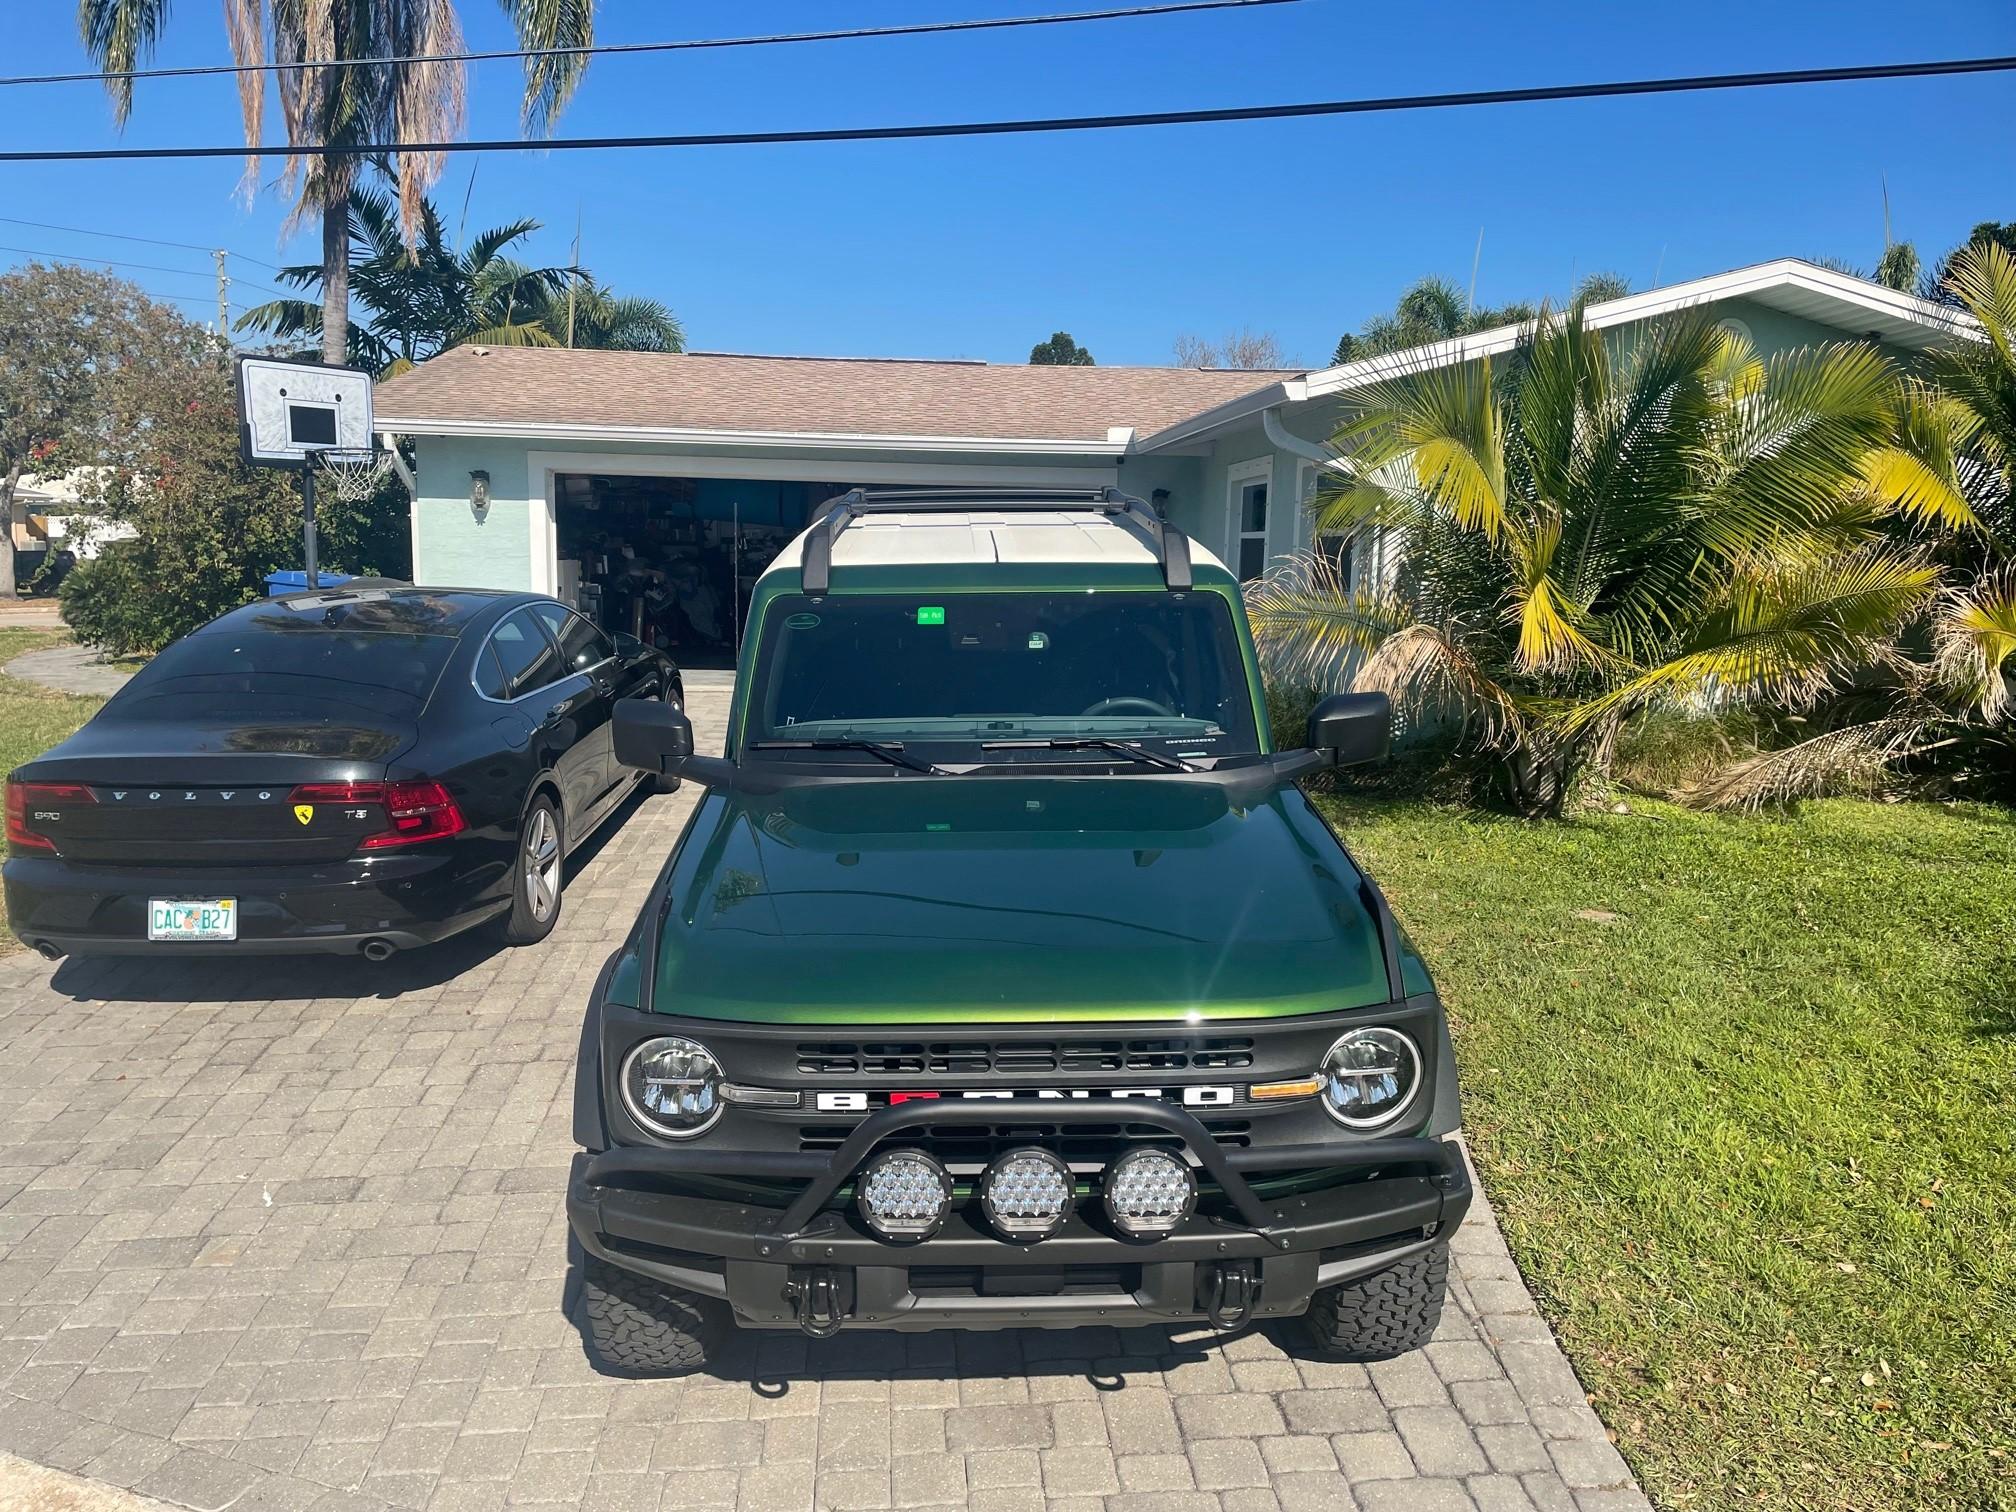
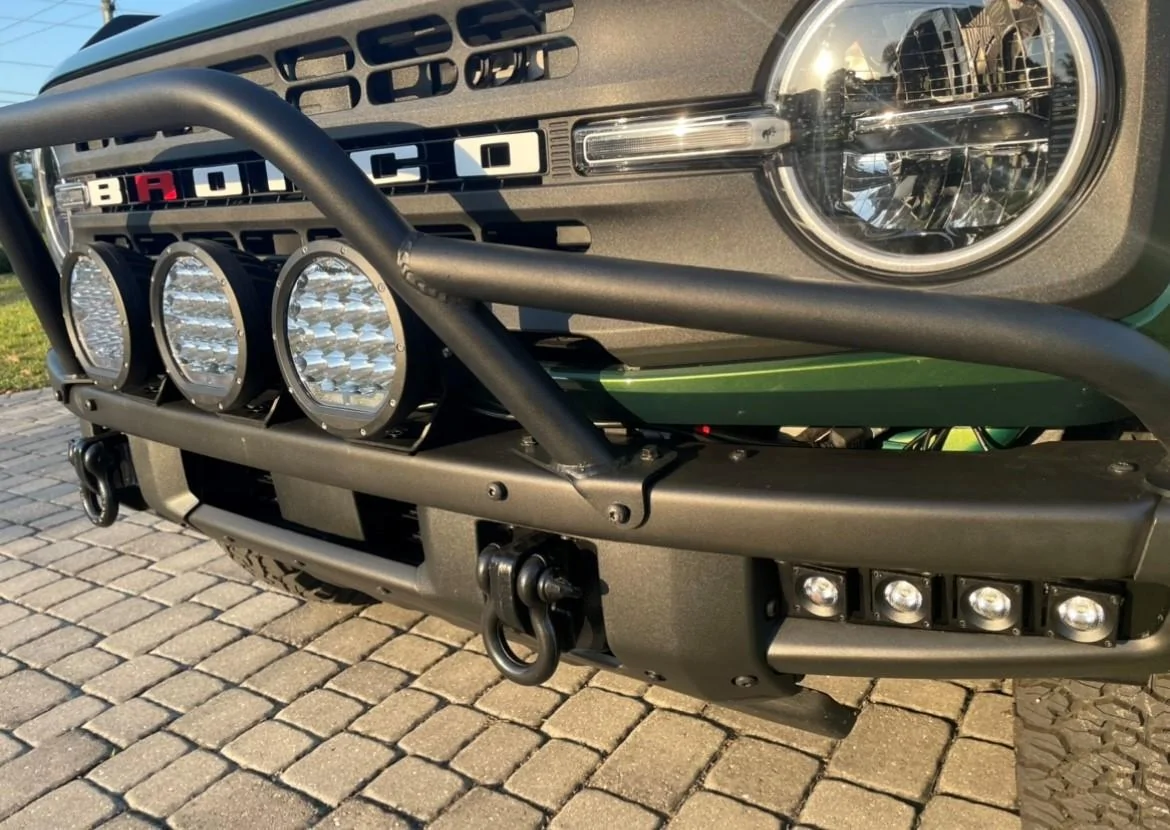
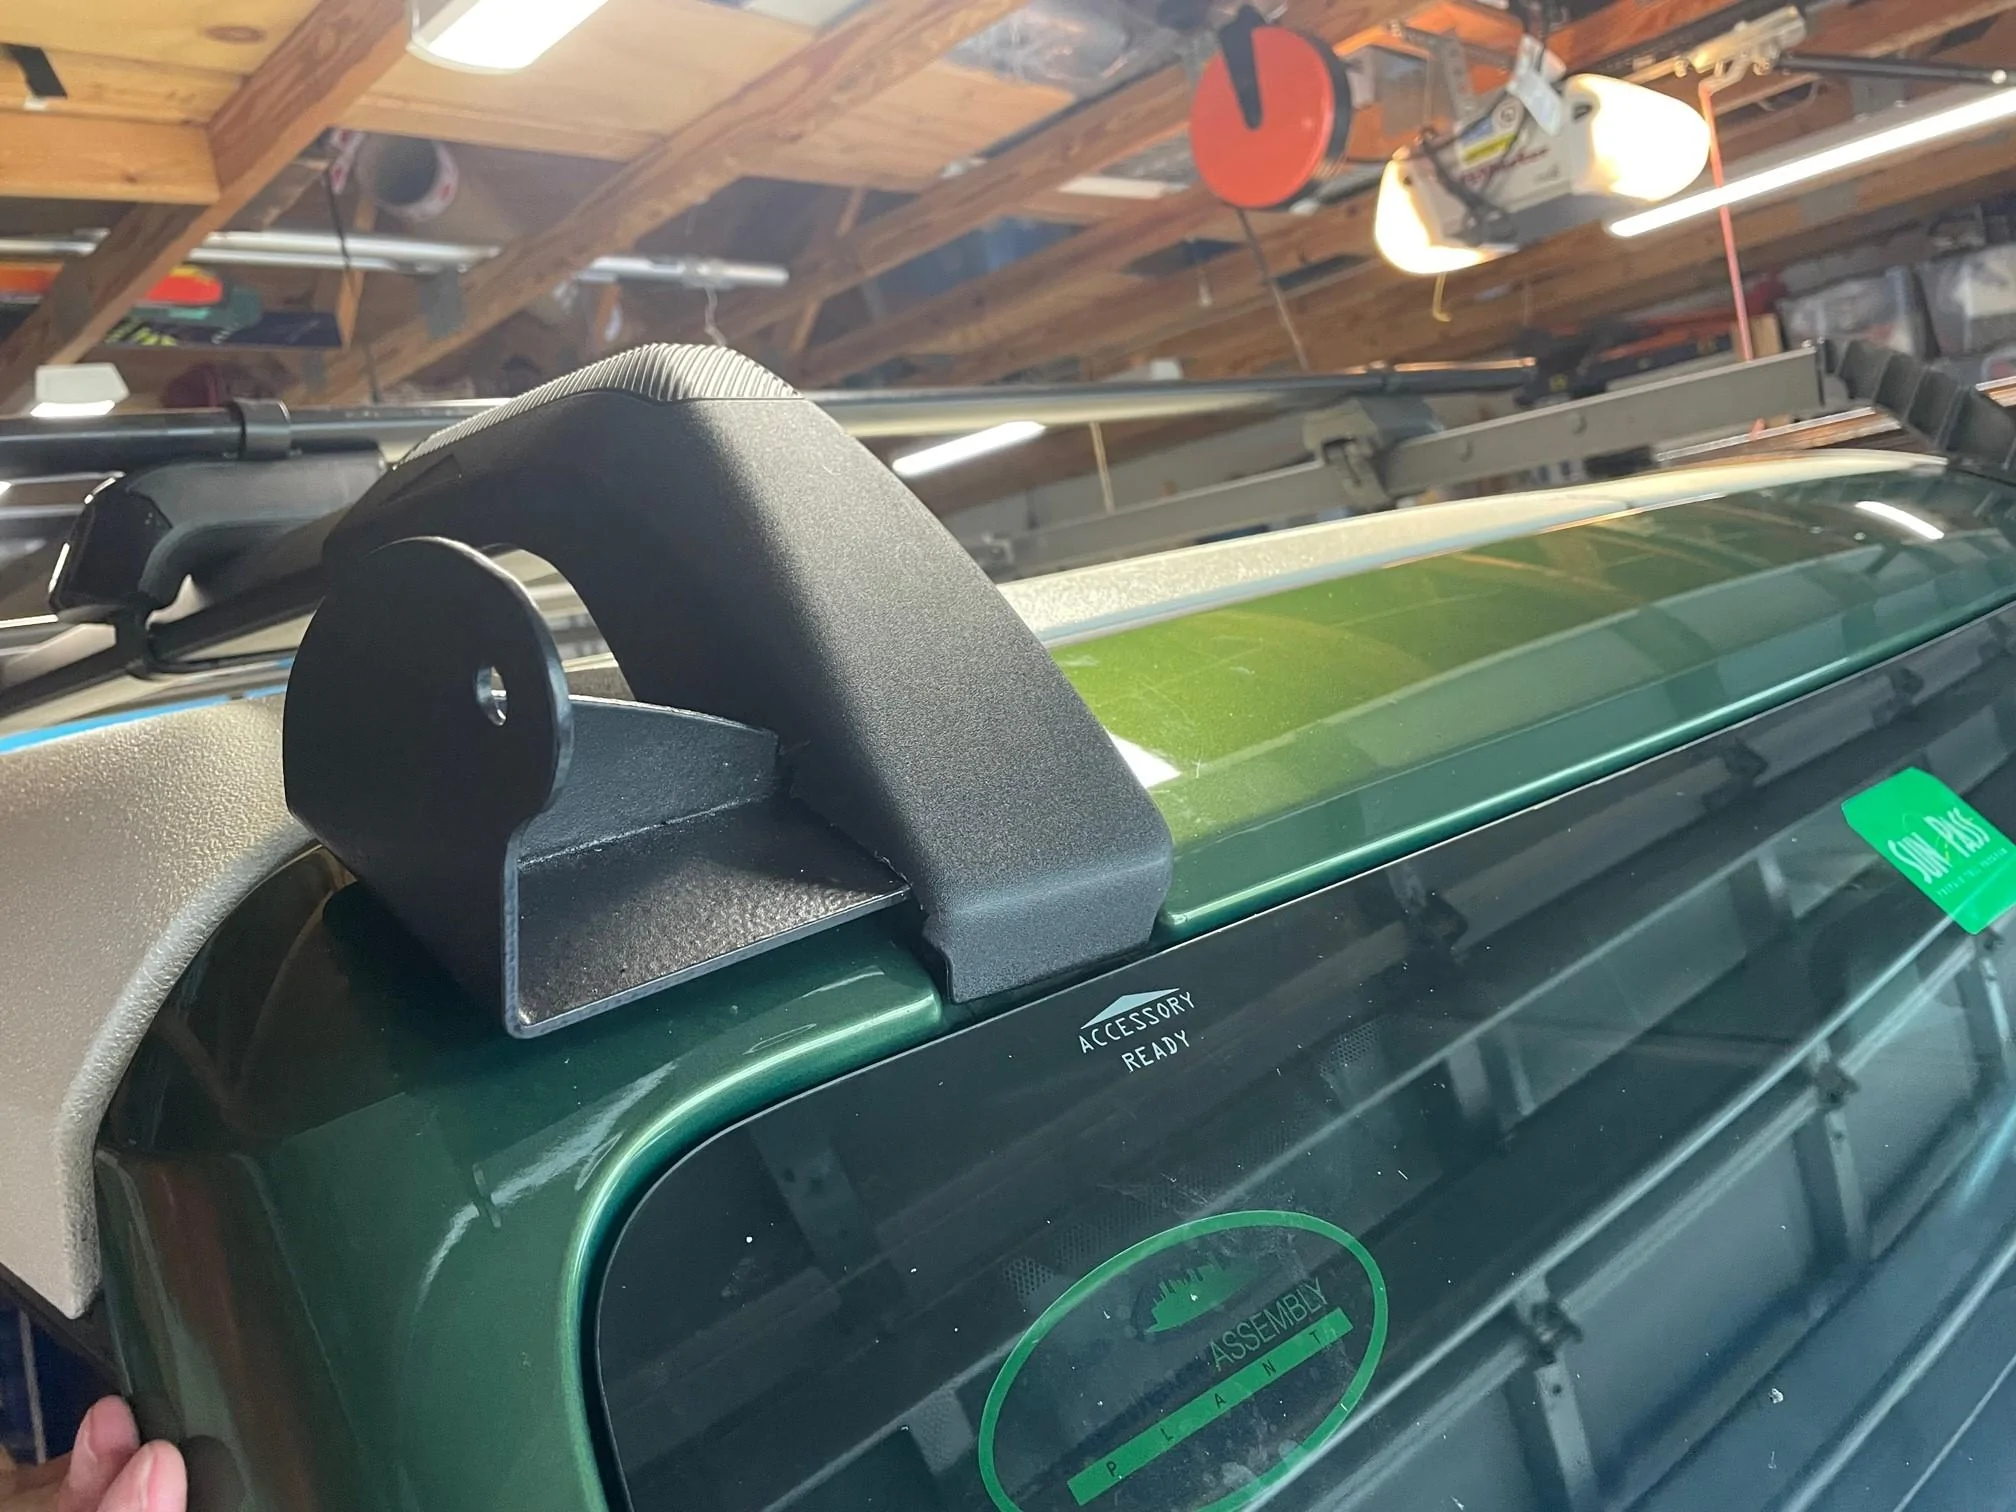
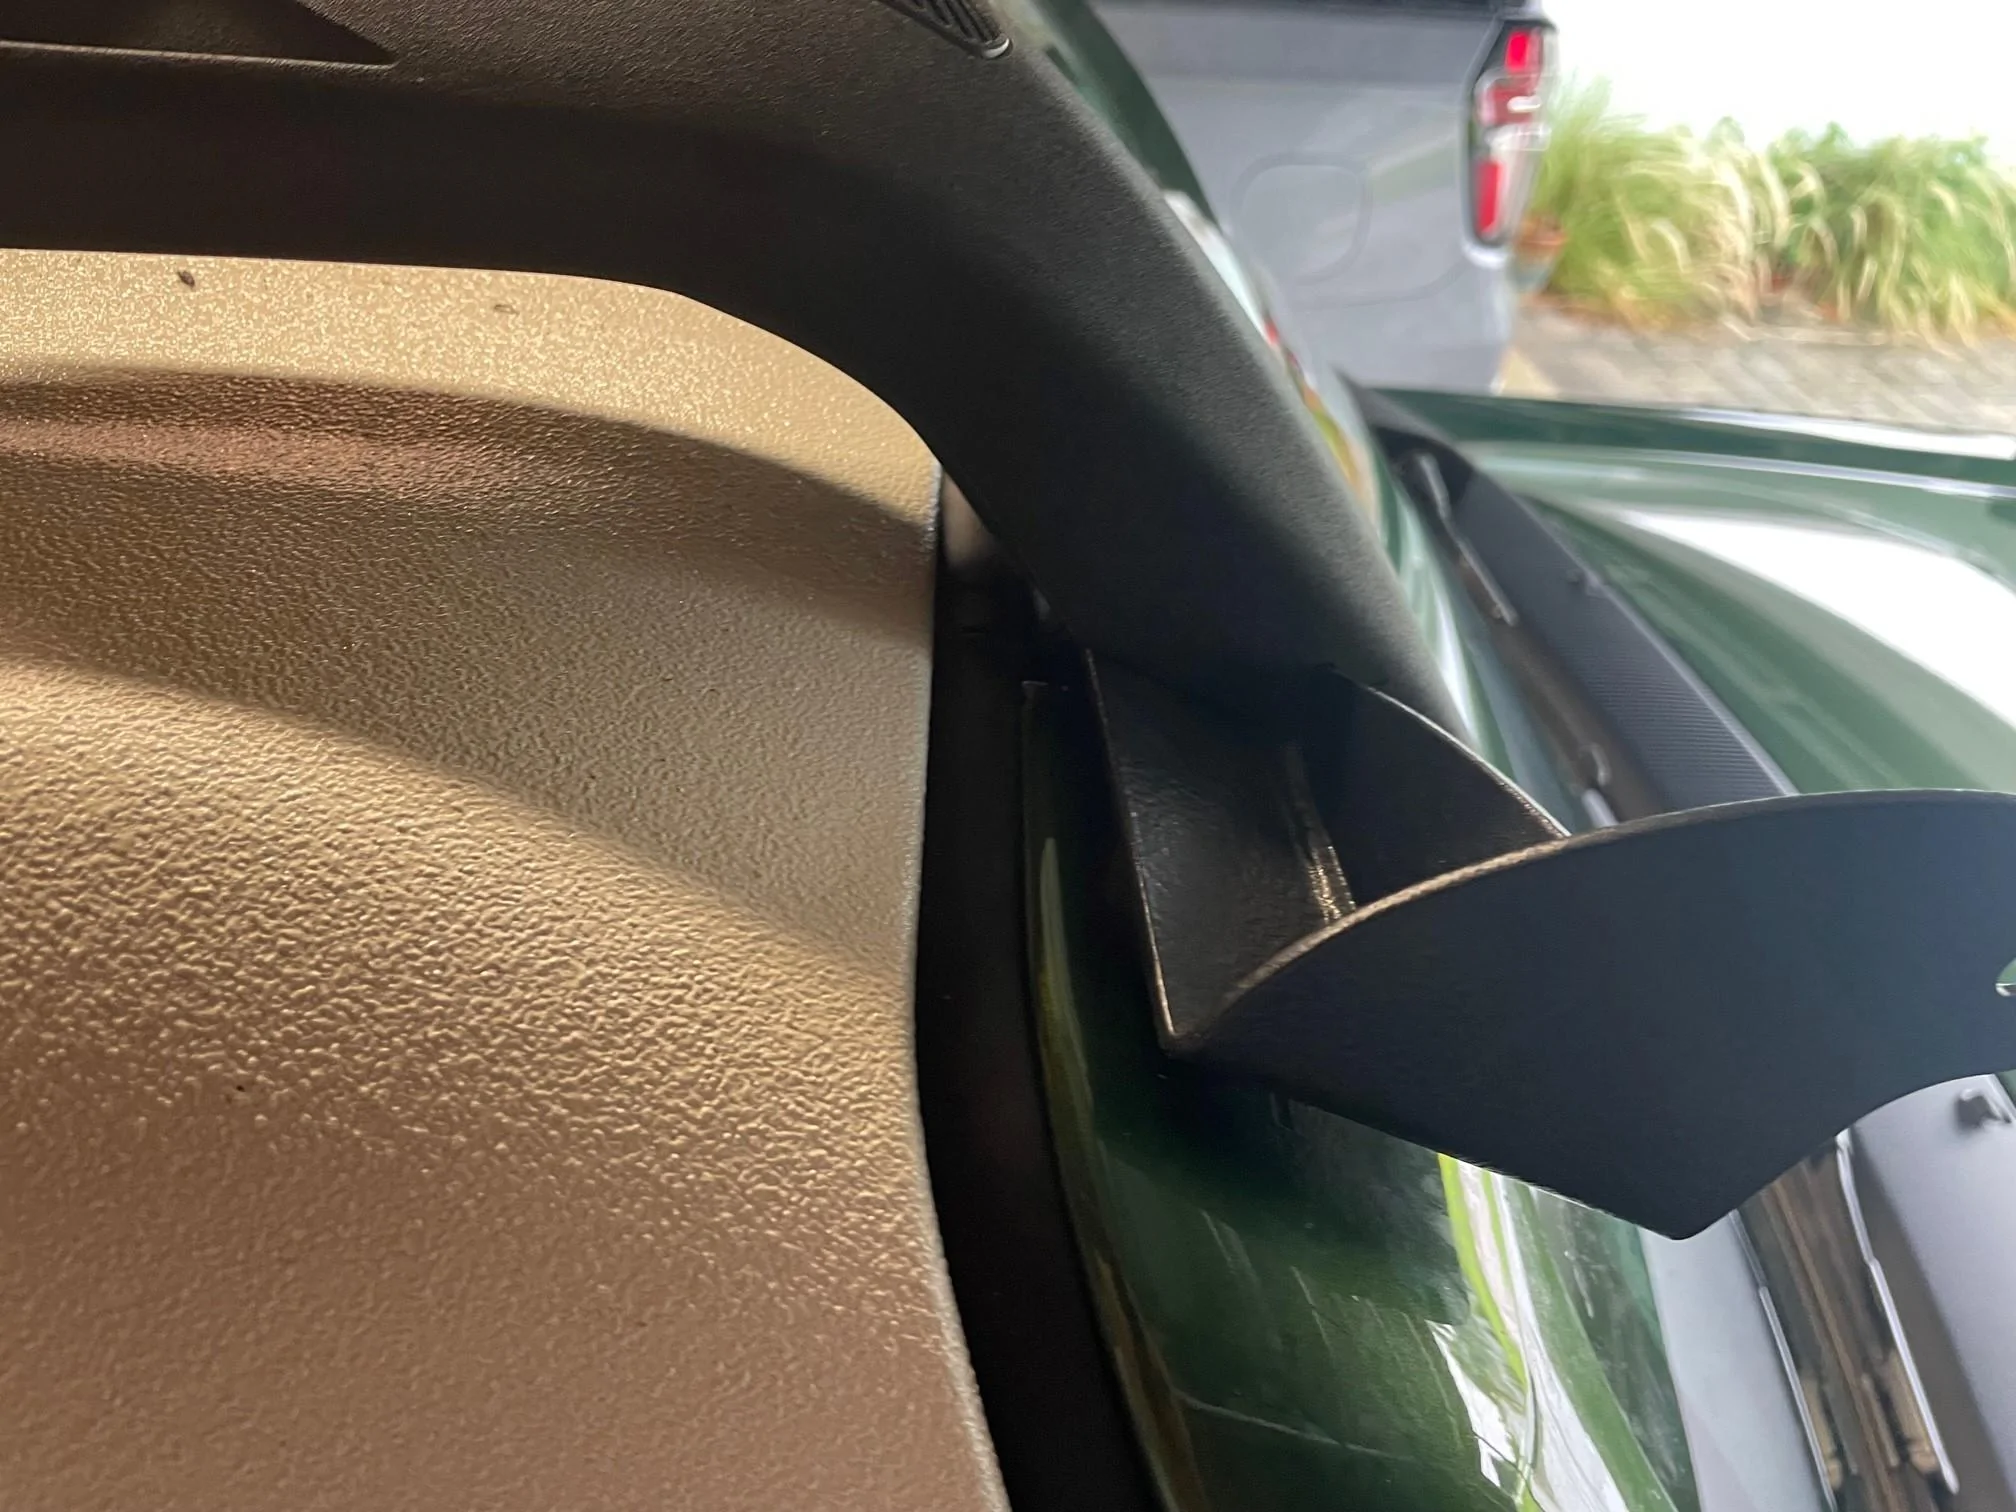
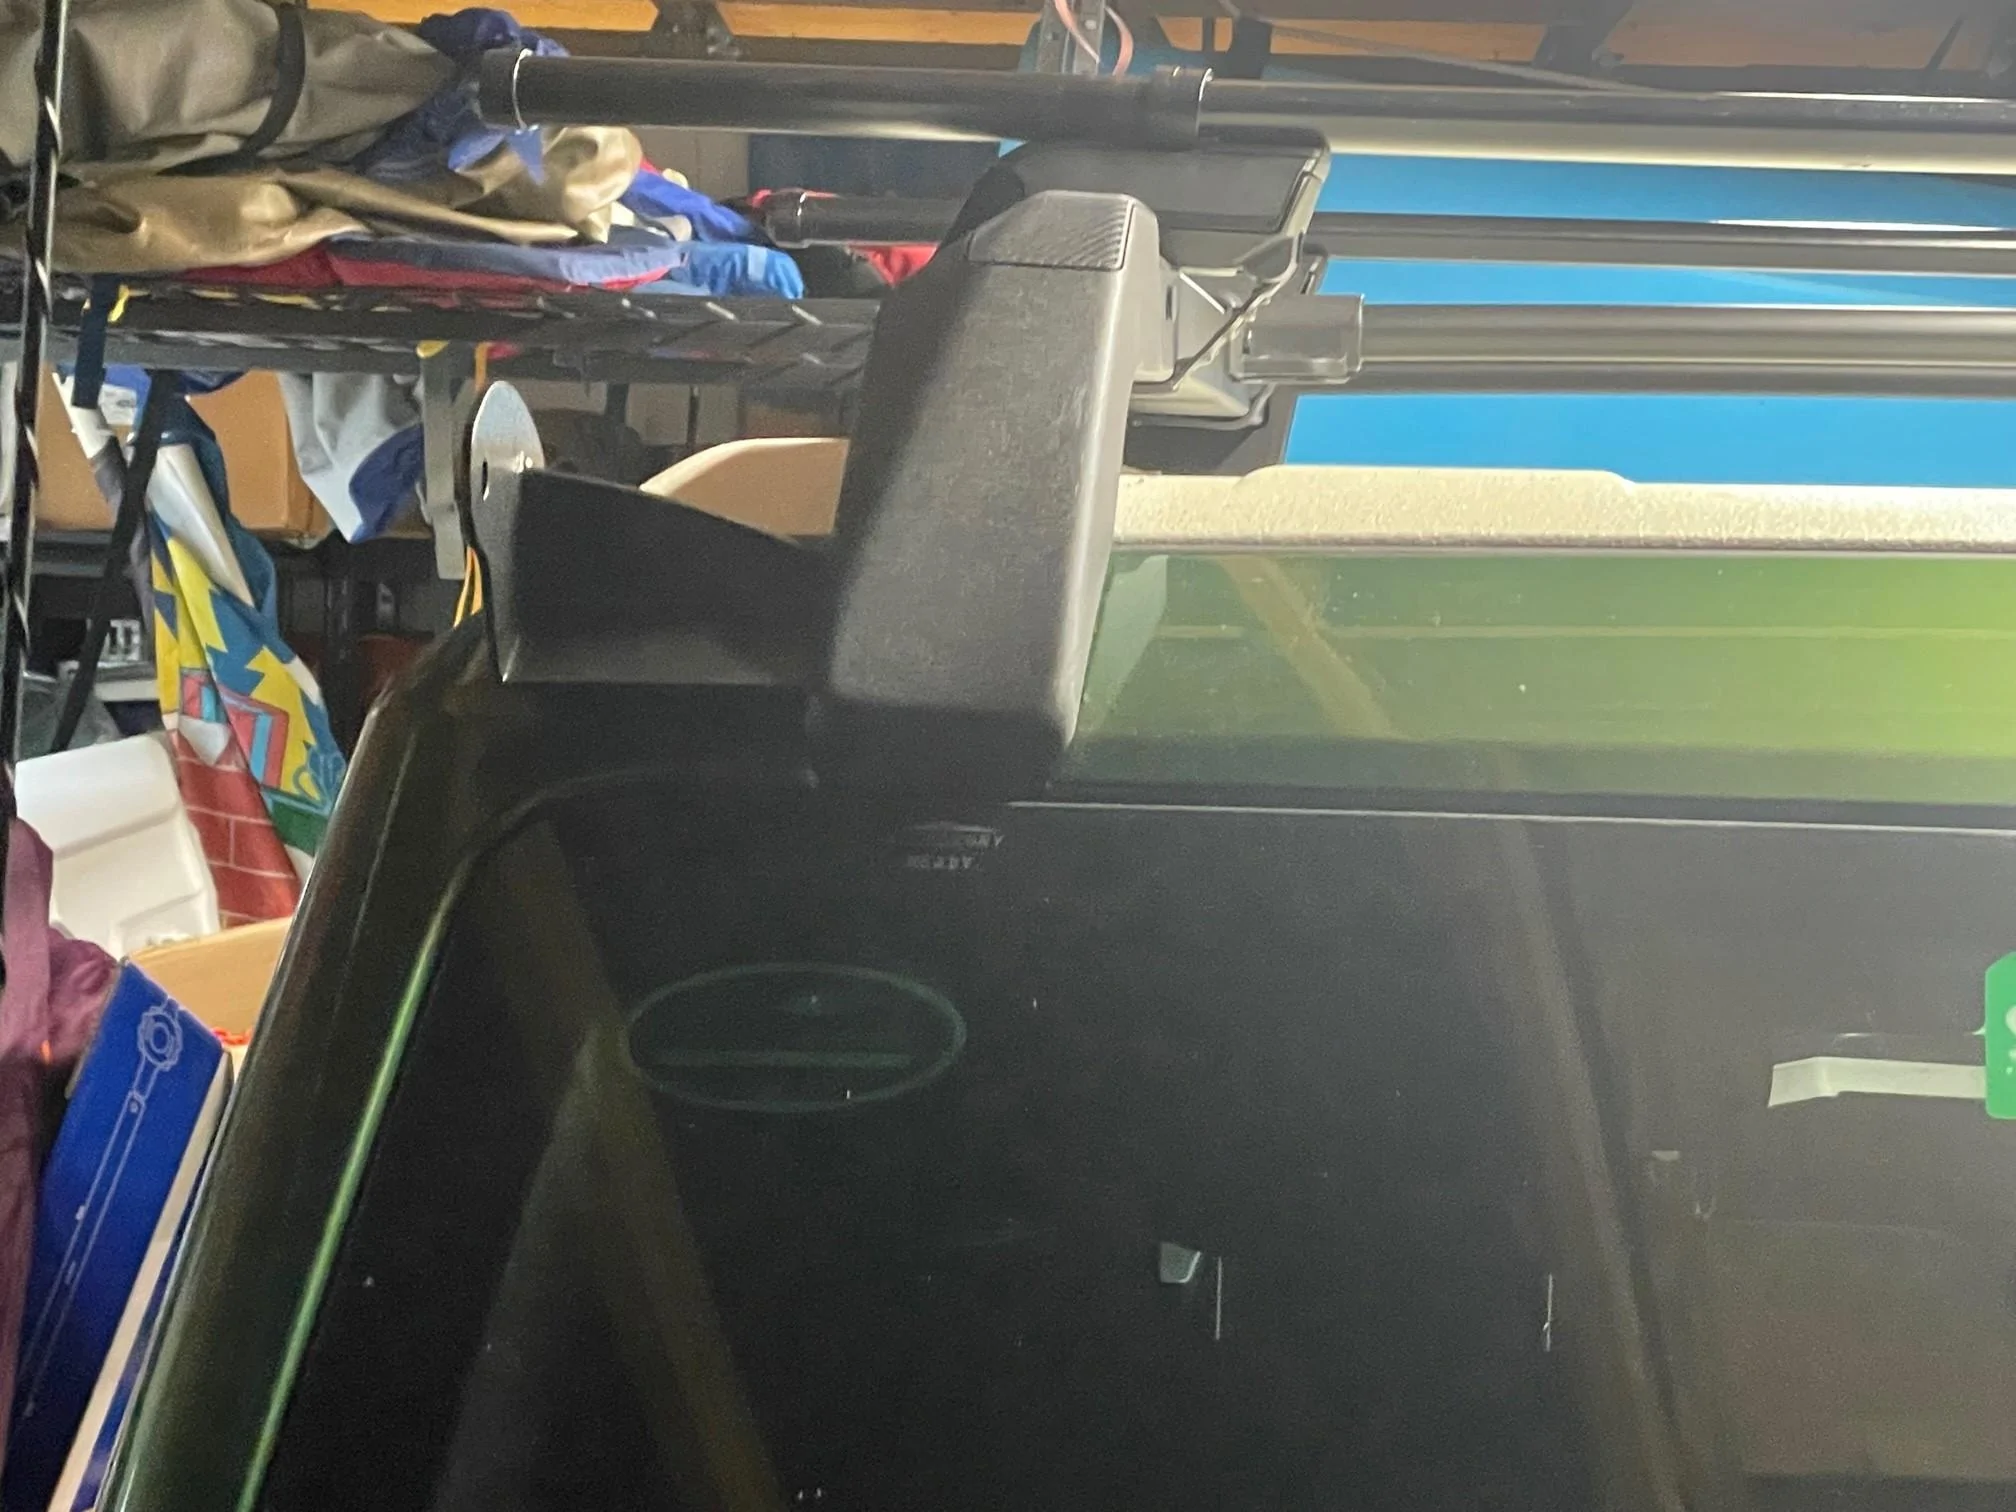
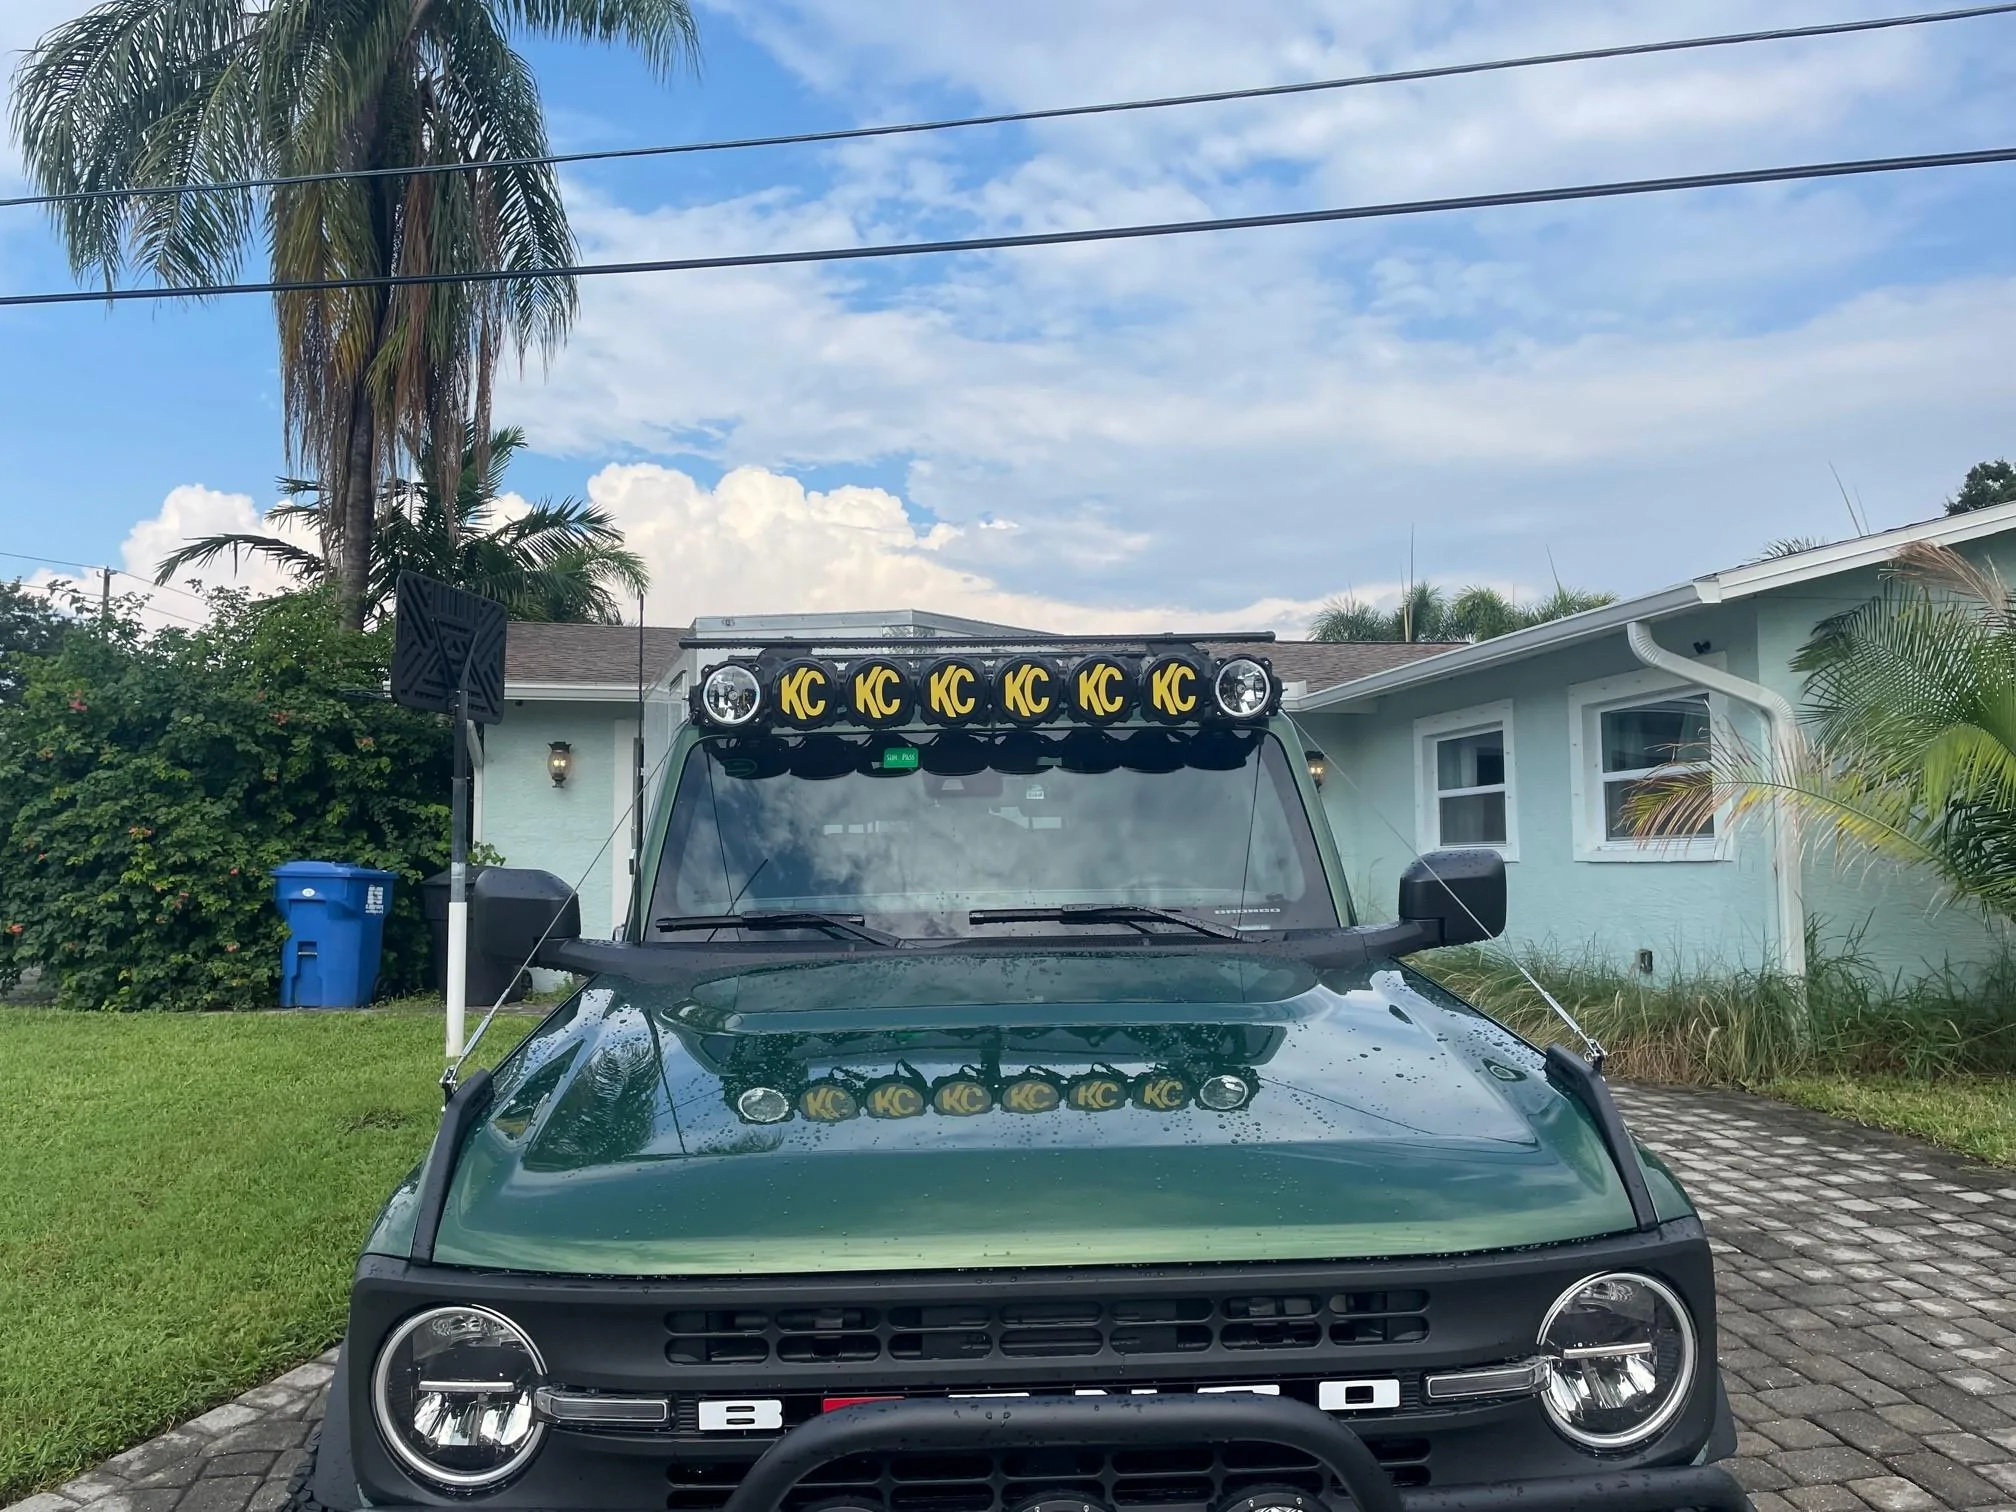
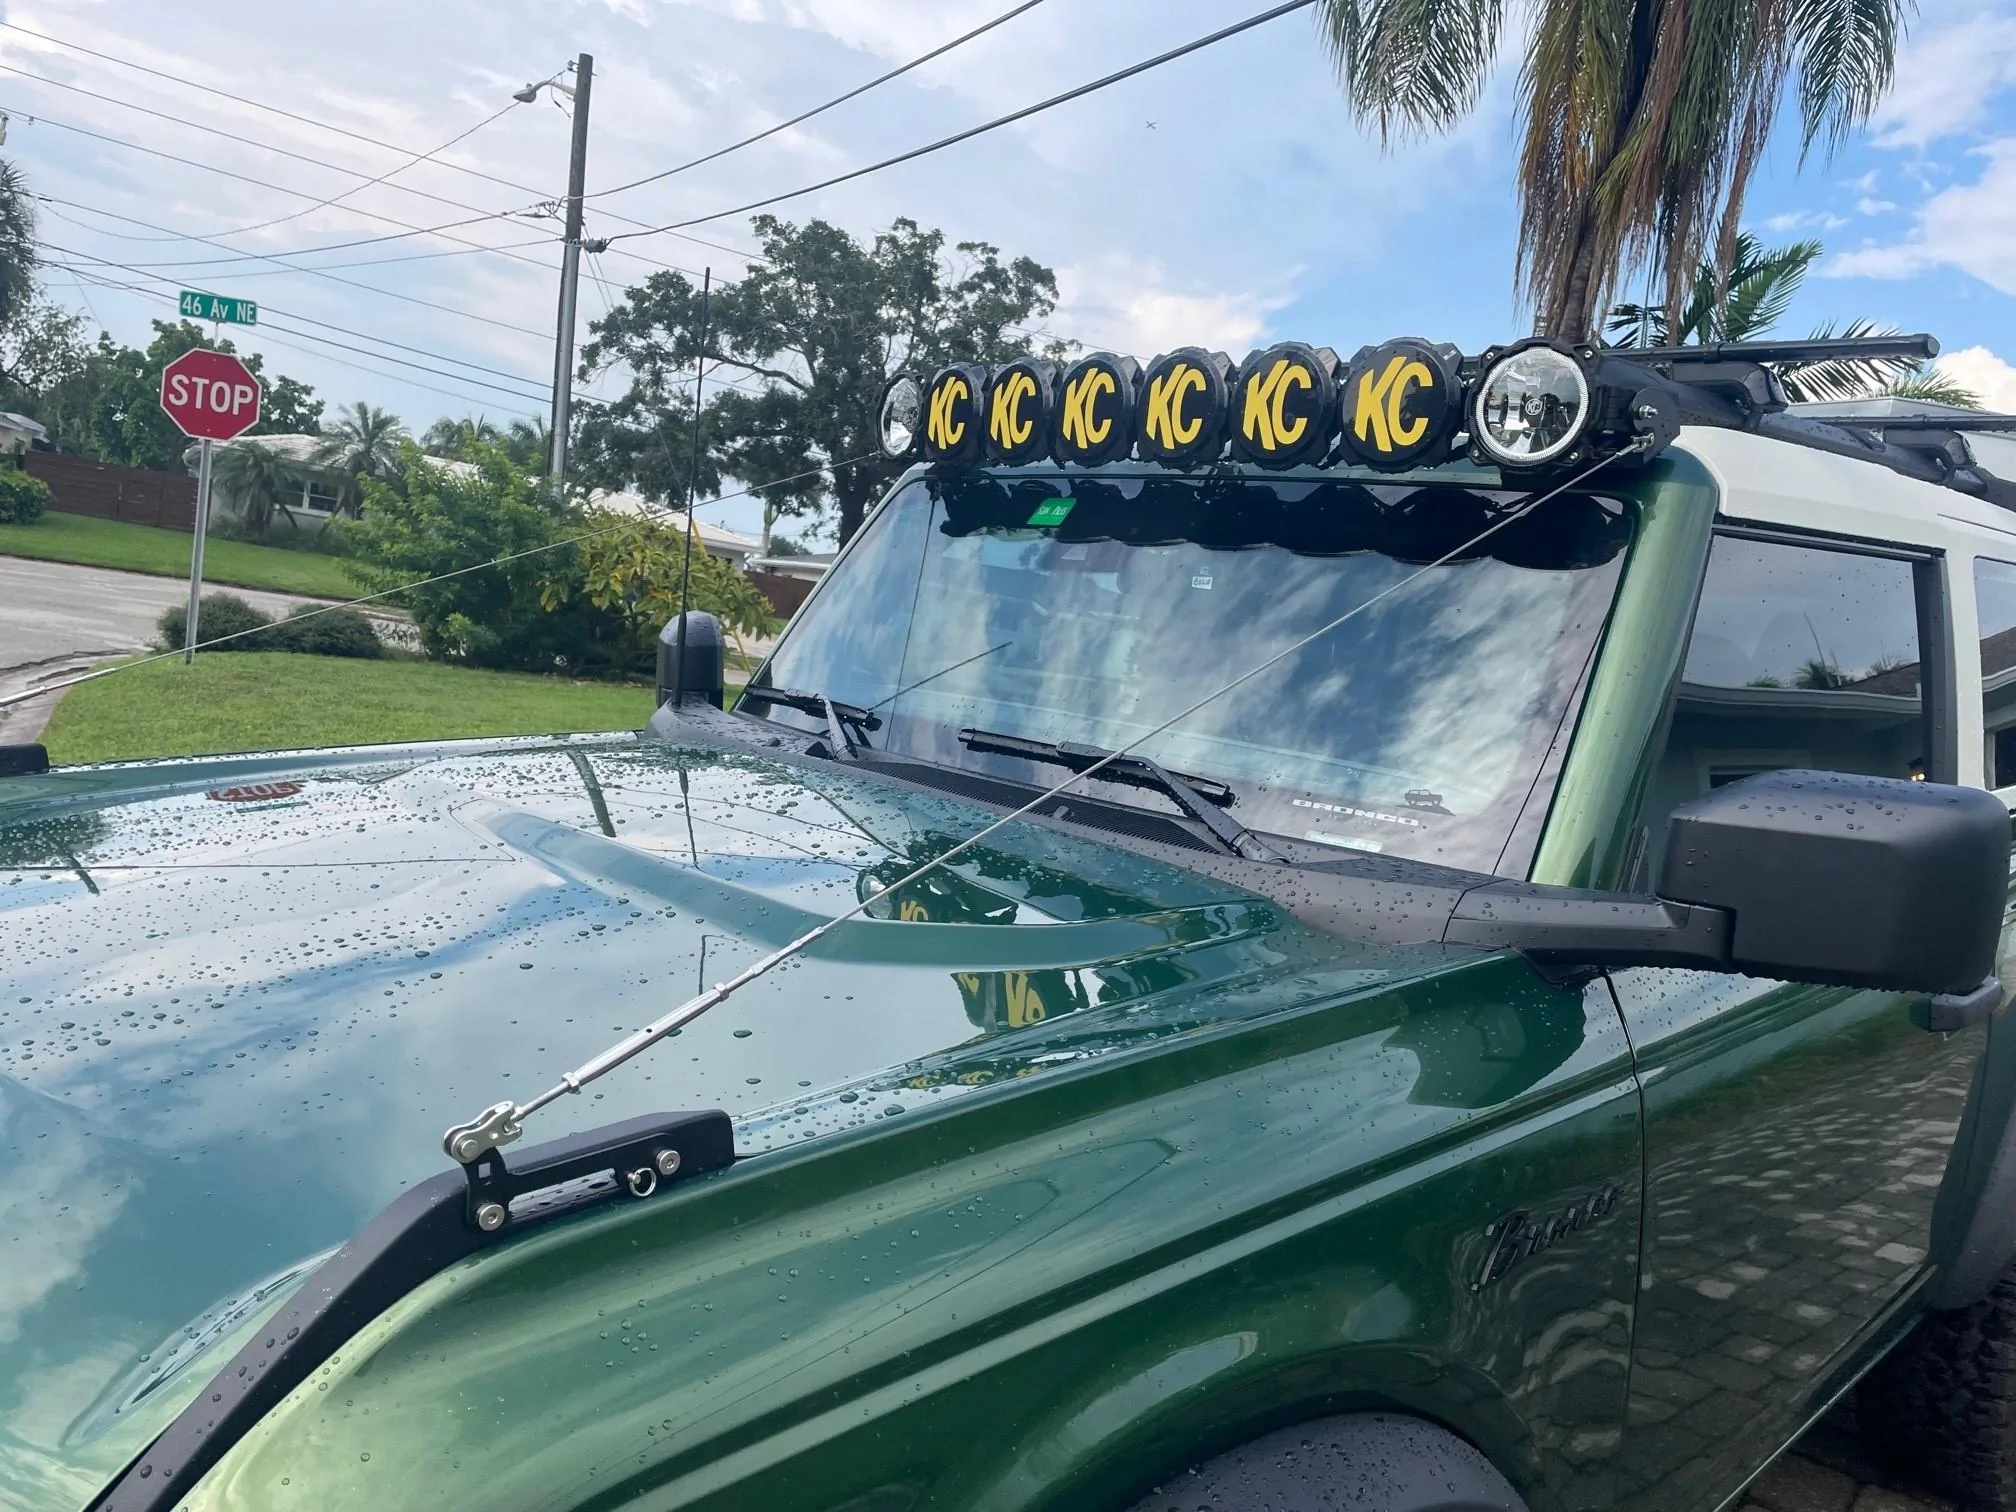
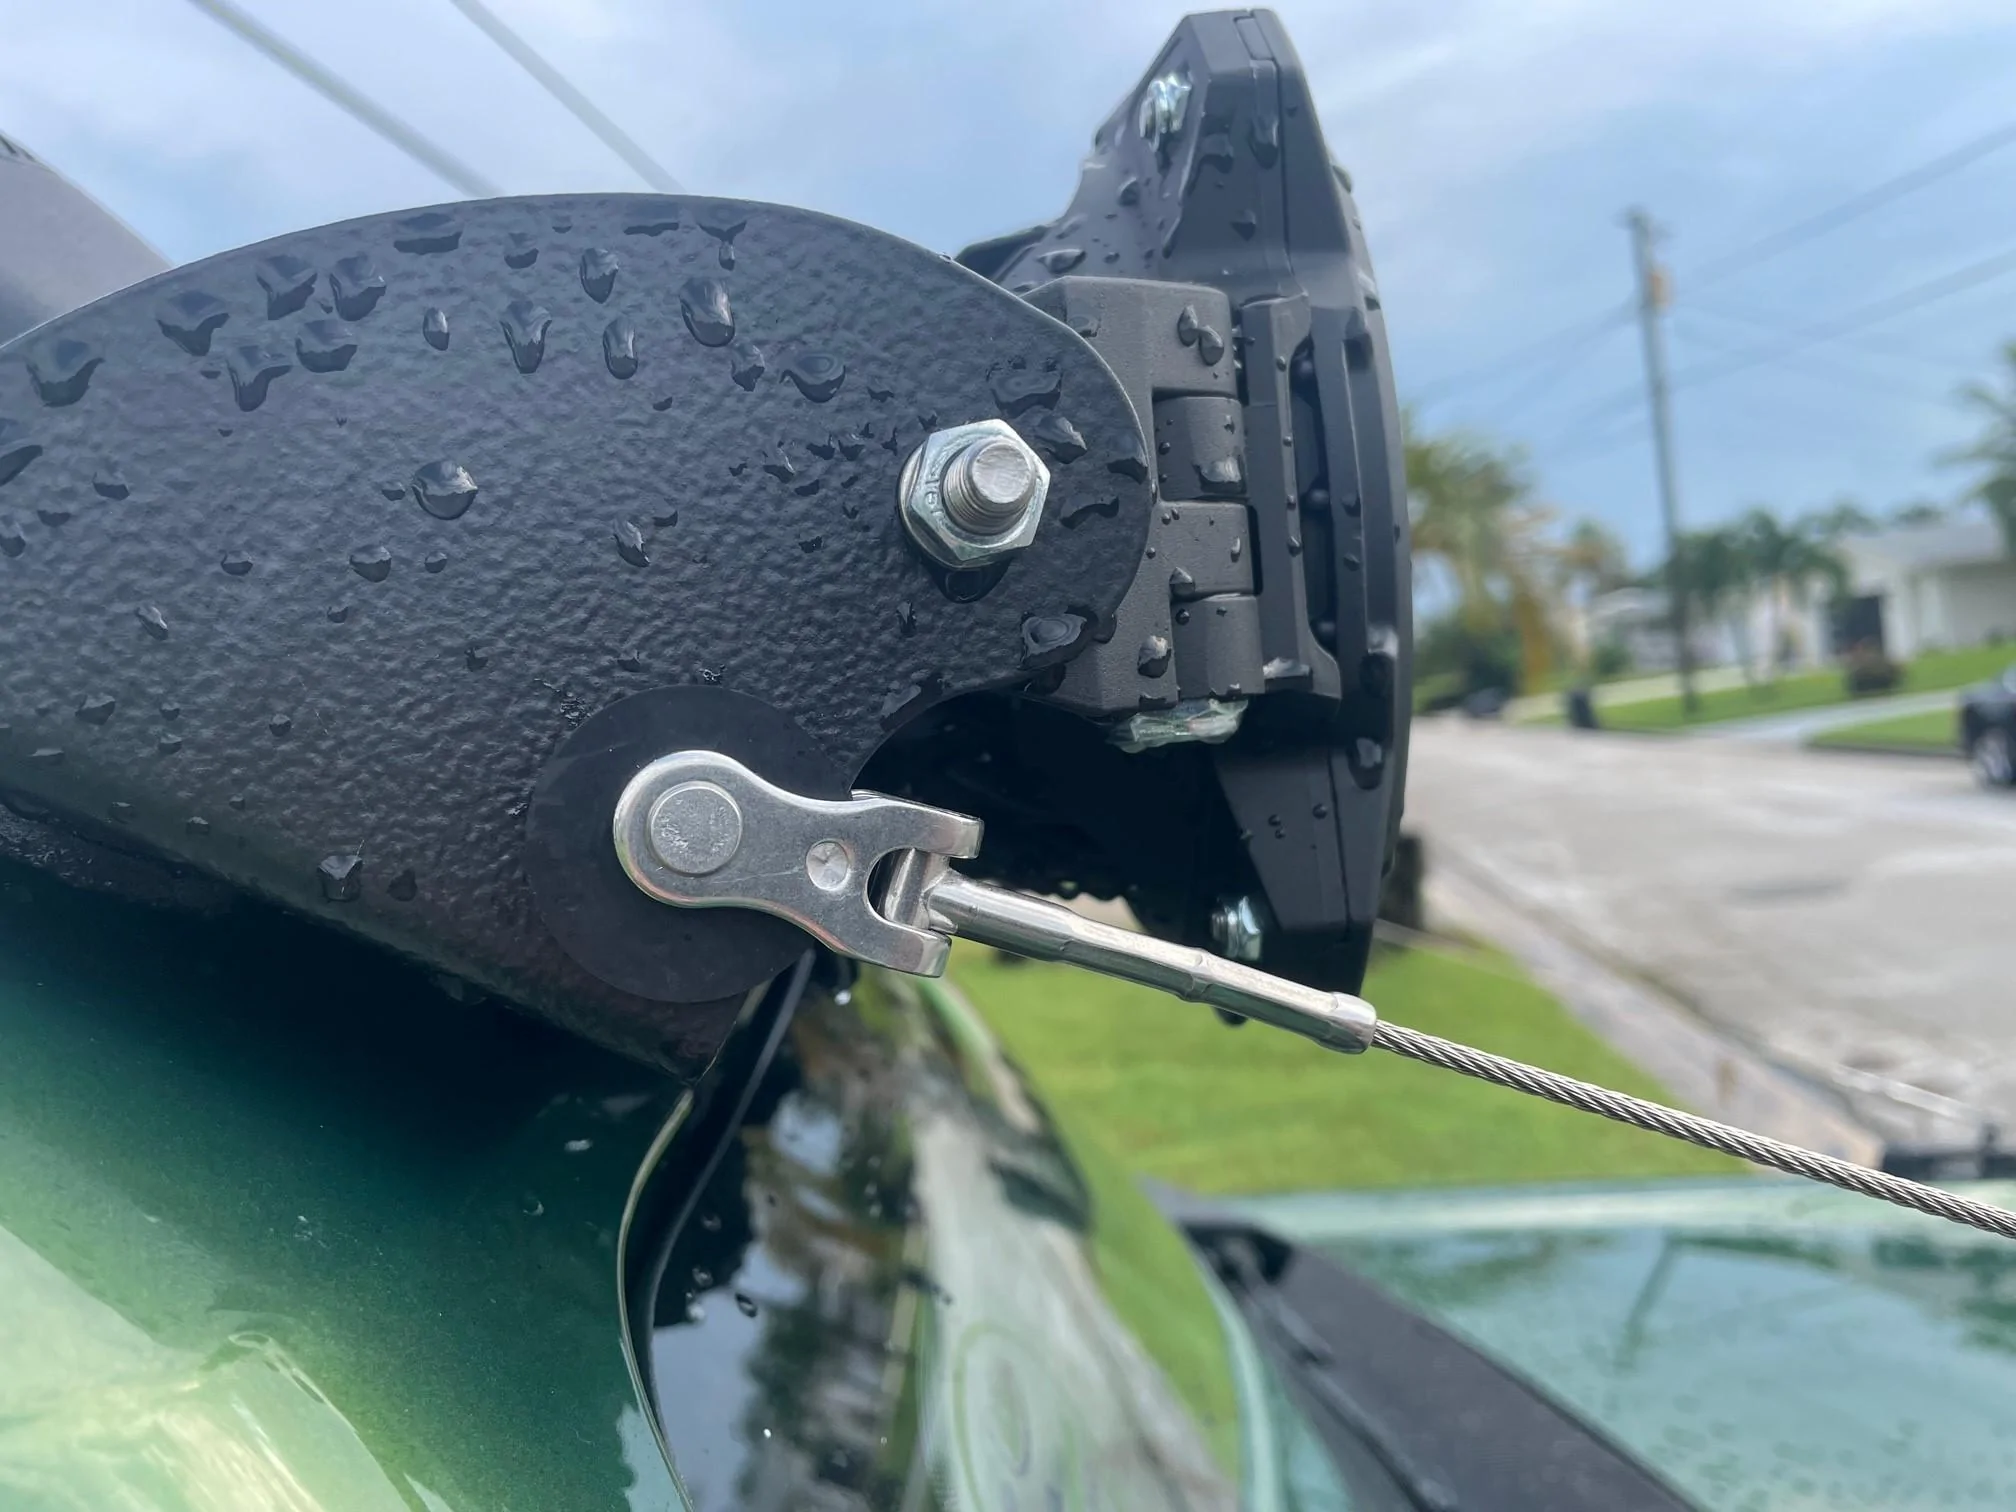
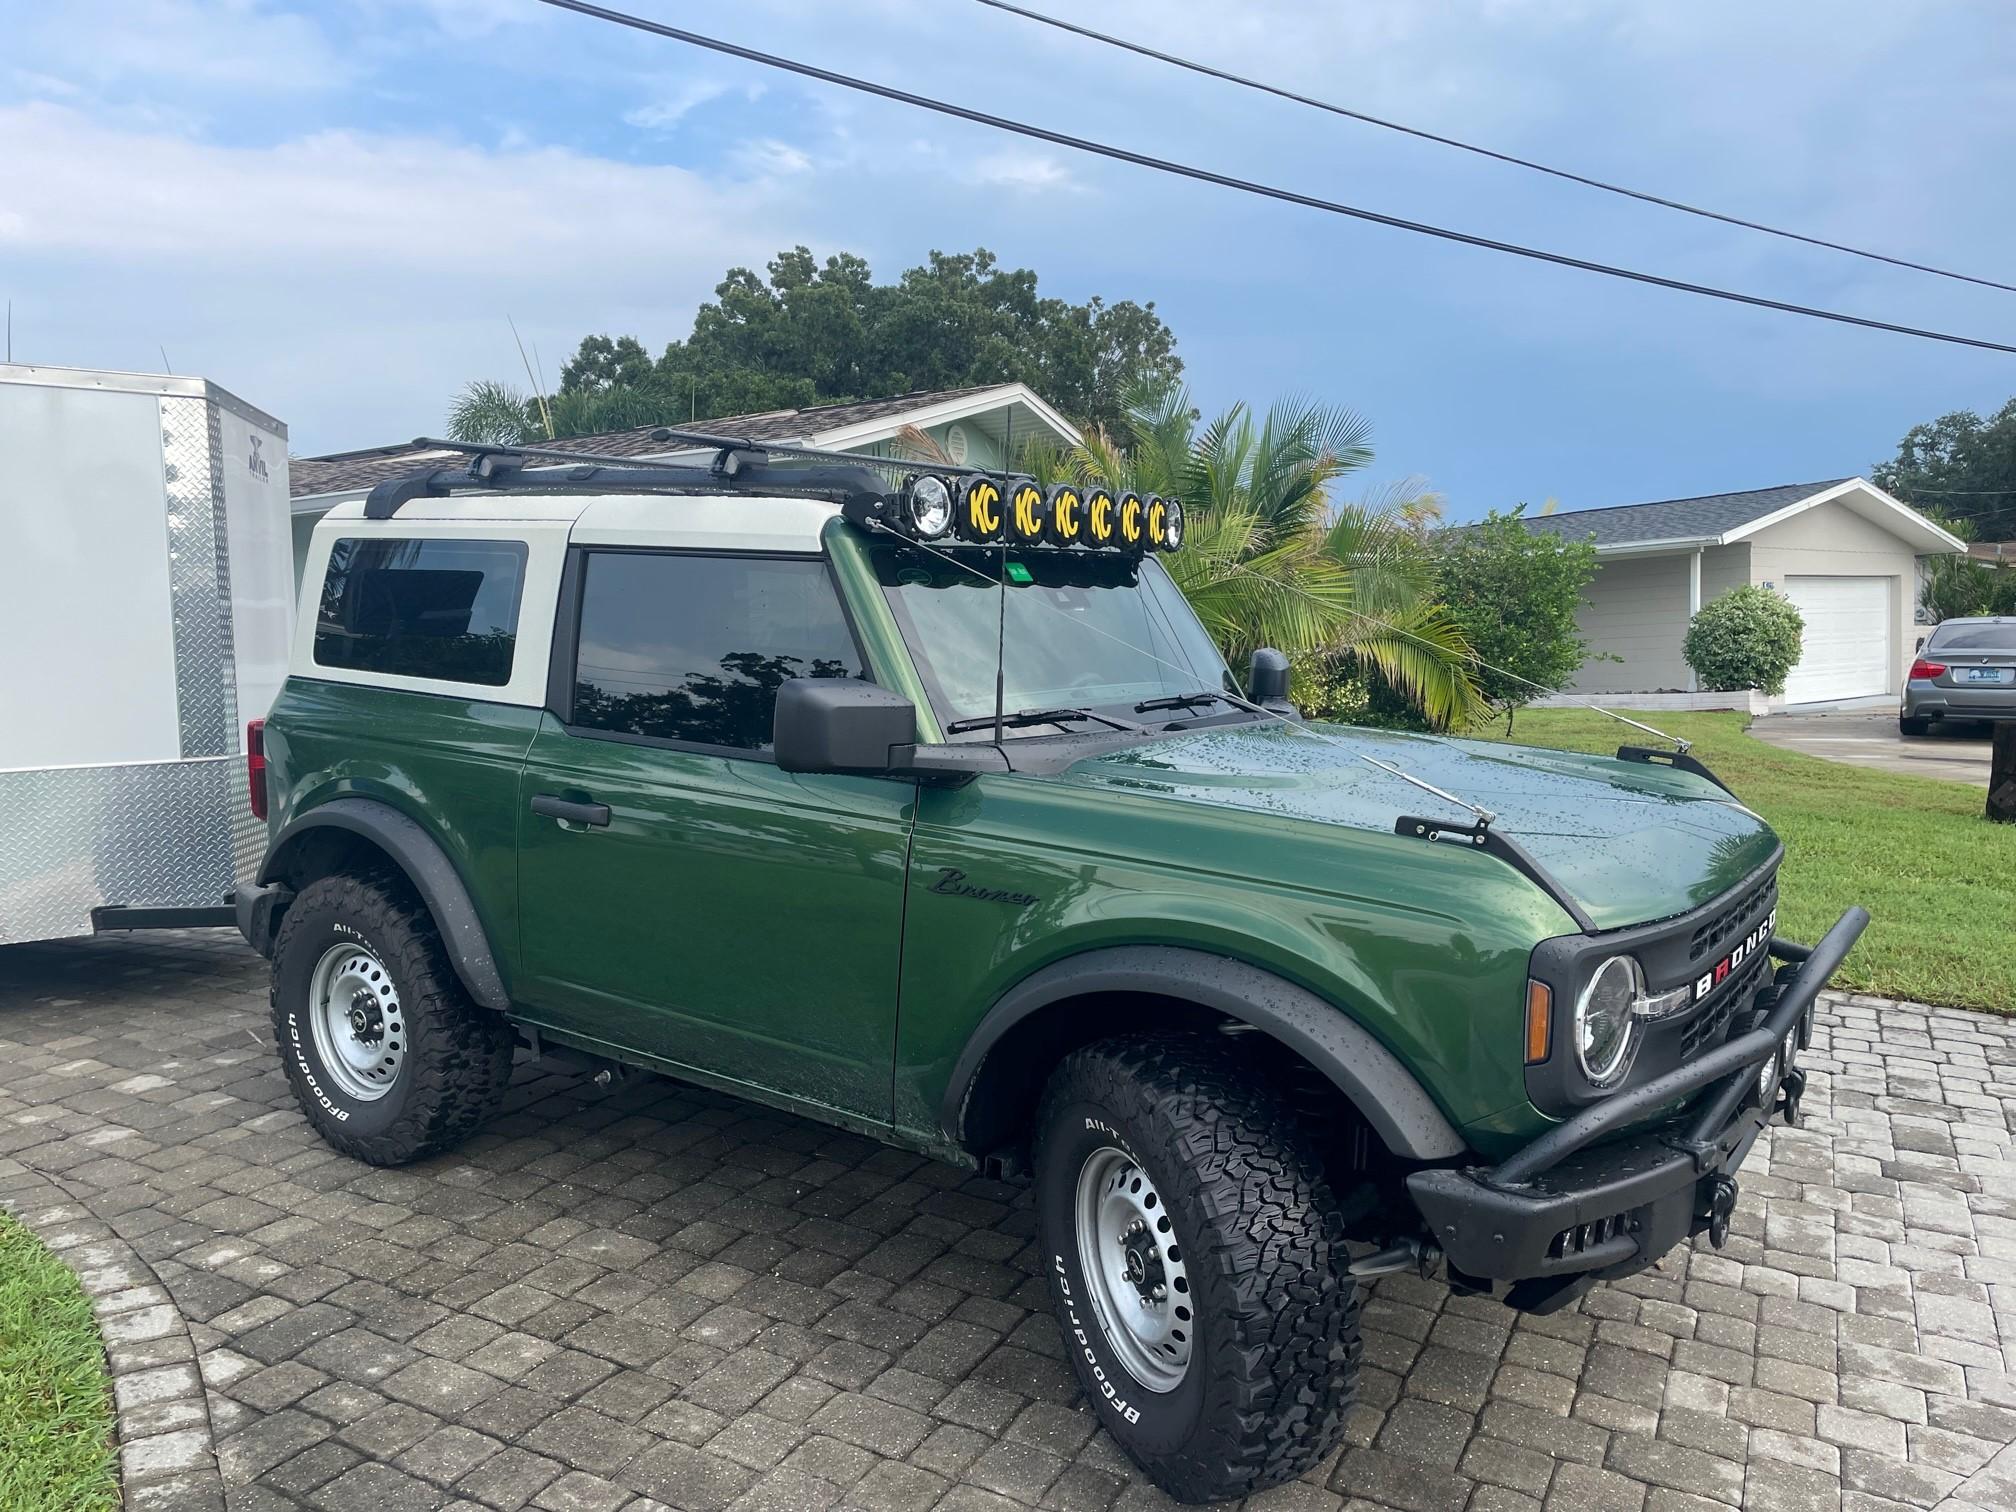
9/23/22 Update:
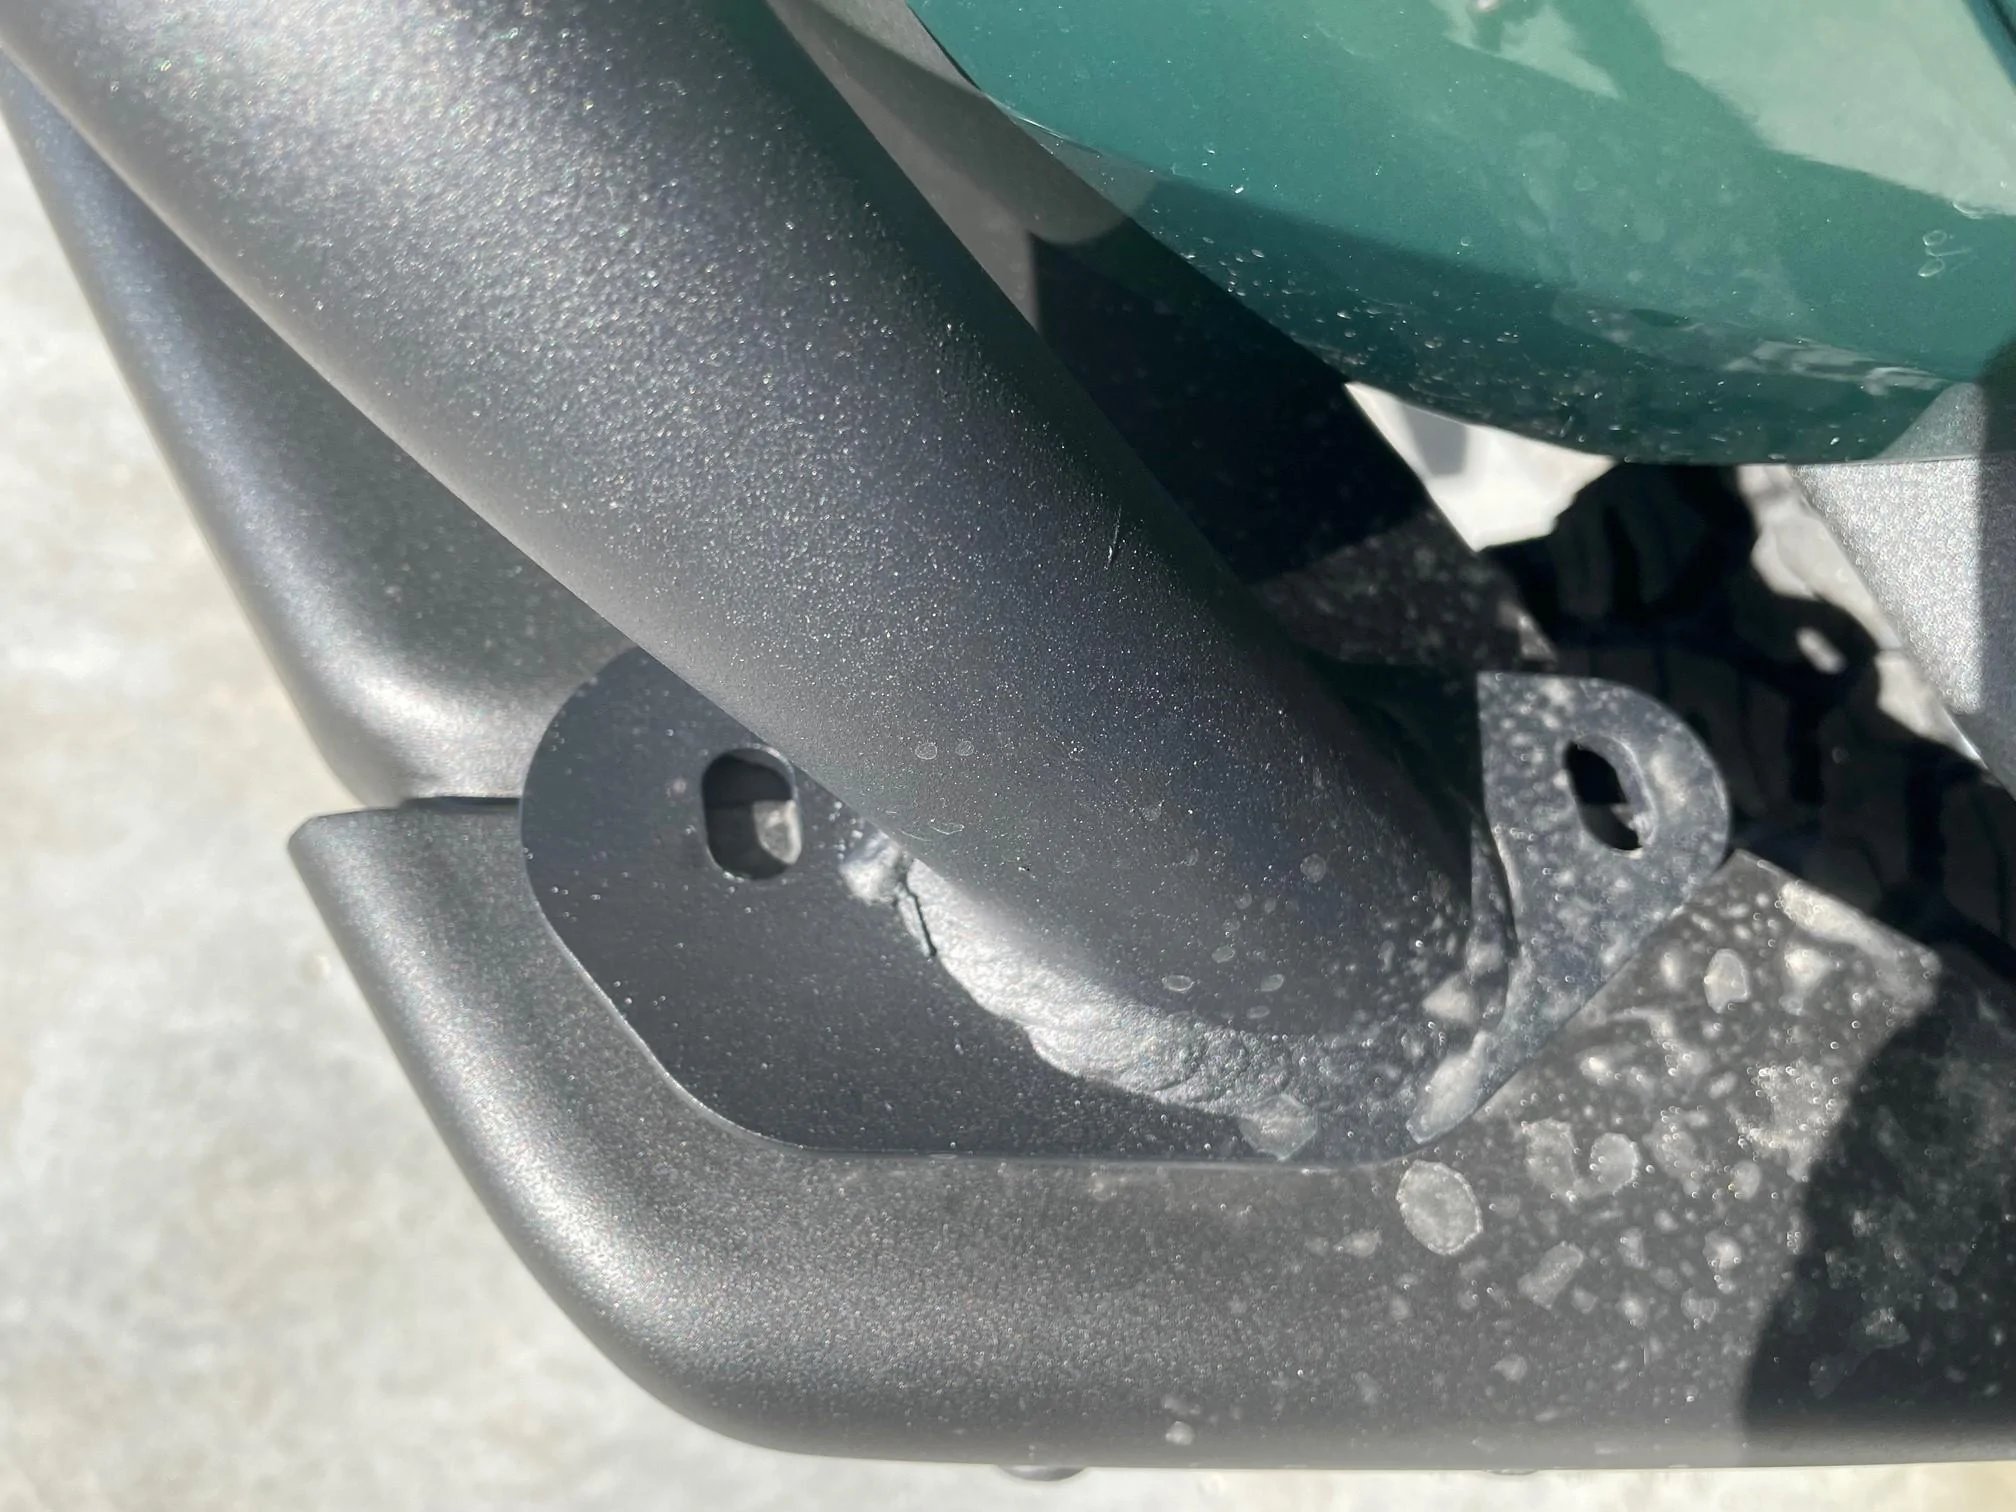
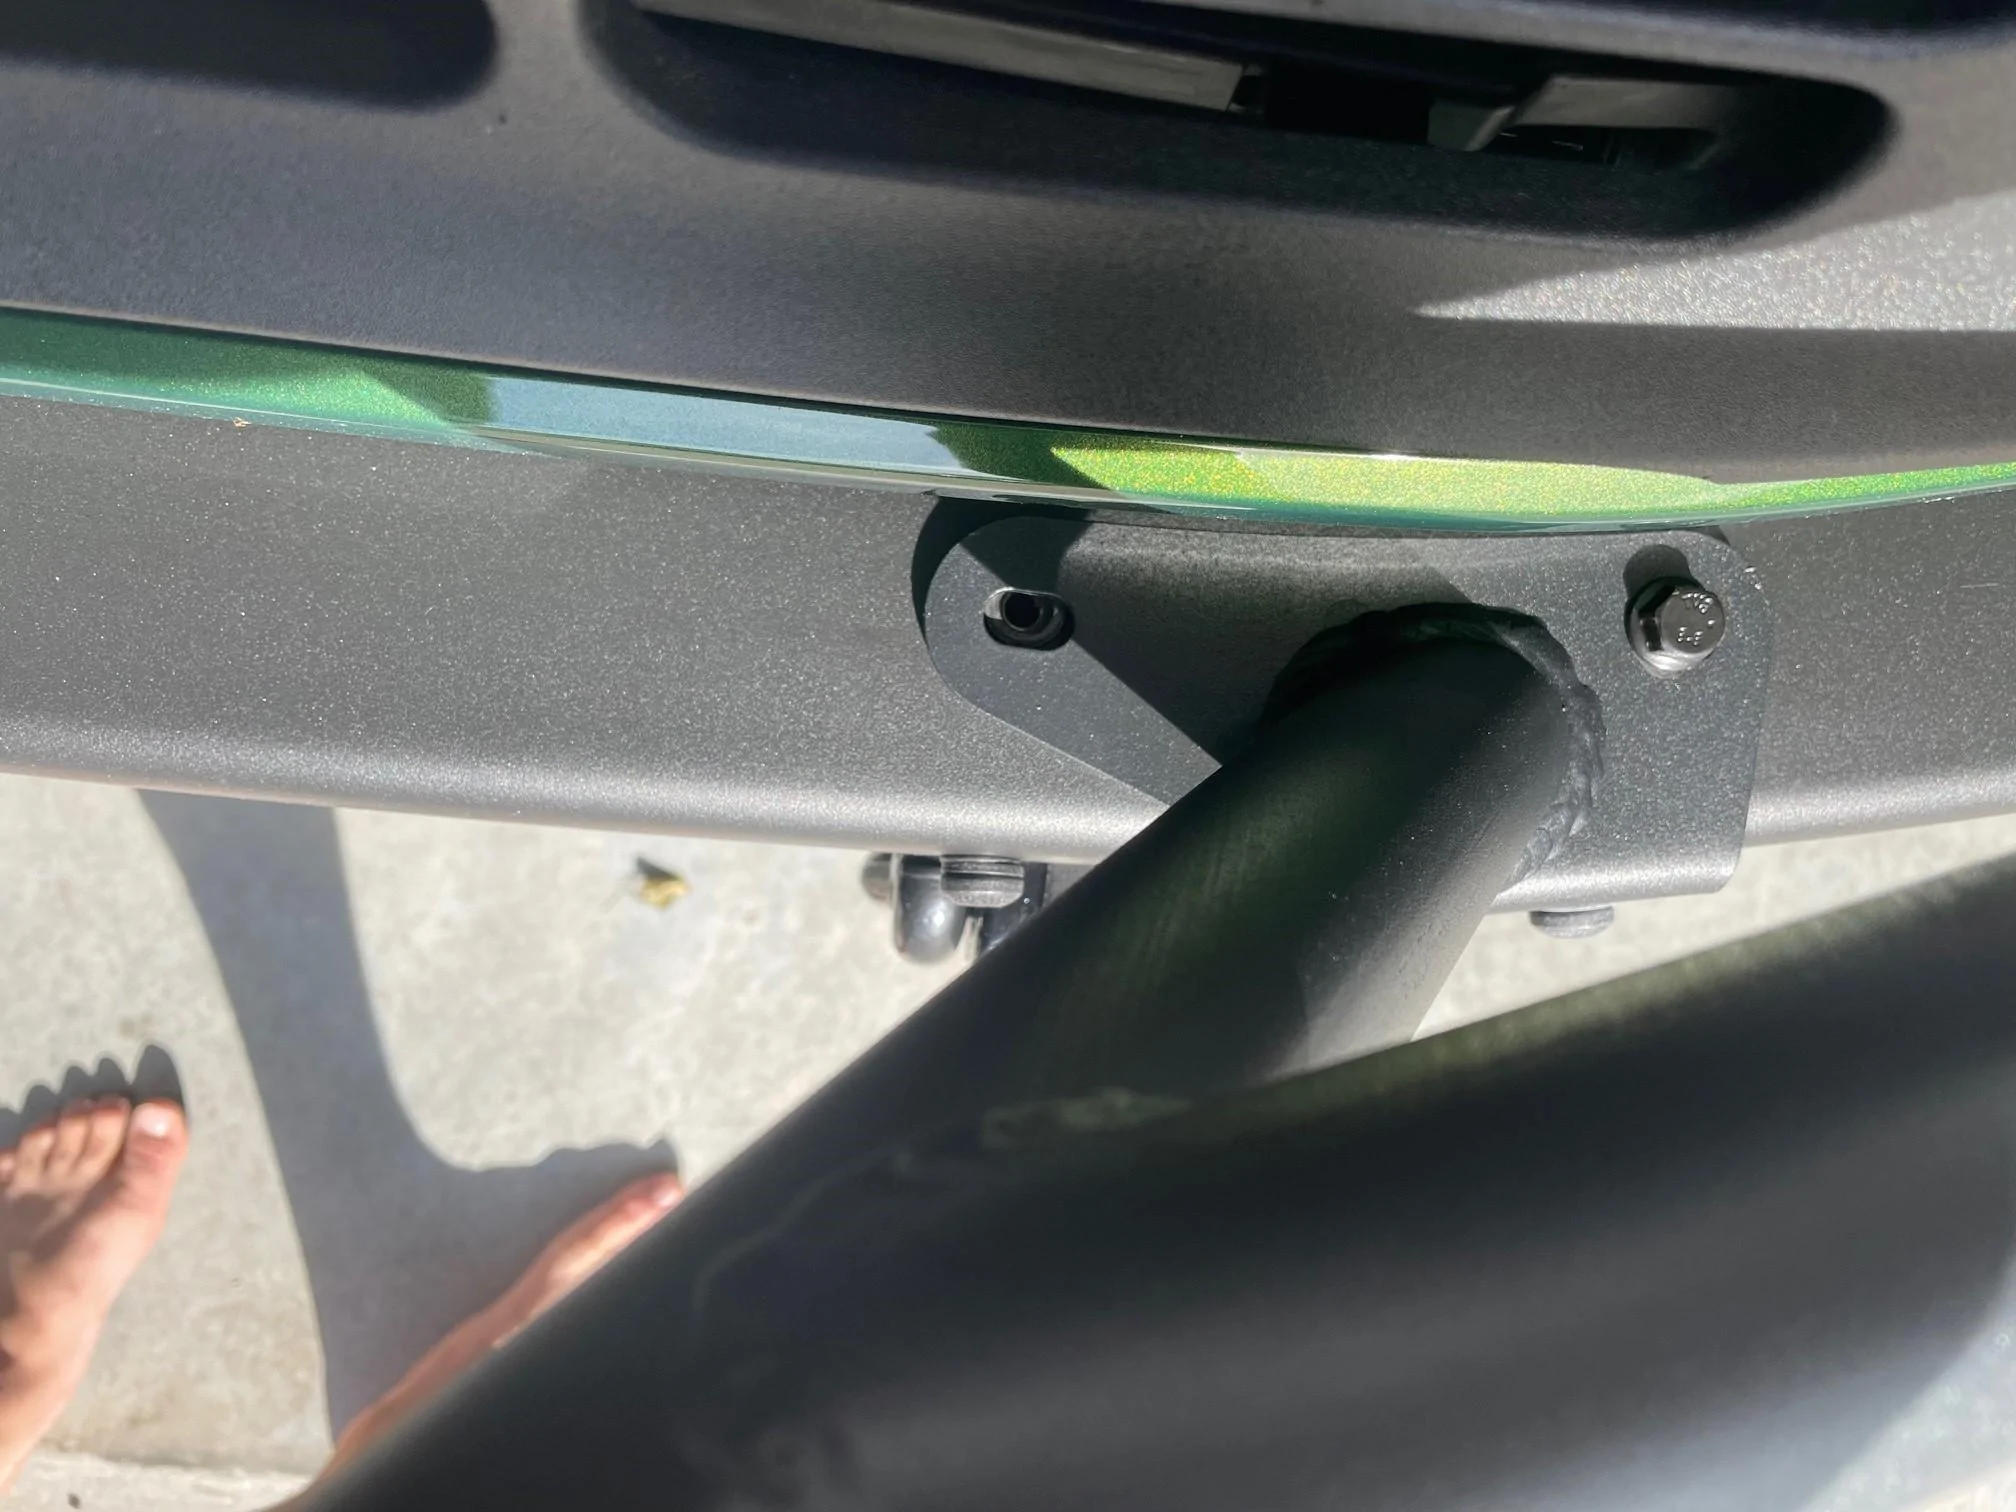
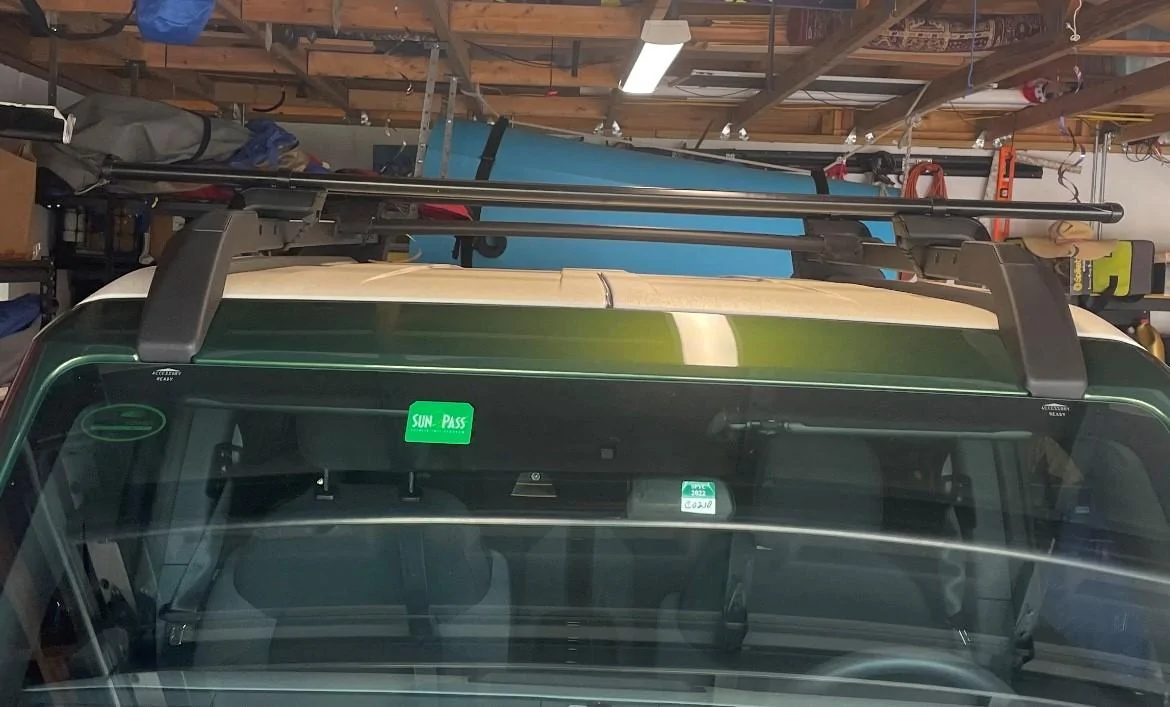
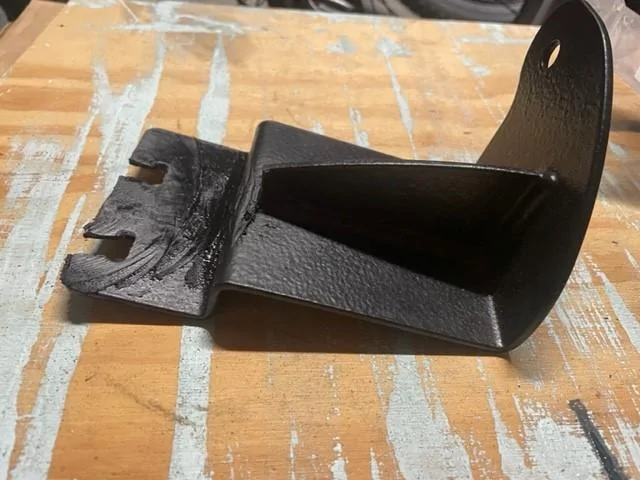
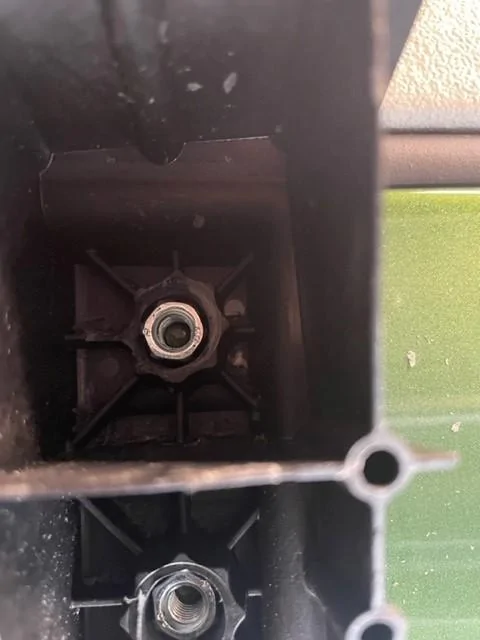
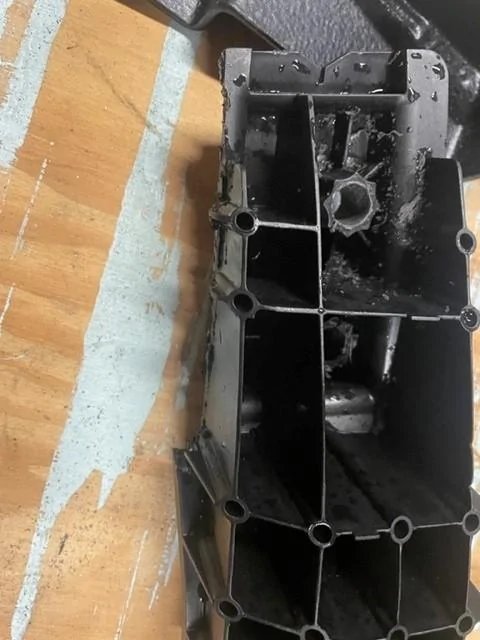
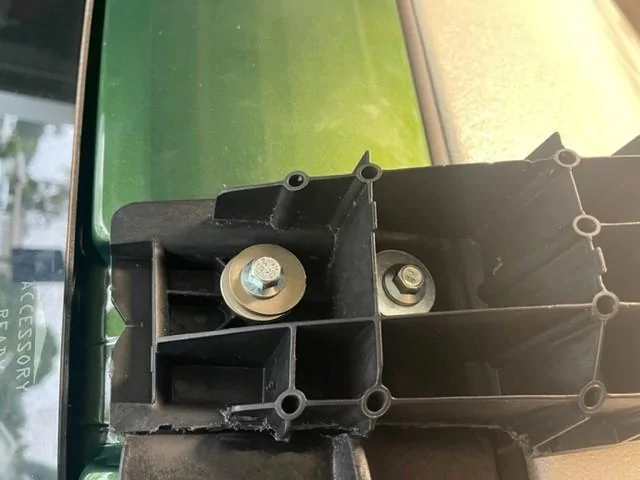
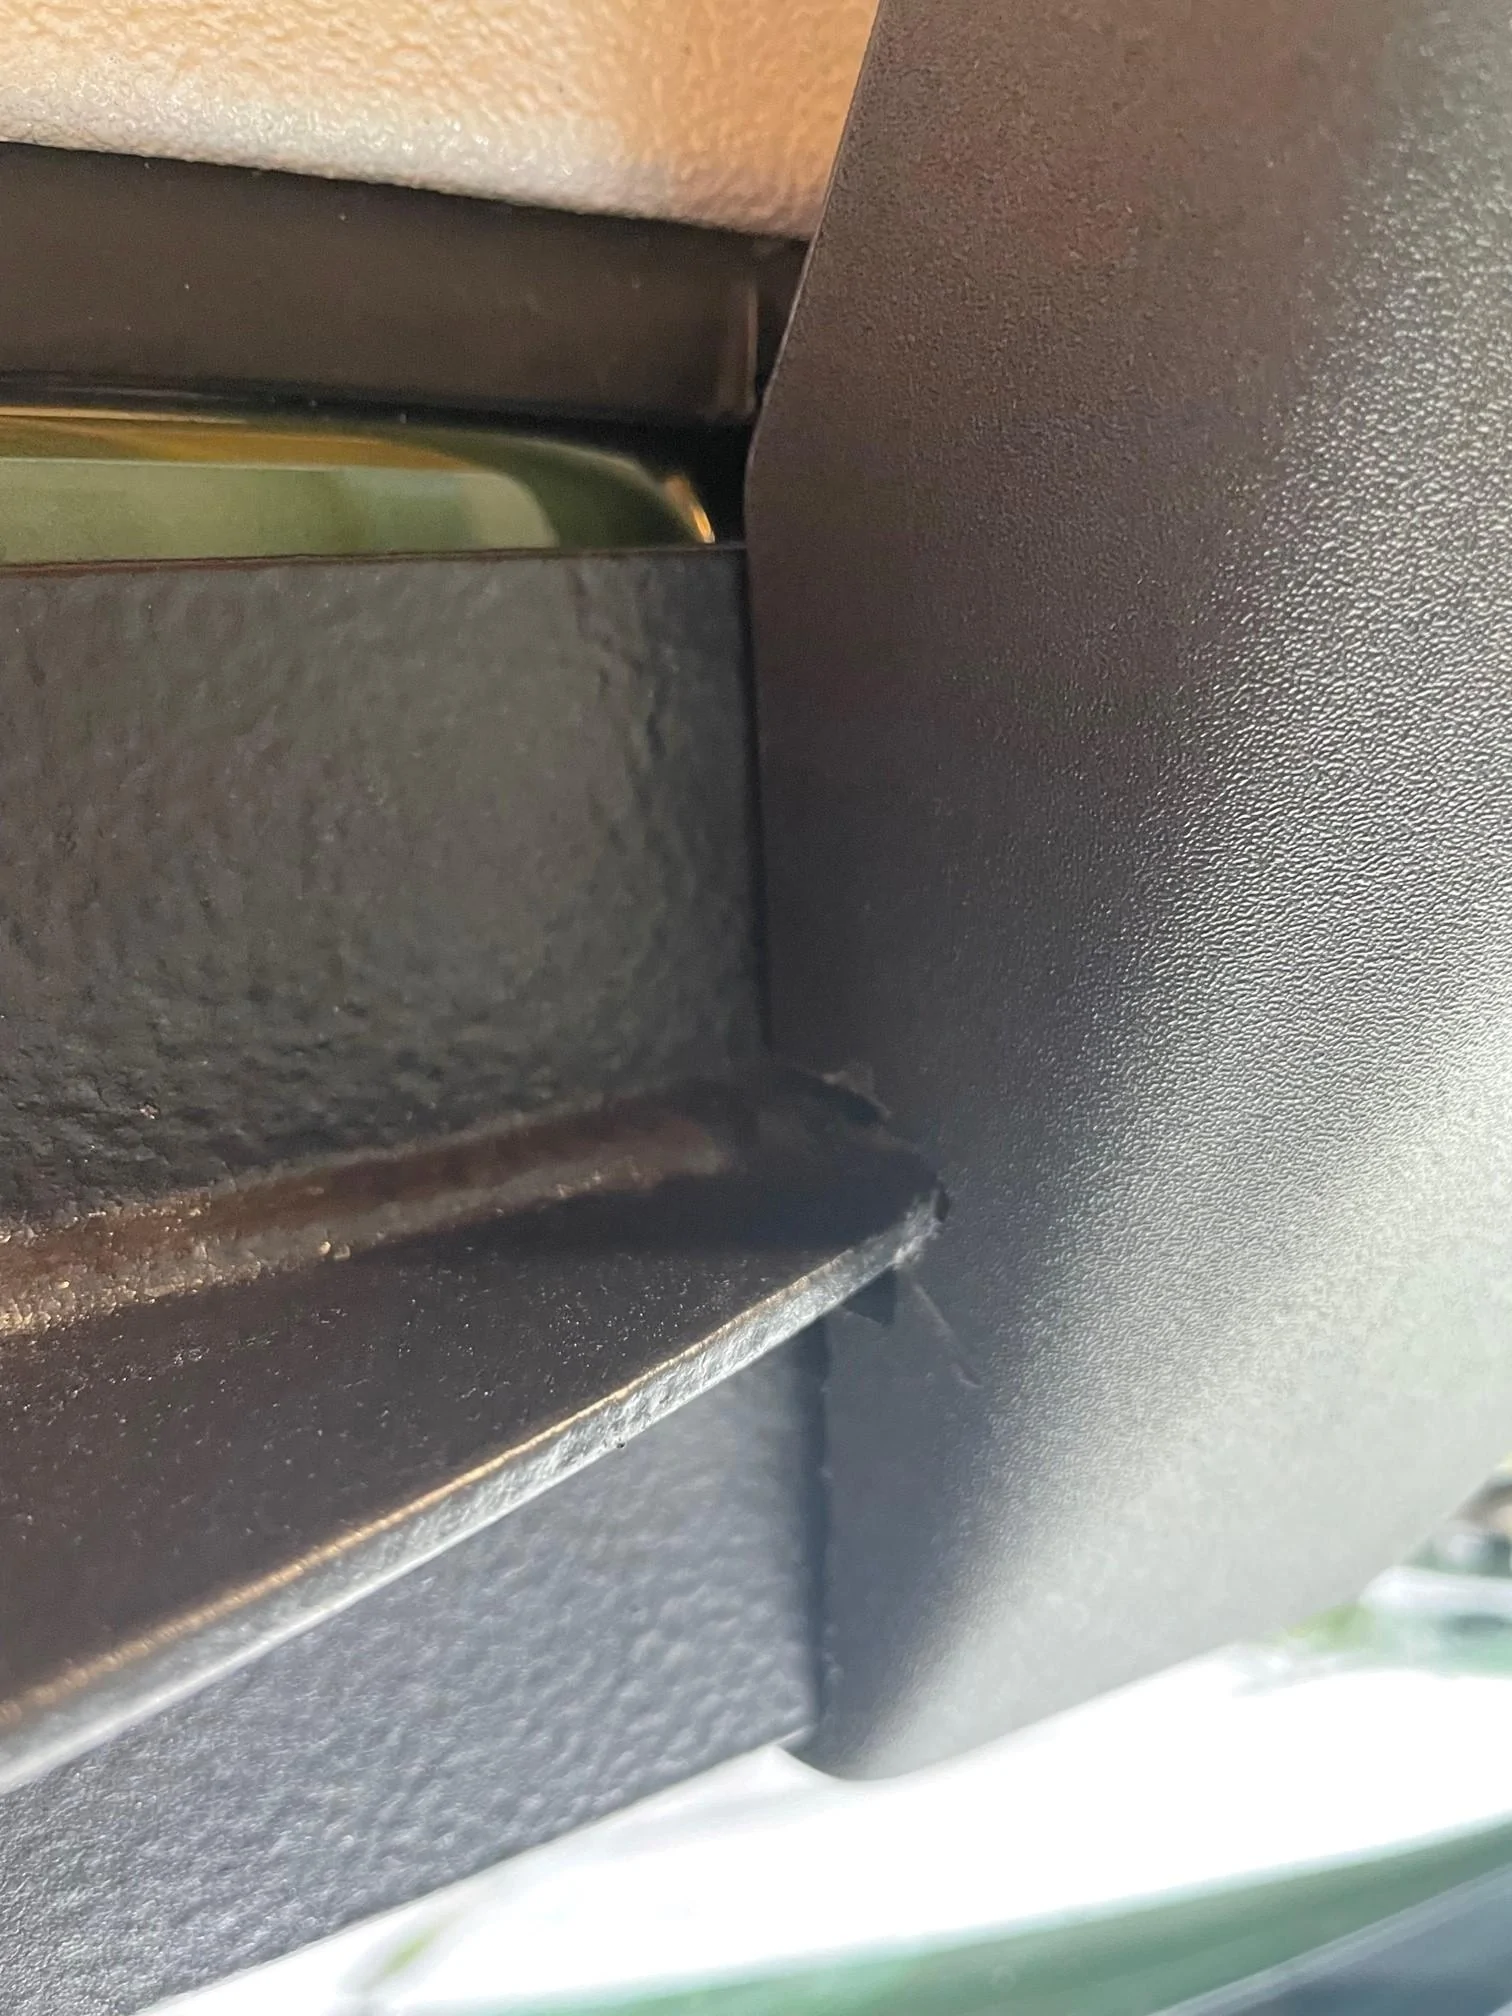
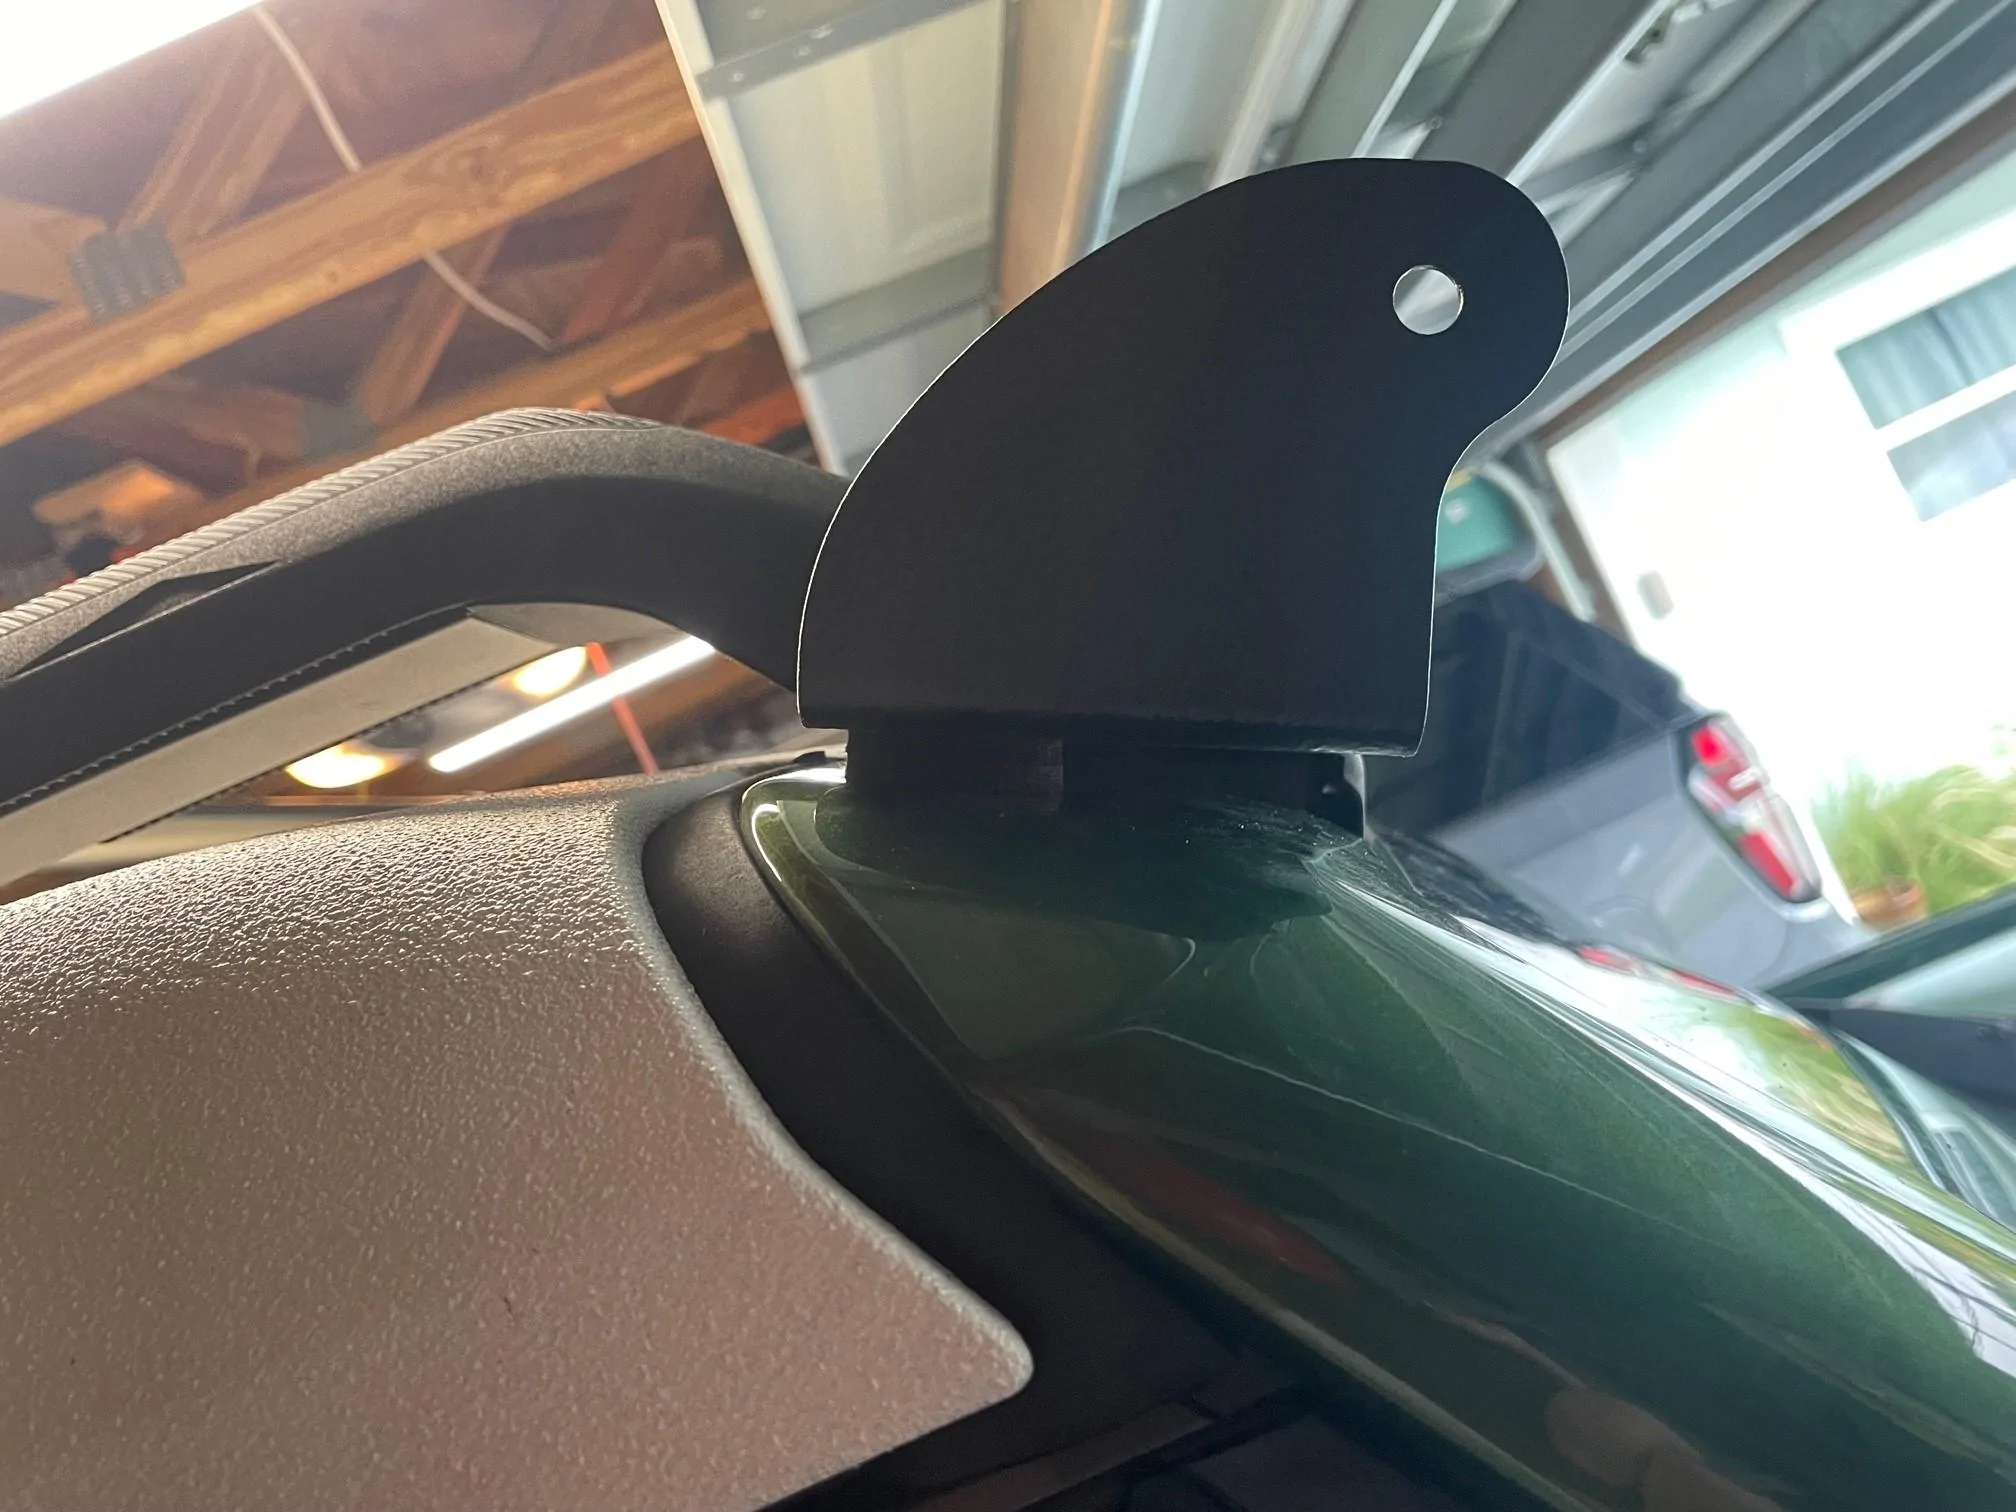
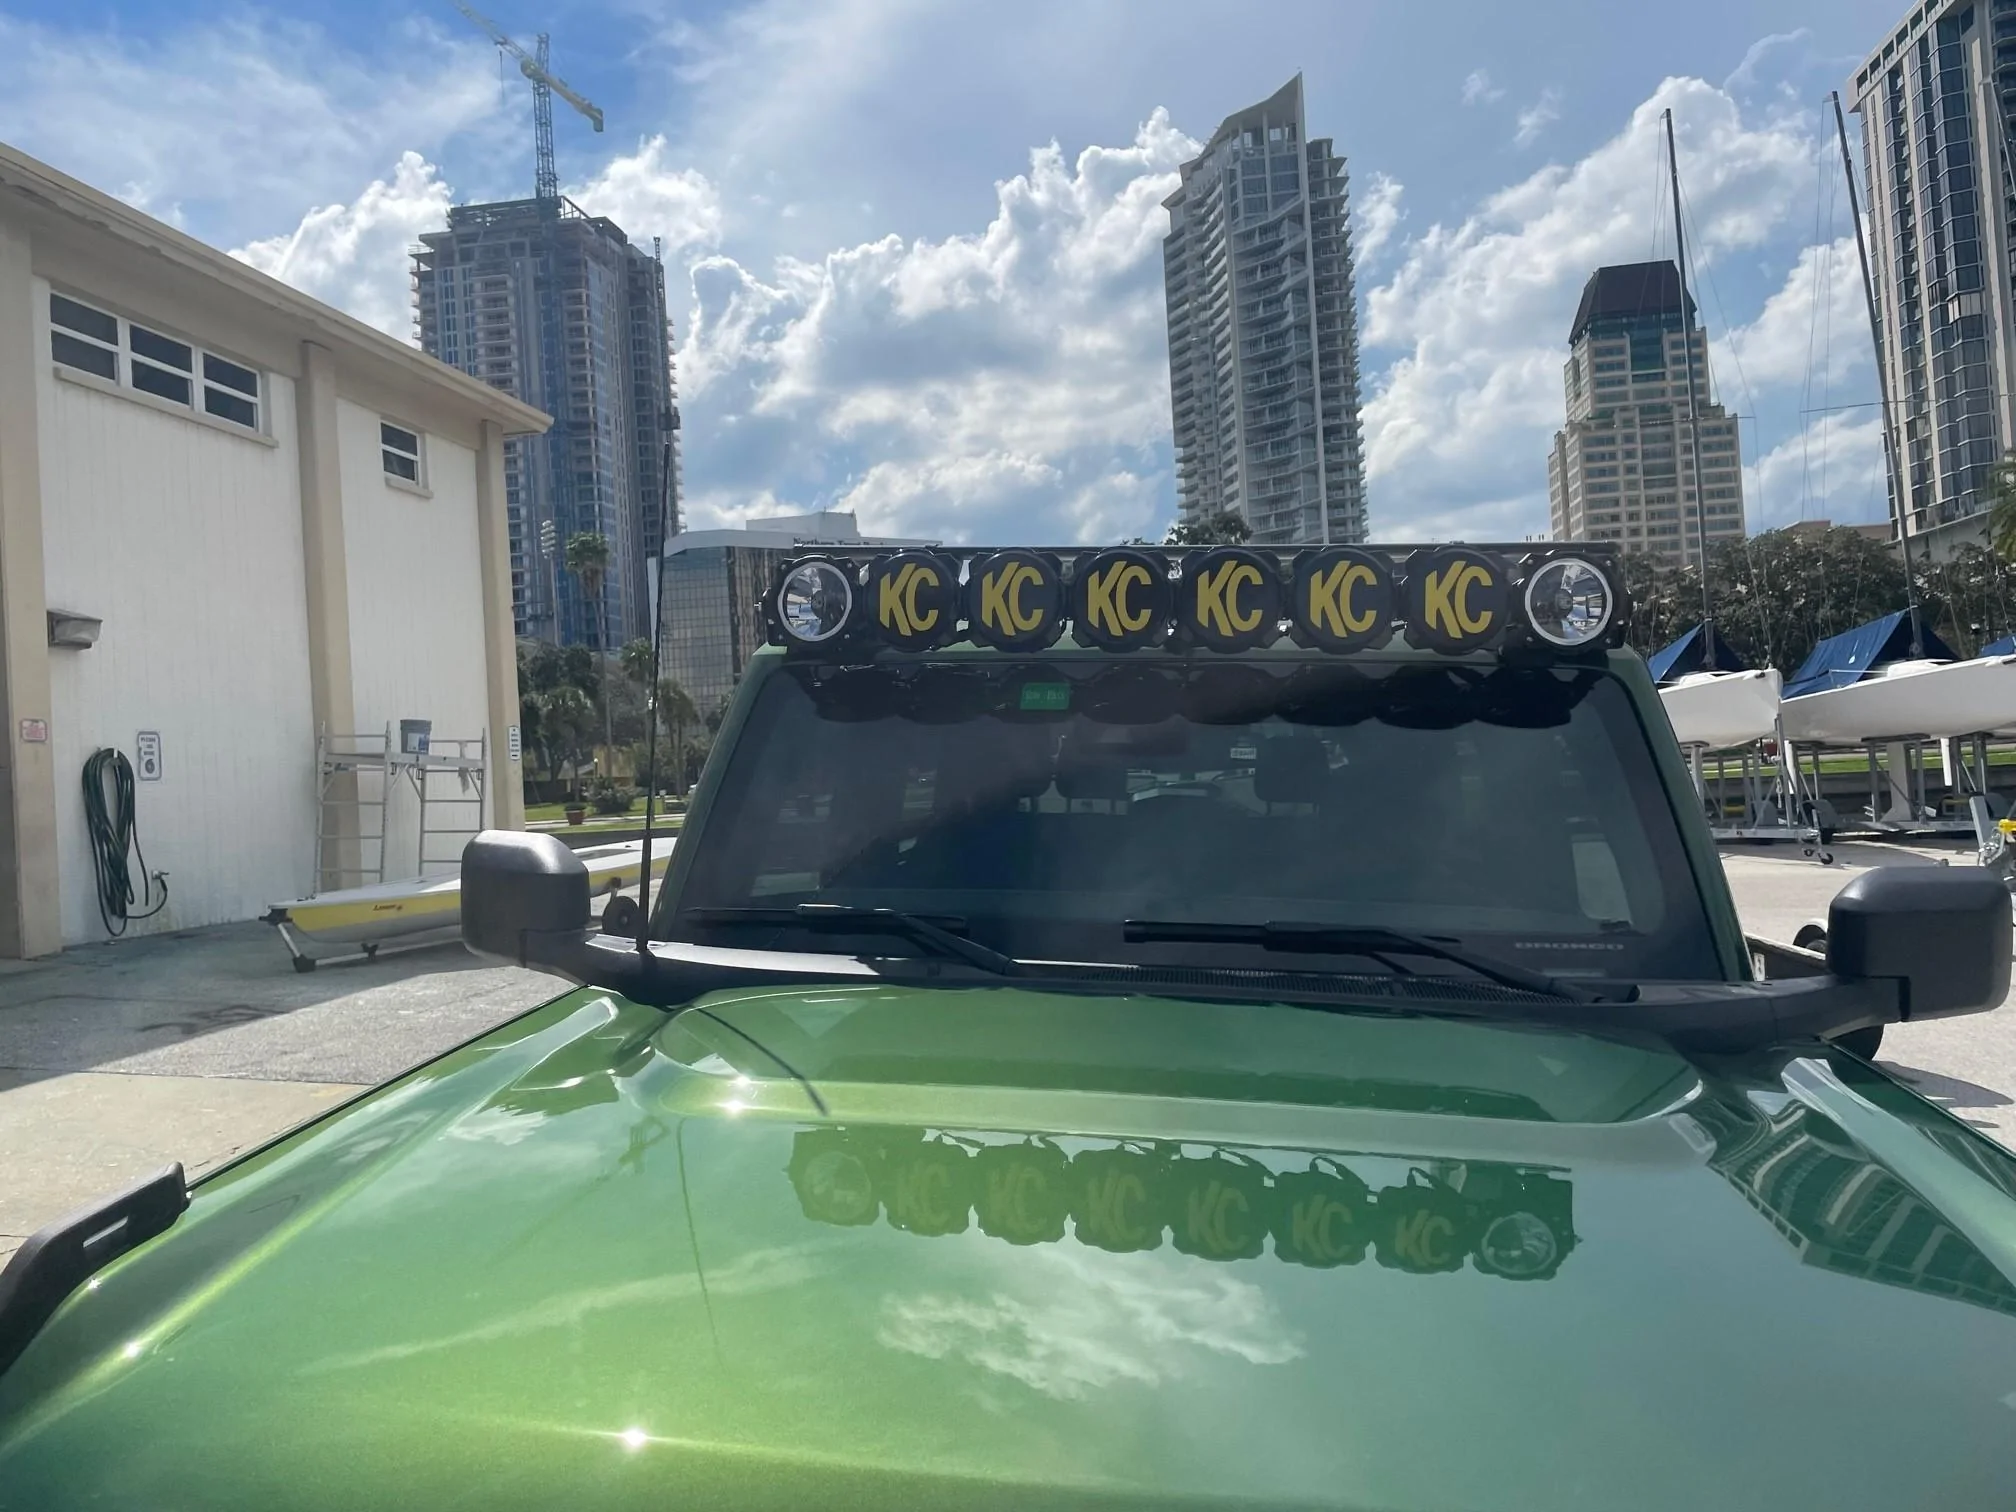
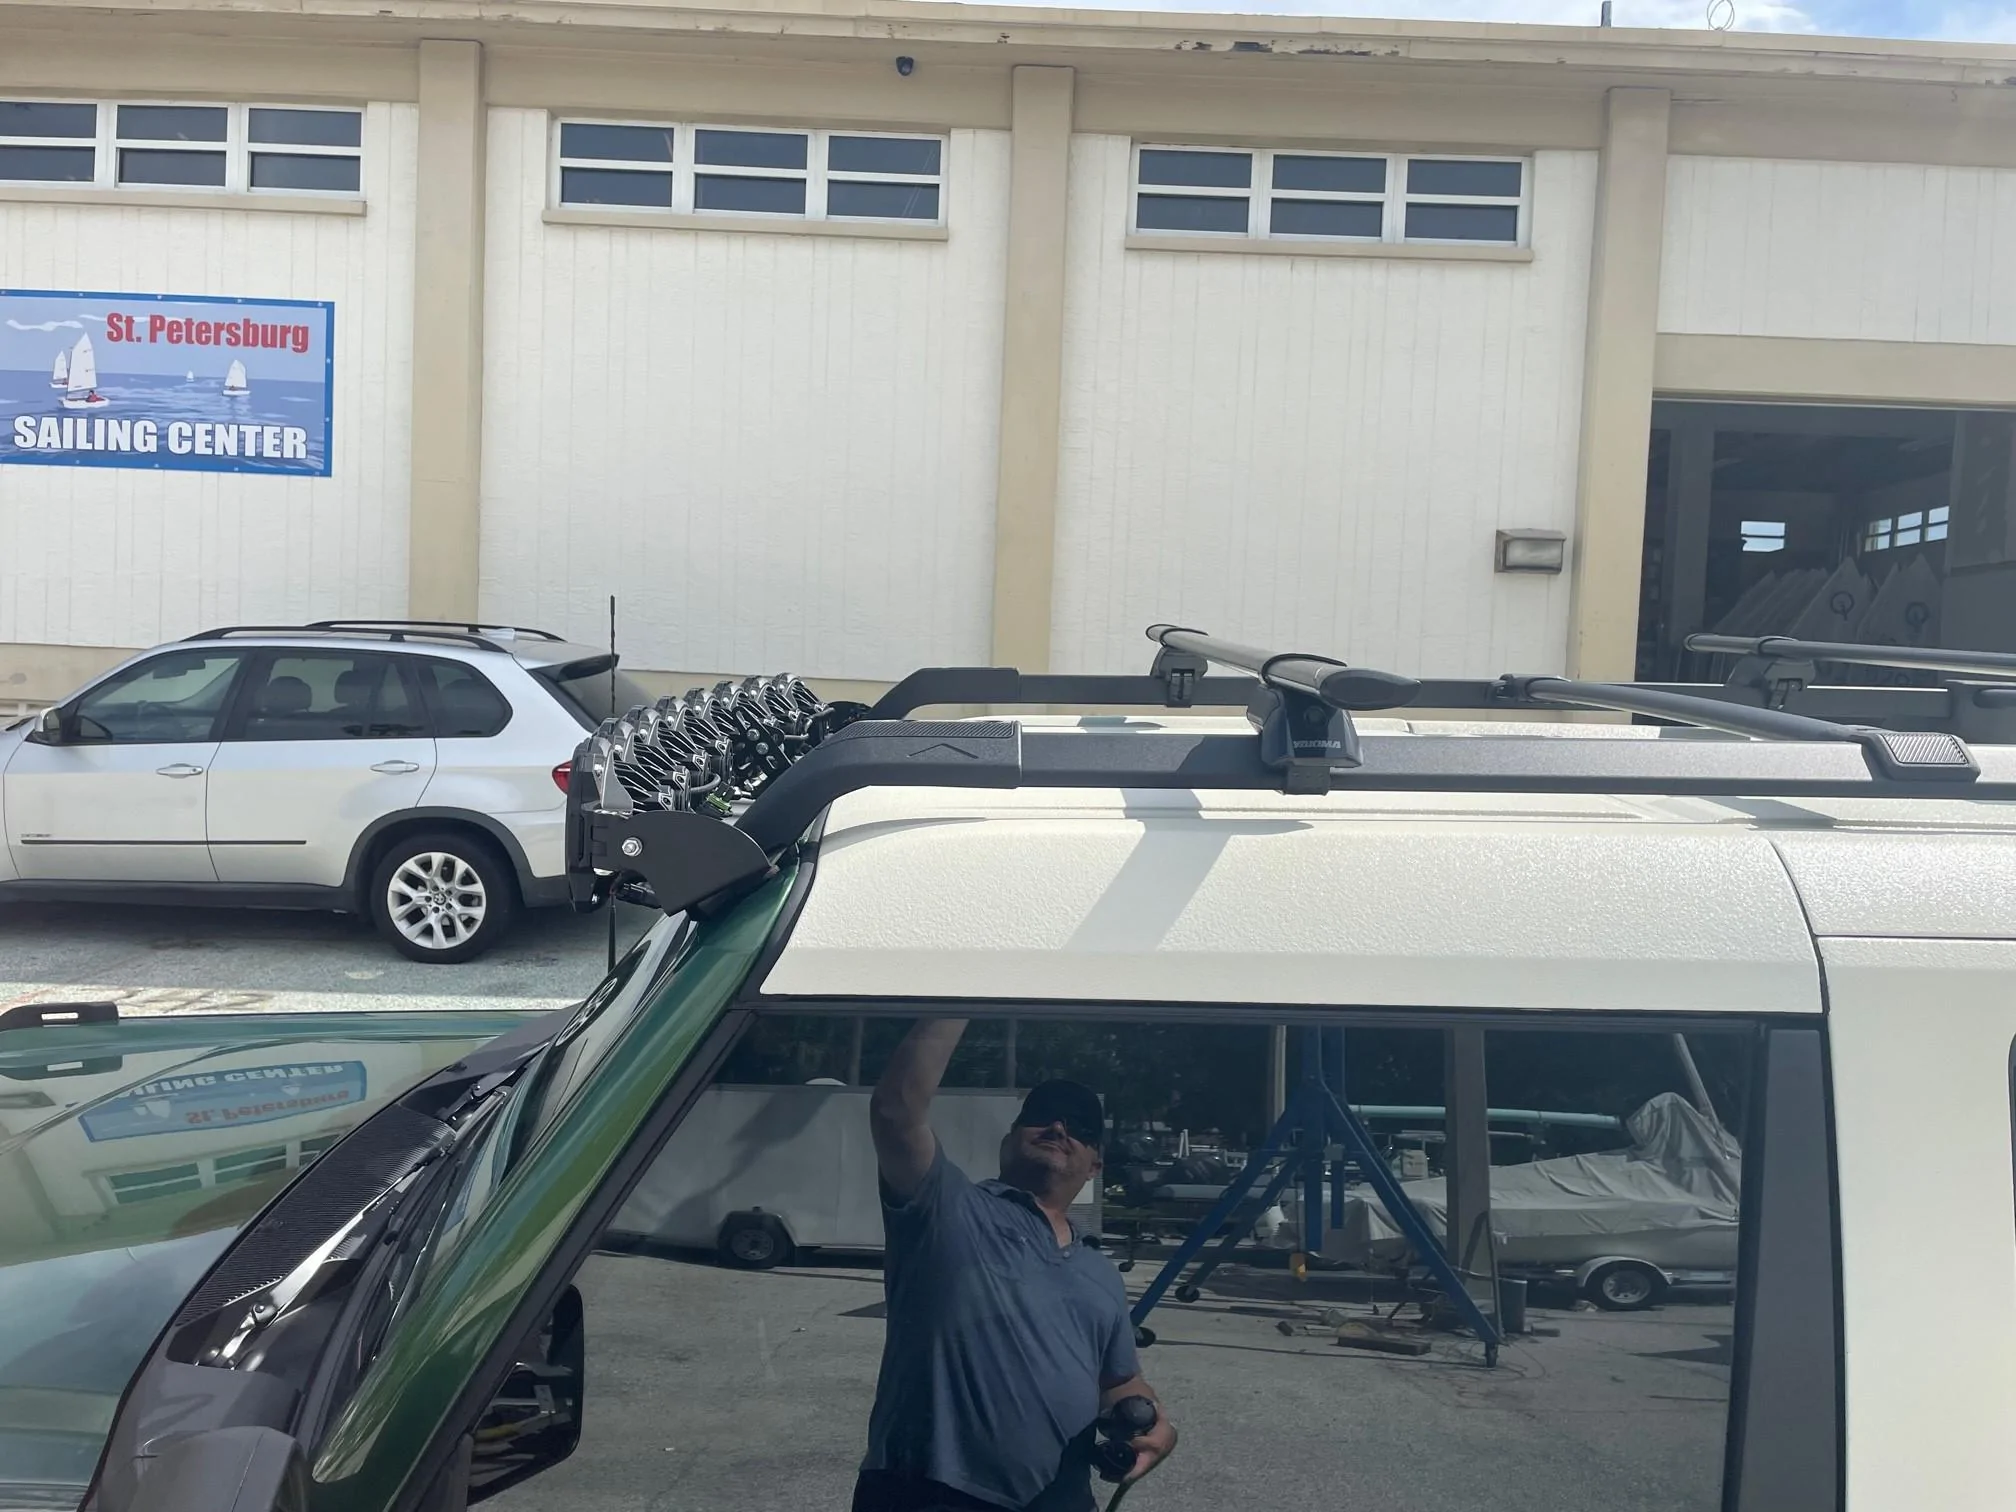
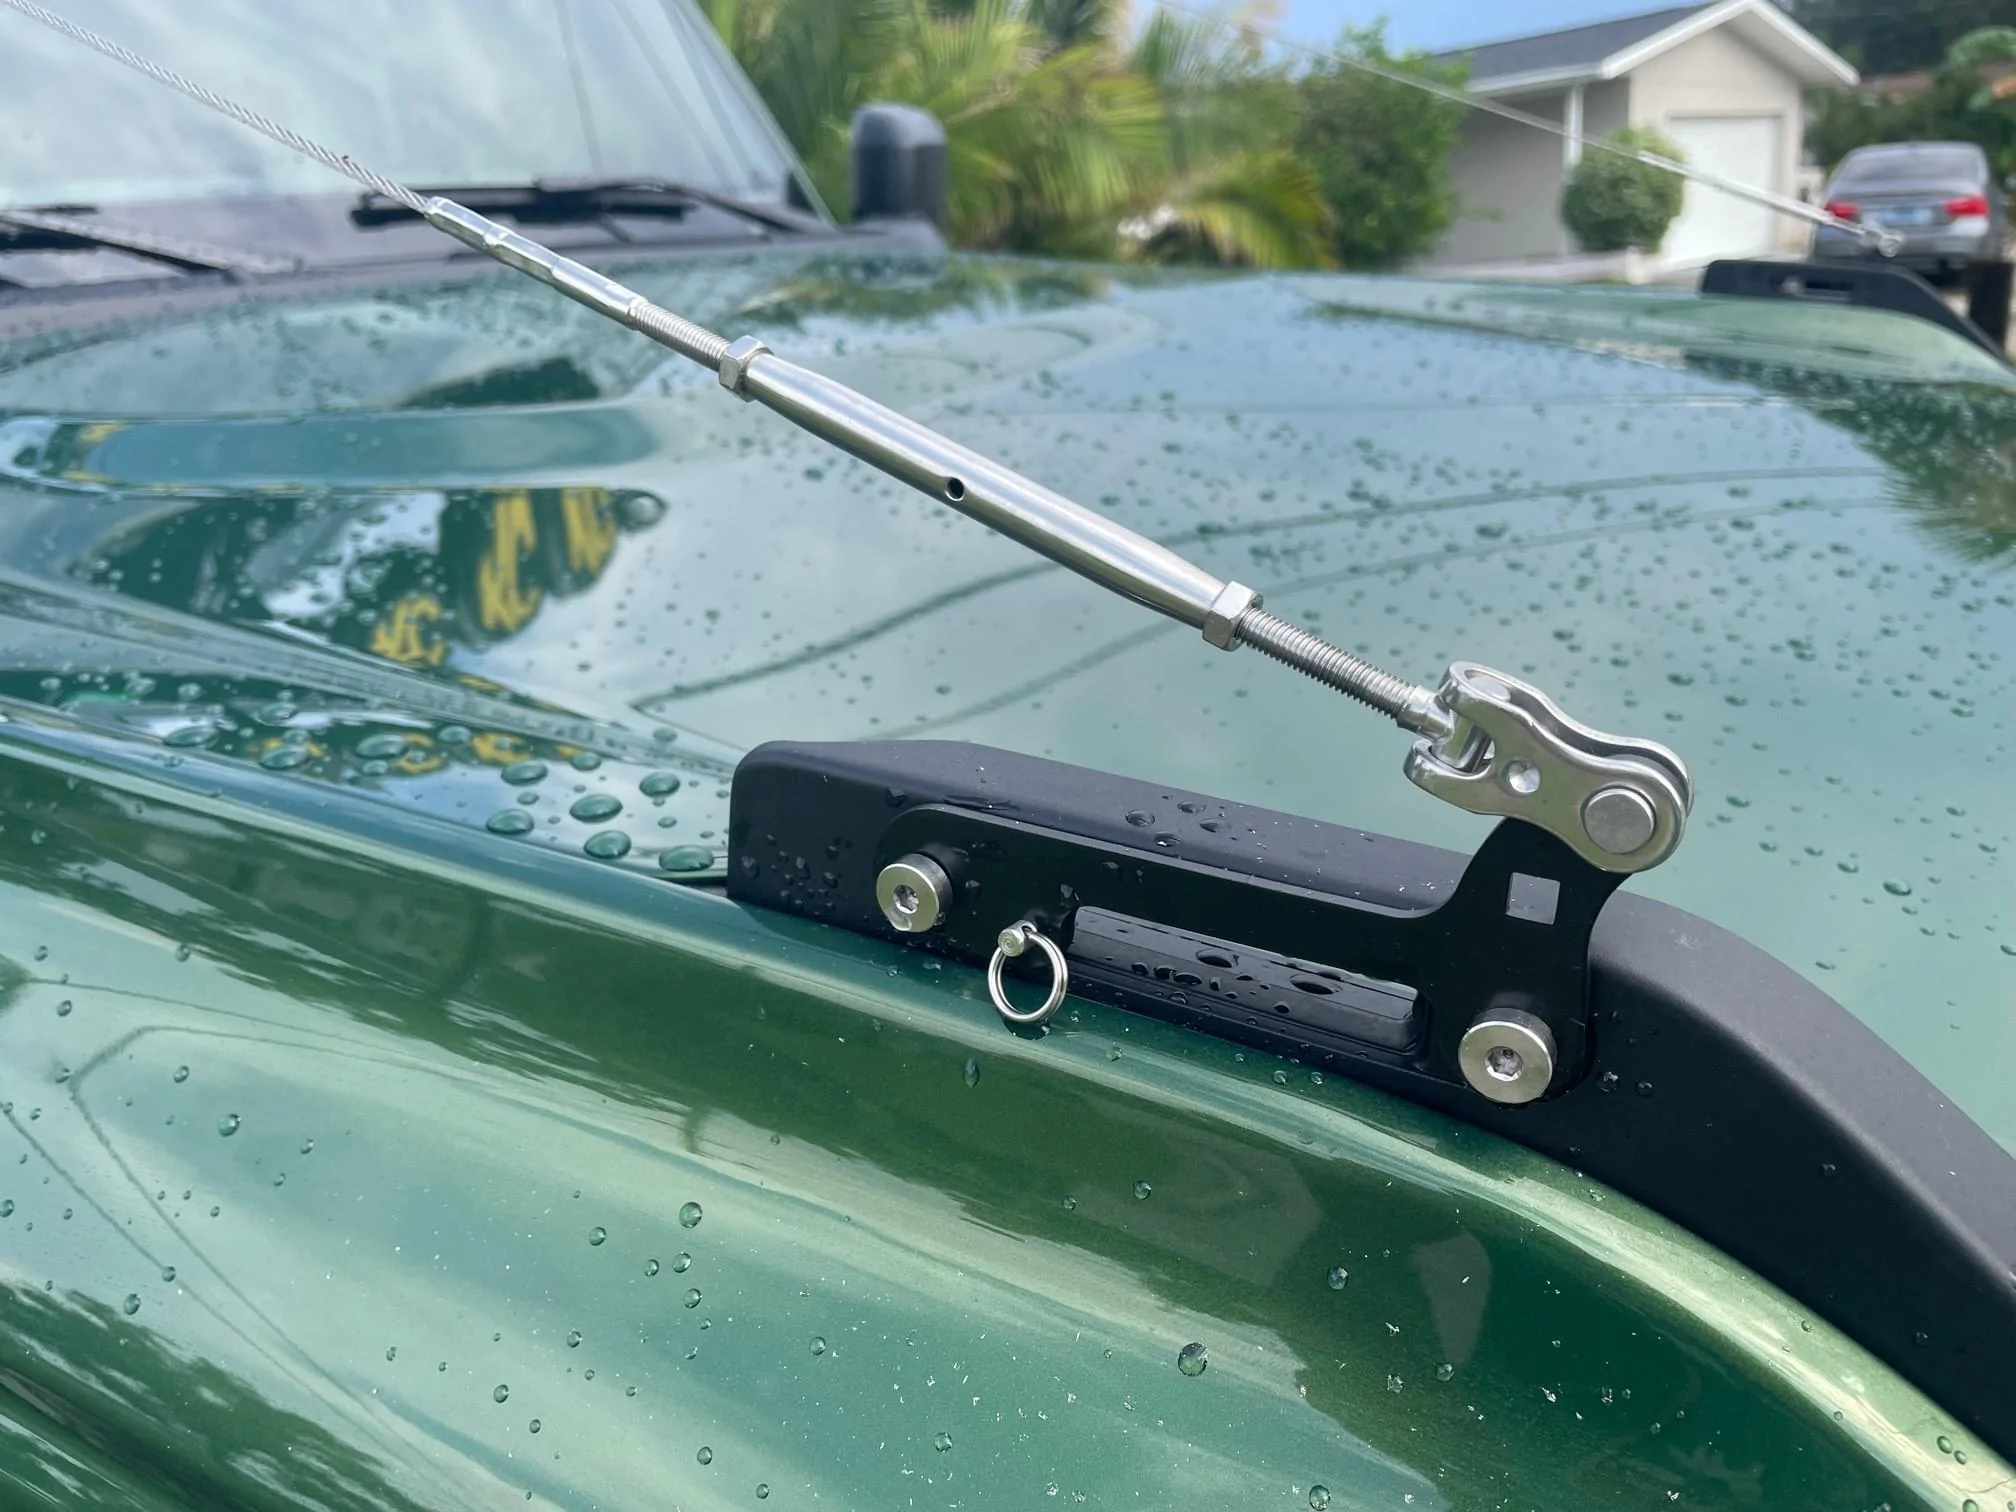
Added limb risers from Gear shade. I didn't use the included roof attachment because of the lightbar already in place. I drilled through the lightbar bracket from BAMF instead for the upper connection. The distance between the upper bracket and the trail site brackets seemed shorter so the wire was very long. I found a video on Youtube that 1Five1 Garage installed the same ones and just turned the brackets backwards vs the designed way.

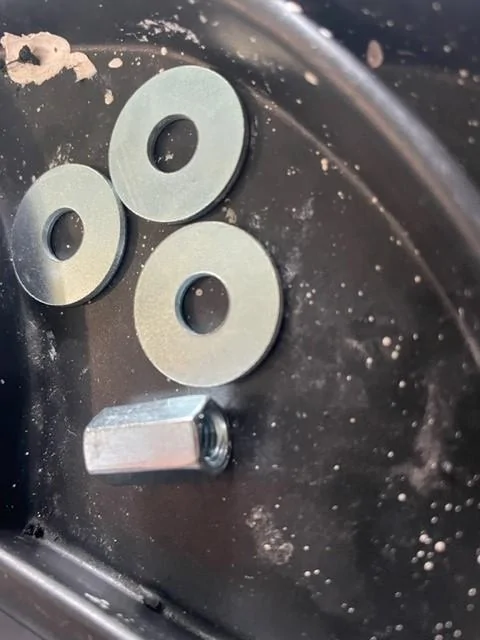
I didn't like the silver look of the brackets, so I painted them black to match and bend into the trail sites better.
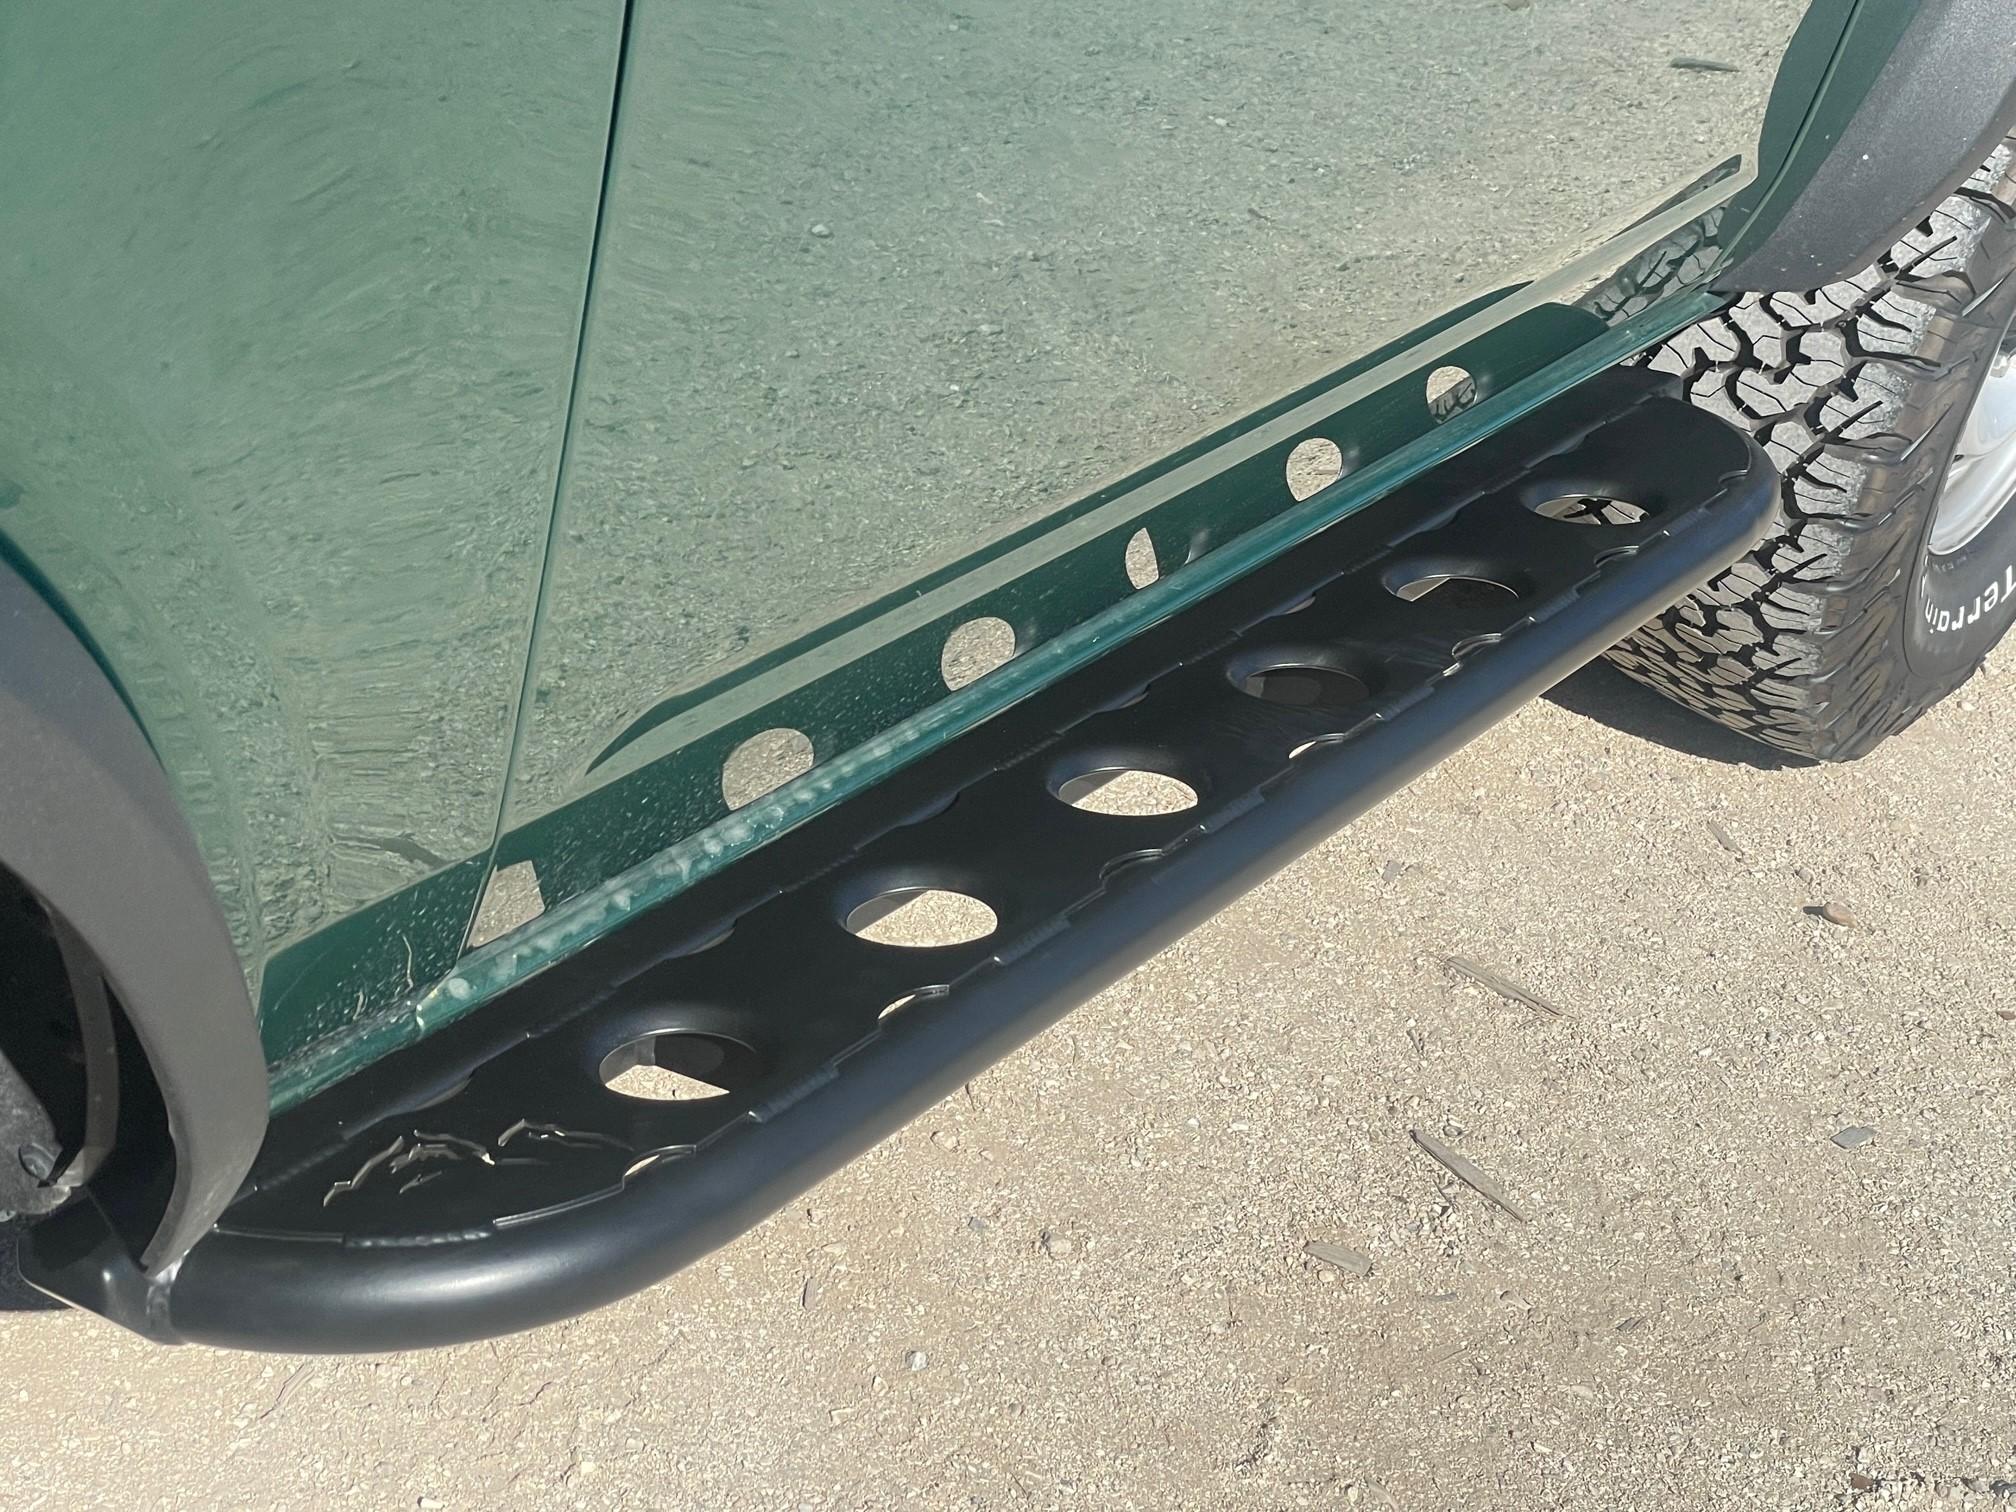
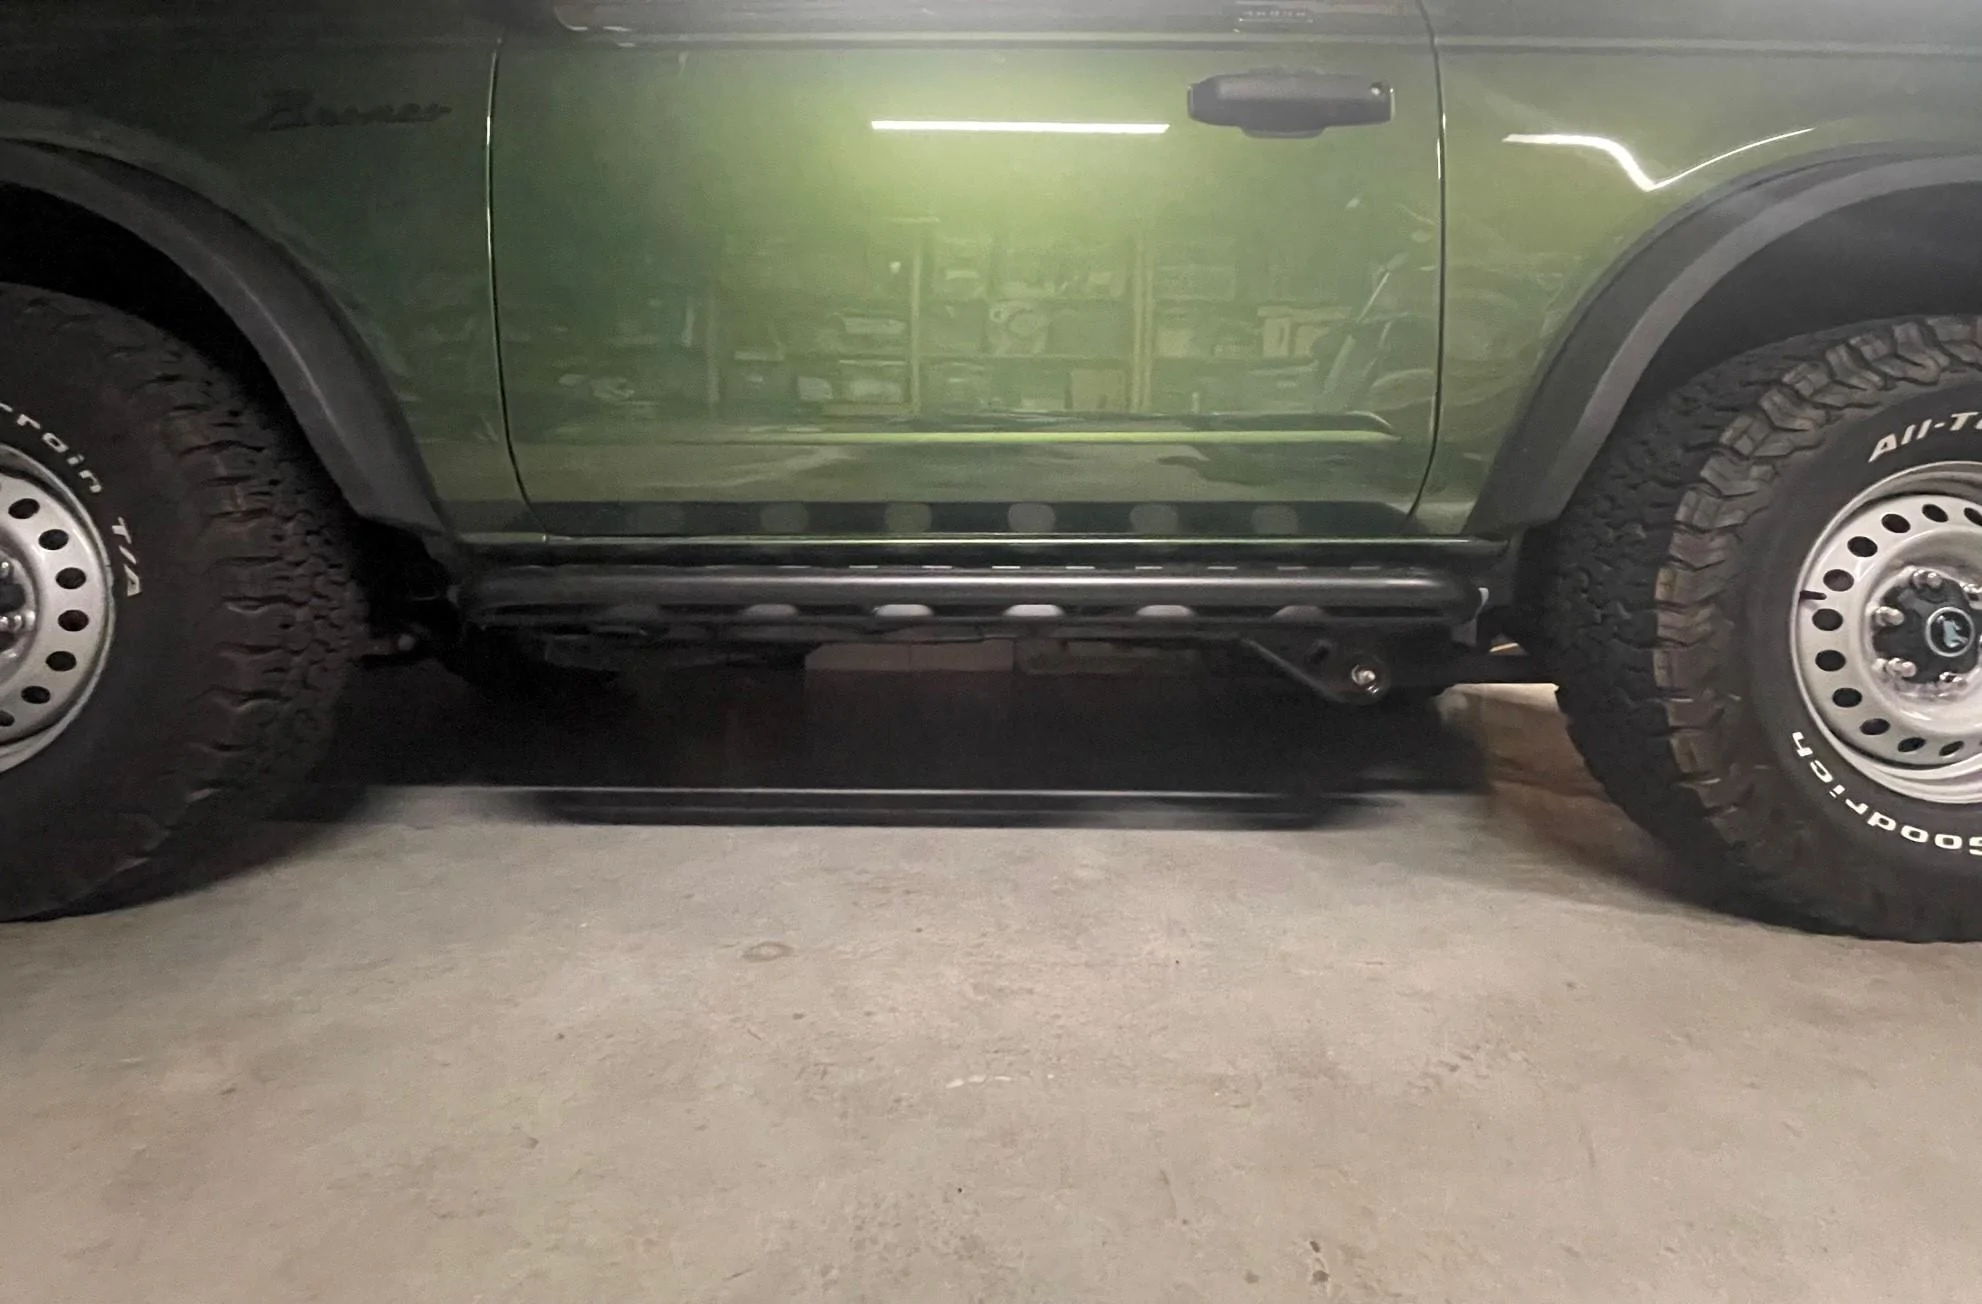
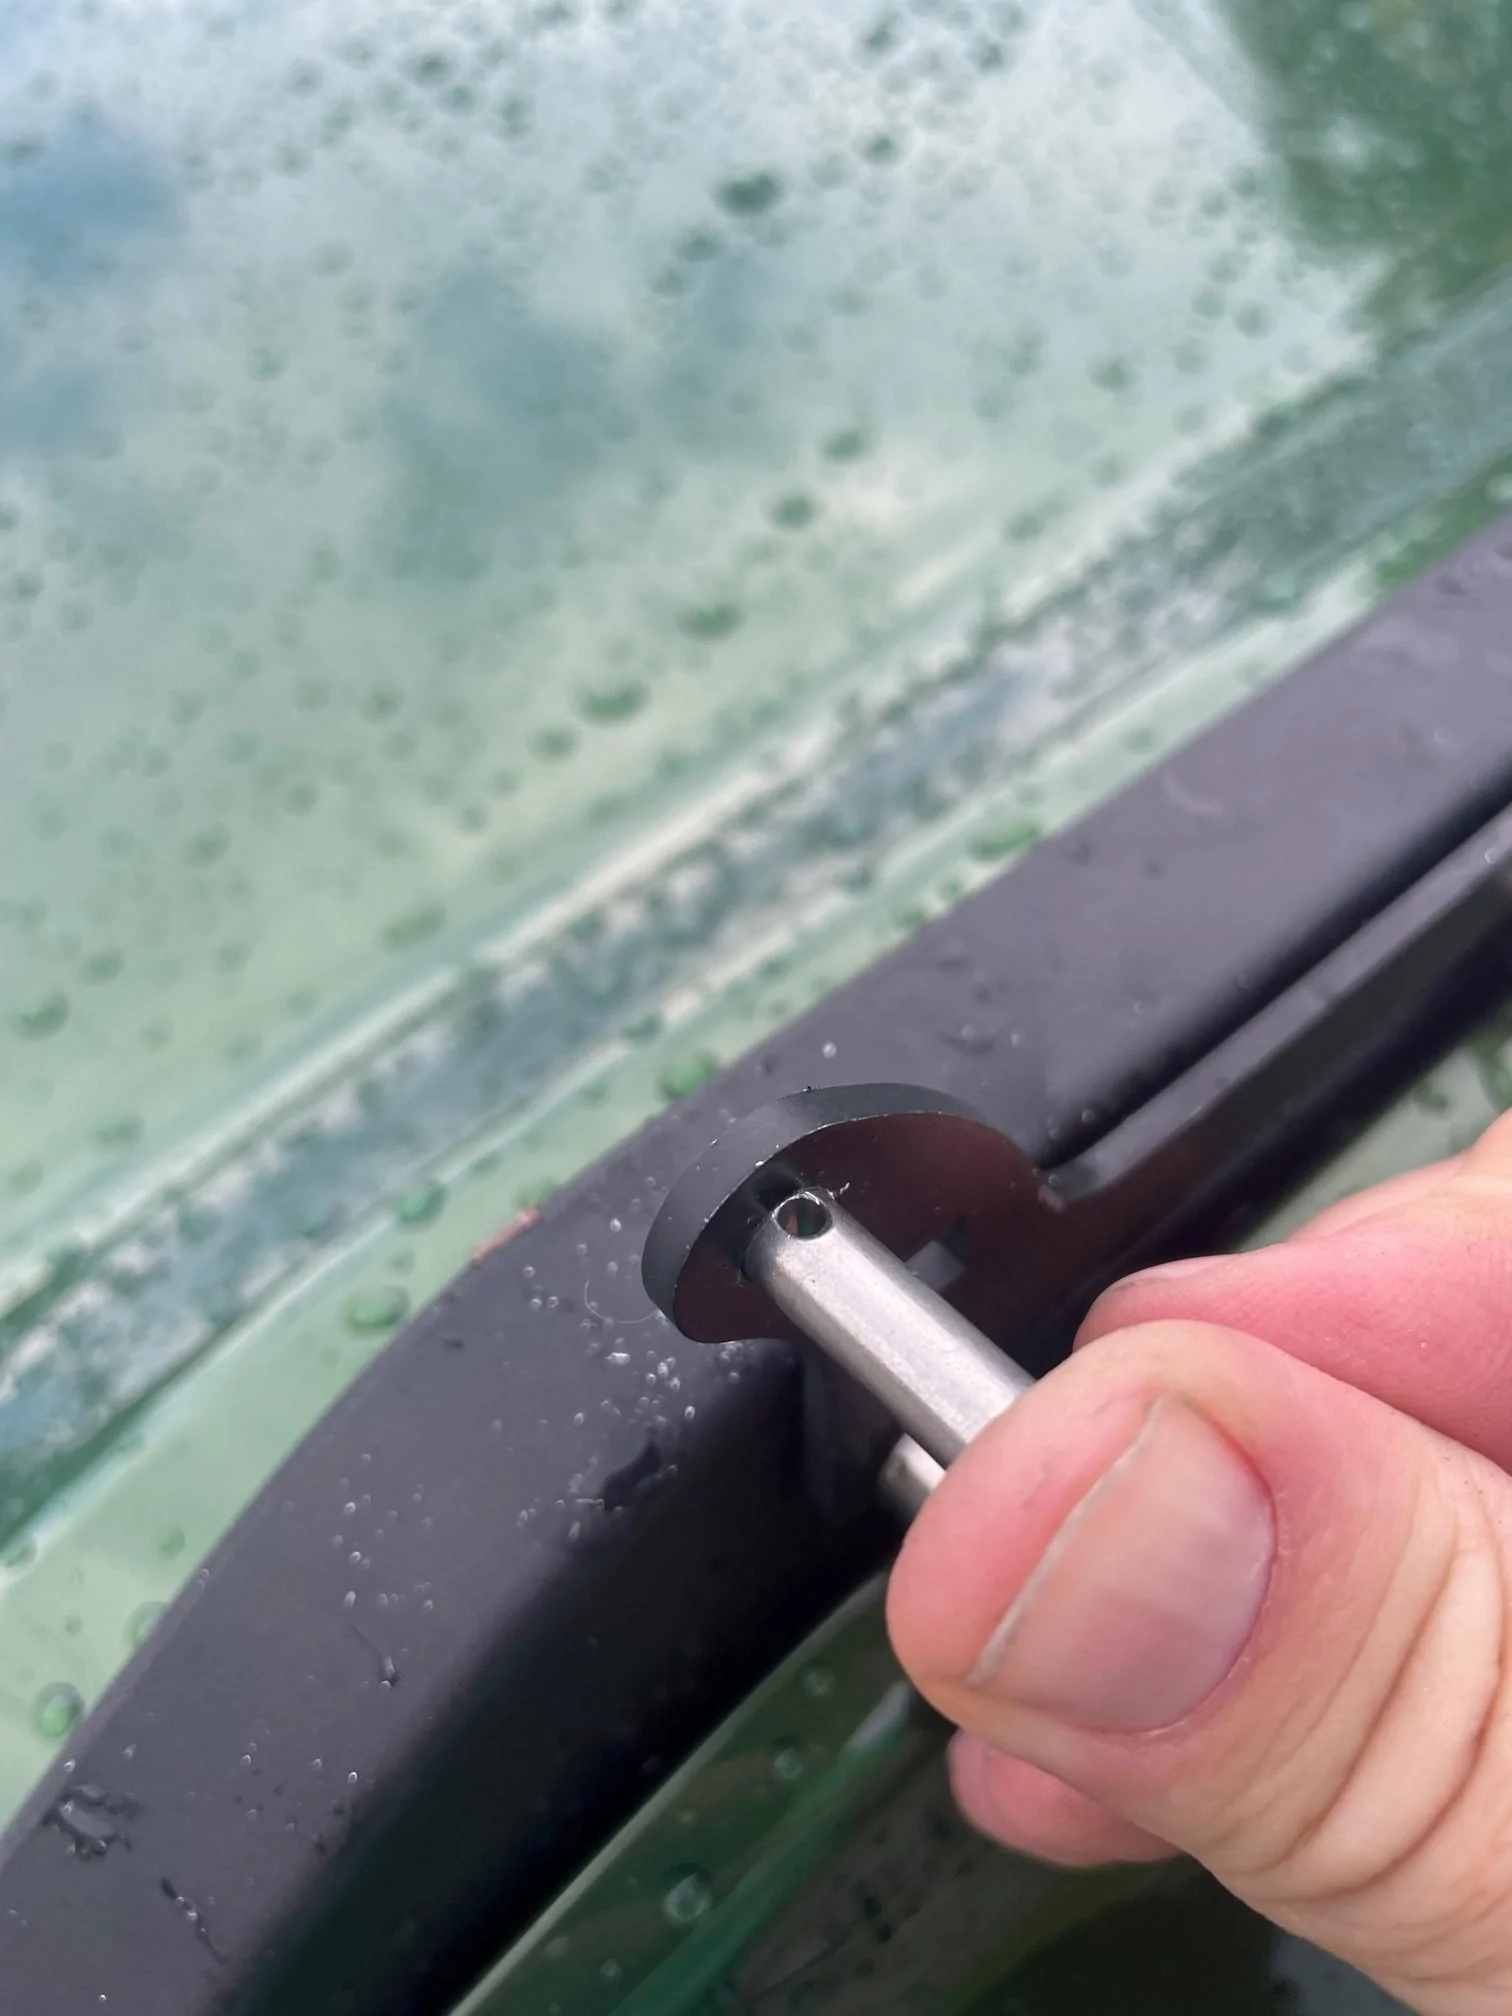
I did have to drill out the holes, pretty aggressively because the pins would not fit. At first I thought it was maybe the paint, but i really had to take a lot of metal out.

I also got some rubber washers to put in on the top in case it rattled some, blended in well.


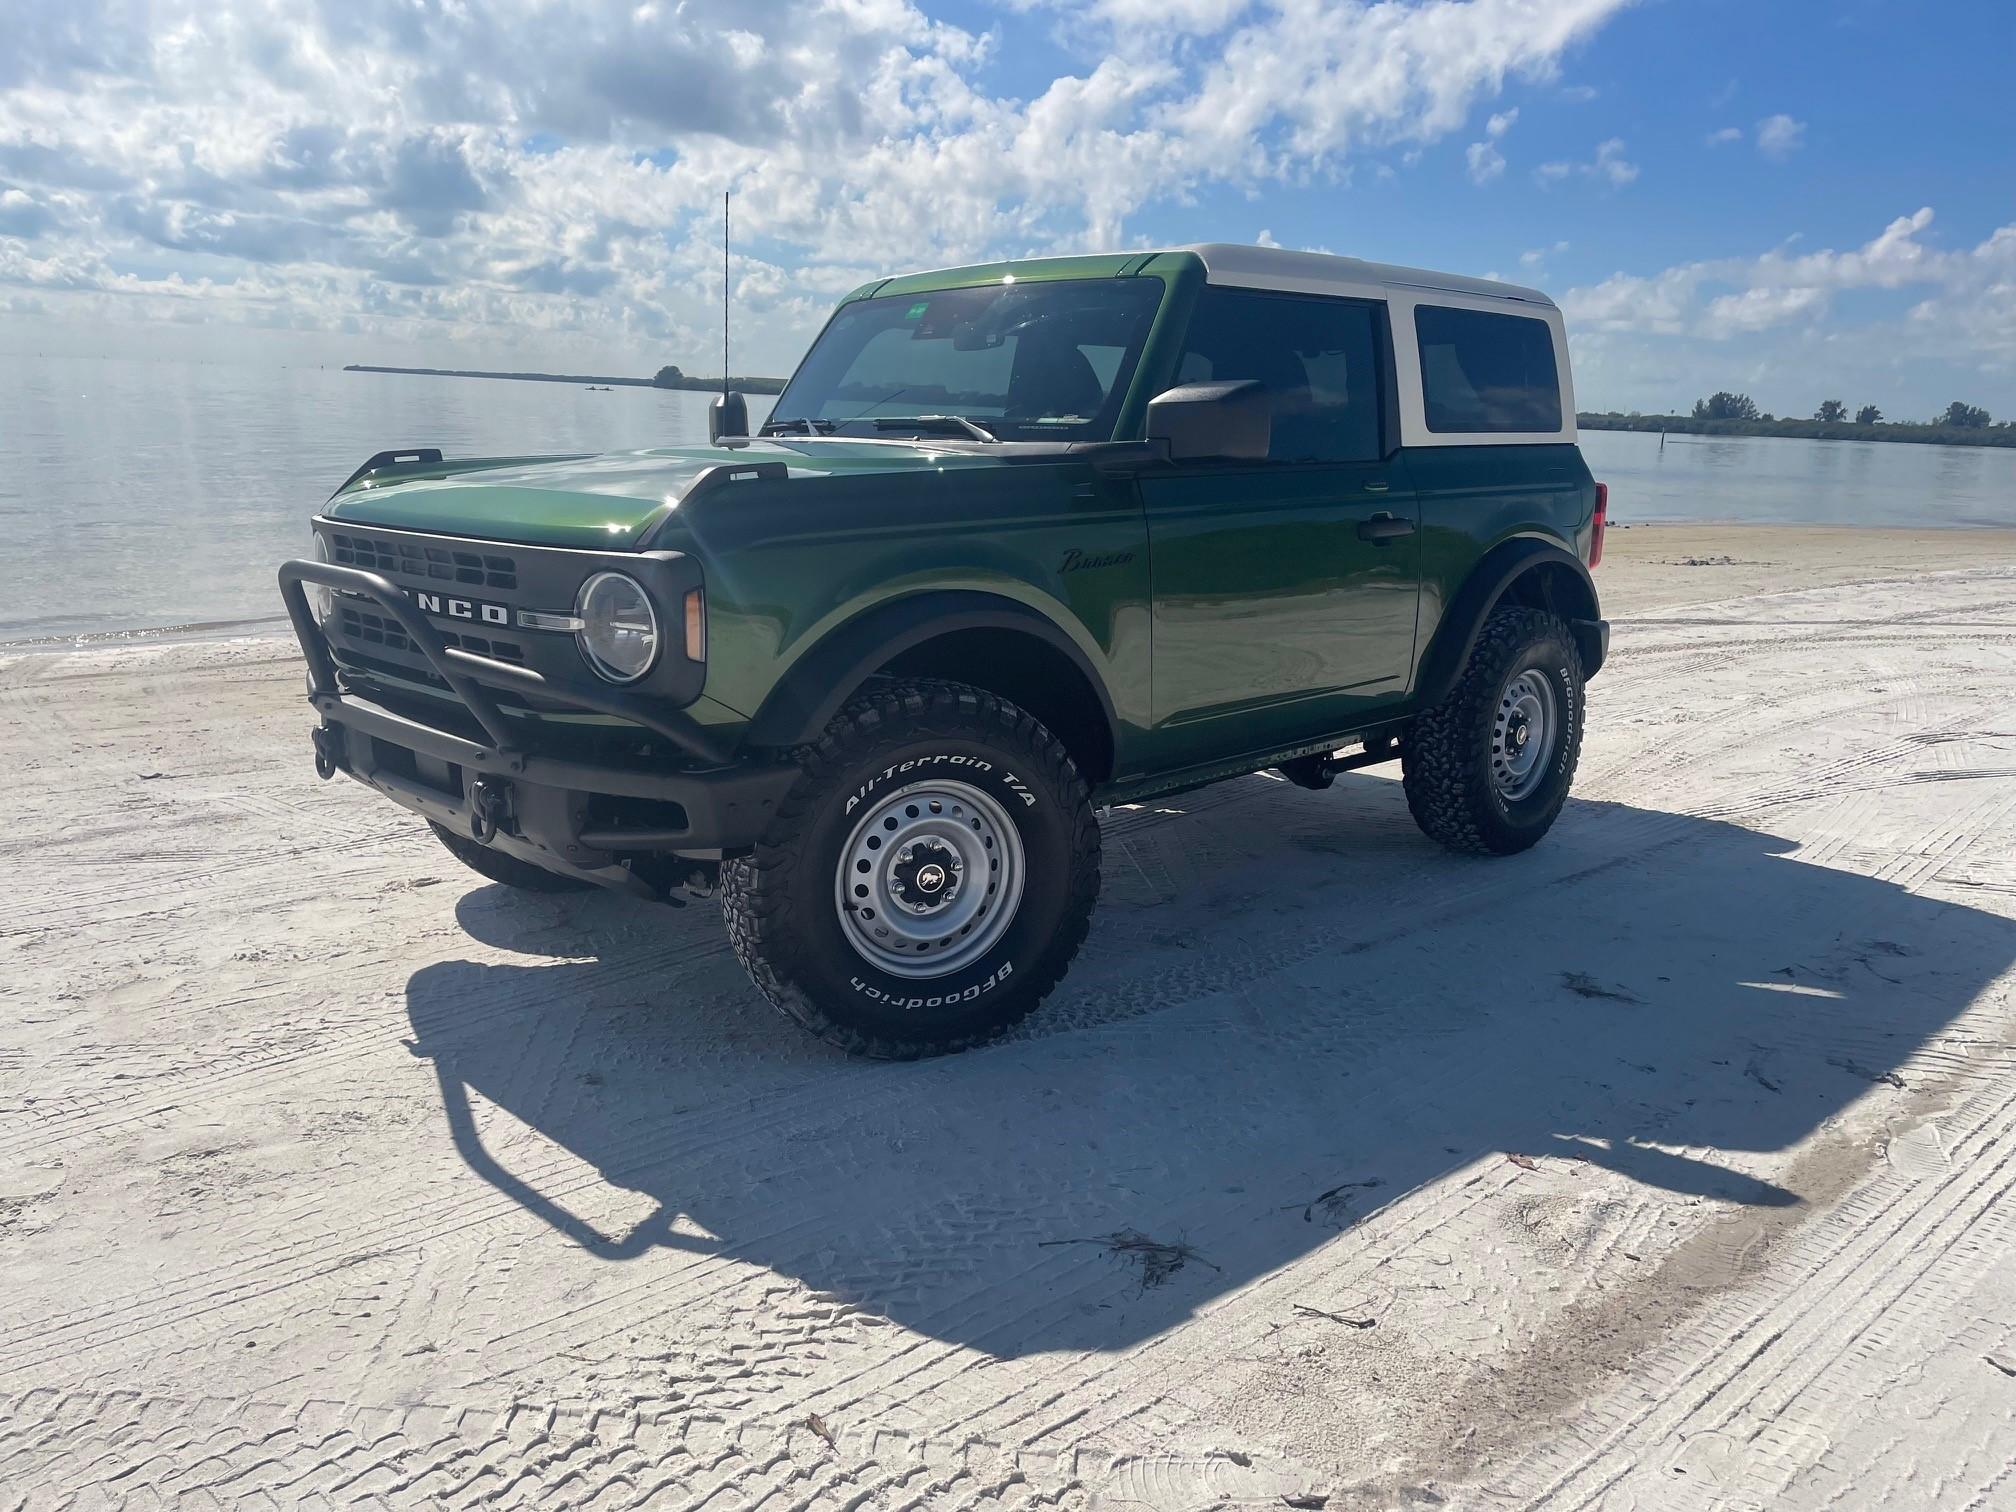
Keeps getting better and better. Yours is the reason I went with EG after losing AMB.
Sponsored