Sponsored

OP
OP
- Thread starter
- #17
Yes, it's very easy, but I did borrow a laptop as getting Forscan working on a Mac is a big hassle.Did you do the ForScan yourself? I hate the horn honk with a severe passion.
OP
OP
- Thread starter
- #18
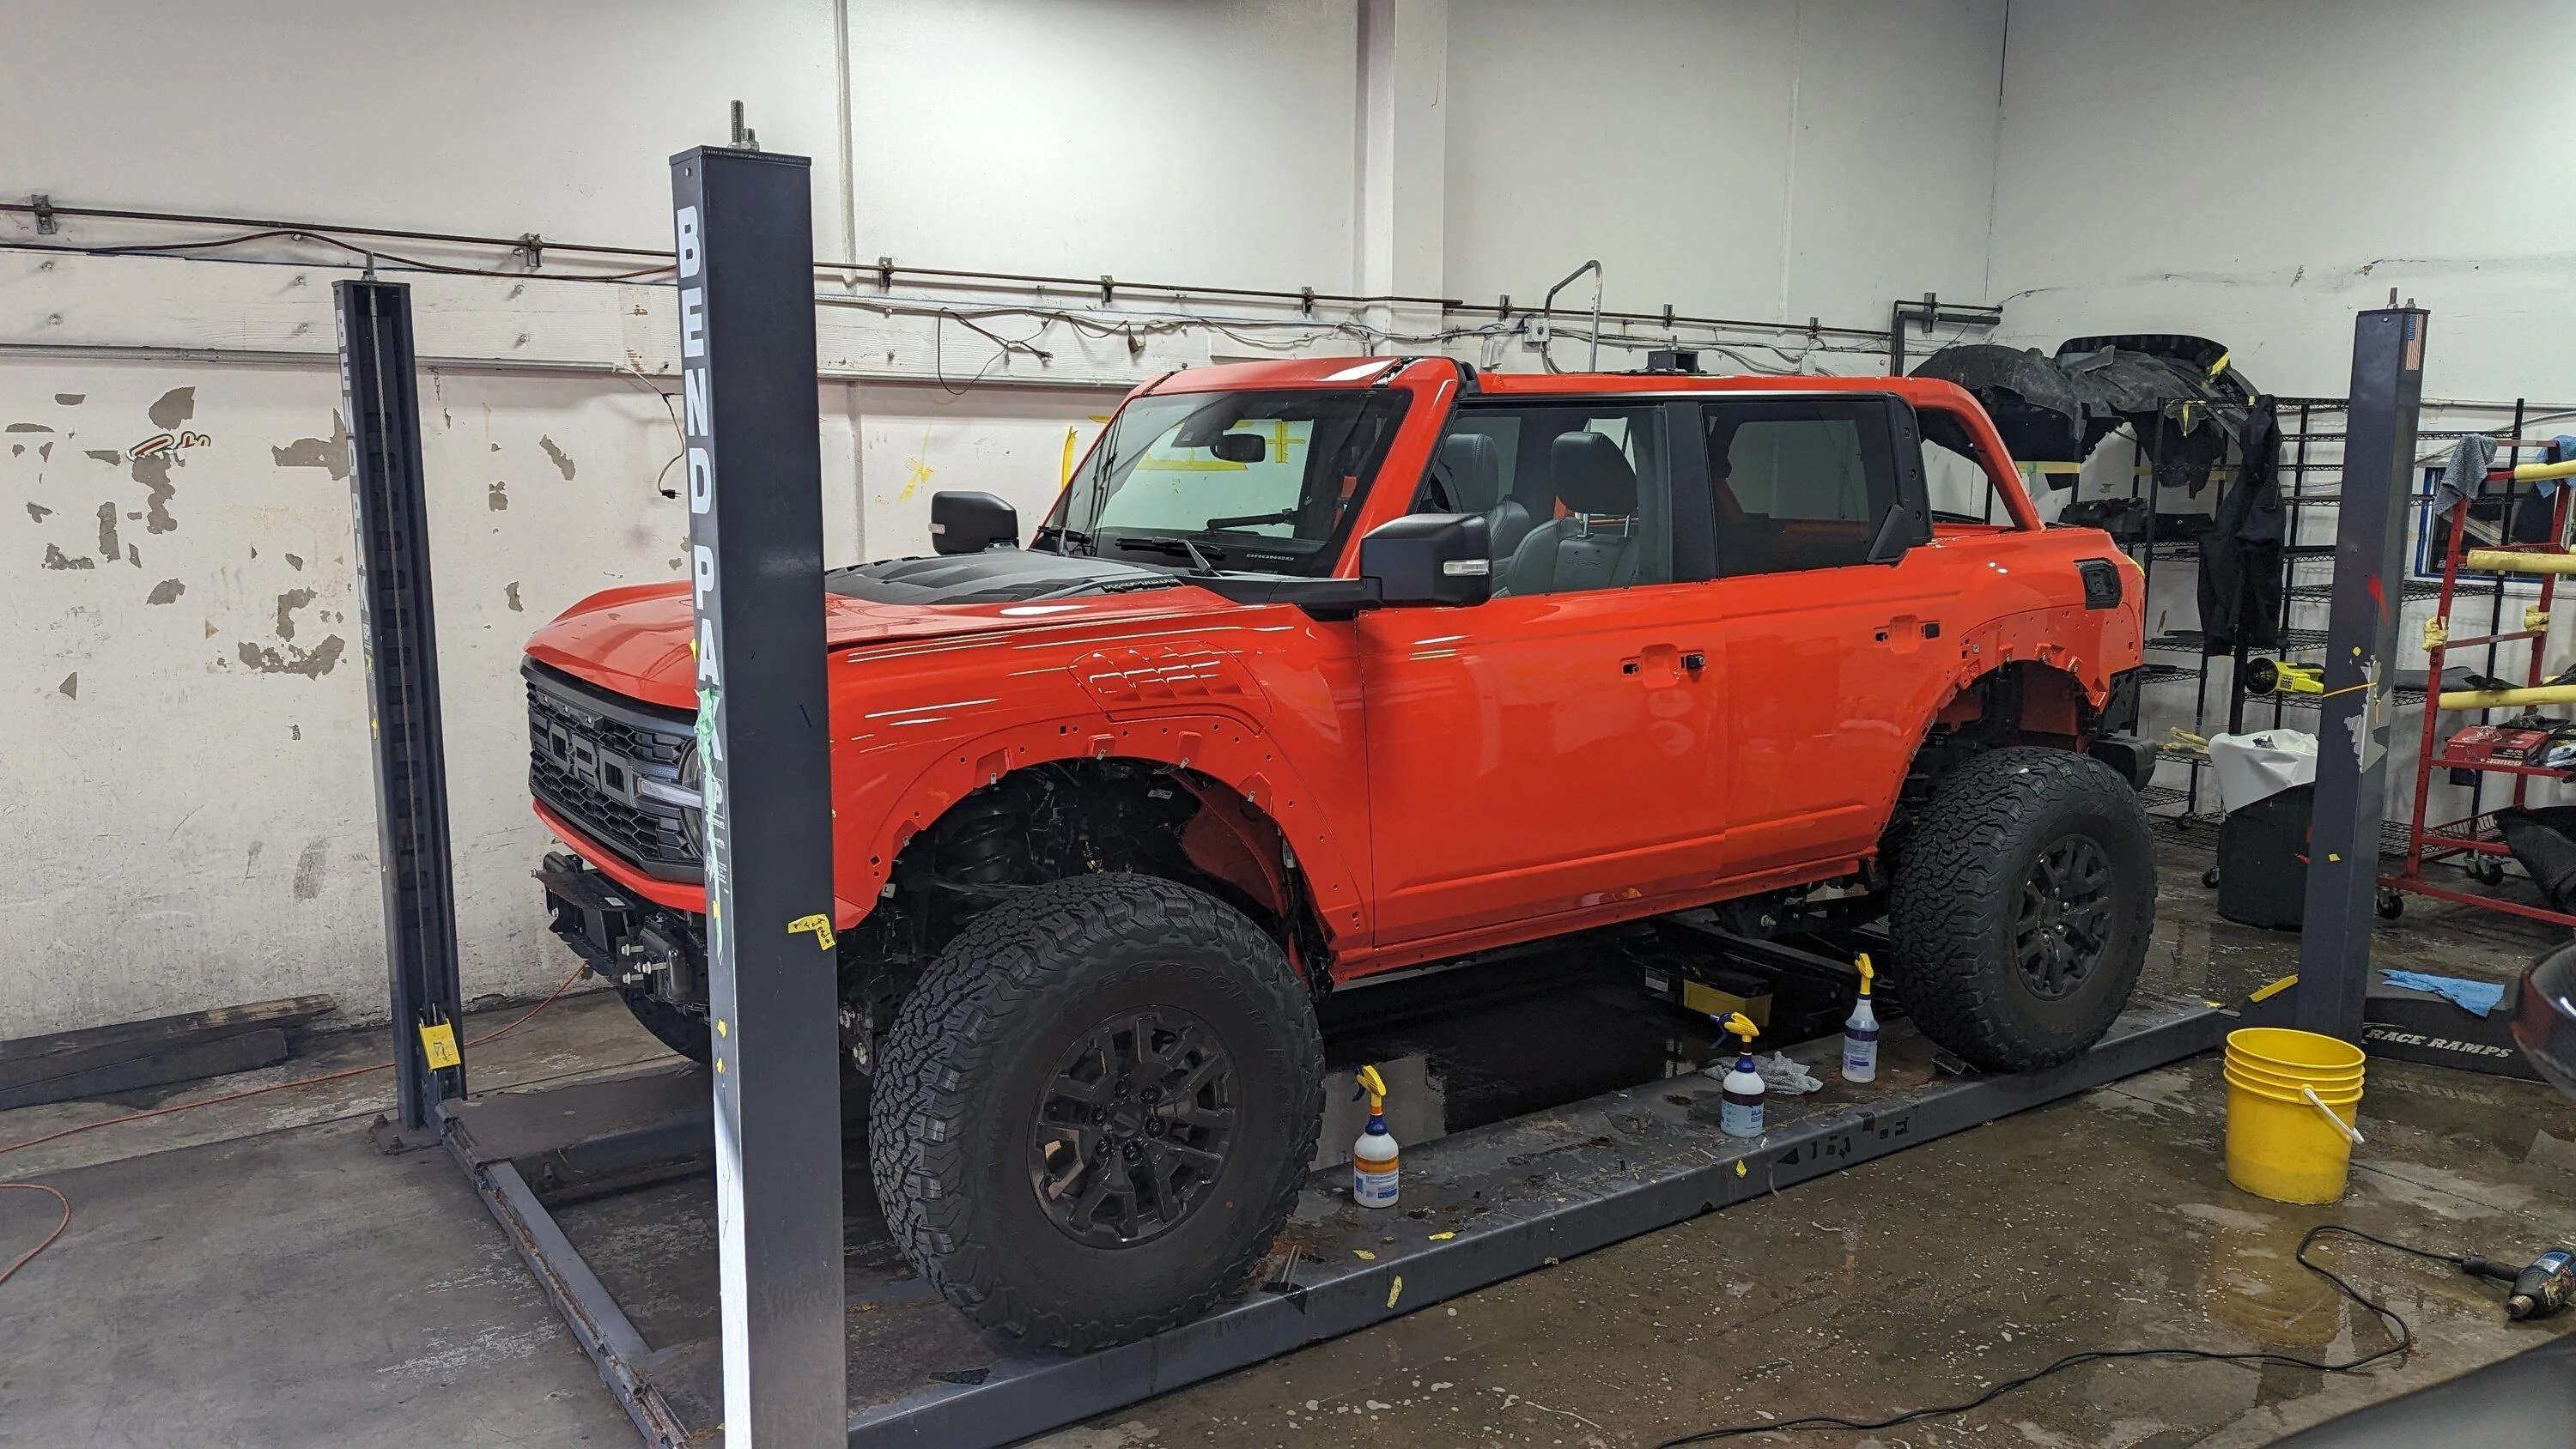
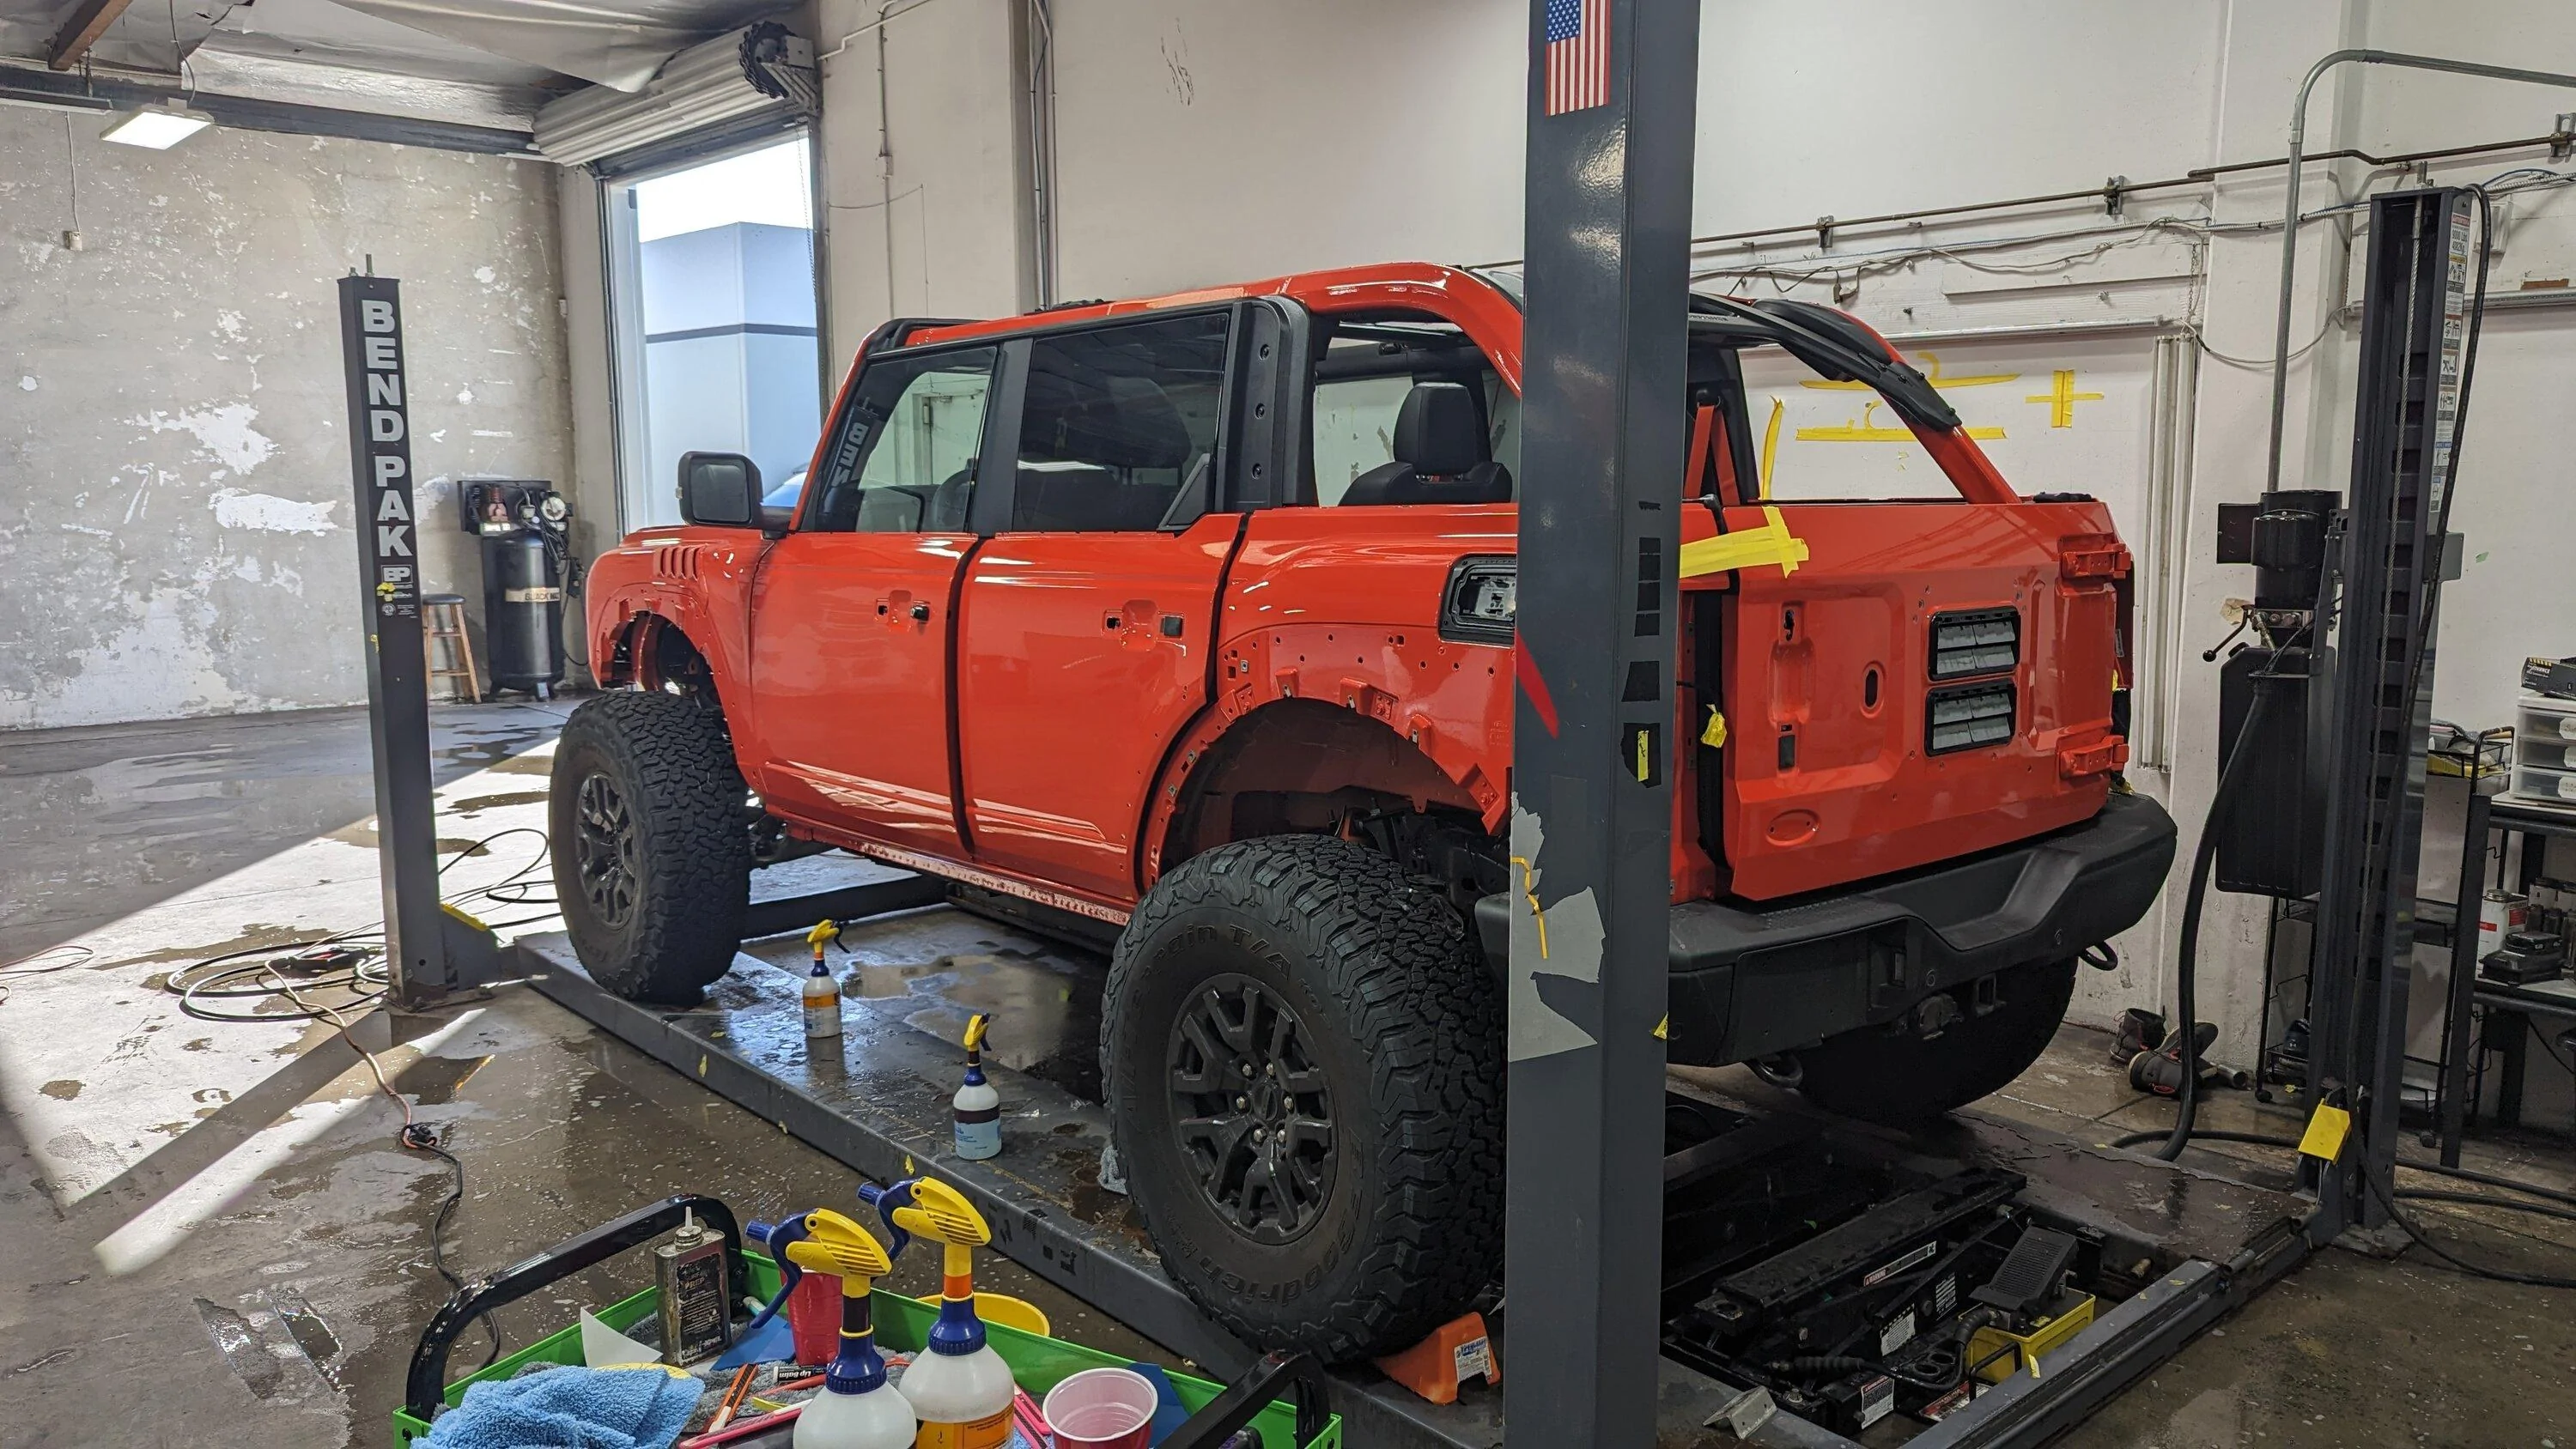
PPF, full wrap, all edges wrapped. Gloss XPEL SunTek plus Satin XPEL SunTek on the fenders.
Helps explain the high cost (labor) in such a job done right. Done by Moden Image, San Diego.


Helps explain the high cost (labor) in such a job done right. Done by Moden Image, San Diego.
Last edited:
OP
OP
- Thread starter
- #19
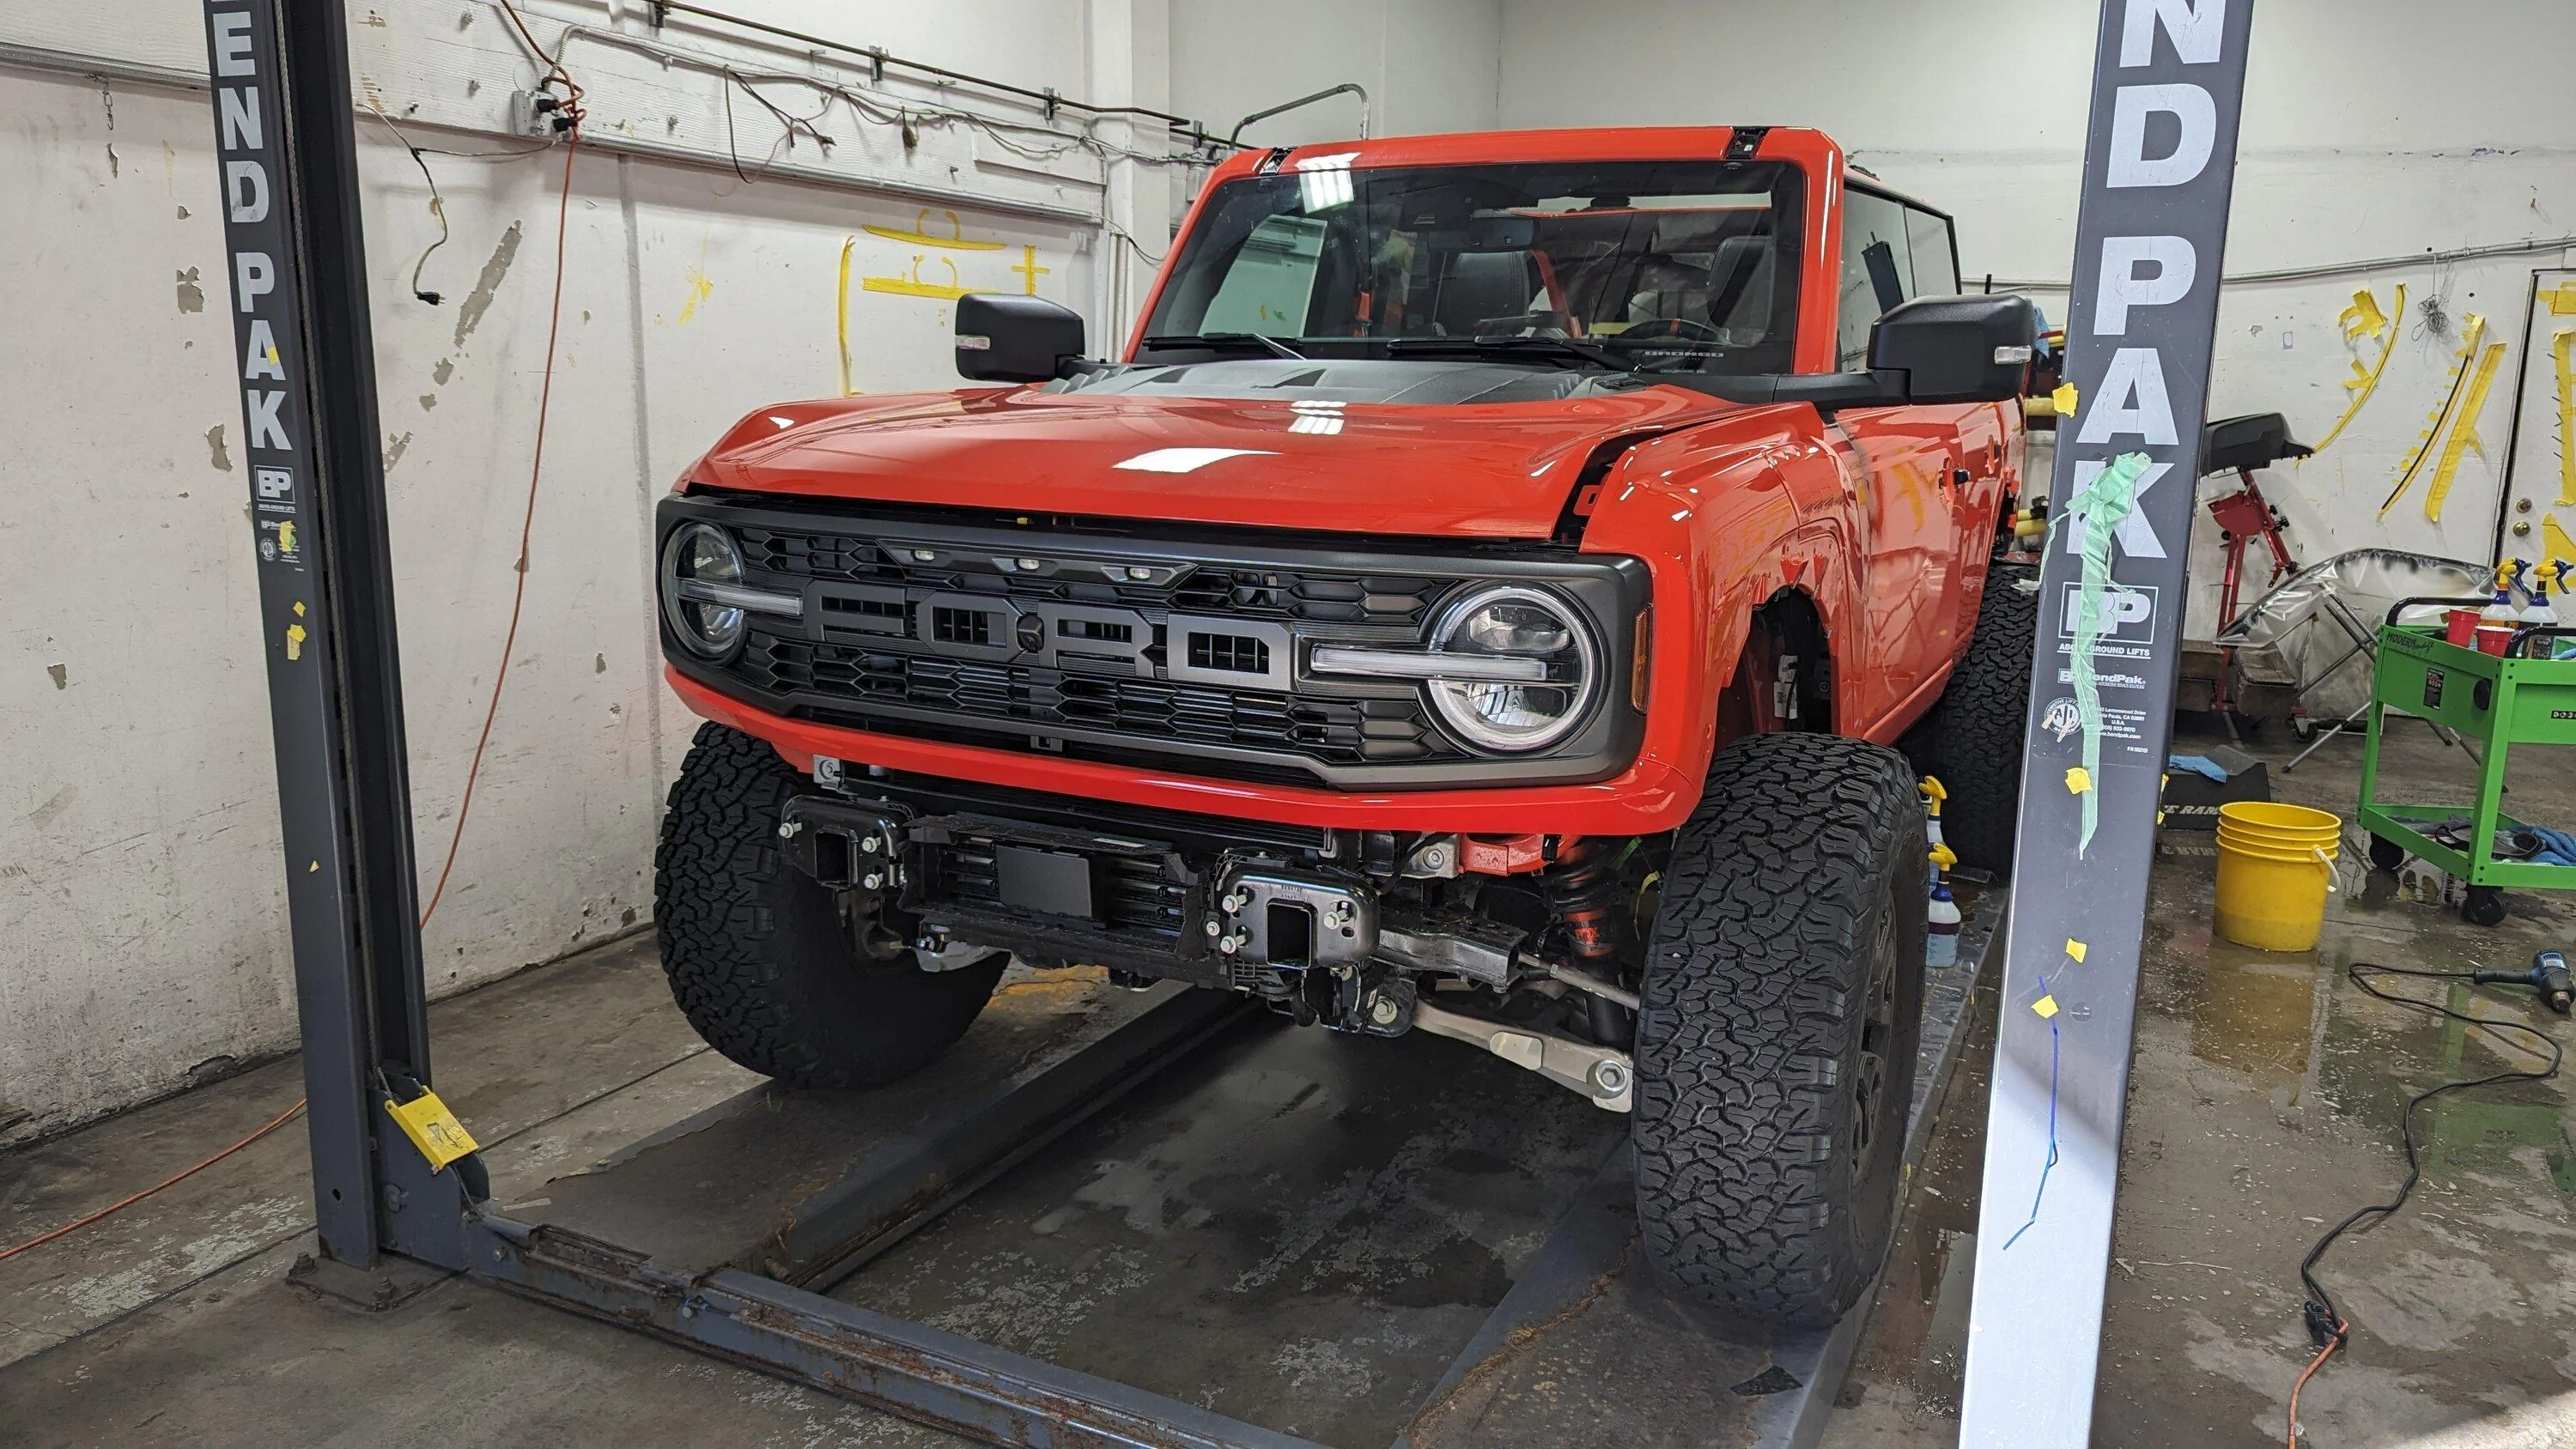
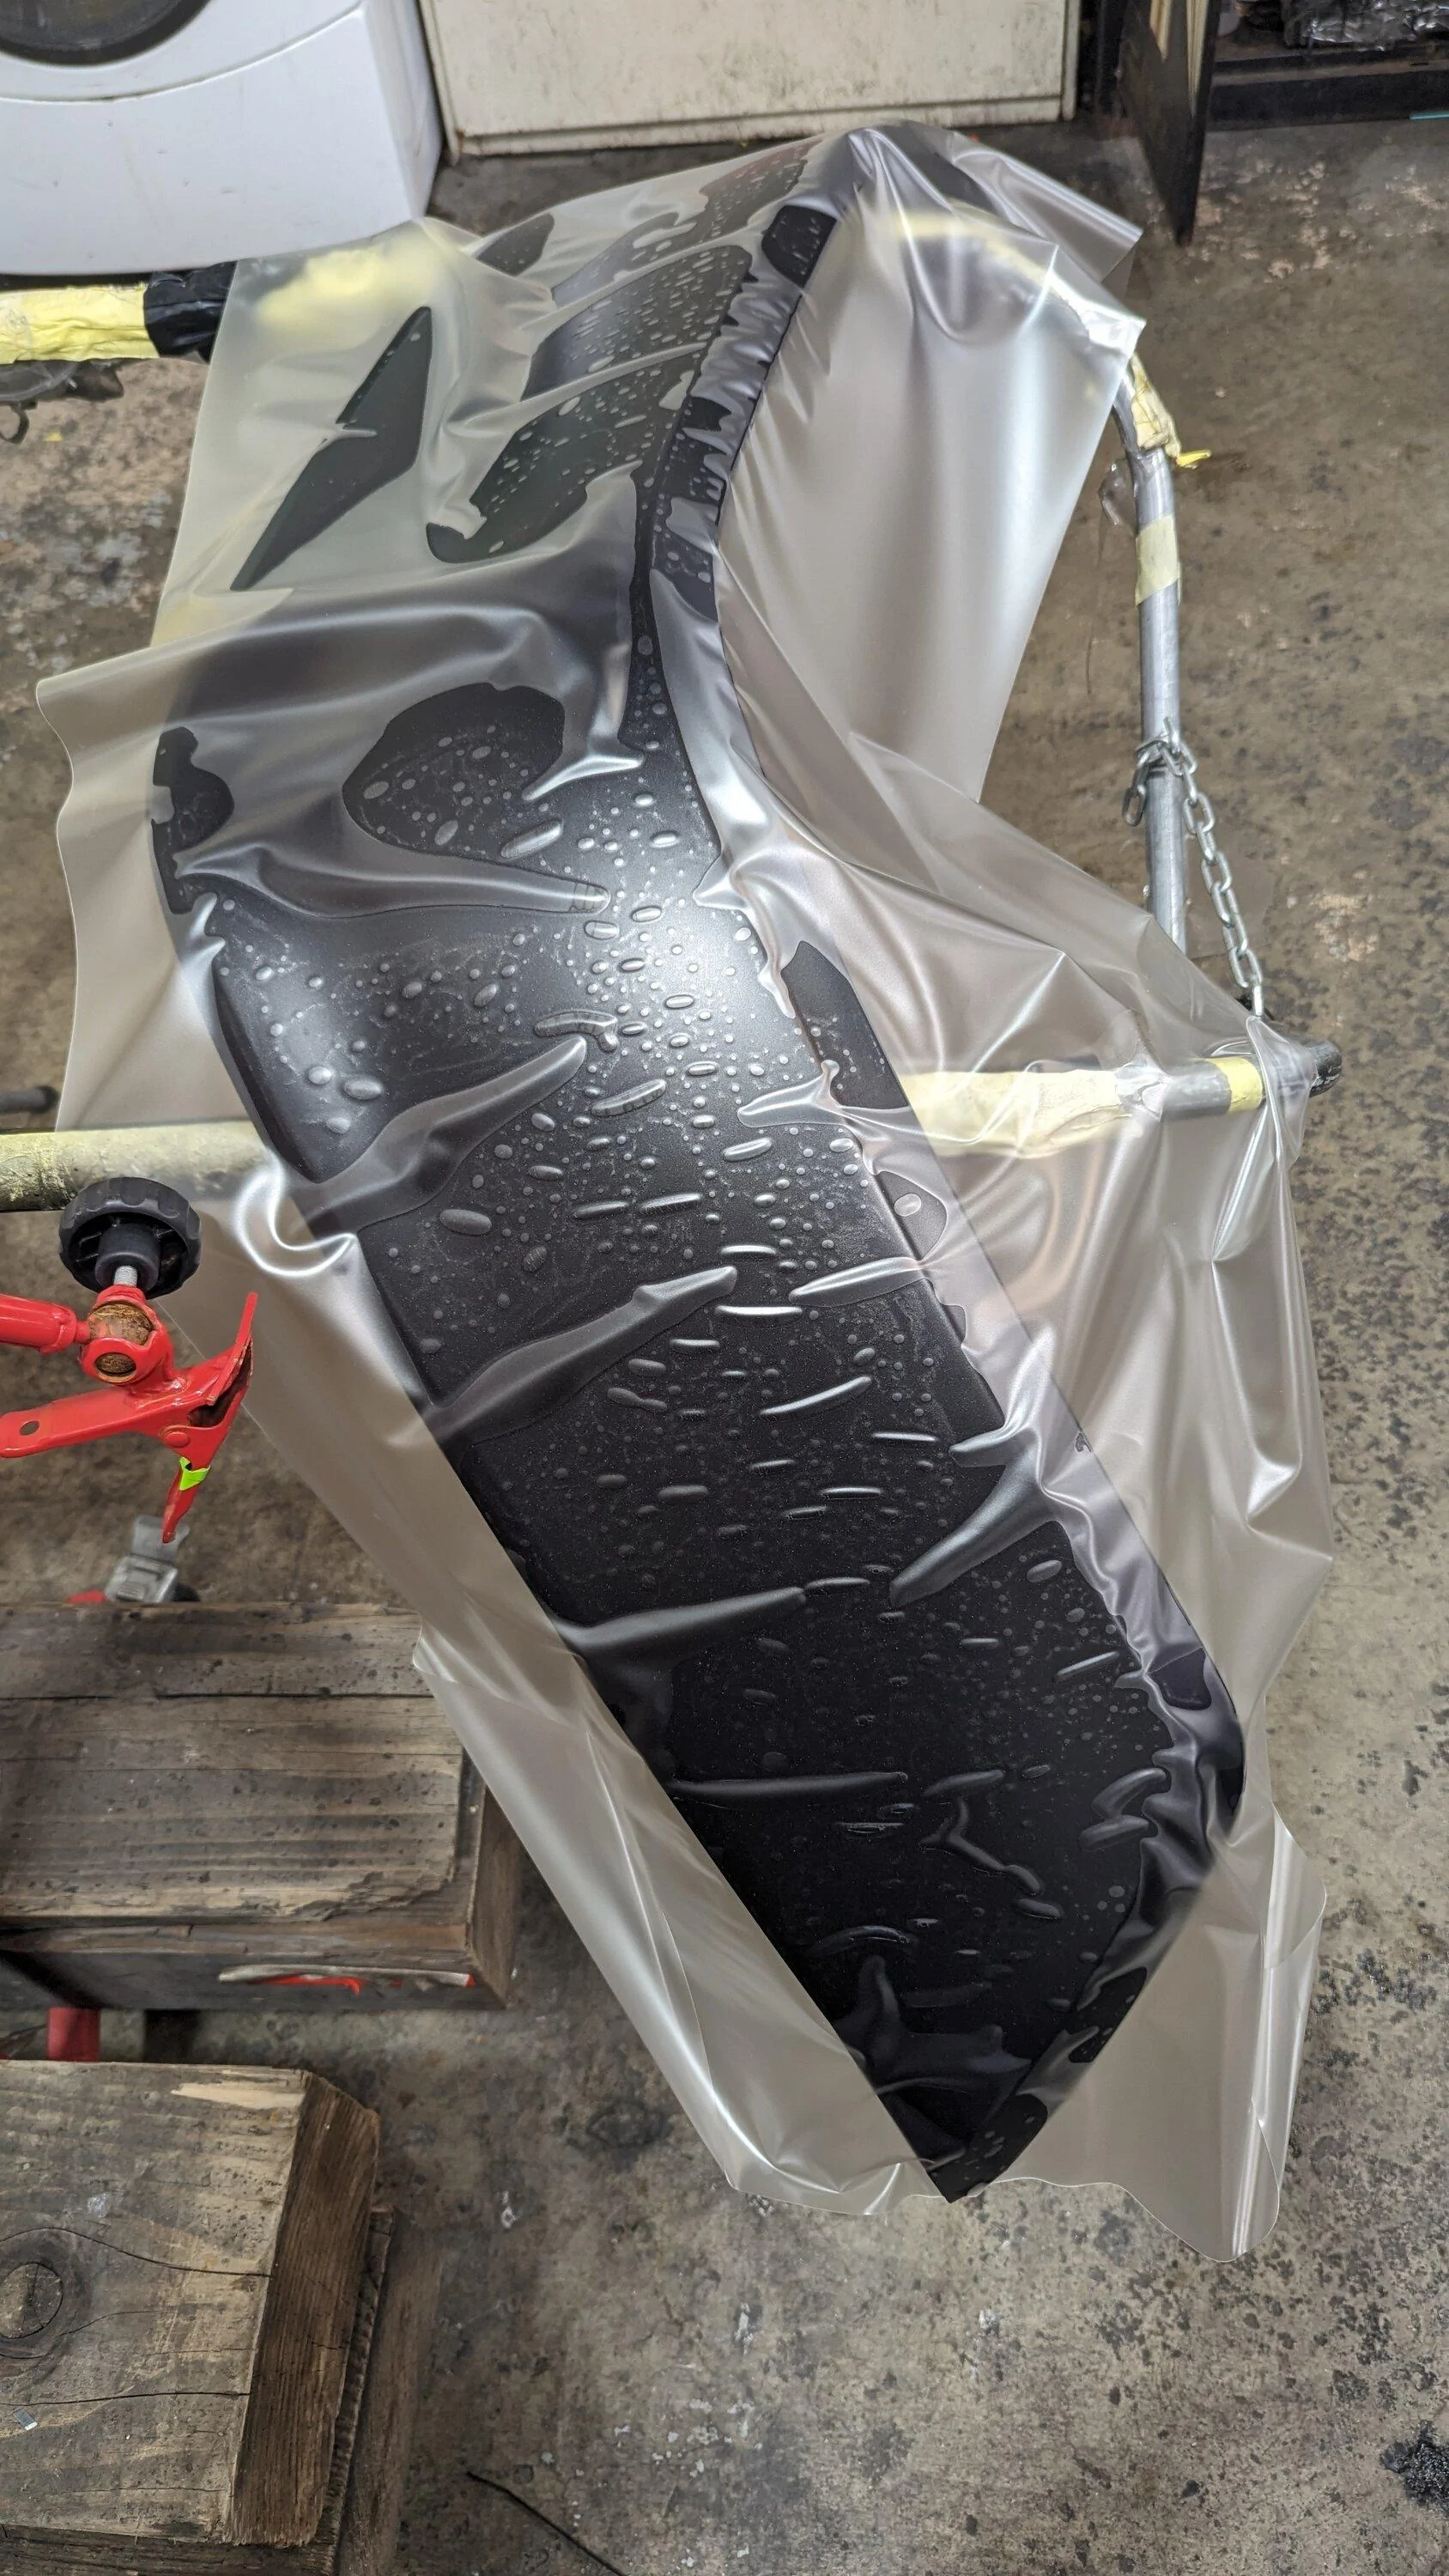
Durabak bedliner on front fascia and skid. I really didn't like all of the silver.


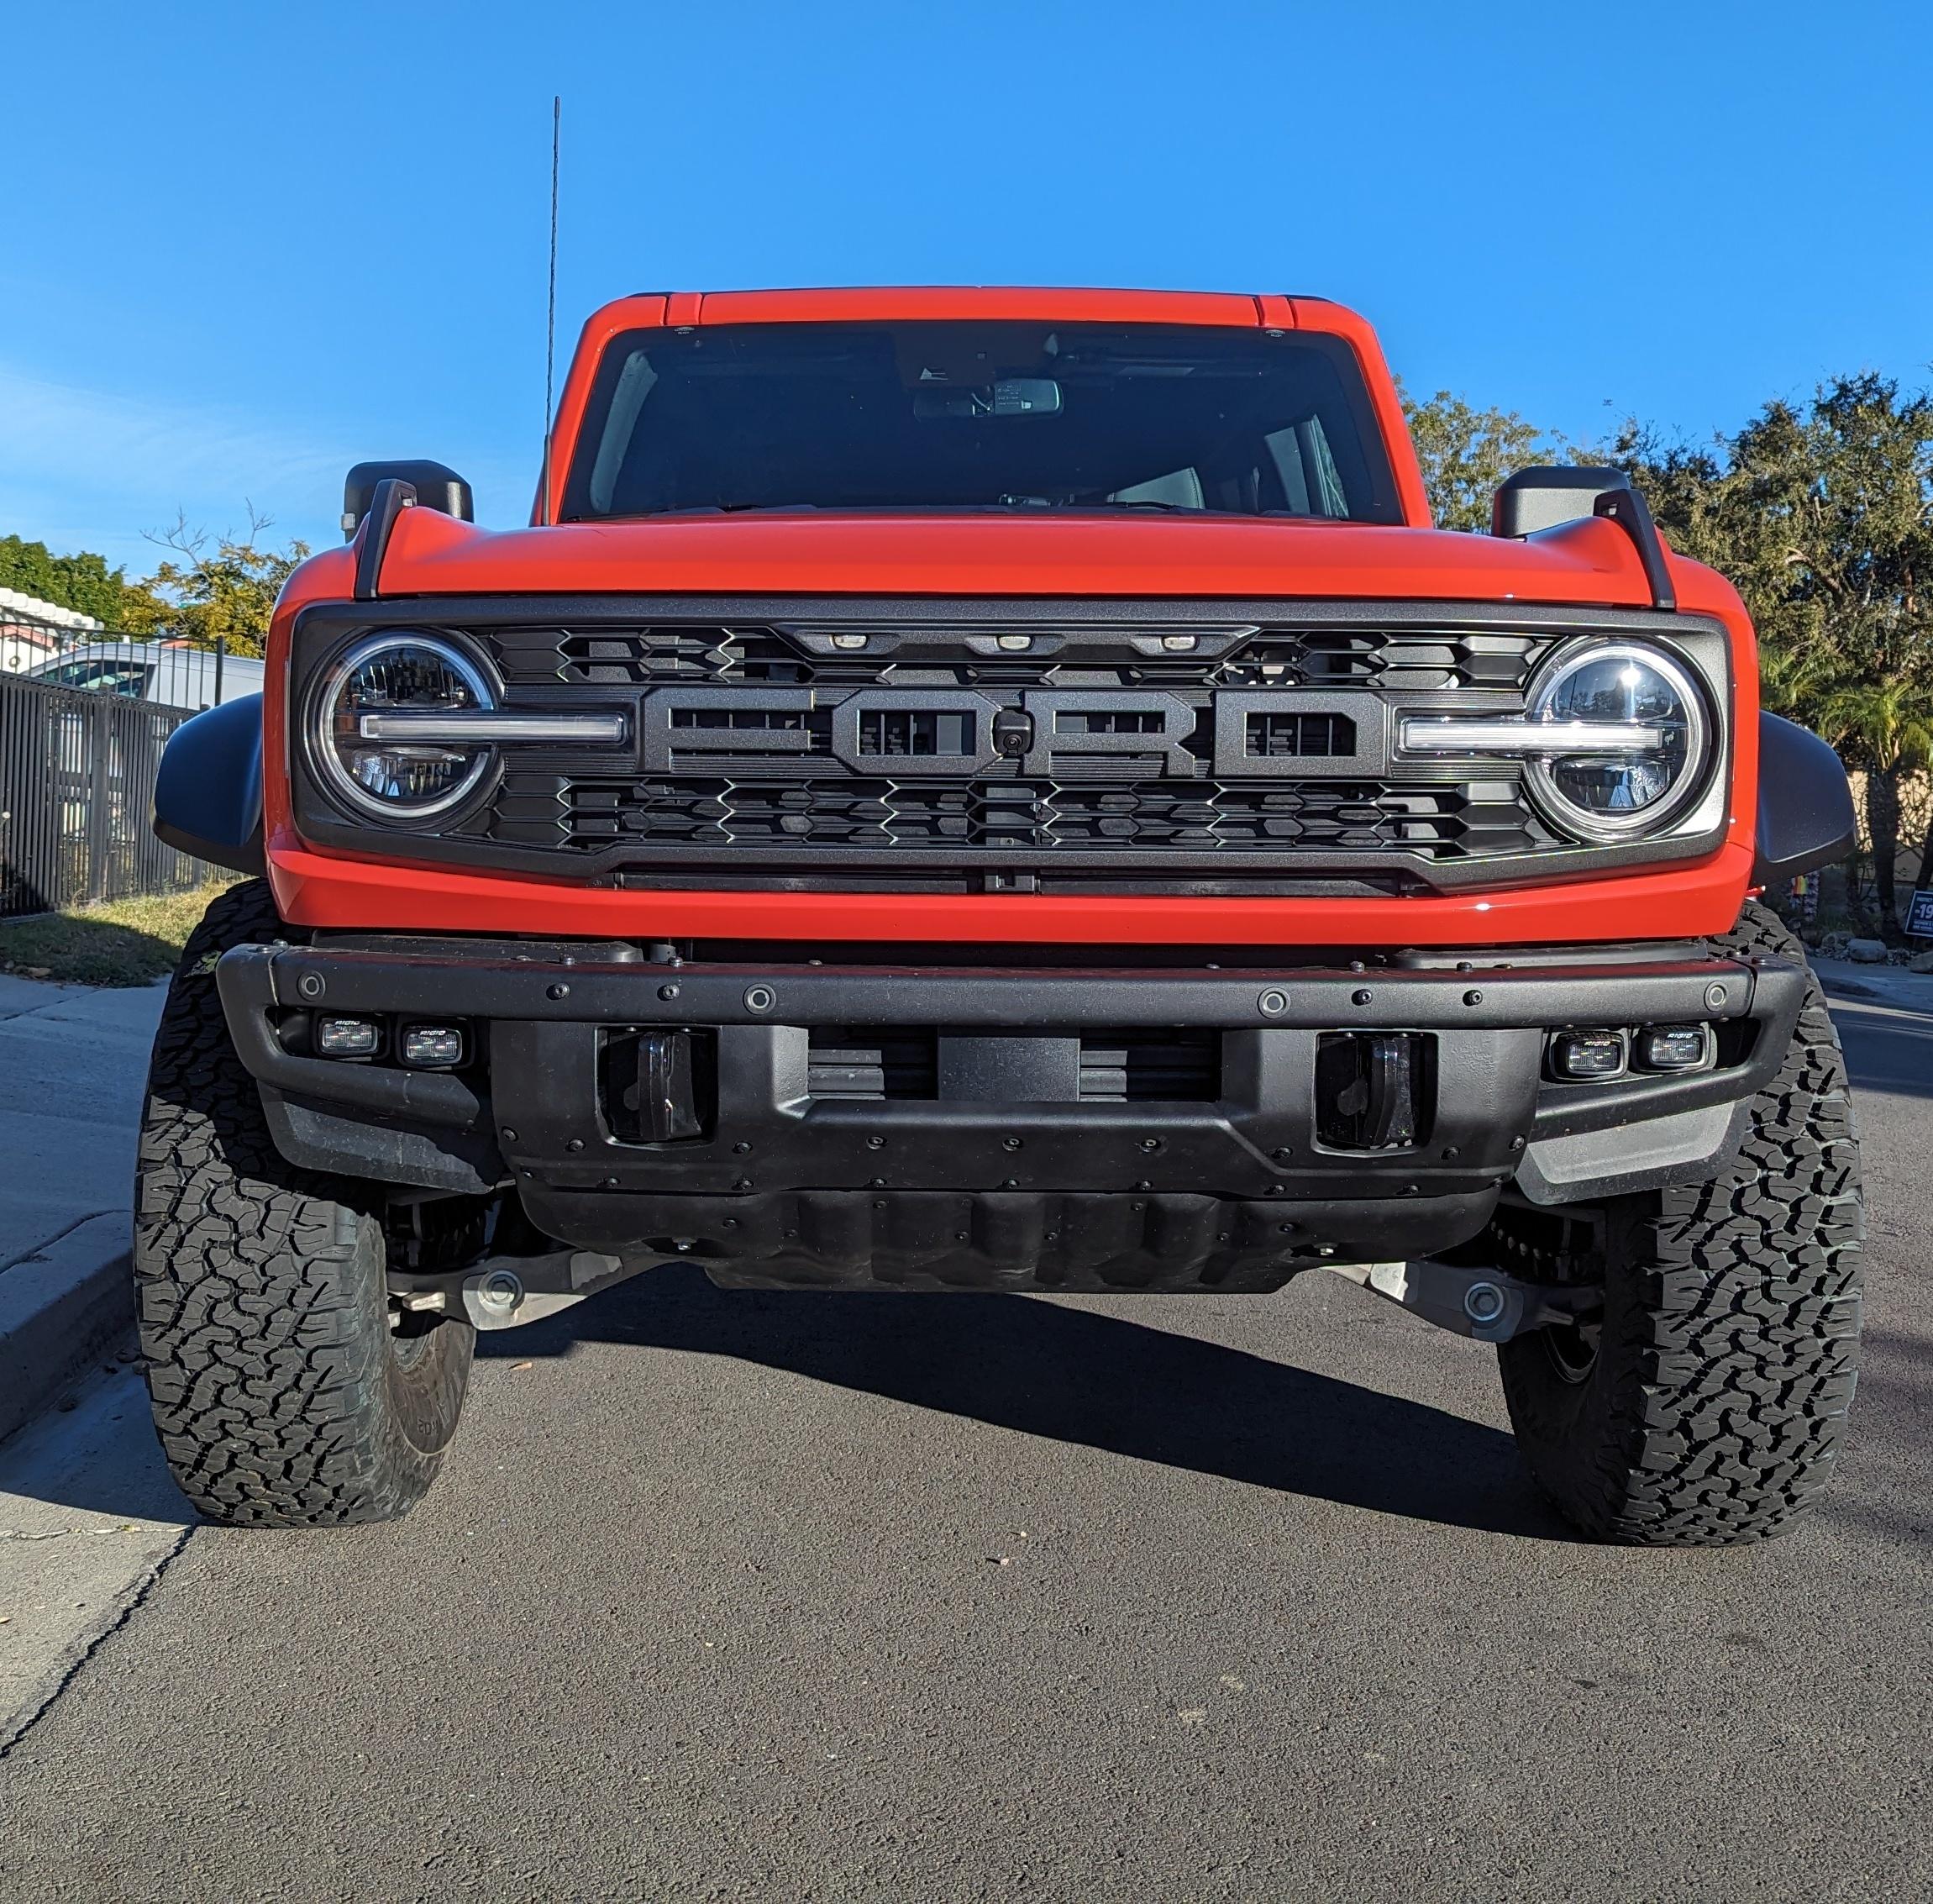
- Sanded fascia, thoroughly cleaned skid
- 2 coats ea.:
- Eastwood 2K Urethane primer
- Durabak bedliner
- Eastwood 2K Matte Clear (the darn bedliner was was too glossy and didn't match the bumper. This got it just right.)
OP
OP


Sponsored
OP
OP
- Thread starter
- #21
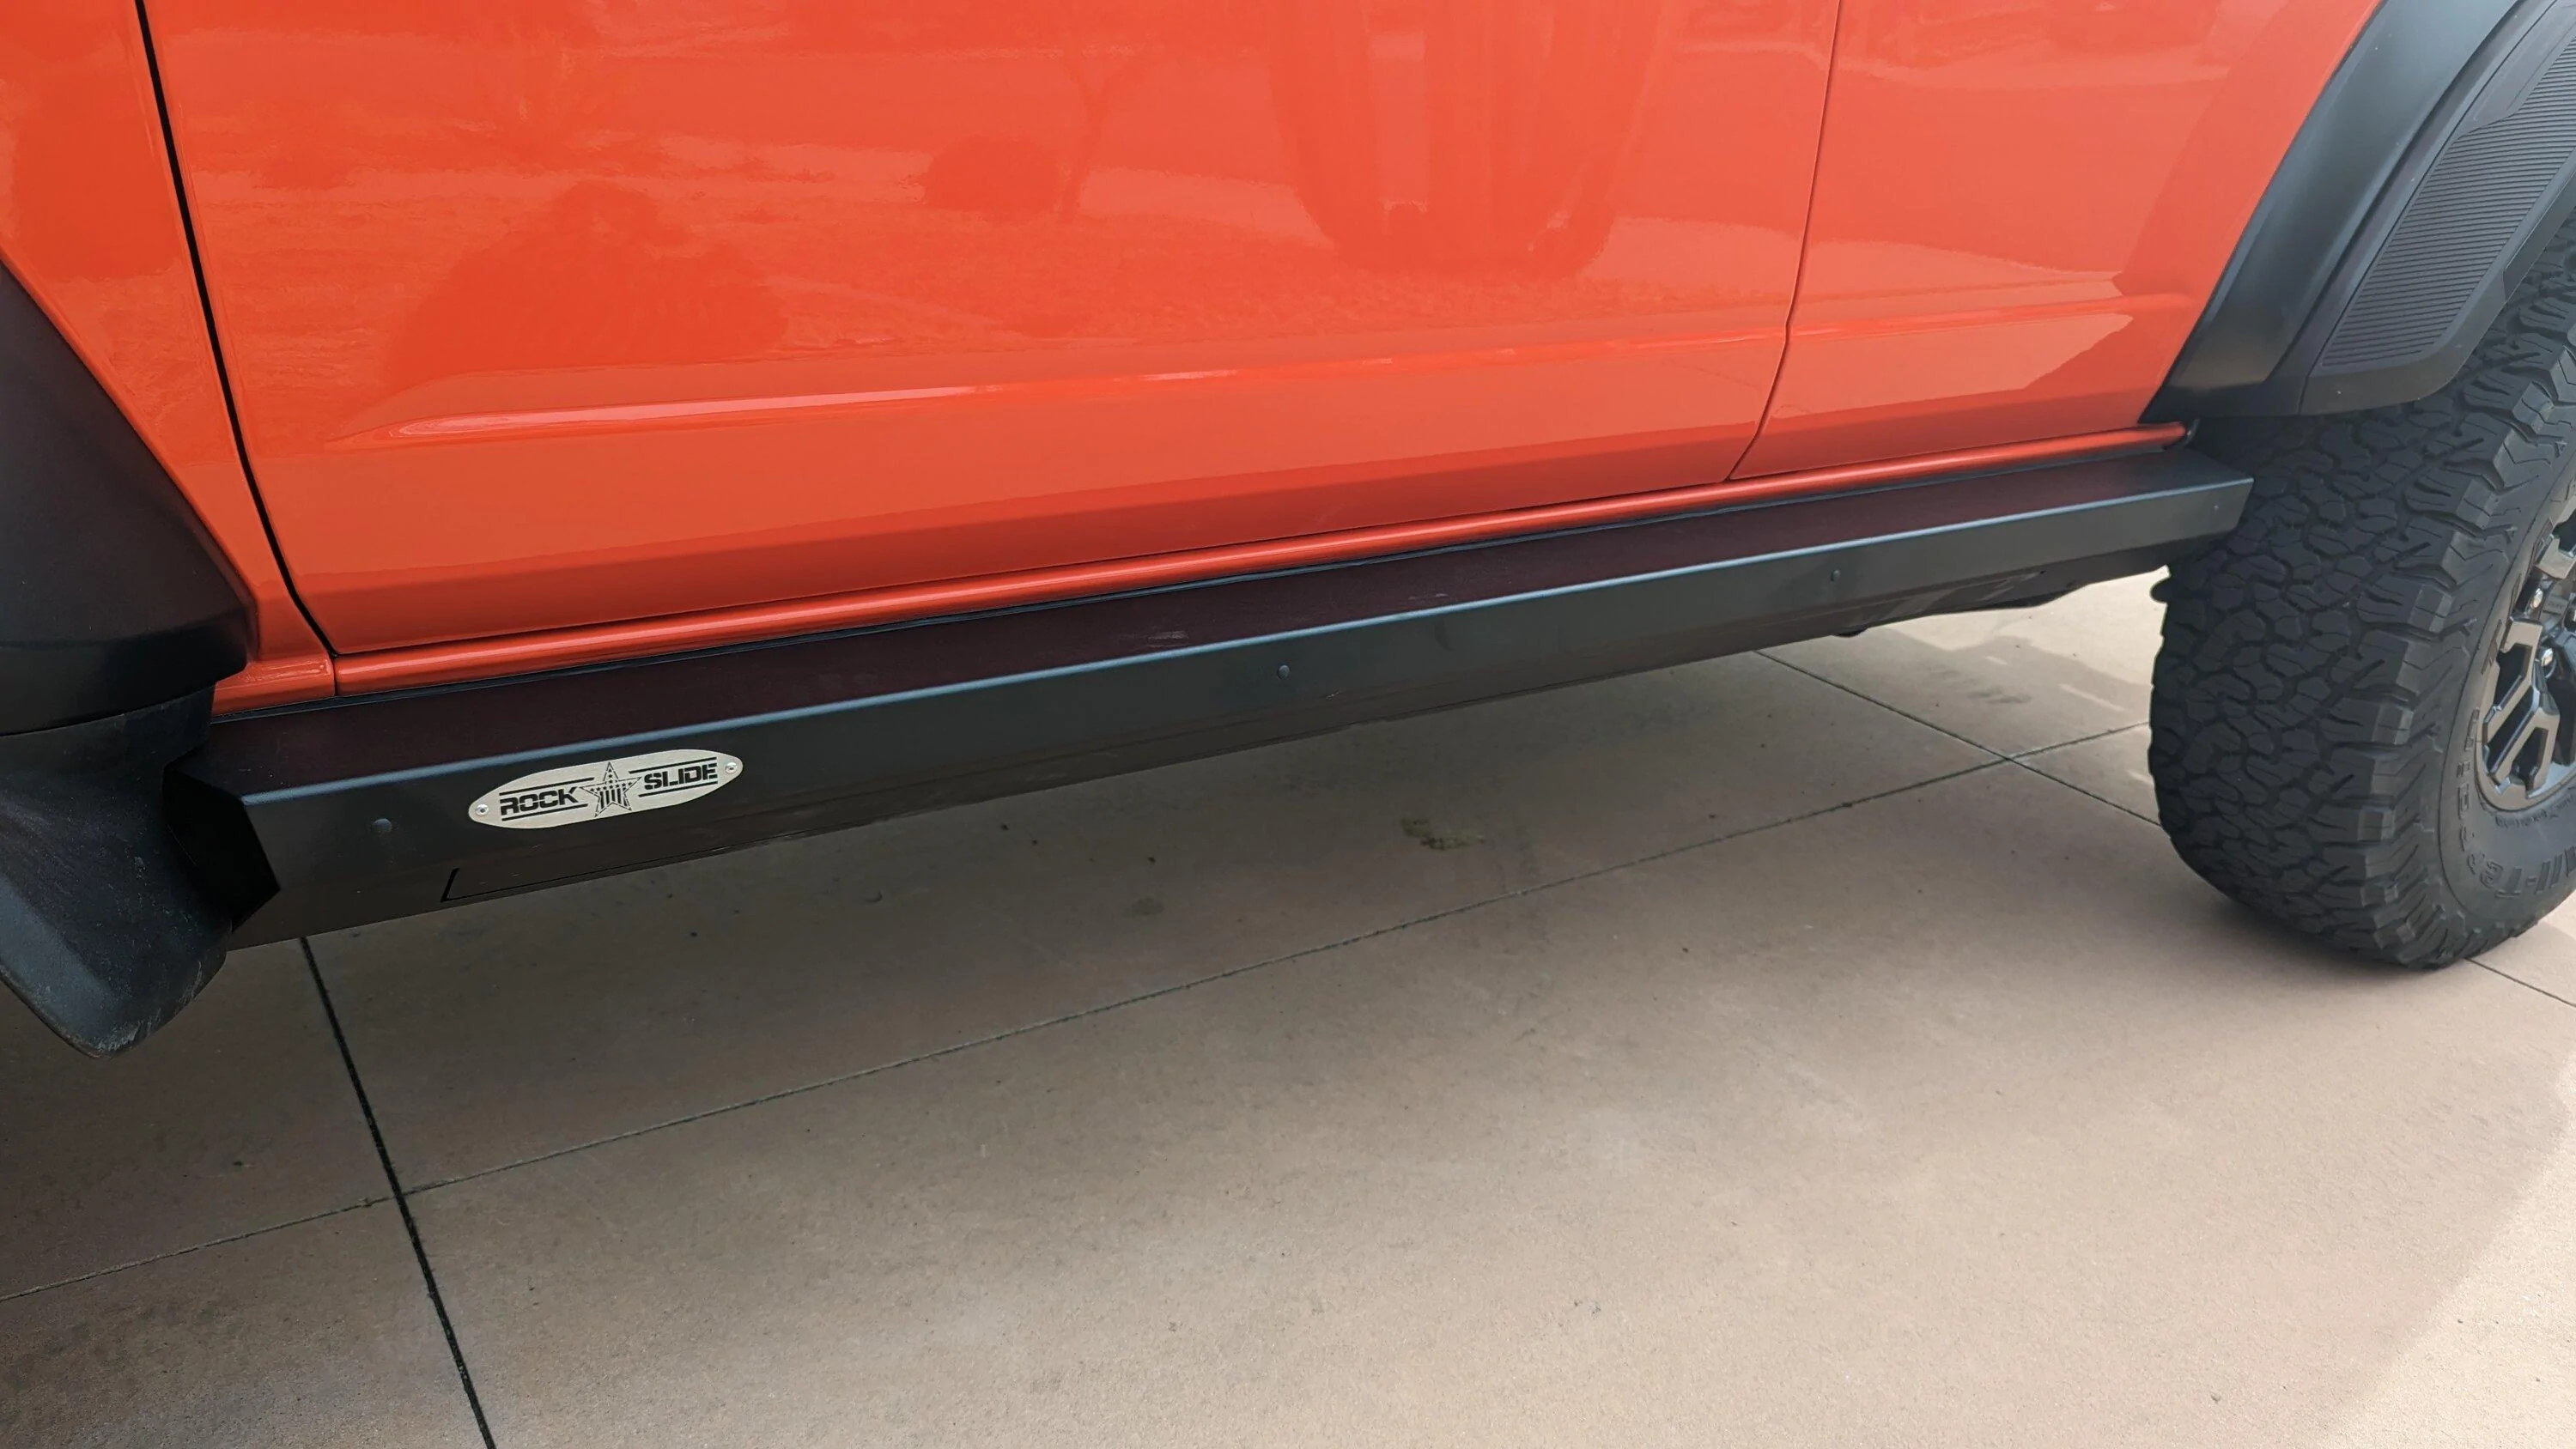
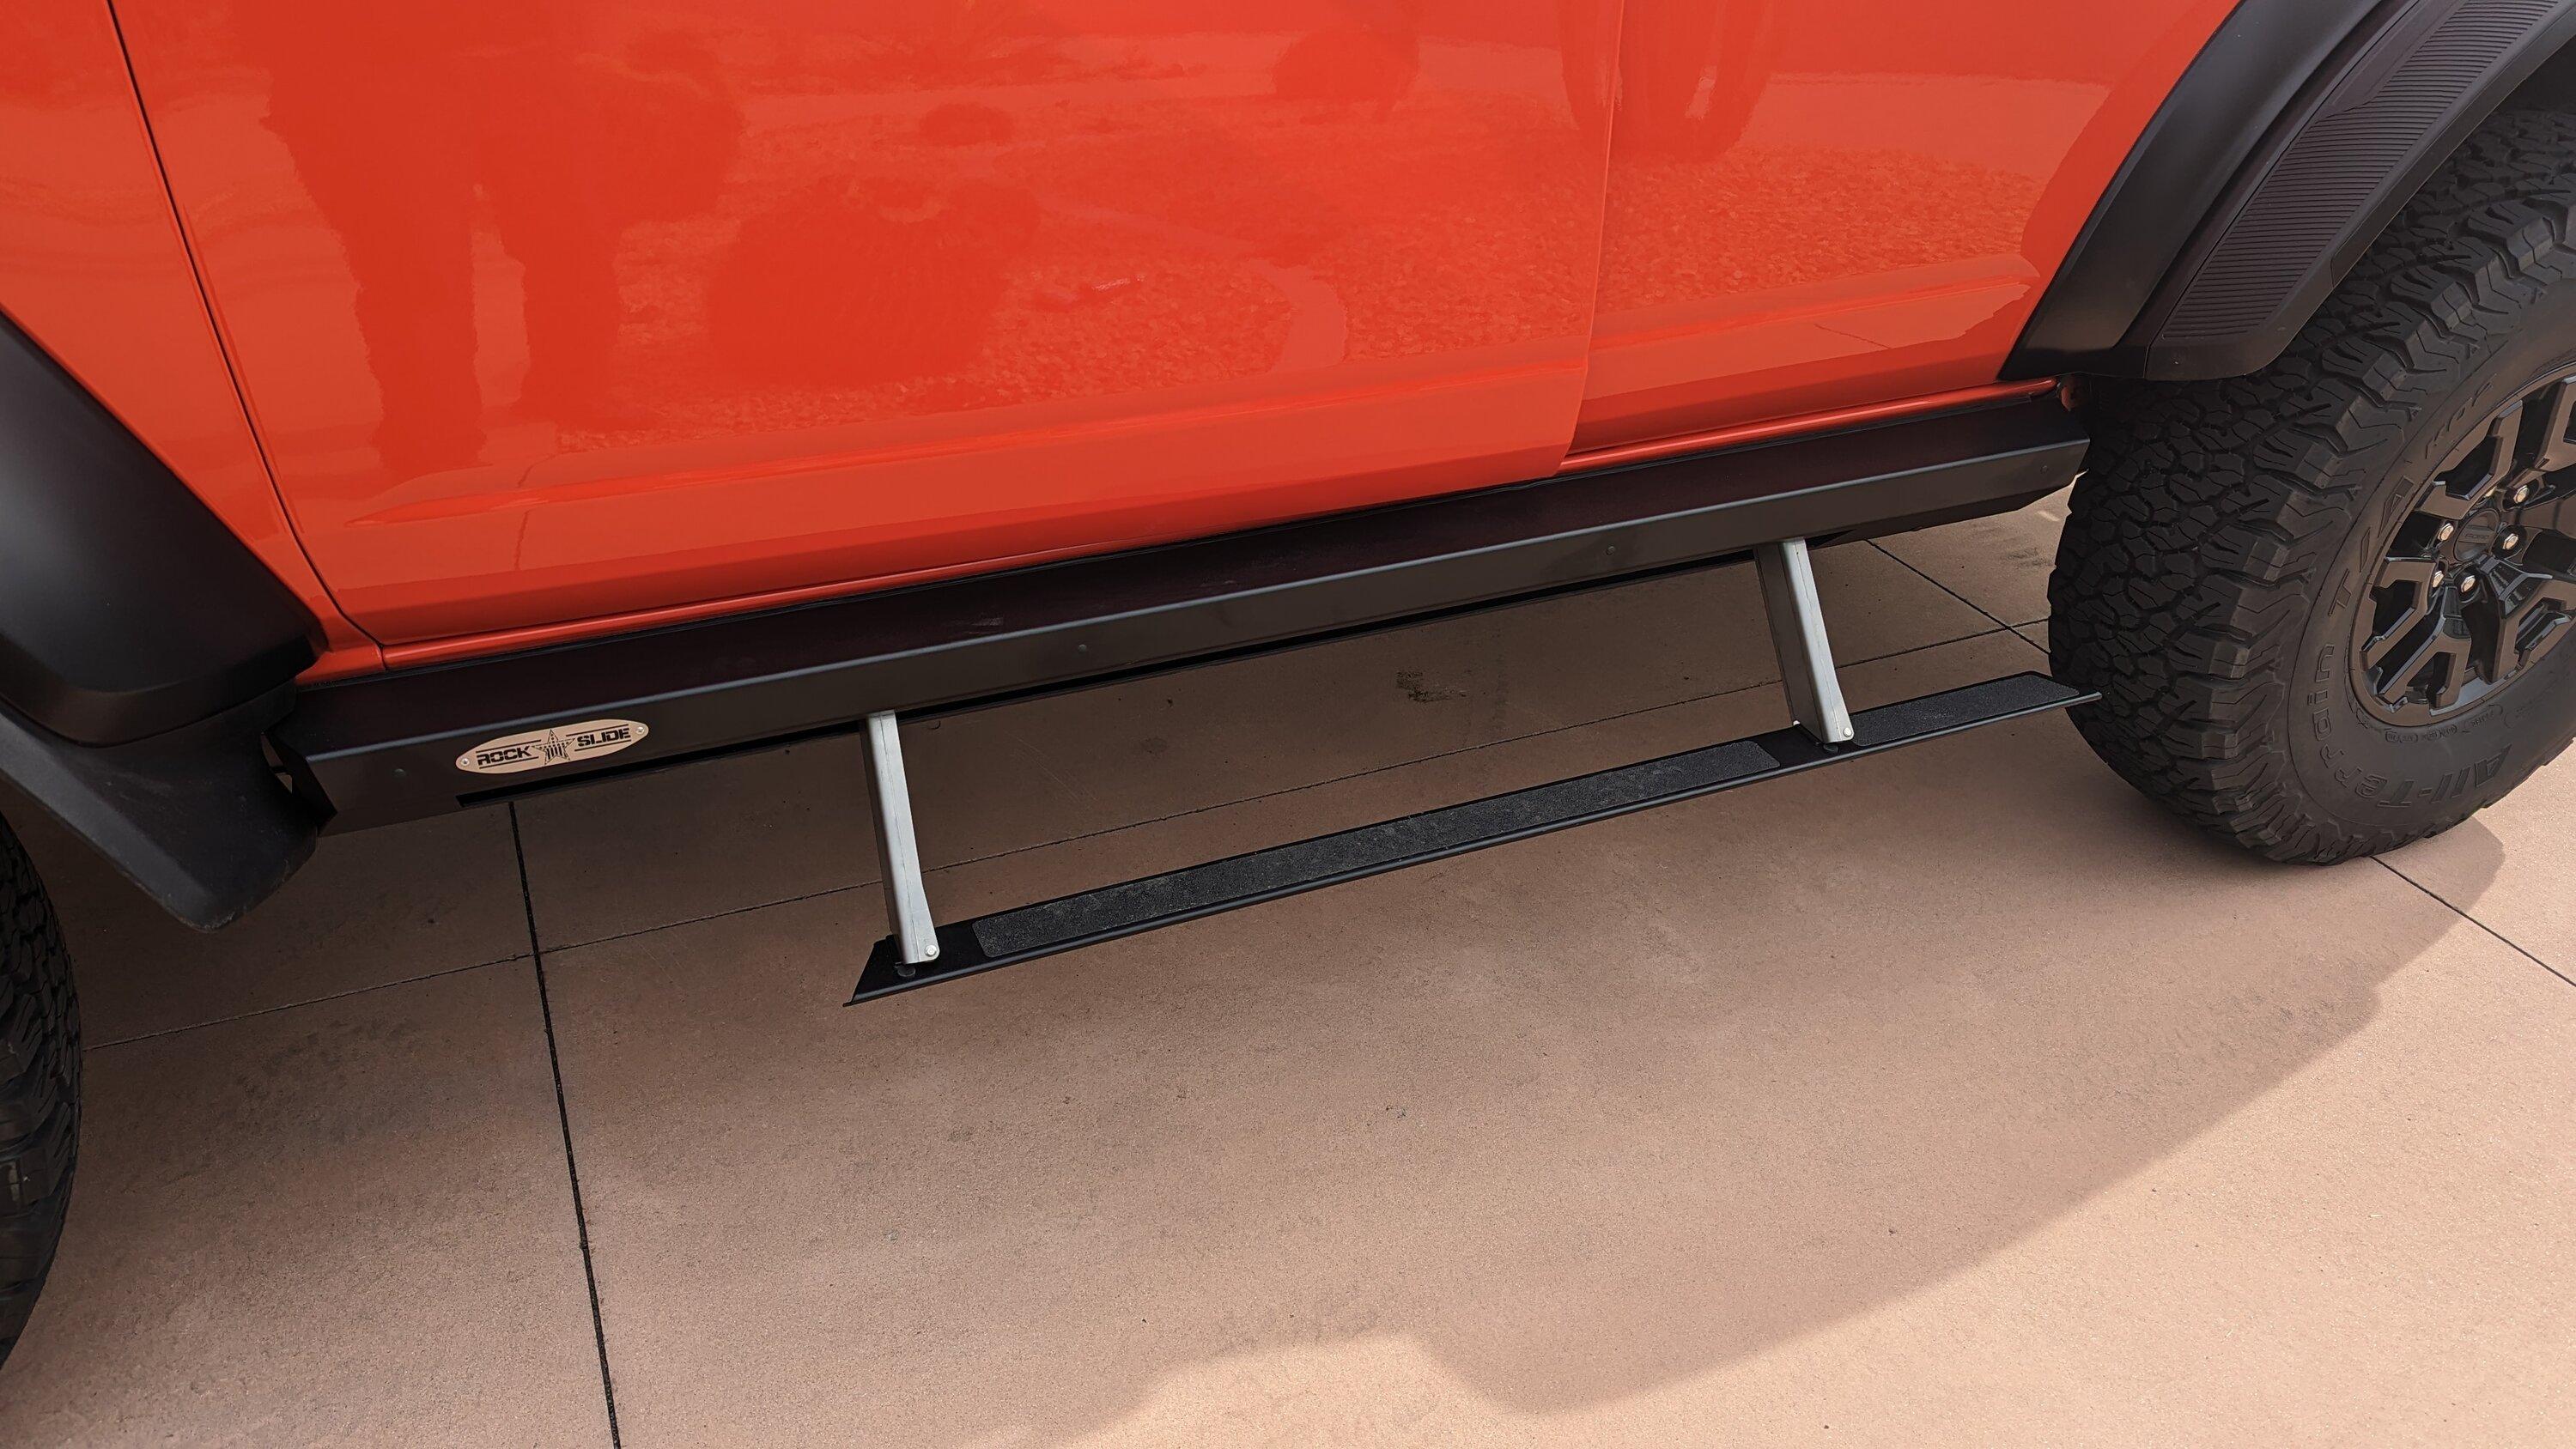
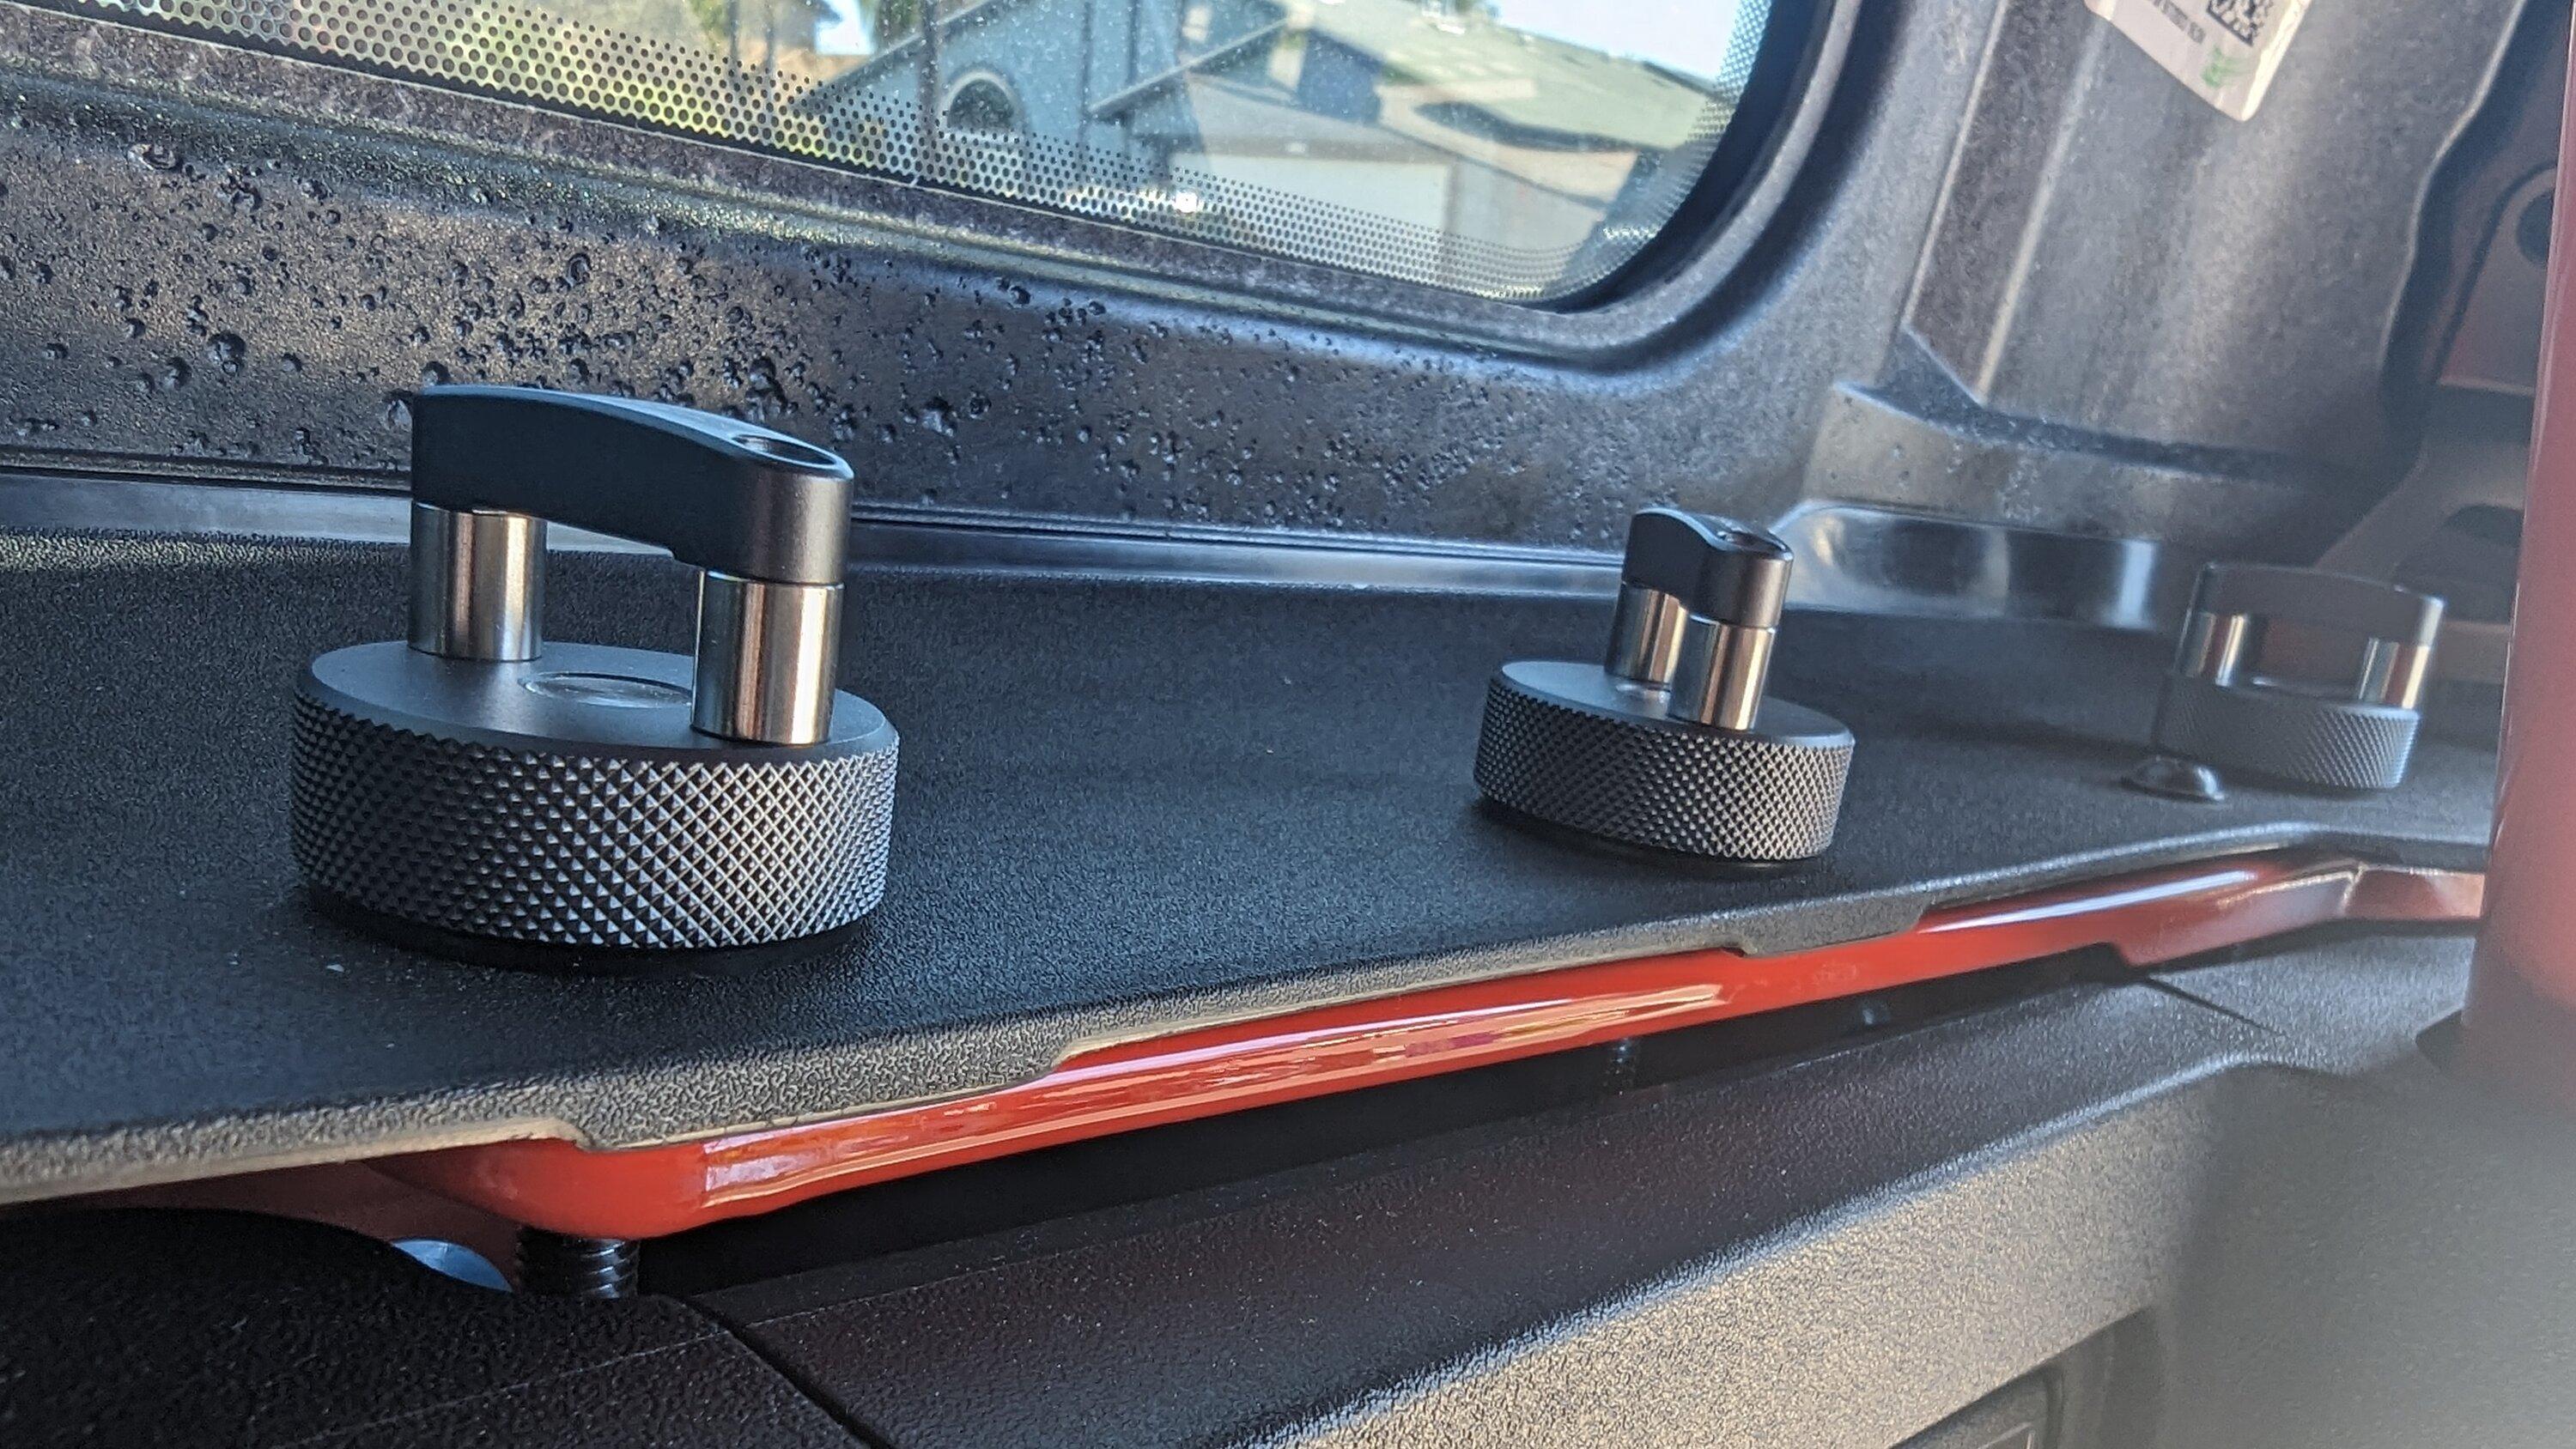
Got these Rock Slide Engineering Step sliders installed and they are every bit as good as expected. Got the light add on kit as well. Not only do these make entering a breeze, but they will help spare wear on the seat side bolsters.
I considered removing the badge, but decided to paint it semi-gloss black instead (later).
Raptor specific install notes:
Lastly, the edge seal fits perfectly flush against the rocker panel and makes for such a nice clean install.
I considered removing the badge, but decided to paint it semi-gloss black instead (later).
Raptor specific install notes:
- The first spacer plate (@5:41 here) is not used on the Raptor. It will result in a crooked slider)
- Flap trim on front is required on Raptor, not on other models.
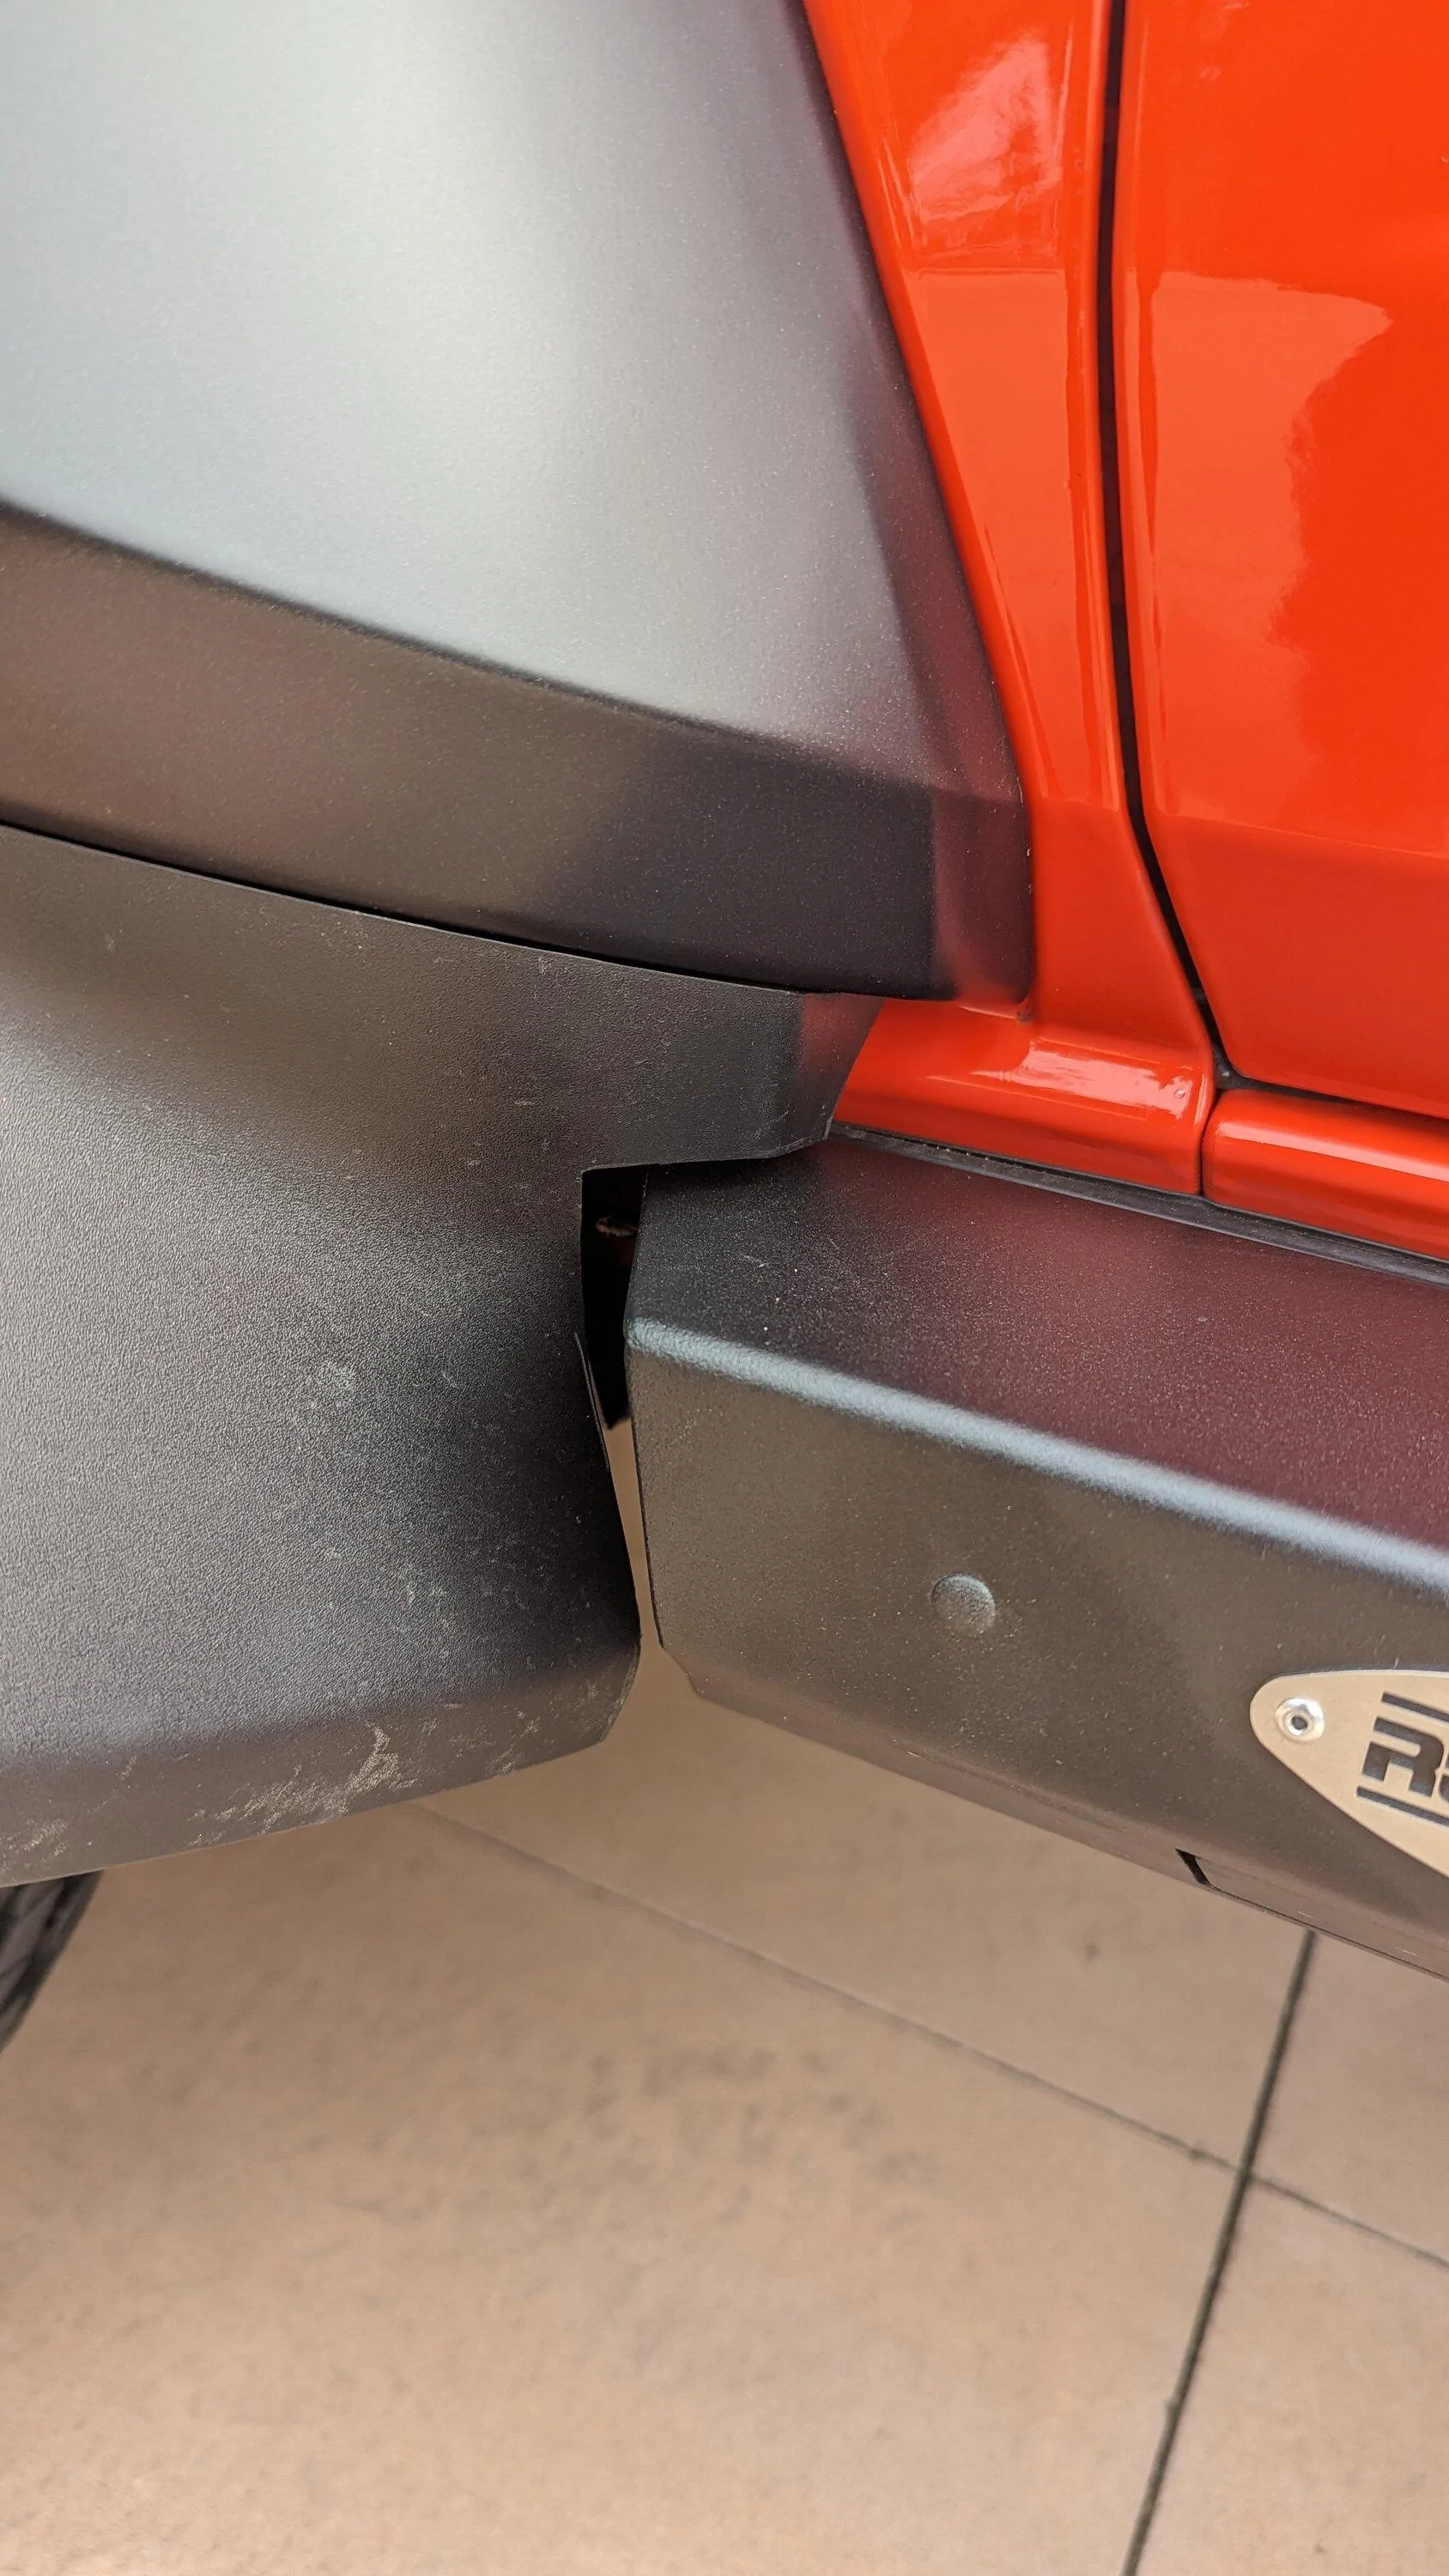
Lastly, the edge seal fits perfectly flush against the rocker panel and makes for such a nice clean install.
OP
OP
- Thread starter
- #22
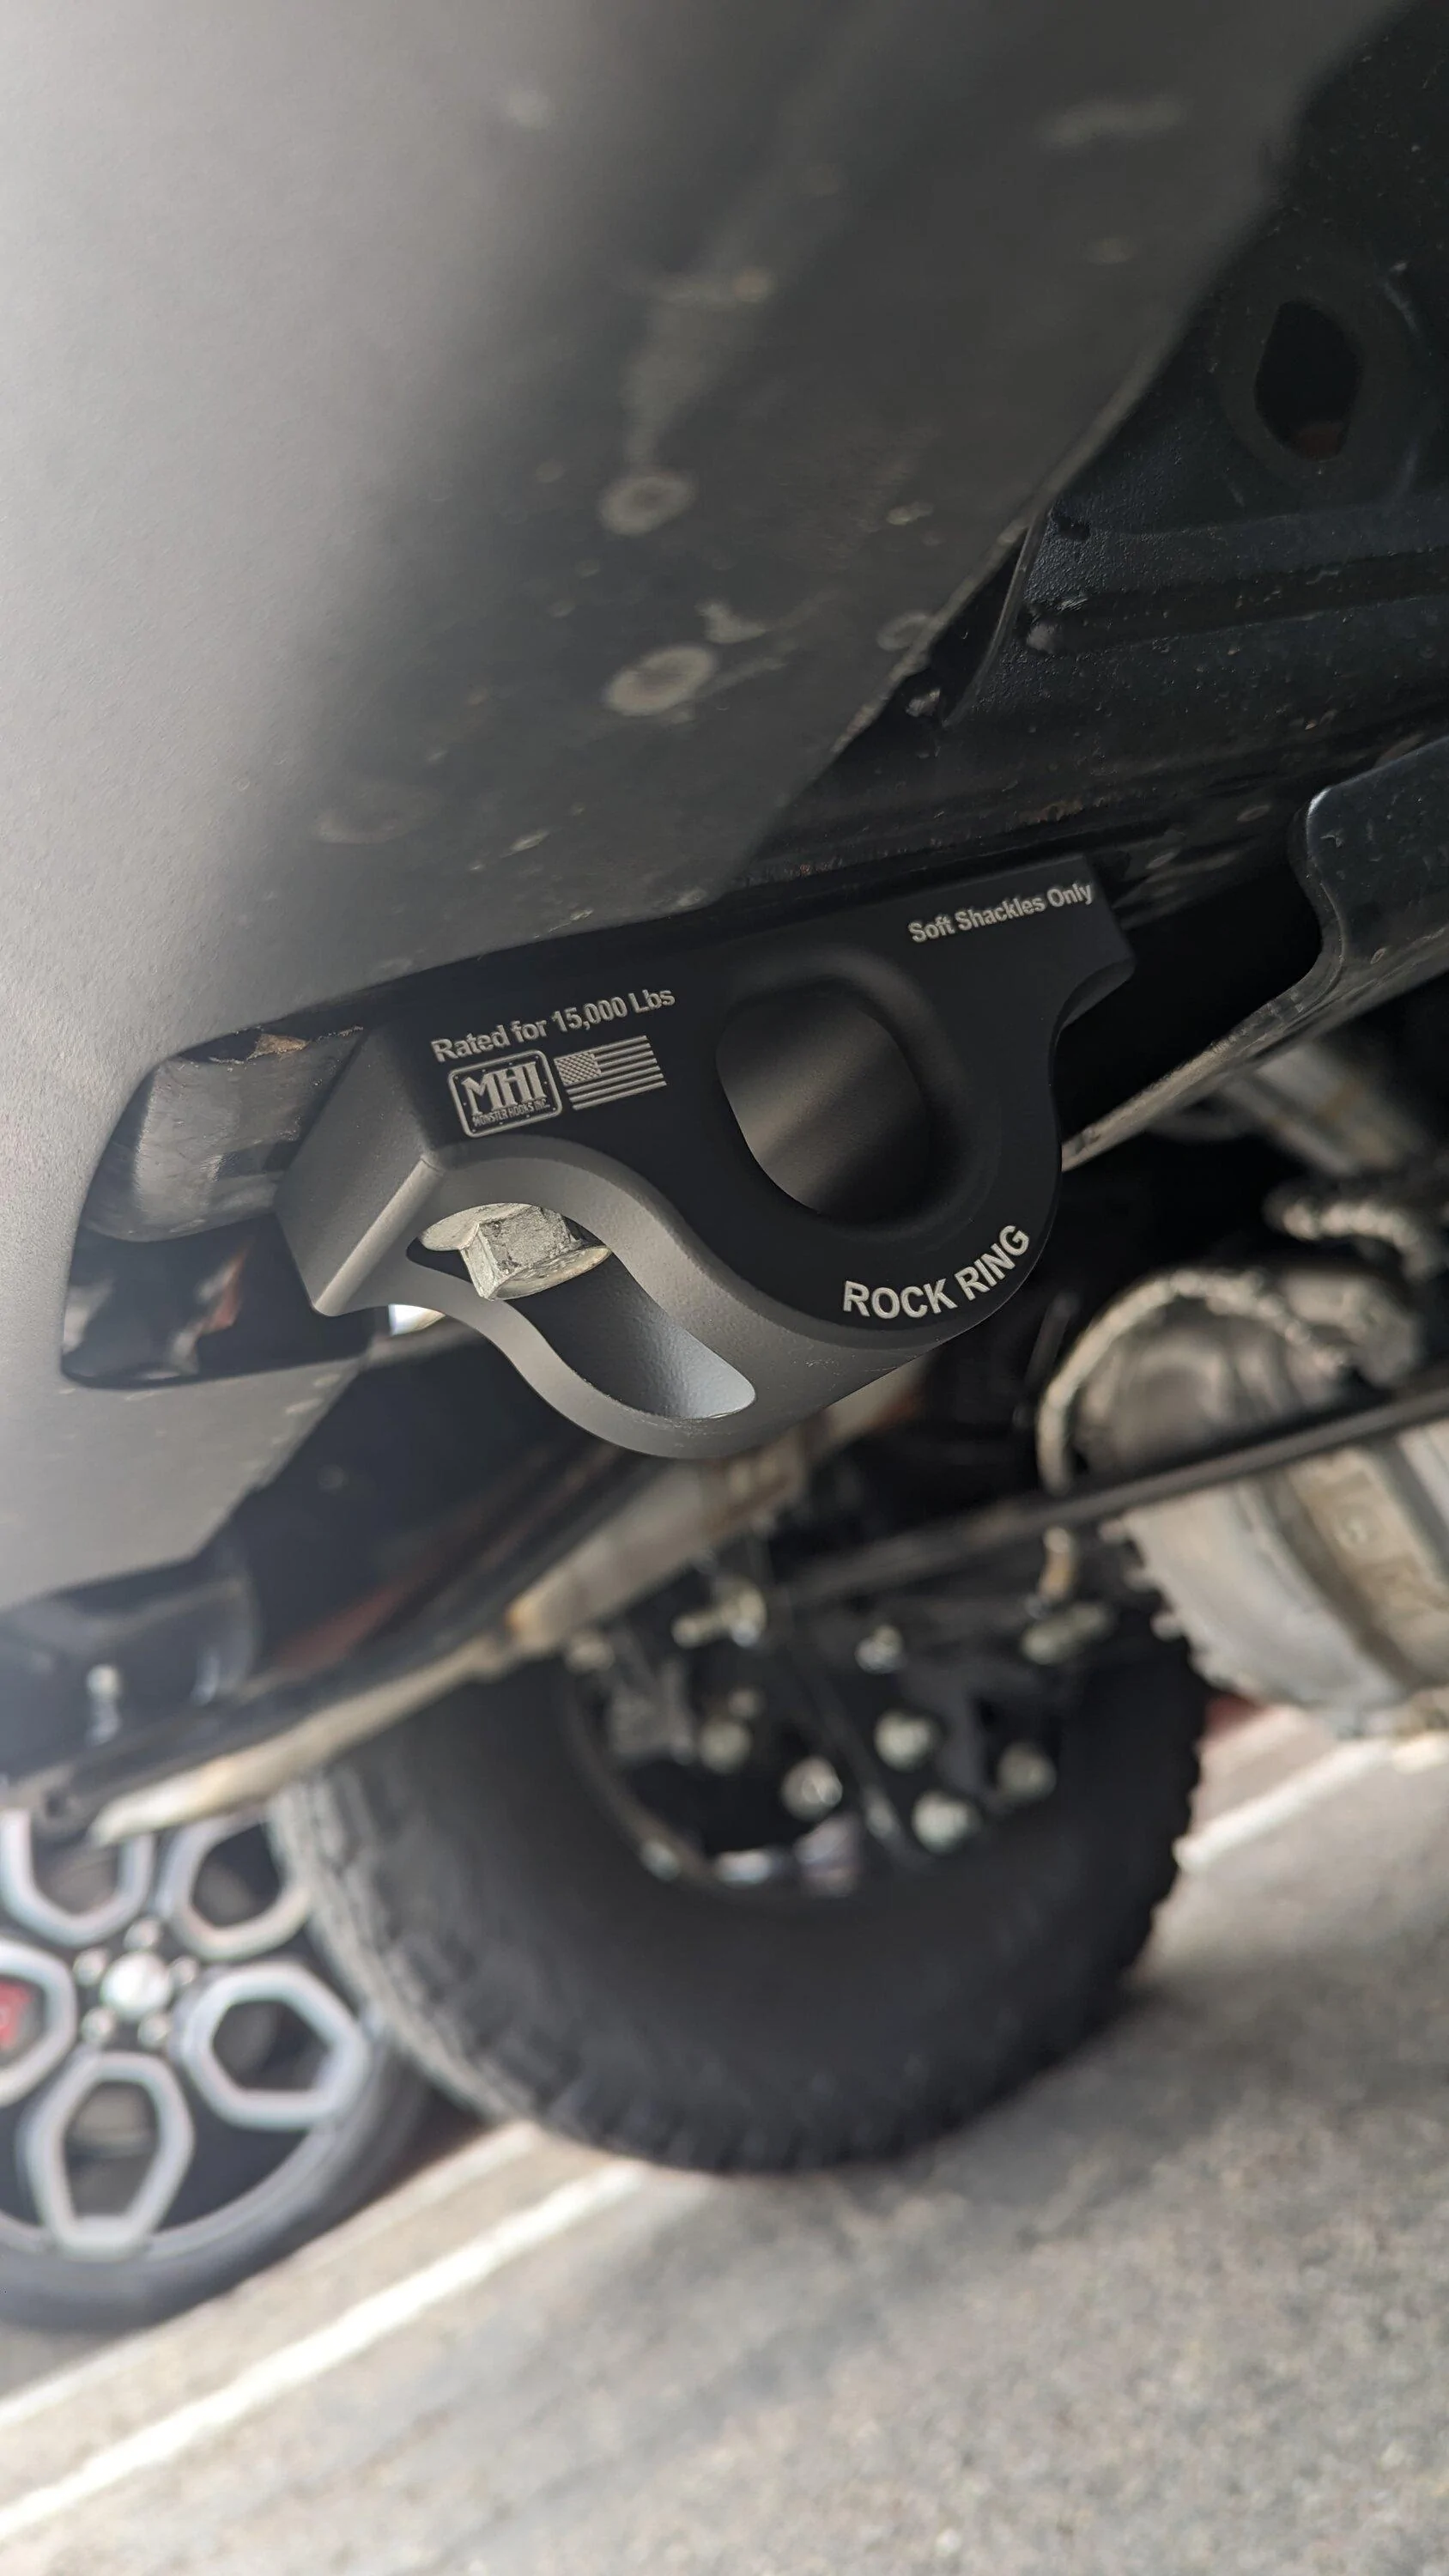
Beautiful & Functional - Monster Hooks Rock Rings.
Having adopted soft shackles and not liking the sacrificed departure clearance and aesthetics of the rear factory recovery points, I picked up these beautiful, beefy, MHI Rock Rings.
Solid 7075-T6, CNCed, aluminum. 15,000 lb working load, 60,000+ lb breaking strength. I calculated the bolts would probably shear first around 20,000 lb
EDIT: According to MHI on strength: The OEM bolts failed at around 35,000lbs. We then tried Grade 8 bolts, those failed at around 30,000lbs
Second pic shows the view standing behind the truck. They are invisible!
Install is trivial, use low strength blue loctite (as the factory did) and torque to 59 ft lb.
Having adopted soft shackles and not liking the sacrificed departure clearance and aesthetics of the rear factory recovery points, I picked up these beautiful, beefy, MHI Rock Rings.
Solid 7075-T6, CNCed, aluminum. 15,000 lb working load, 60,000+ lb breaking strength. I calculated the bolts would probably shear first around 20,000 lb
EDIT: According to MHI on strength: The OEM bolts failed at around 35,000lbs. We then tried Grade 8 bolts, those failed at around 30,000lbs
Second pic shows the view standing behind the truck. They are invisible!

Install is trivial, use low strength blue loctite (as the factory did) and torque to 59 ft lb.
Last edited:
OP
OP
- Thread starter
- #23
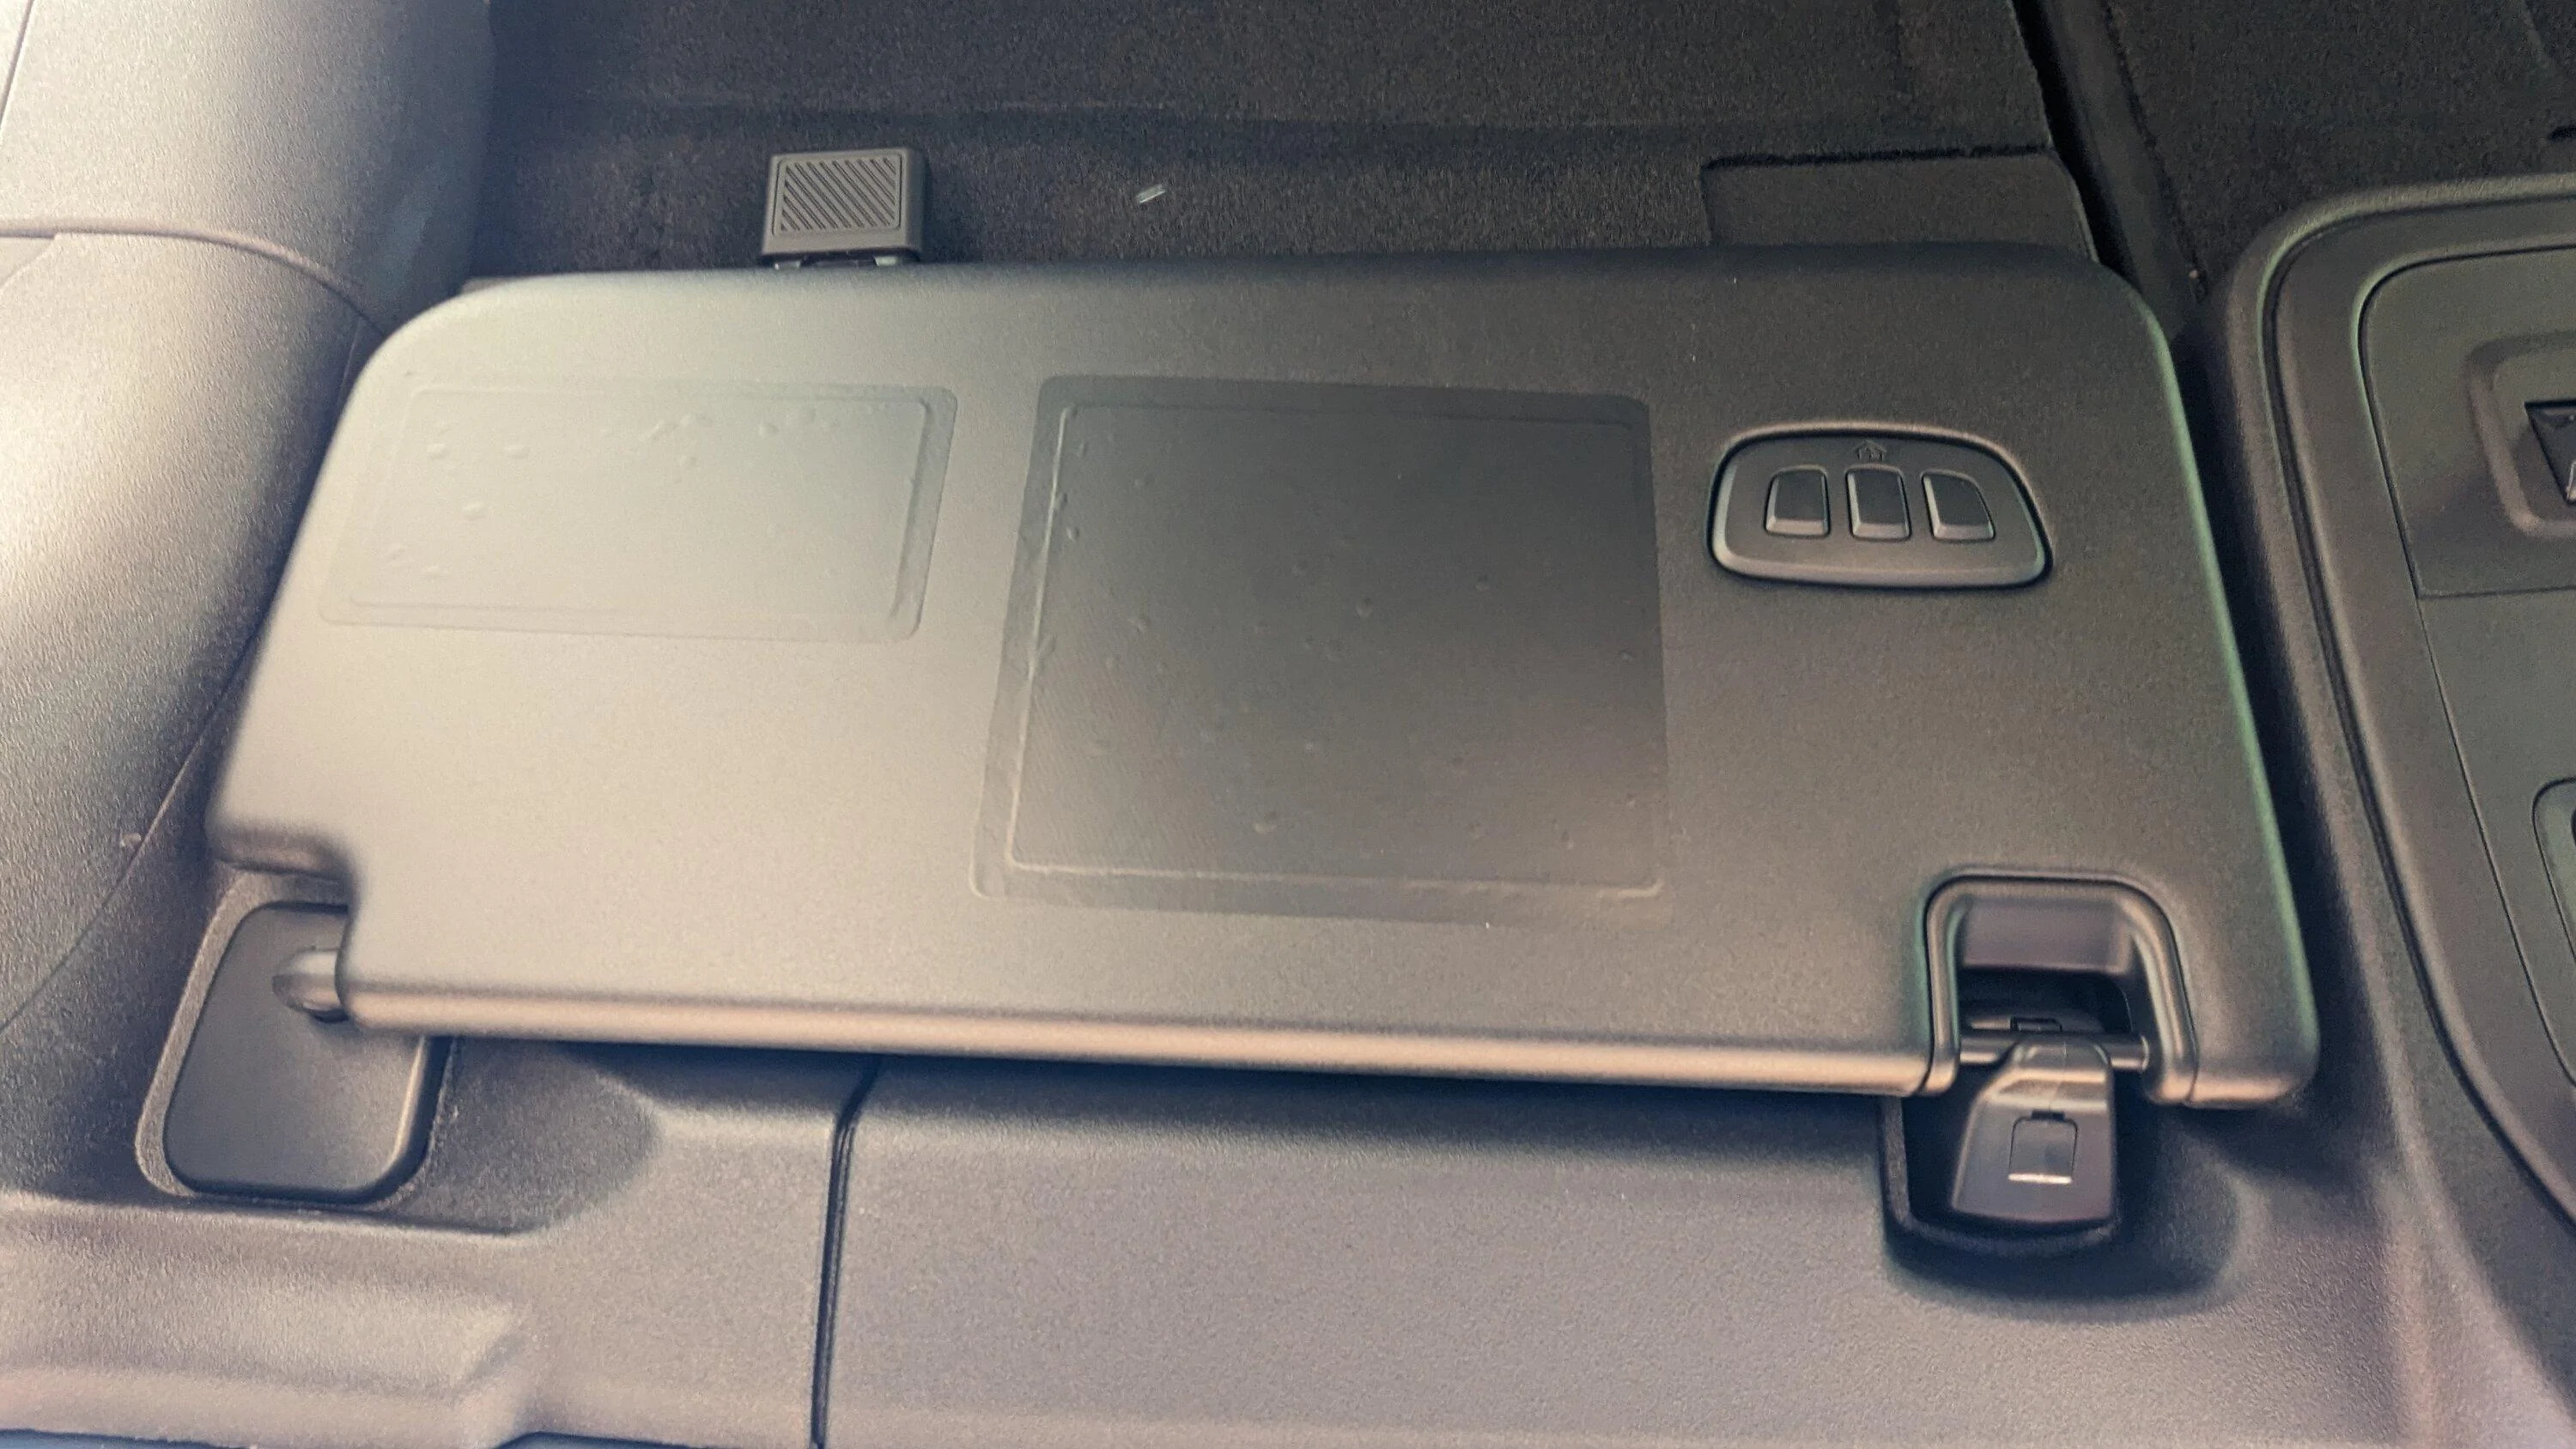
Homelink sun visor with Stickerfab safety sticker covers.
Ford part number: M2DZ-7804105-CB
This was about the only thing I wanted out of the Lux Package. Pricey, but used my Ford Pass points for a large discount.
I've successfully removed some of these bright colored annoying visor stickers in the past with Goof Off, but that failed and smeared them badly in another rig. Thus, covers only this time. The lighting in this pic makes for a poor representation of the color match, which is quite good but not perfect.
OP
OP
- Thread starter
- #24
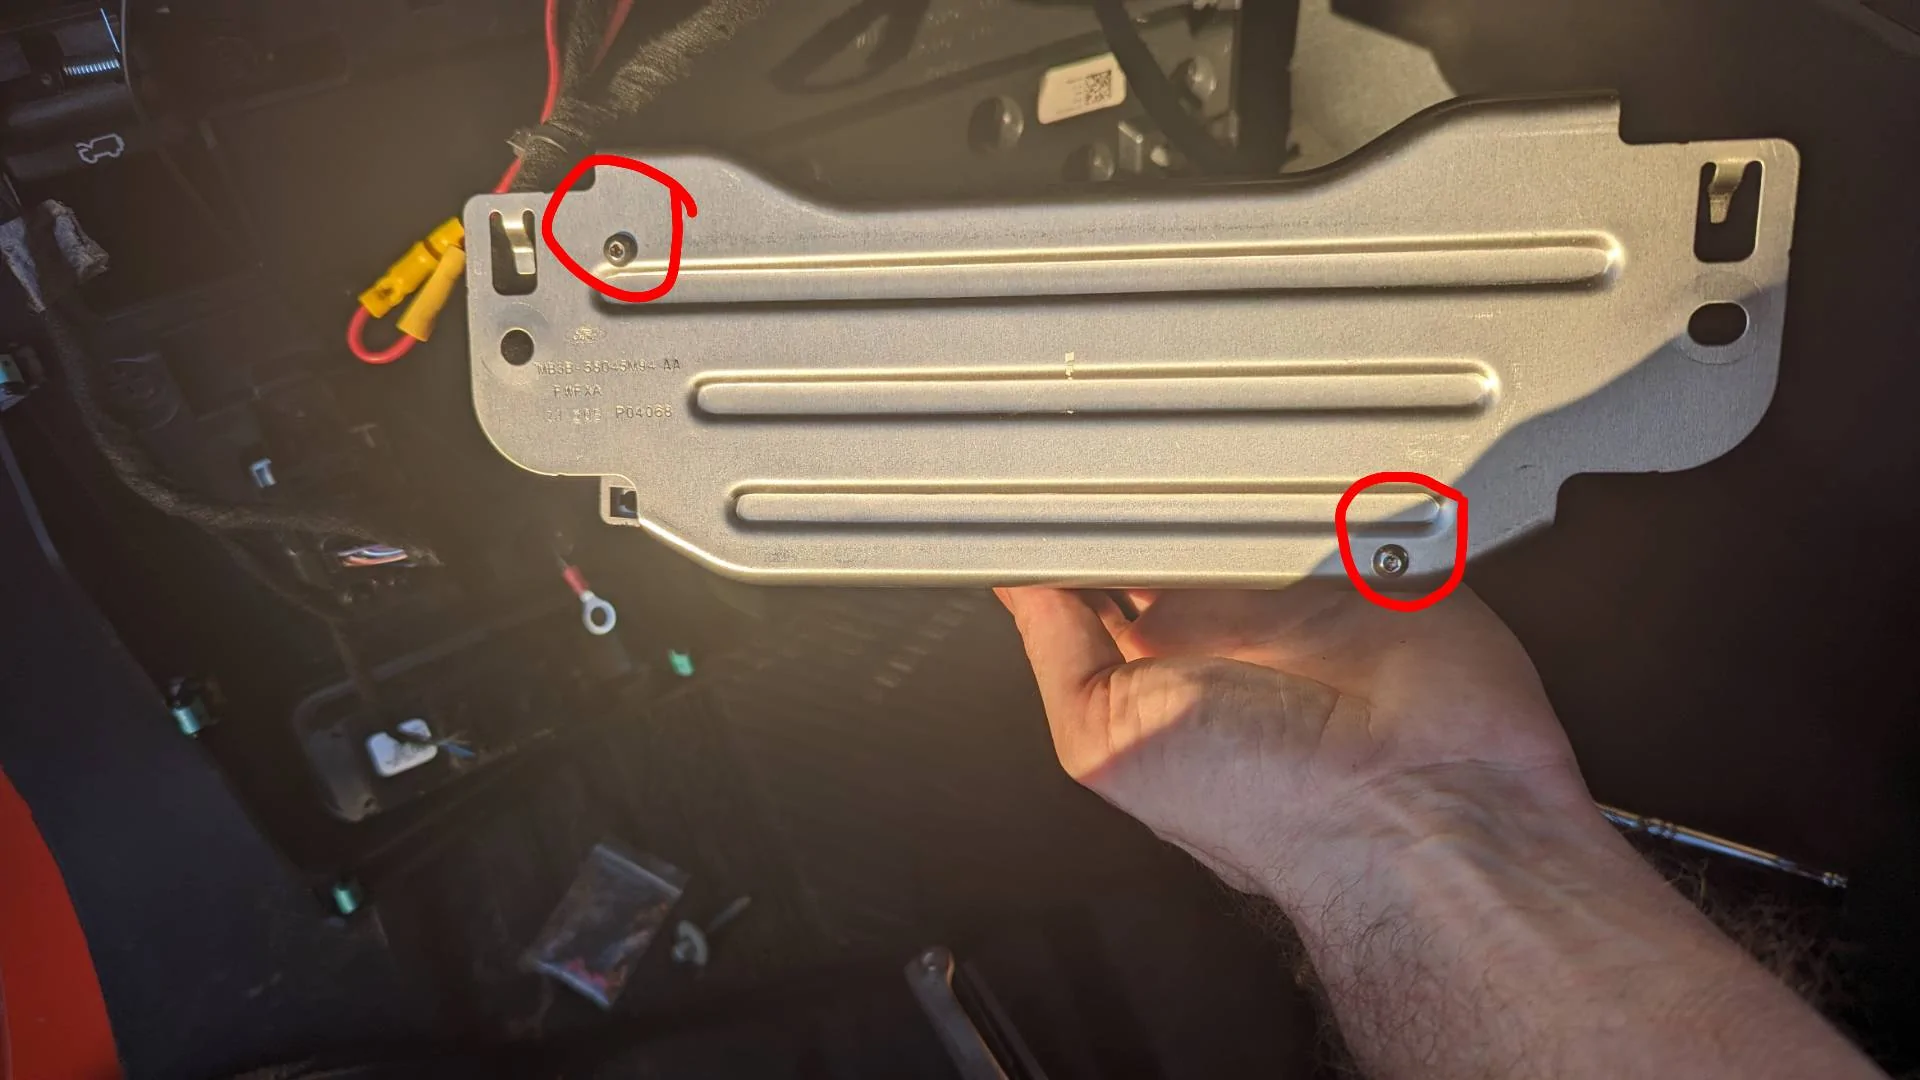
Kicker Key 200.4 Amp Installed.
Went with this very well reviewed amp and B6G perennial favorite. I can strongly concur that this turns a barely listenable system into very enjoyable one. I have the 6 speaker + sub base system (i.e. not B&O). The factory system is just dull, lacks bass and treble, muddy, etc. Probably not the best audiophile terms, but even an untrained hear knows this system sucks...
Used this video for the disassembly. Solid video.
The only changes/additions/notes/tips from the other good install videos are:
- I decided to Forscan the system to no equalization/correction before installing the amp (row 60 in first linked spread sheet here). Just doesn't seem logical to have the new amp effectively double equalized (i.e. in head unit and in Kicker).
- You really have to pull hard on the HVAC control panel to release the clips. I was definitely concerned I might be breaking clips (really hate doing that...). Just pull straight back and use both hands on multiple edge points. I think I used both hands on one side to just get 1-2 clips to pop and then easy going from there.
- I don't like the "slice the firewall seal with a box knife" approach to running wires and insuring a water tight seal. I drilled the seal, which barely does anything, but went up in sizes to about 50% or so larger then the power cable, then used the blunt end of the drill to guide the cable through the seal. I'm confident it will be fully watertight.
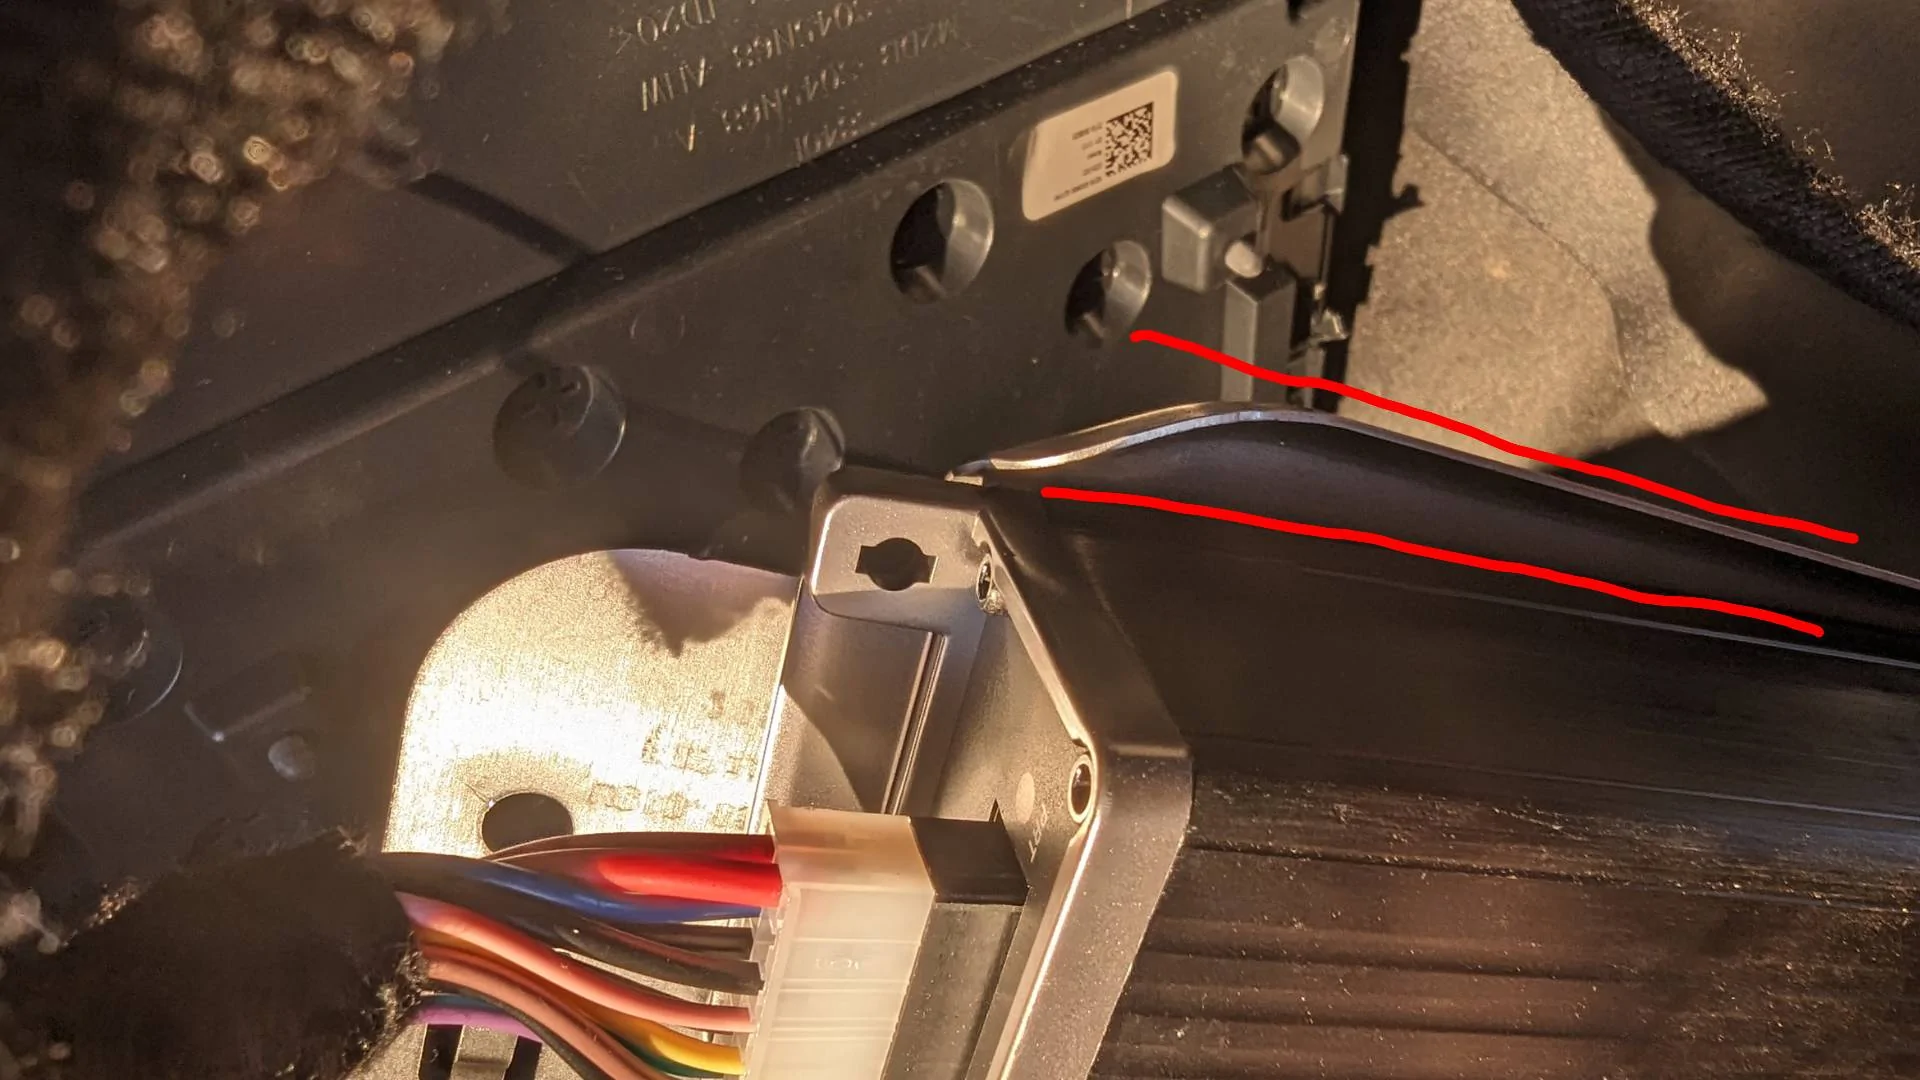
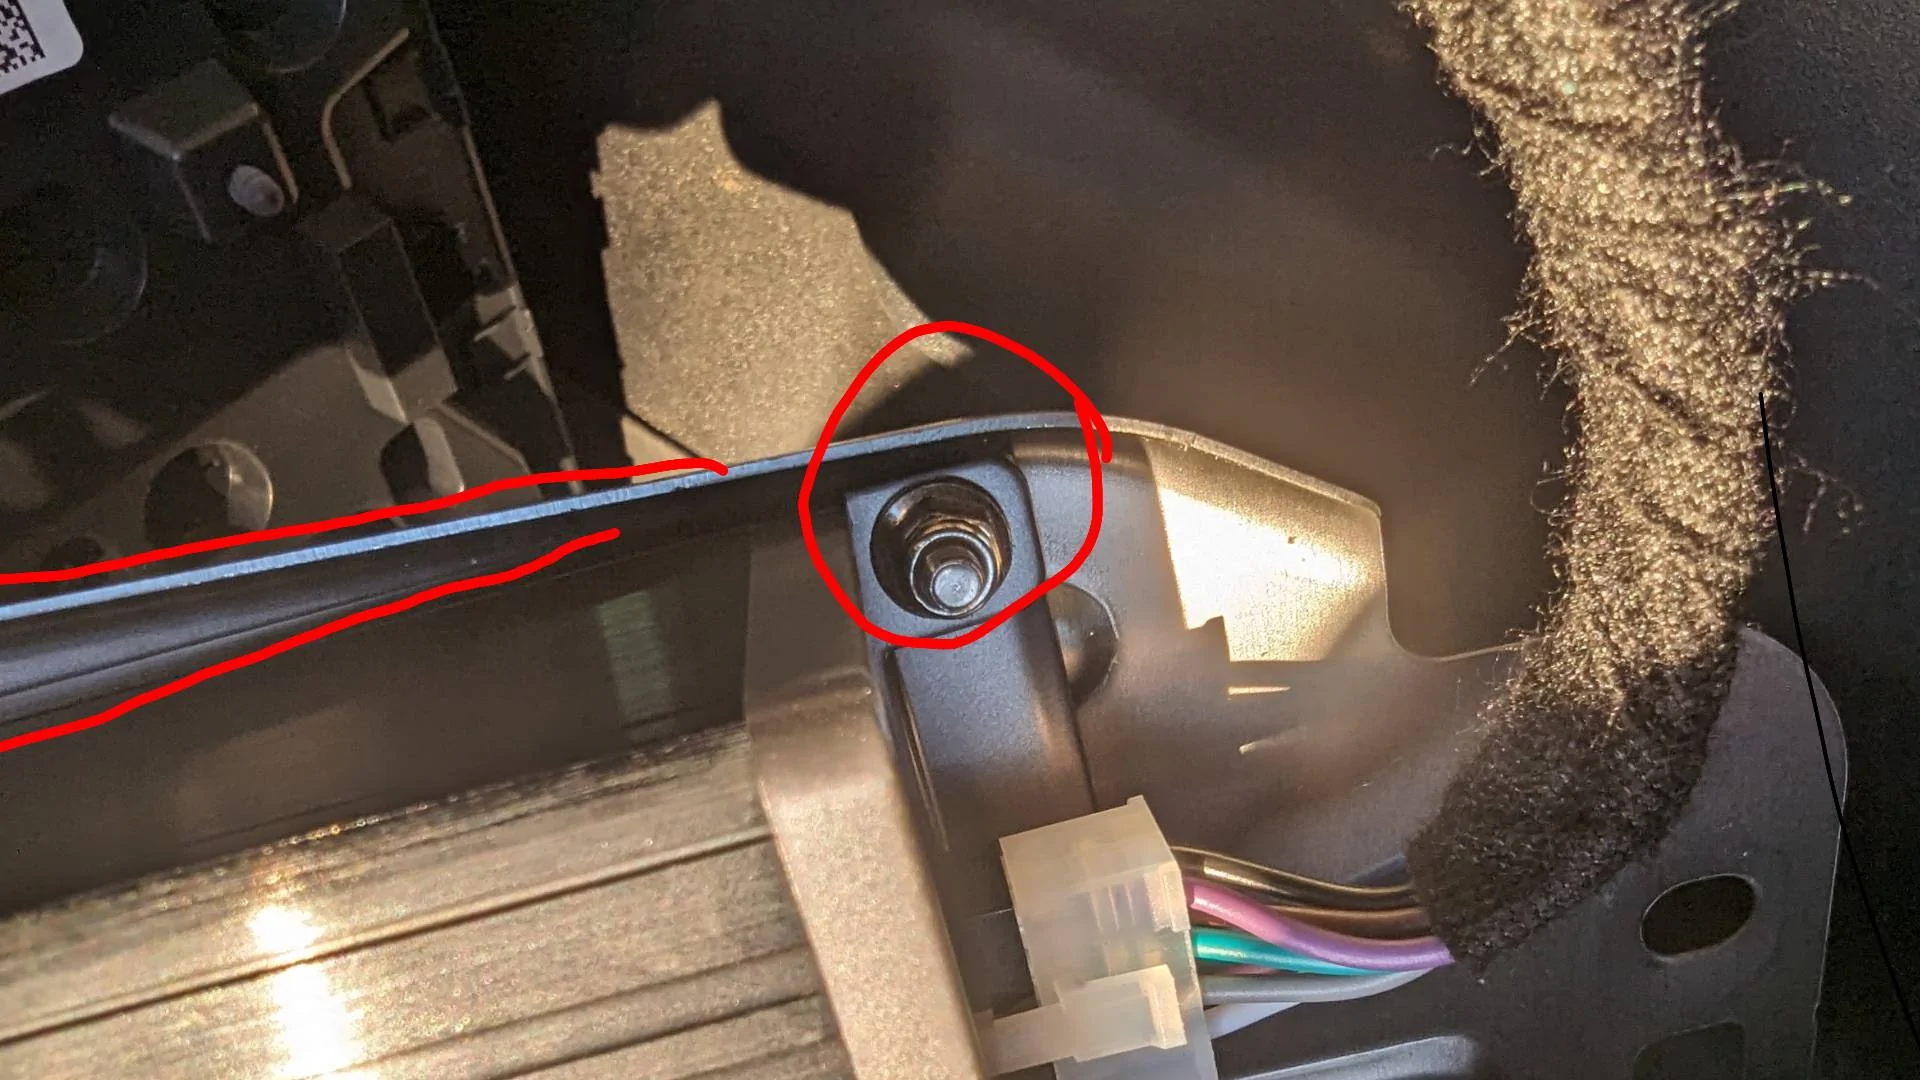
- Mounting of amp: Did not use sheet metal screws and no custom plate/bracket nor zip ties needed! Instead 2 socket pan head machine screws with nylock nuts. Just 2 (of the 4) on a diagonal cinched the amp down to the removable steel panel just under the steering wheel. Many reported sacrificing some vertical steering wheel adjustability. I was able to avoid this entirely with careful placement of the amp as shown below. It's just slightly off parallel to the edges and stiffener channels in the plate. I ran the dip switch side of the amp facing the passenger side. Pics below should help.

- The subwoofer must be disconnected to run the auto setup using the microphone. If not, after the auto setup process you will get the "sad tones" with 4 beeps after repeating indicating "Auto EQ failed" (manual not helpful...). The quickest way to effectively disconnect the sub is to pull fuse 146.
- It is not in the Kicker manual but managed to dig up the gain set procedure somewhere, which is: Play a familiar song louder and louder (via head unit volume) until you hear distortion then back off just enough to eliminate the distortion. Next while head unit is still at this max "clean" volume, turn up the amp gain (you should have zeroed both gains on amp prior to auto setup with mic) until distortion comes again, back off gain slightly until it goes away. There are yellow LED lights that come on and seem to coincide with the onset of distortion. These are called the "LIMITER LED". Do the same for each of the 2 gain adjusters. Procedure in manual is similar but not identical.
- Profit. Like most others, I do not see the need to replace any of the factory speakers, sub or sub amp after this upgrade.
Last edited:
OP
OP
- Thread starter
- #25
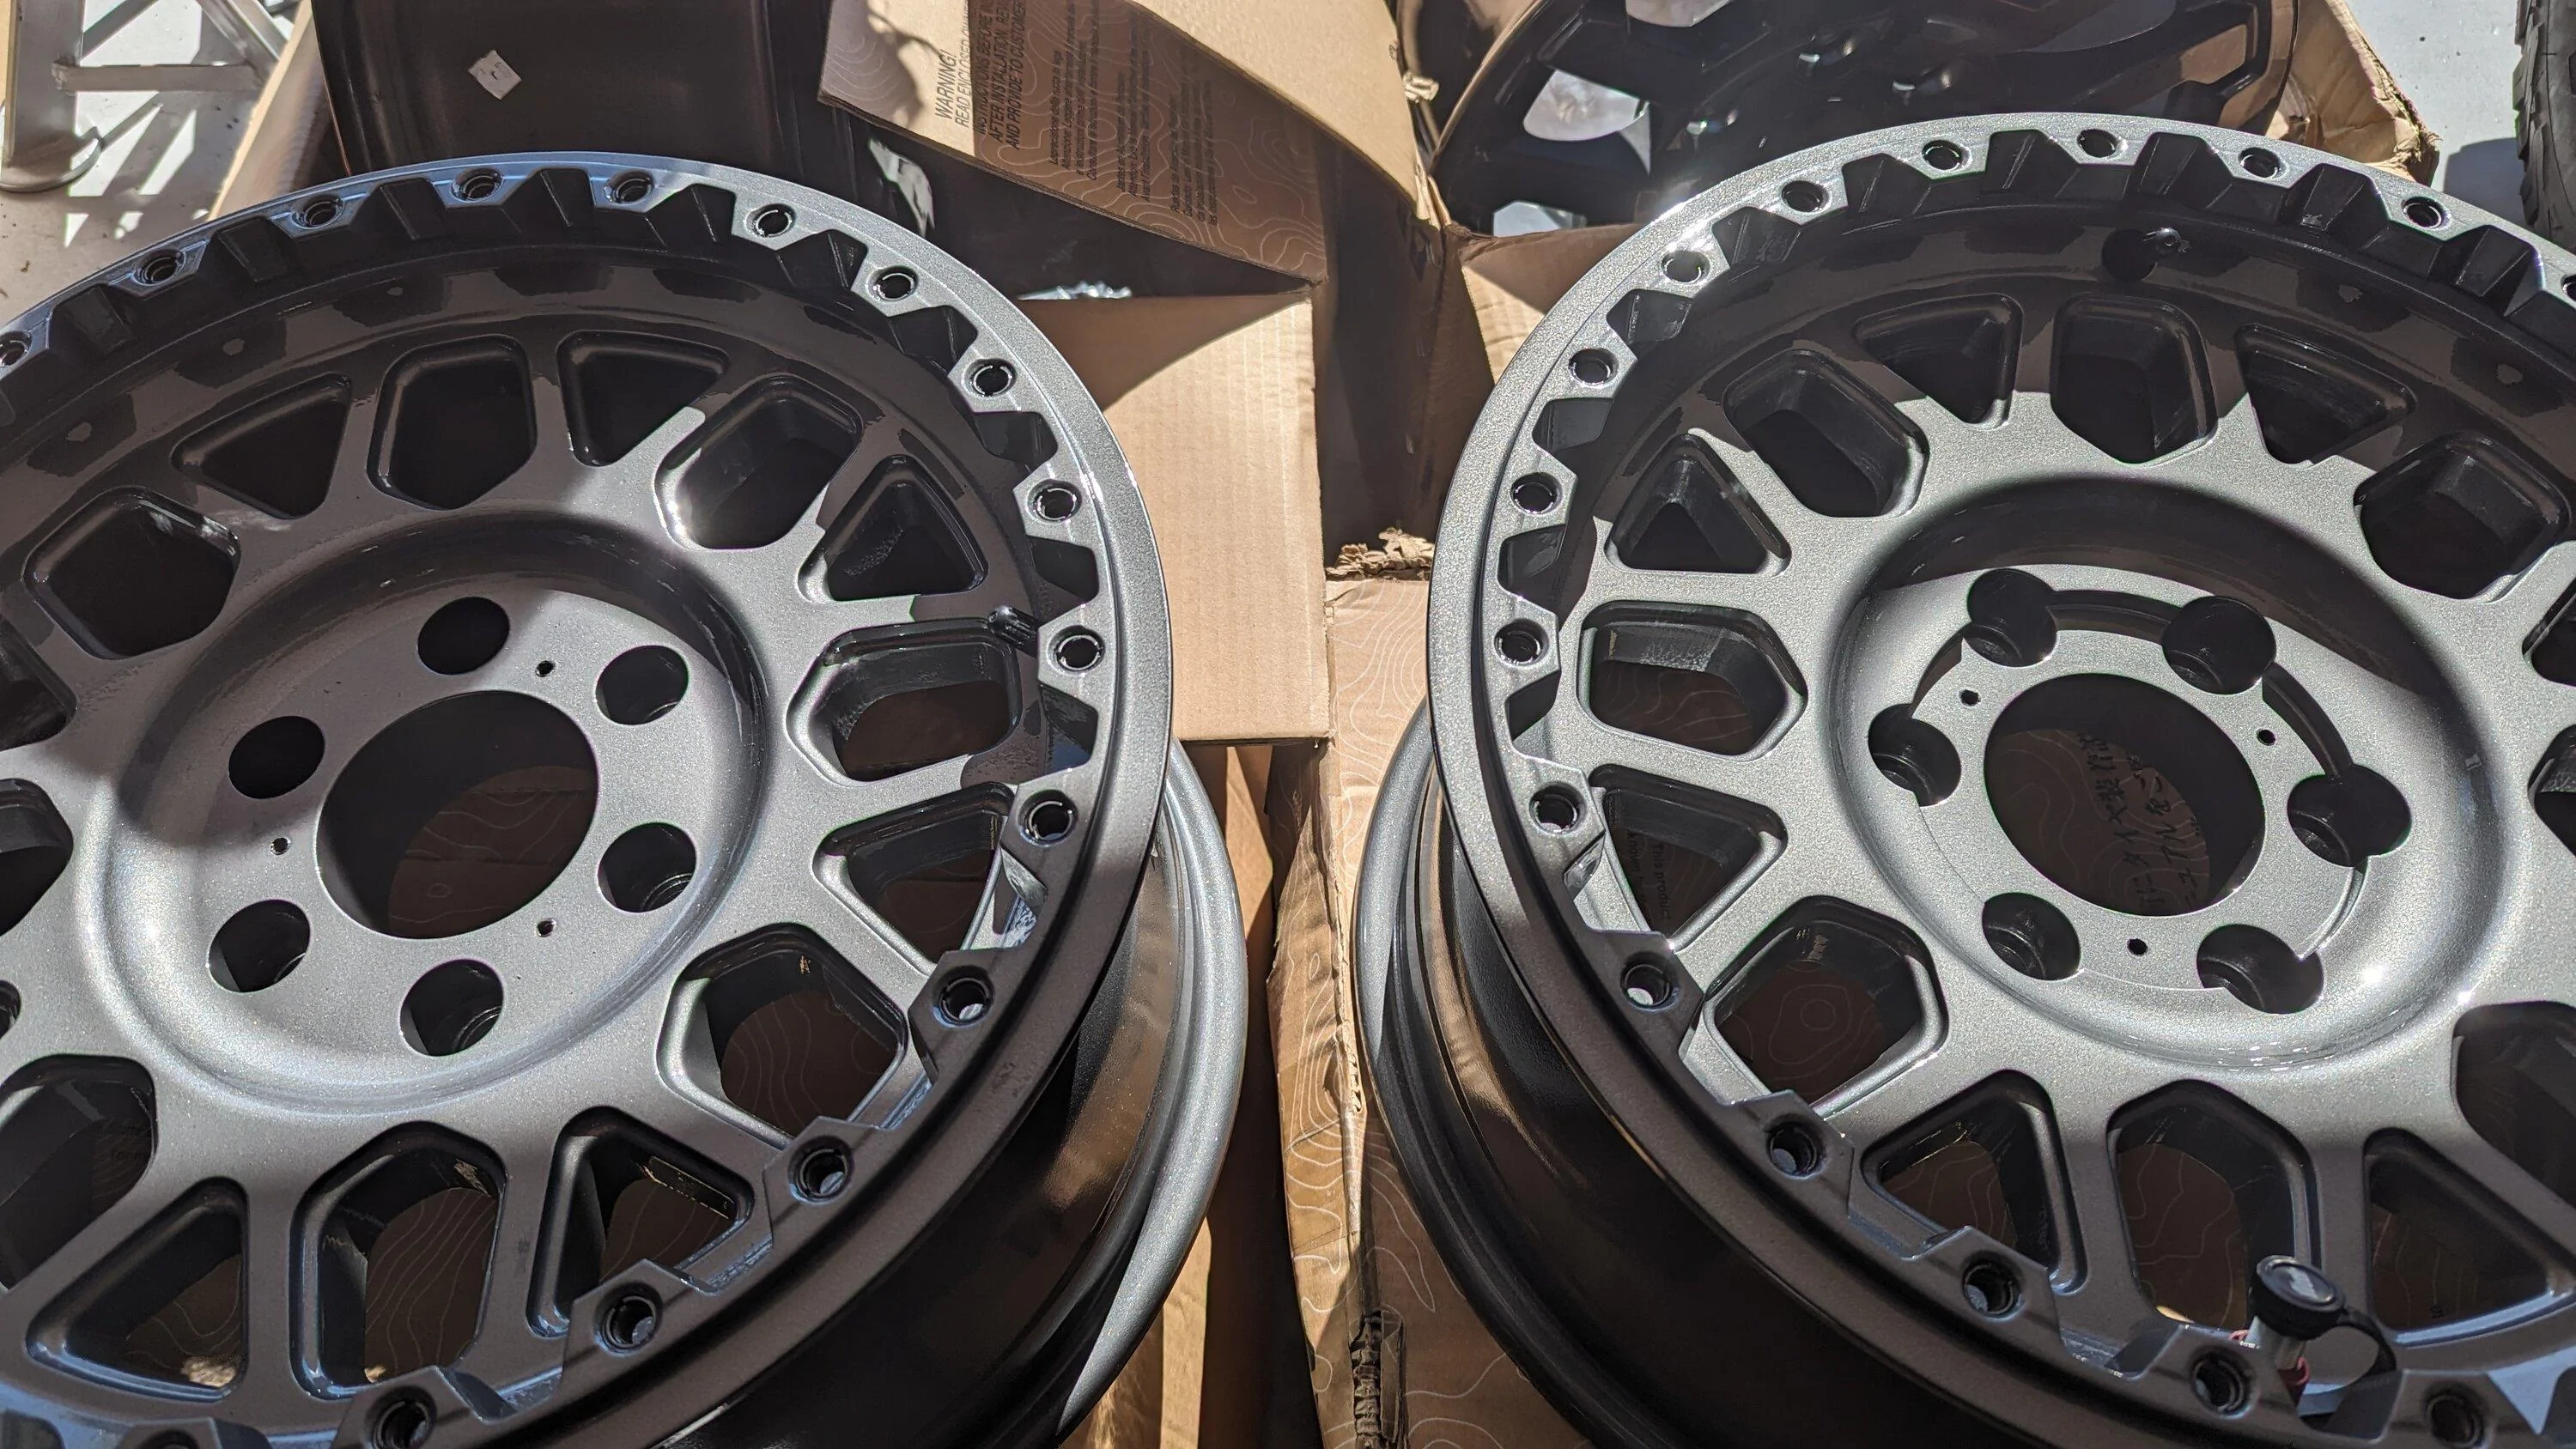
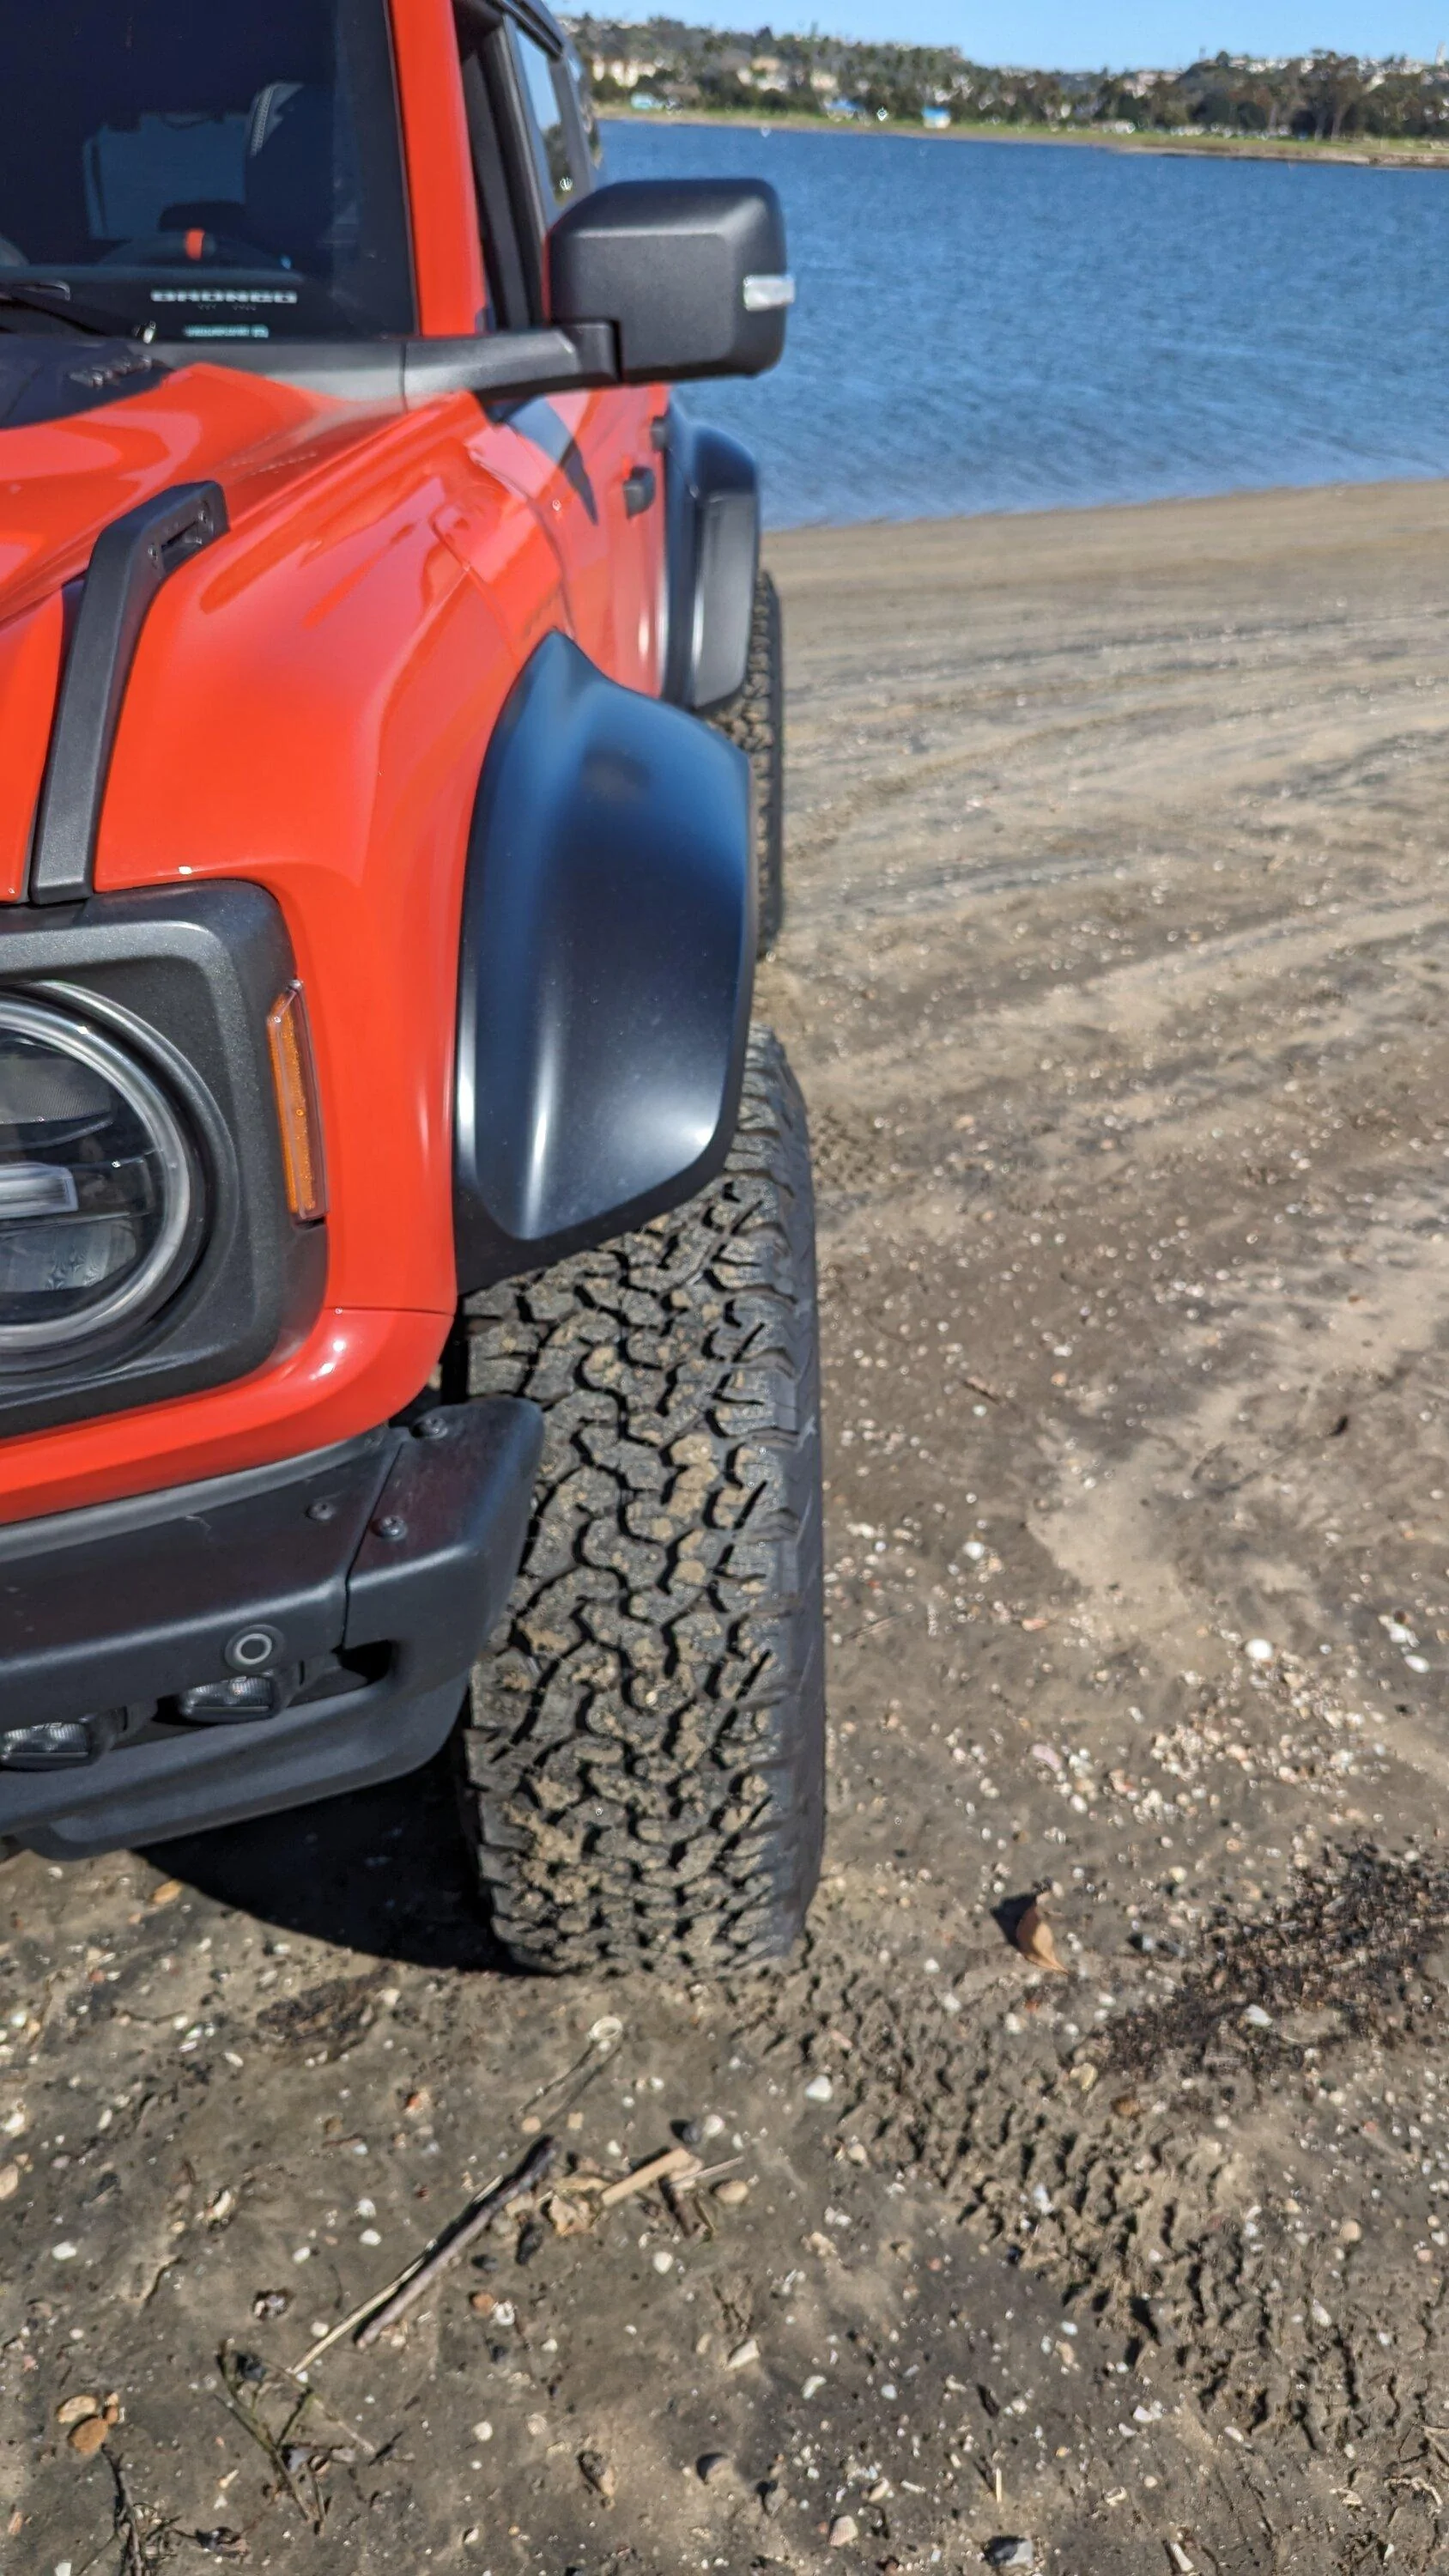
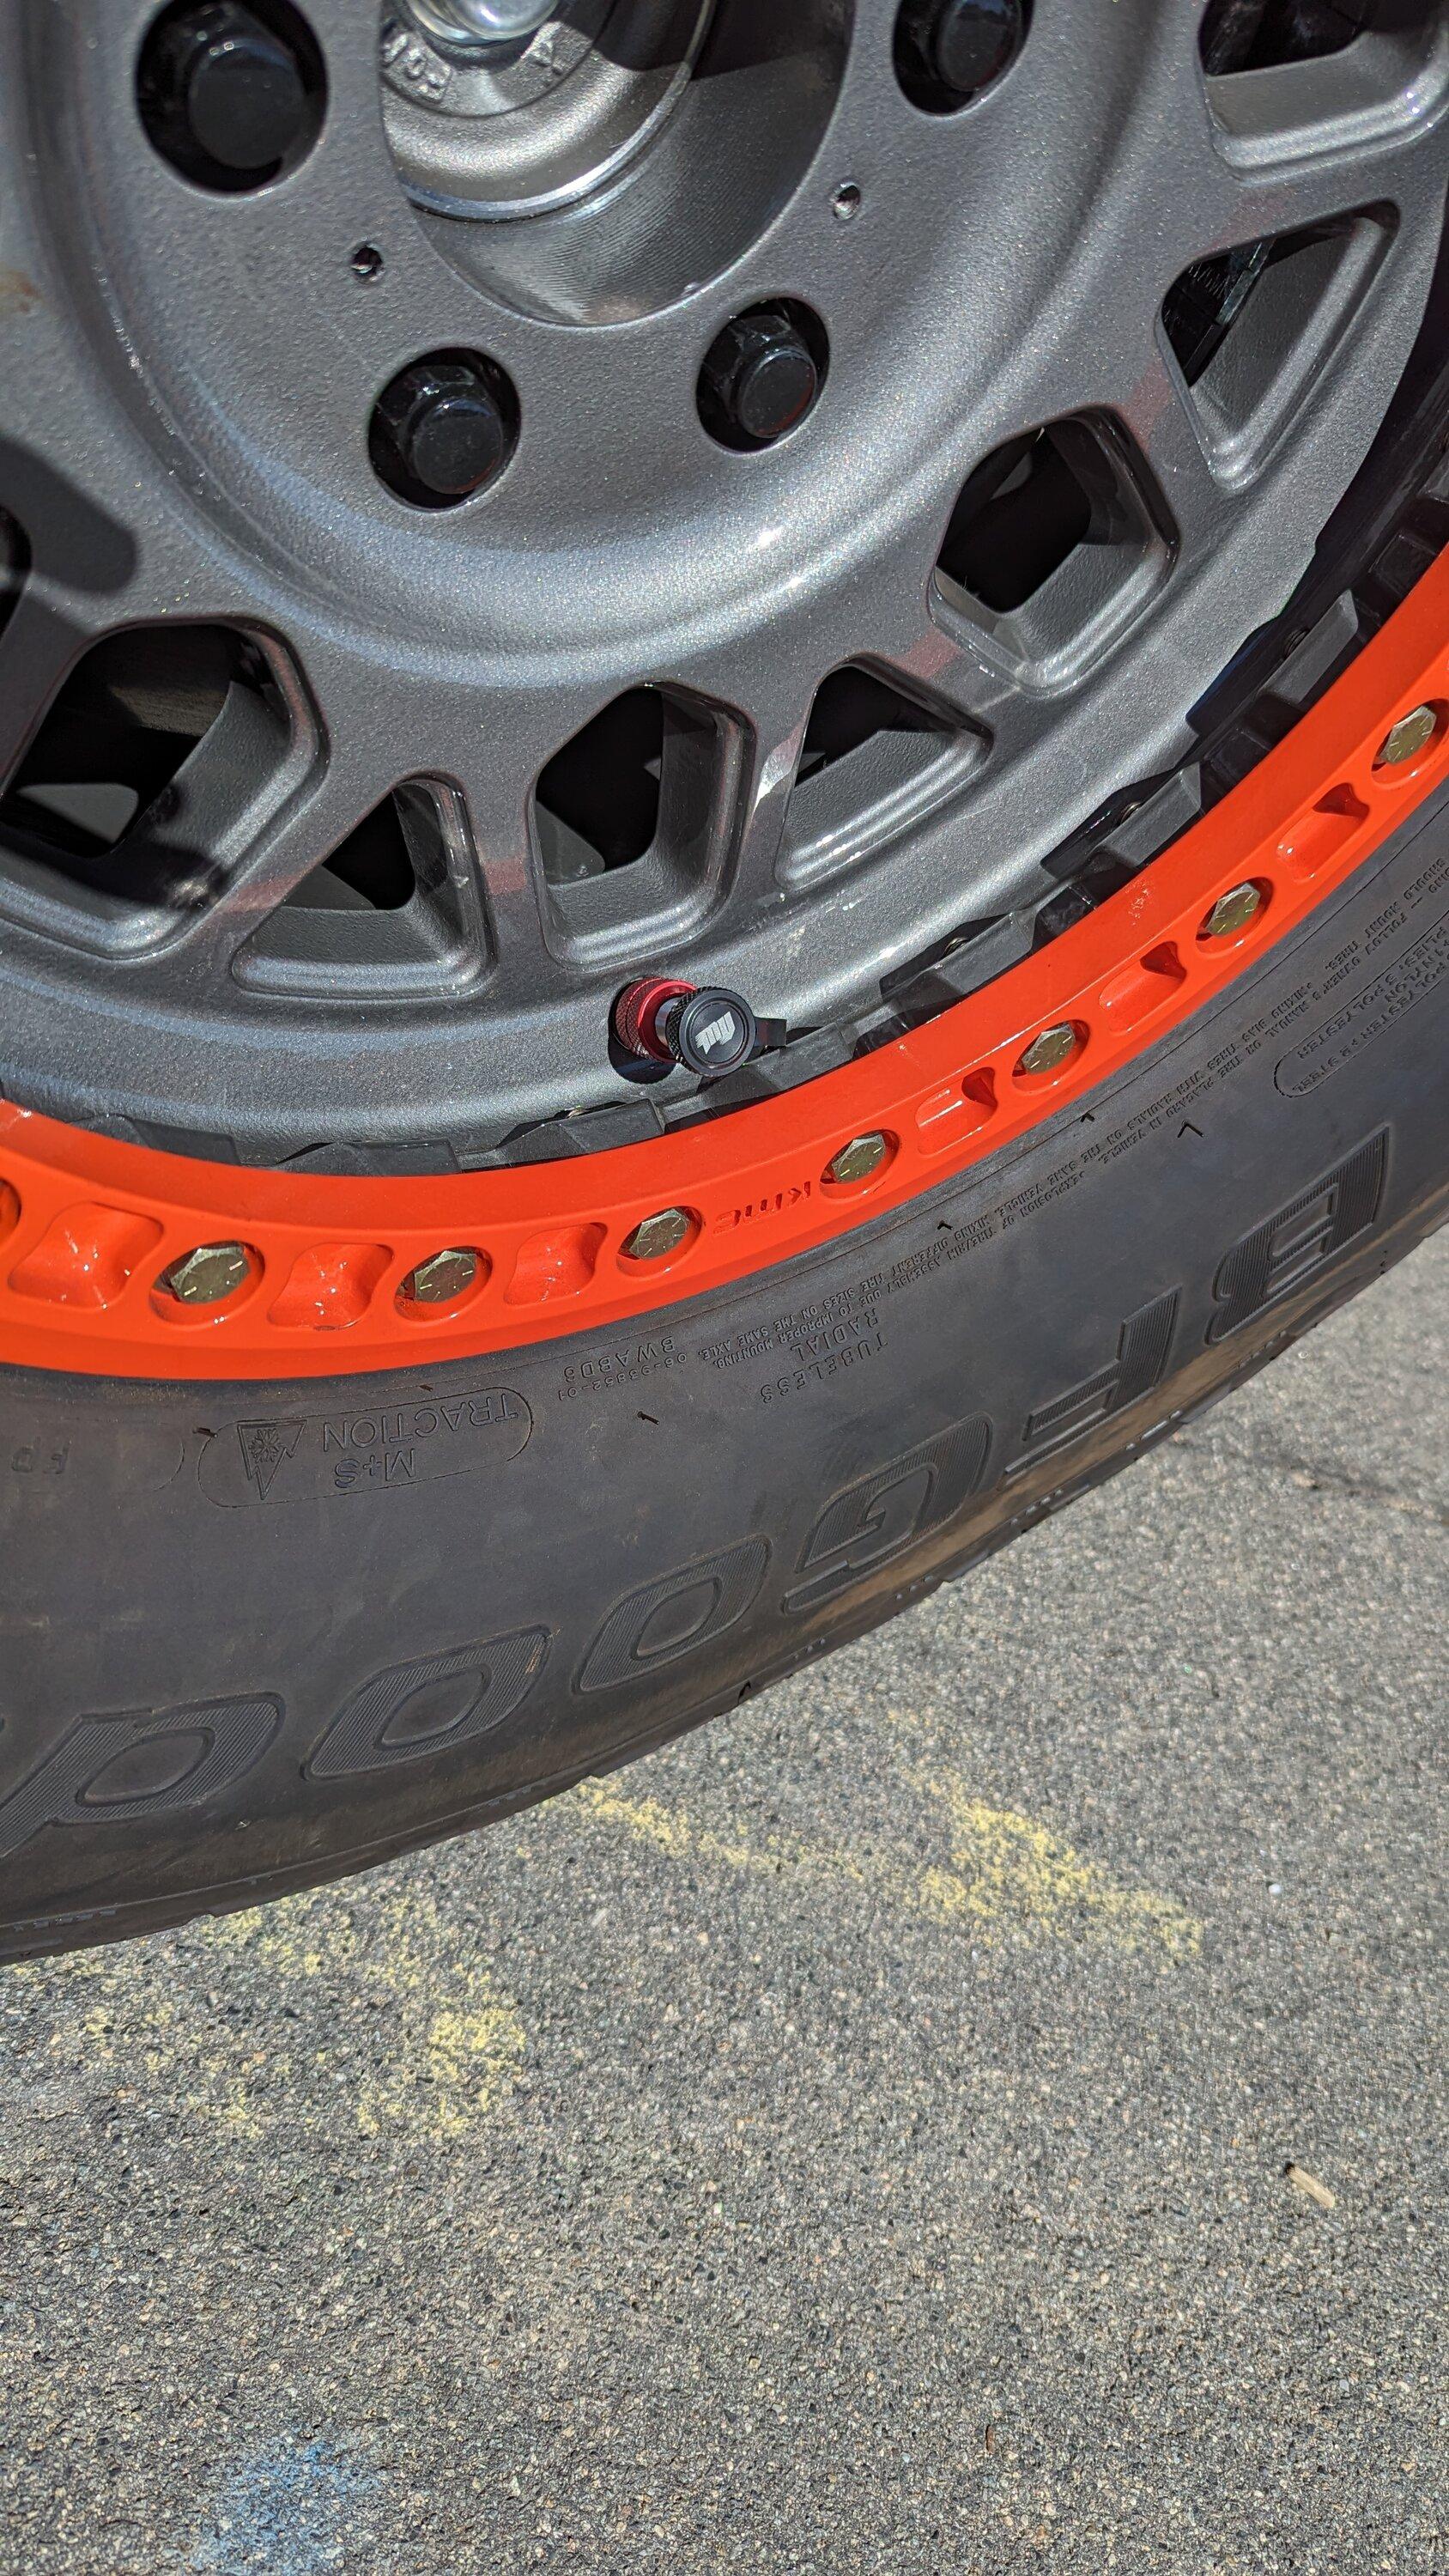
KMC Grenade Desert Wheels:
Custom powder coated Anthracite (metallic) plus clear coat and orange bead lock rings (no clear coat). Tried to match the hardtop for the wheel and body for the rings. Wheels matched much better w/o clear but still looks great IMHO. The wheels started off semi-gloss black and although I'm a big fan of black wheels, I wanted something to show off this beautiful spoked design better than black.
Lugs were a bit painful to find (NAPA). These are 1.9" long. 2.4" would have looked better but no narrow sockets will fit the 7/8 lug size on that length.
Plan to refinish center caps to match soon.
KMC sent 20 too few pieces of hardware (got the missing ones shipped very fast). Then when mounting the last wheel I noticed I got a mismatched wheel. Of course only noticed post powder coating...
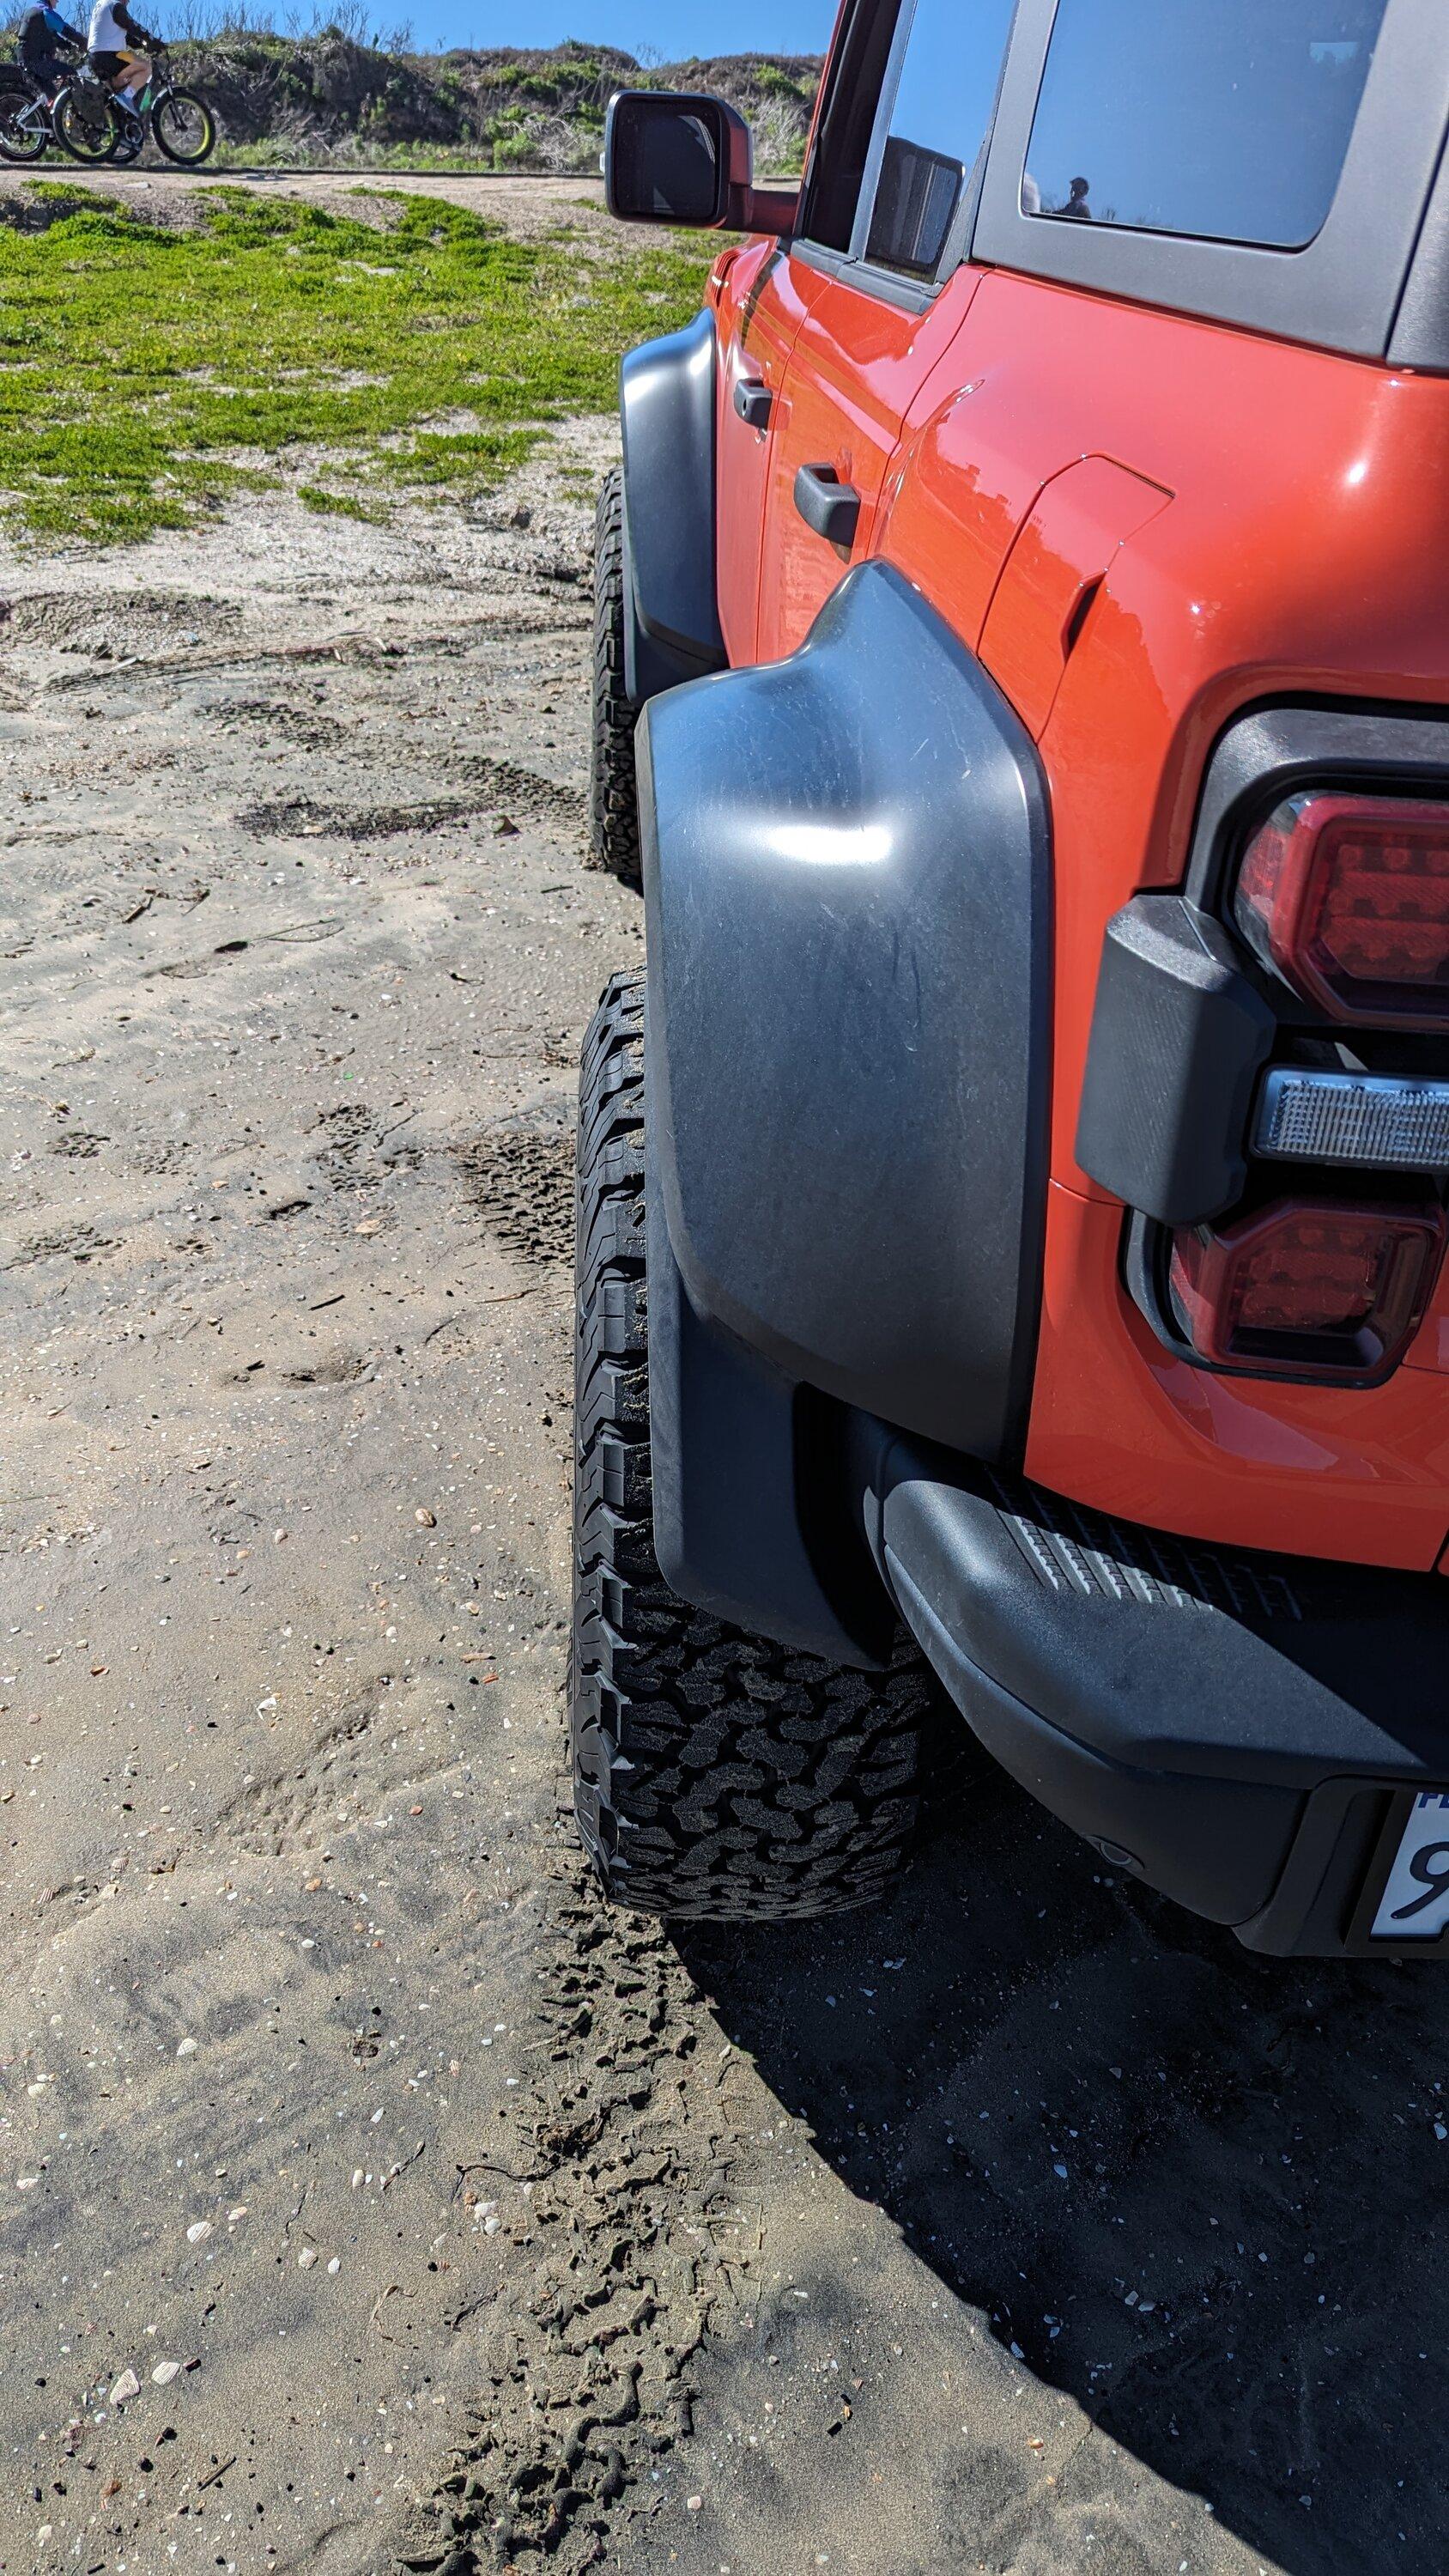
These are 0 offset so they add some width and poke, 1.3" per side. Perhaps a bit more poke than I'd prefer on the rear but fronts look great.
Monster Valves of course!
For the weight nerds:

Custom powder coated Anthracite (metallic) plus clear coat and orange bead lock rings (no clear coat). Tried to match the hardtop for the wheel and body for the rings. Wheels matched much better w/o clear but still looks great IMHO. The wheels started off semi-gloss black and although I'm a big fan of black wheels, I wanted something to show off this beautiful spoked design better than black.

Lugs were a bit painful to find (NAPA). These are 1.9" long. 2.4" would have looked better but no narrow sockets will fit the 7/8 lug size on that length.
Plan to refinish center caps to match soon.
KMC sent 20 too few pieces of hardware (got the missing ones shipped very fast). Then when mounting the last wheel I noticed I got a mismatched wheel. Of course only noticed post powder coating...
These are 0 offset so they add some width and poke, 1.3" per side. Perhaps a bit more poke than I'd prefer on the rear but fronts look great.
Monster Valves of course!
For the weight nerds:
- Factory non-beadlock capable: 30.75 lb
- KMC without ring/hardware: 34.5 lb (wanted this number as a more apples to apples ax to wheel strength)
- KMC complete: 39.75 lb
- KMC with factory rubber: 113 lb
- This indicates a 73 lb tire, spec is only 65. That's a 12% delta. I used a very accurate load cell scale not a bathroom unit...
Last edited:
Sponsored
OP
OP
- Thread starter
- #26
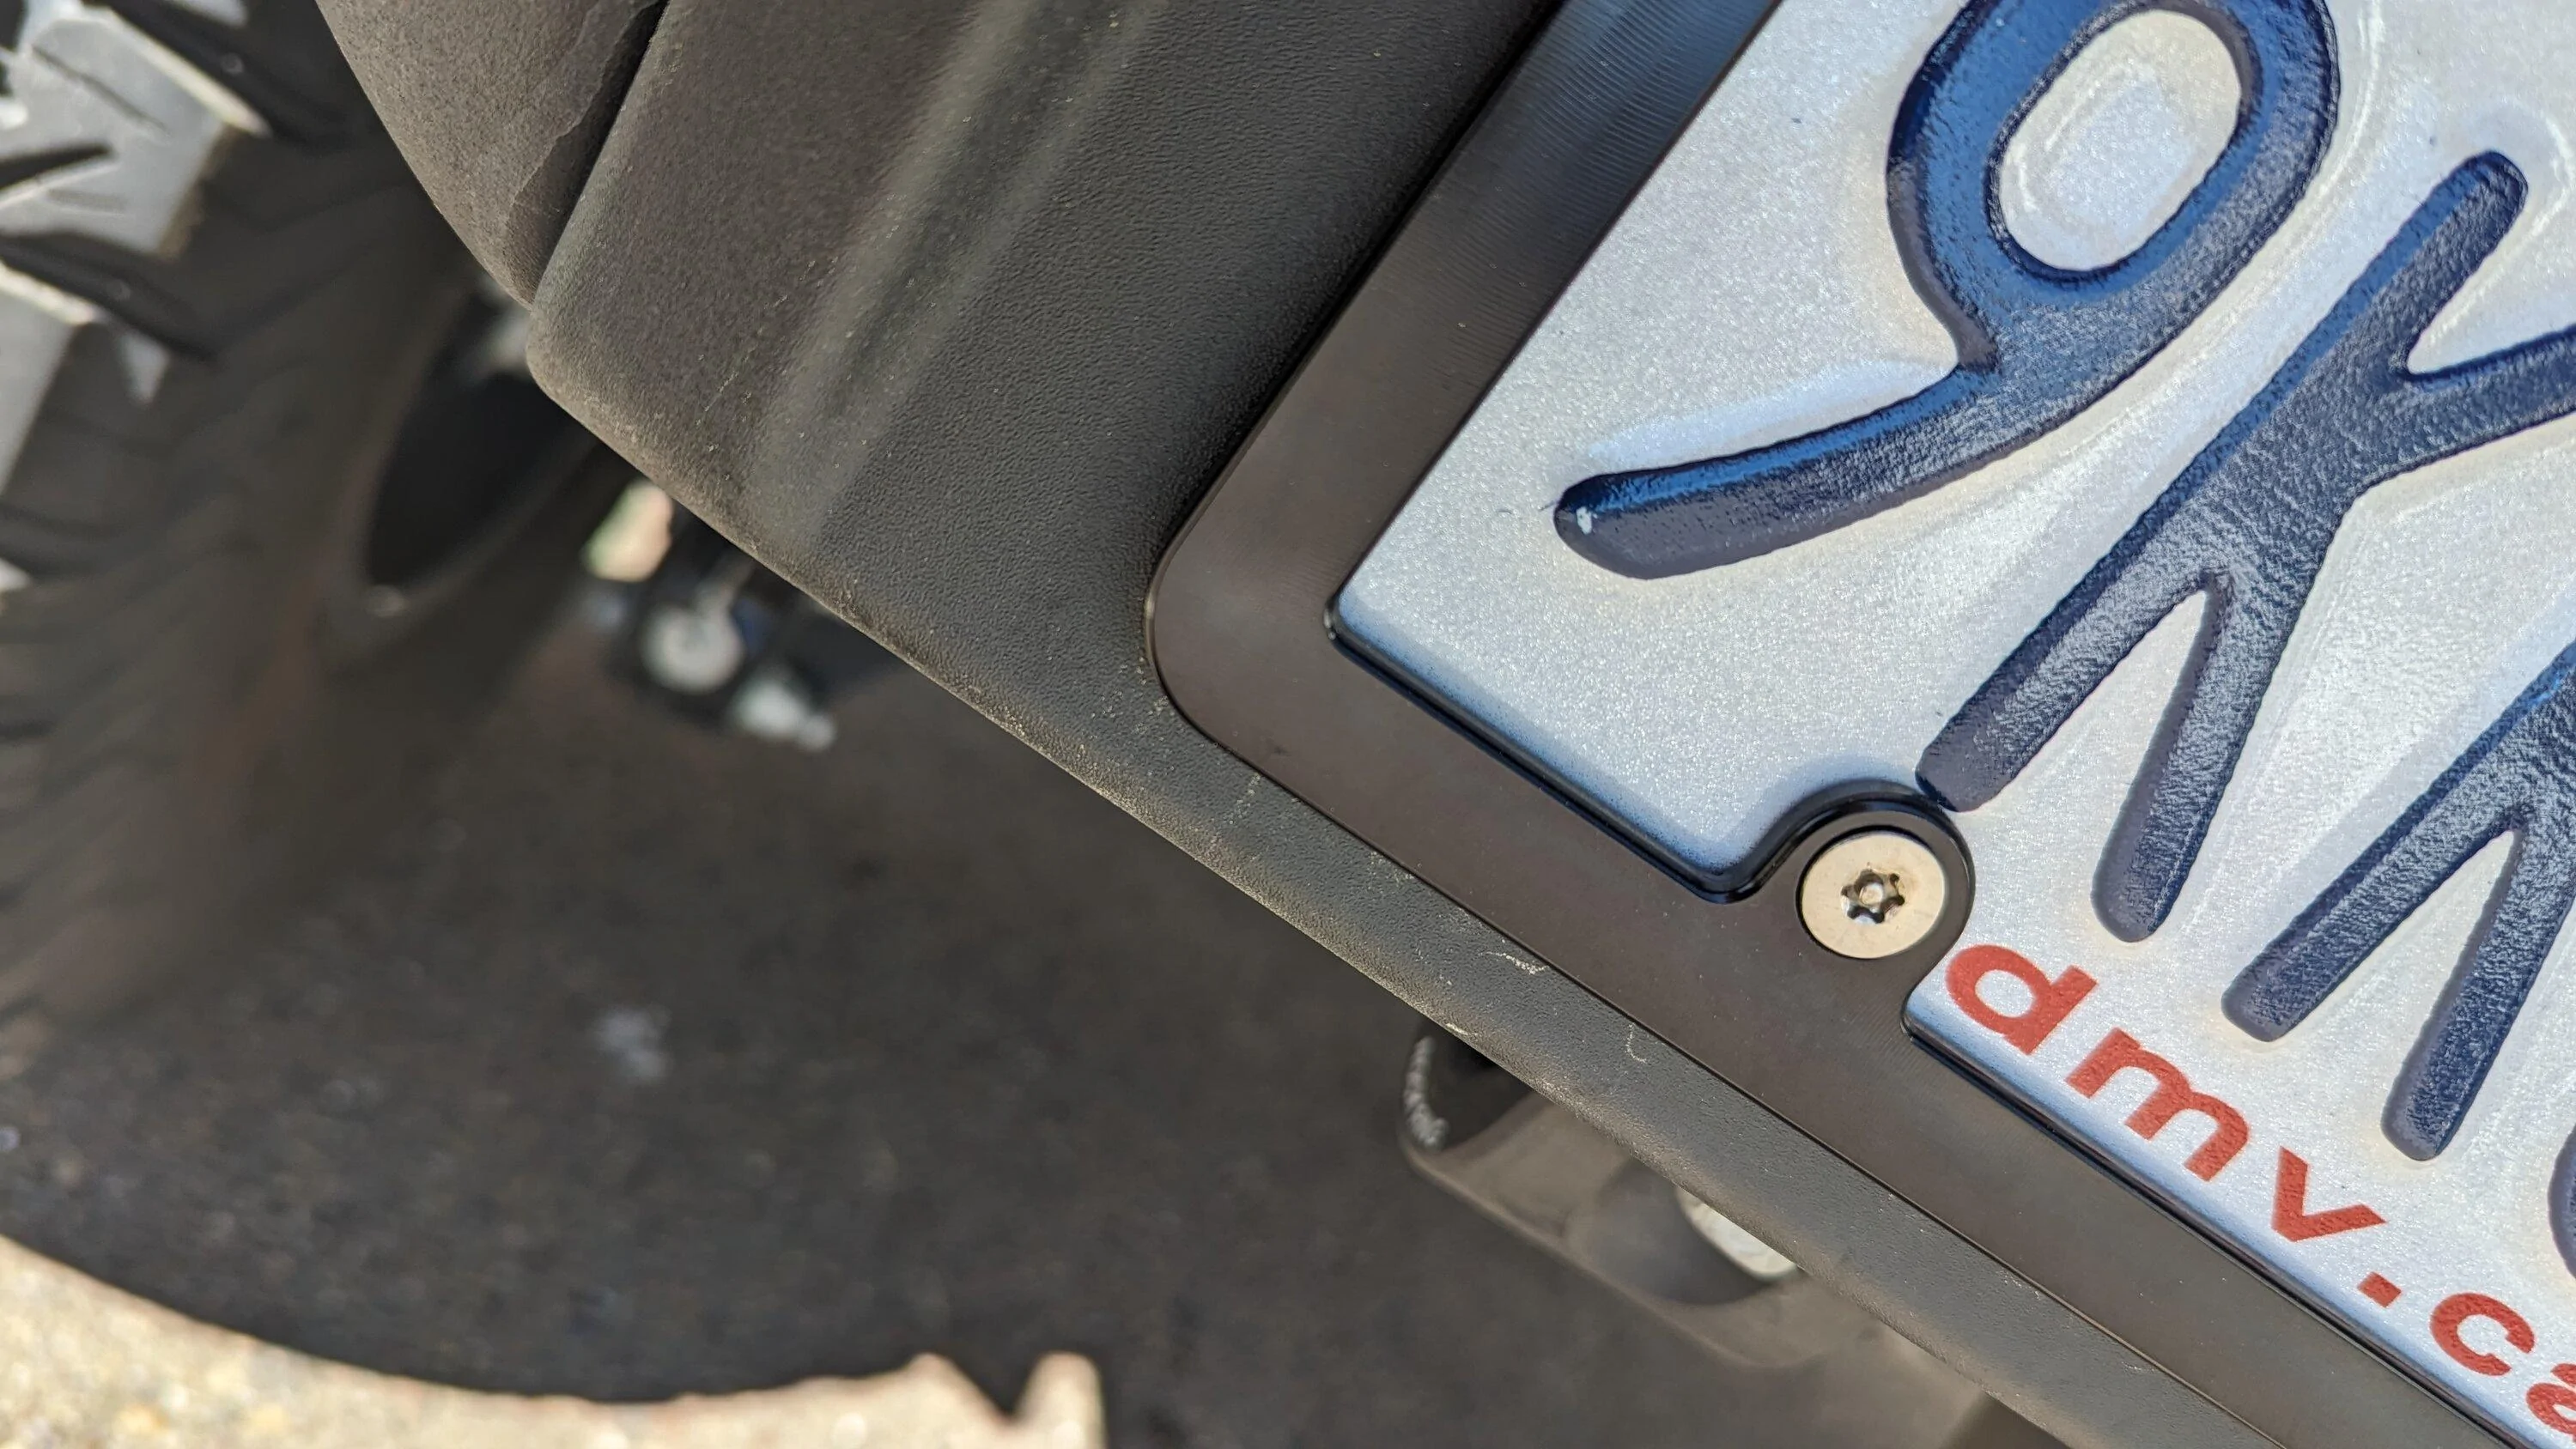
ROCKWORX and HMC Billet:
MIC top bolts in limited edition grey and black CNC billet aluminum license plate frame with tamper proof stainless steel bolts. So clean!
MIC top bolts in limited edition grey and black CNC billet aluminum license plate frame with tamper proof stainless steel bolts. So clean!
OP
OP
- Thread starter
- #27
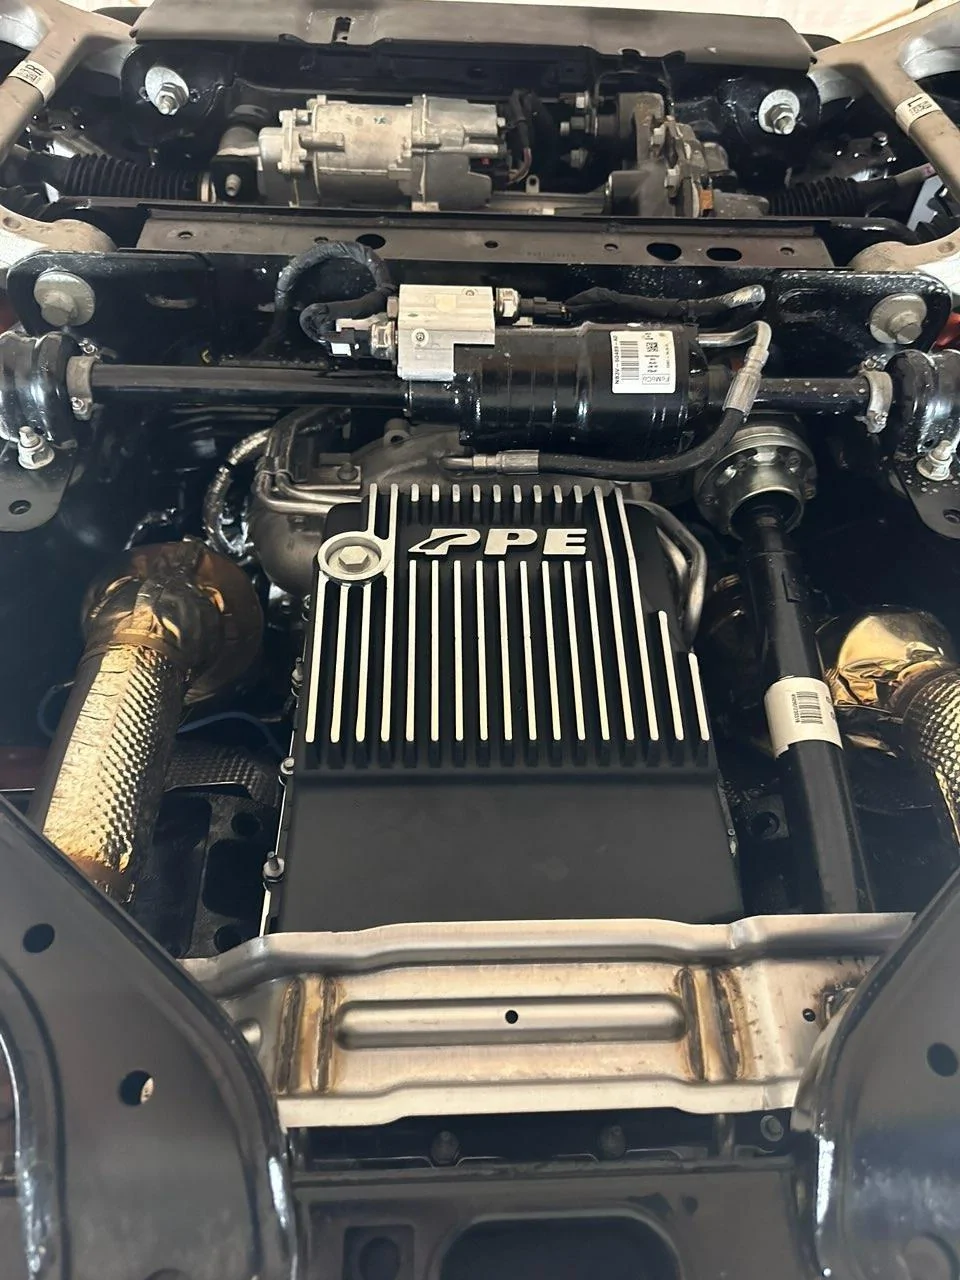
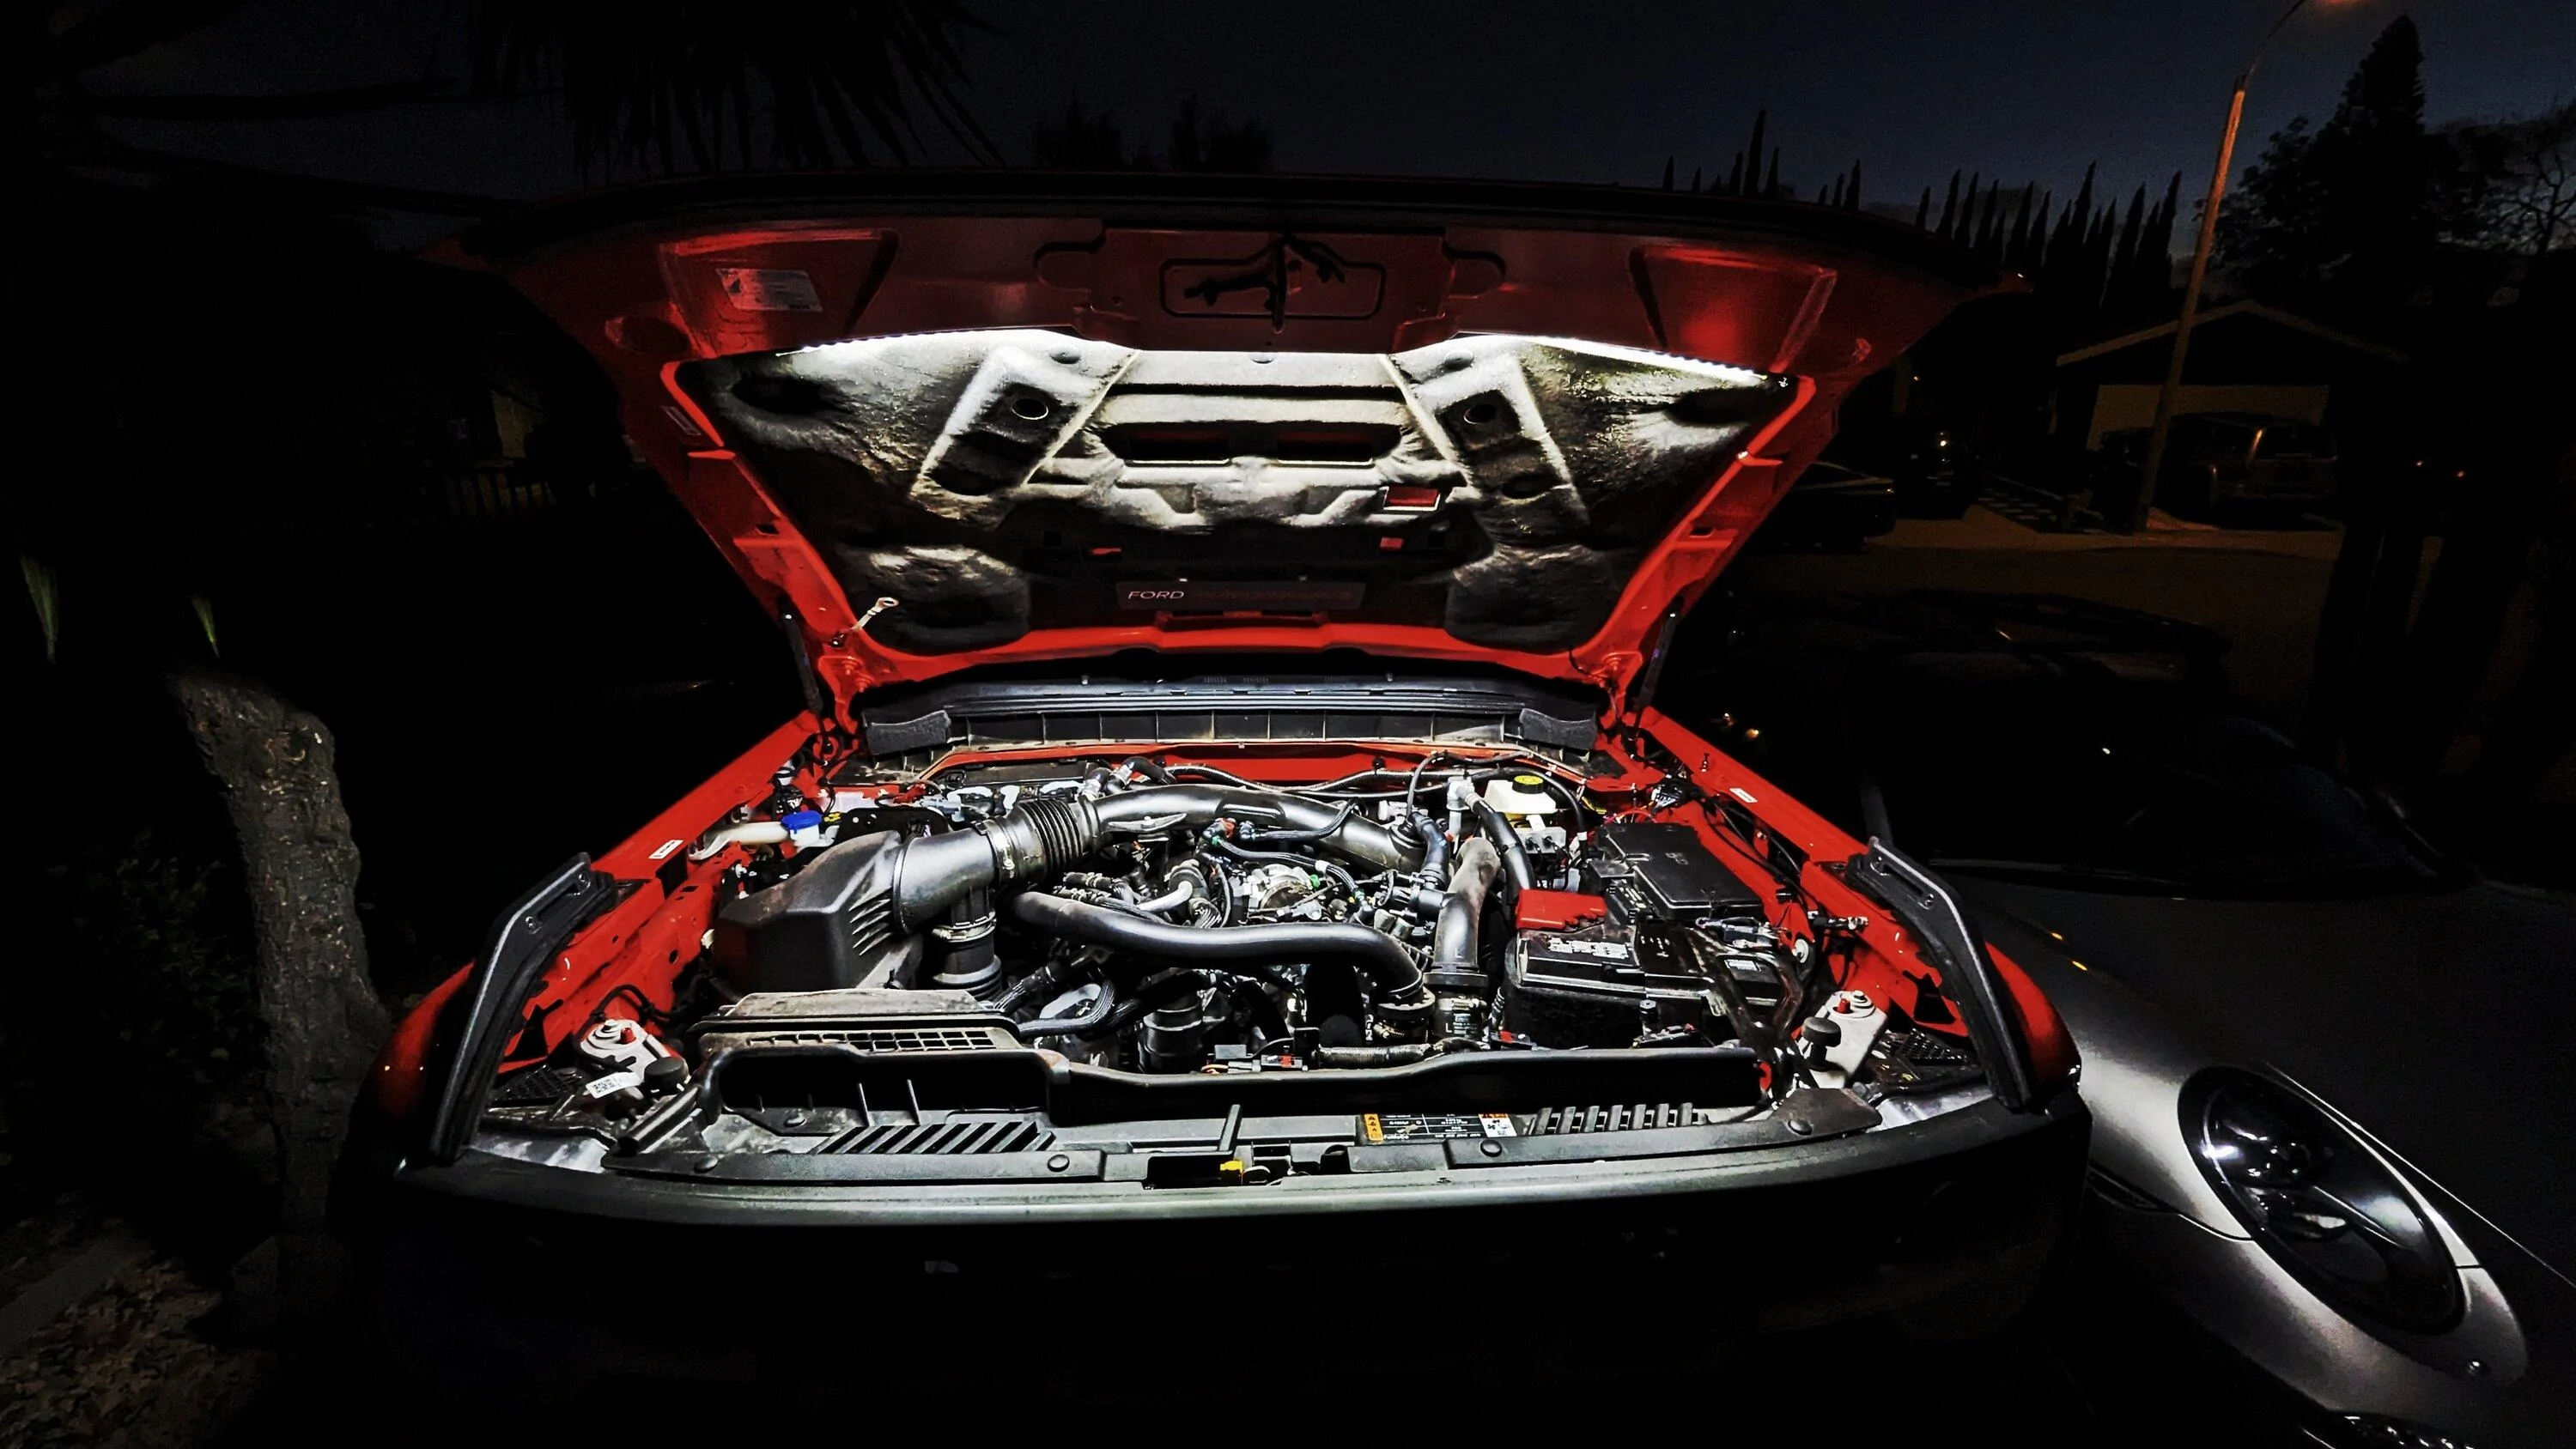
Yota Nation Underhood Light Kit:
I shopped around quite a bit sifting through dozens of cheap Chinese kits. This one isn't. Very nice build and components. Includes a stainless steel plunger switch and push button over ride switch. The light strip and cable tie squares have genuine 3M VHB (very high bond) tape. Also includes protective cable sheath, heat shrink, etc..
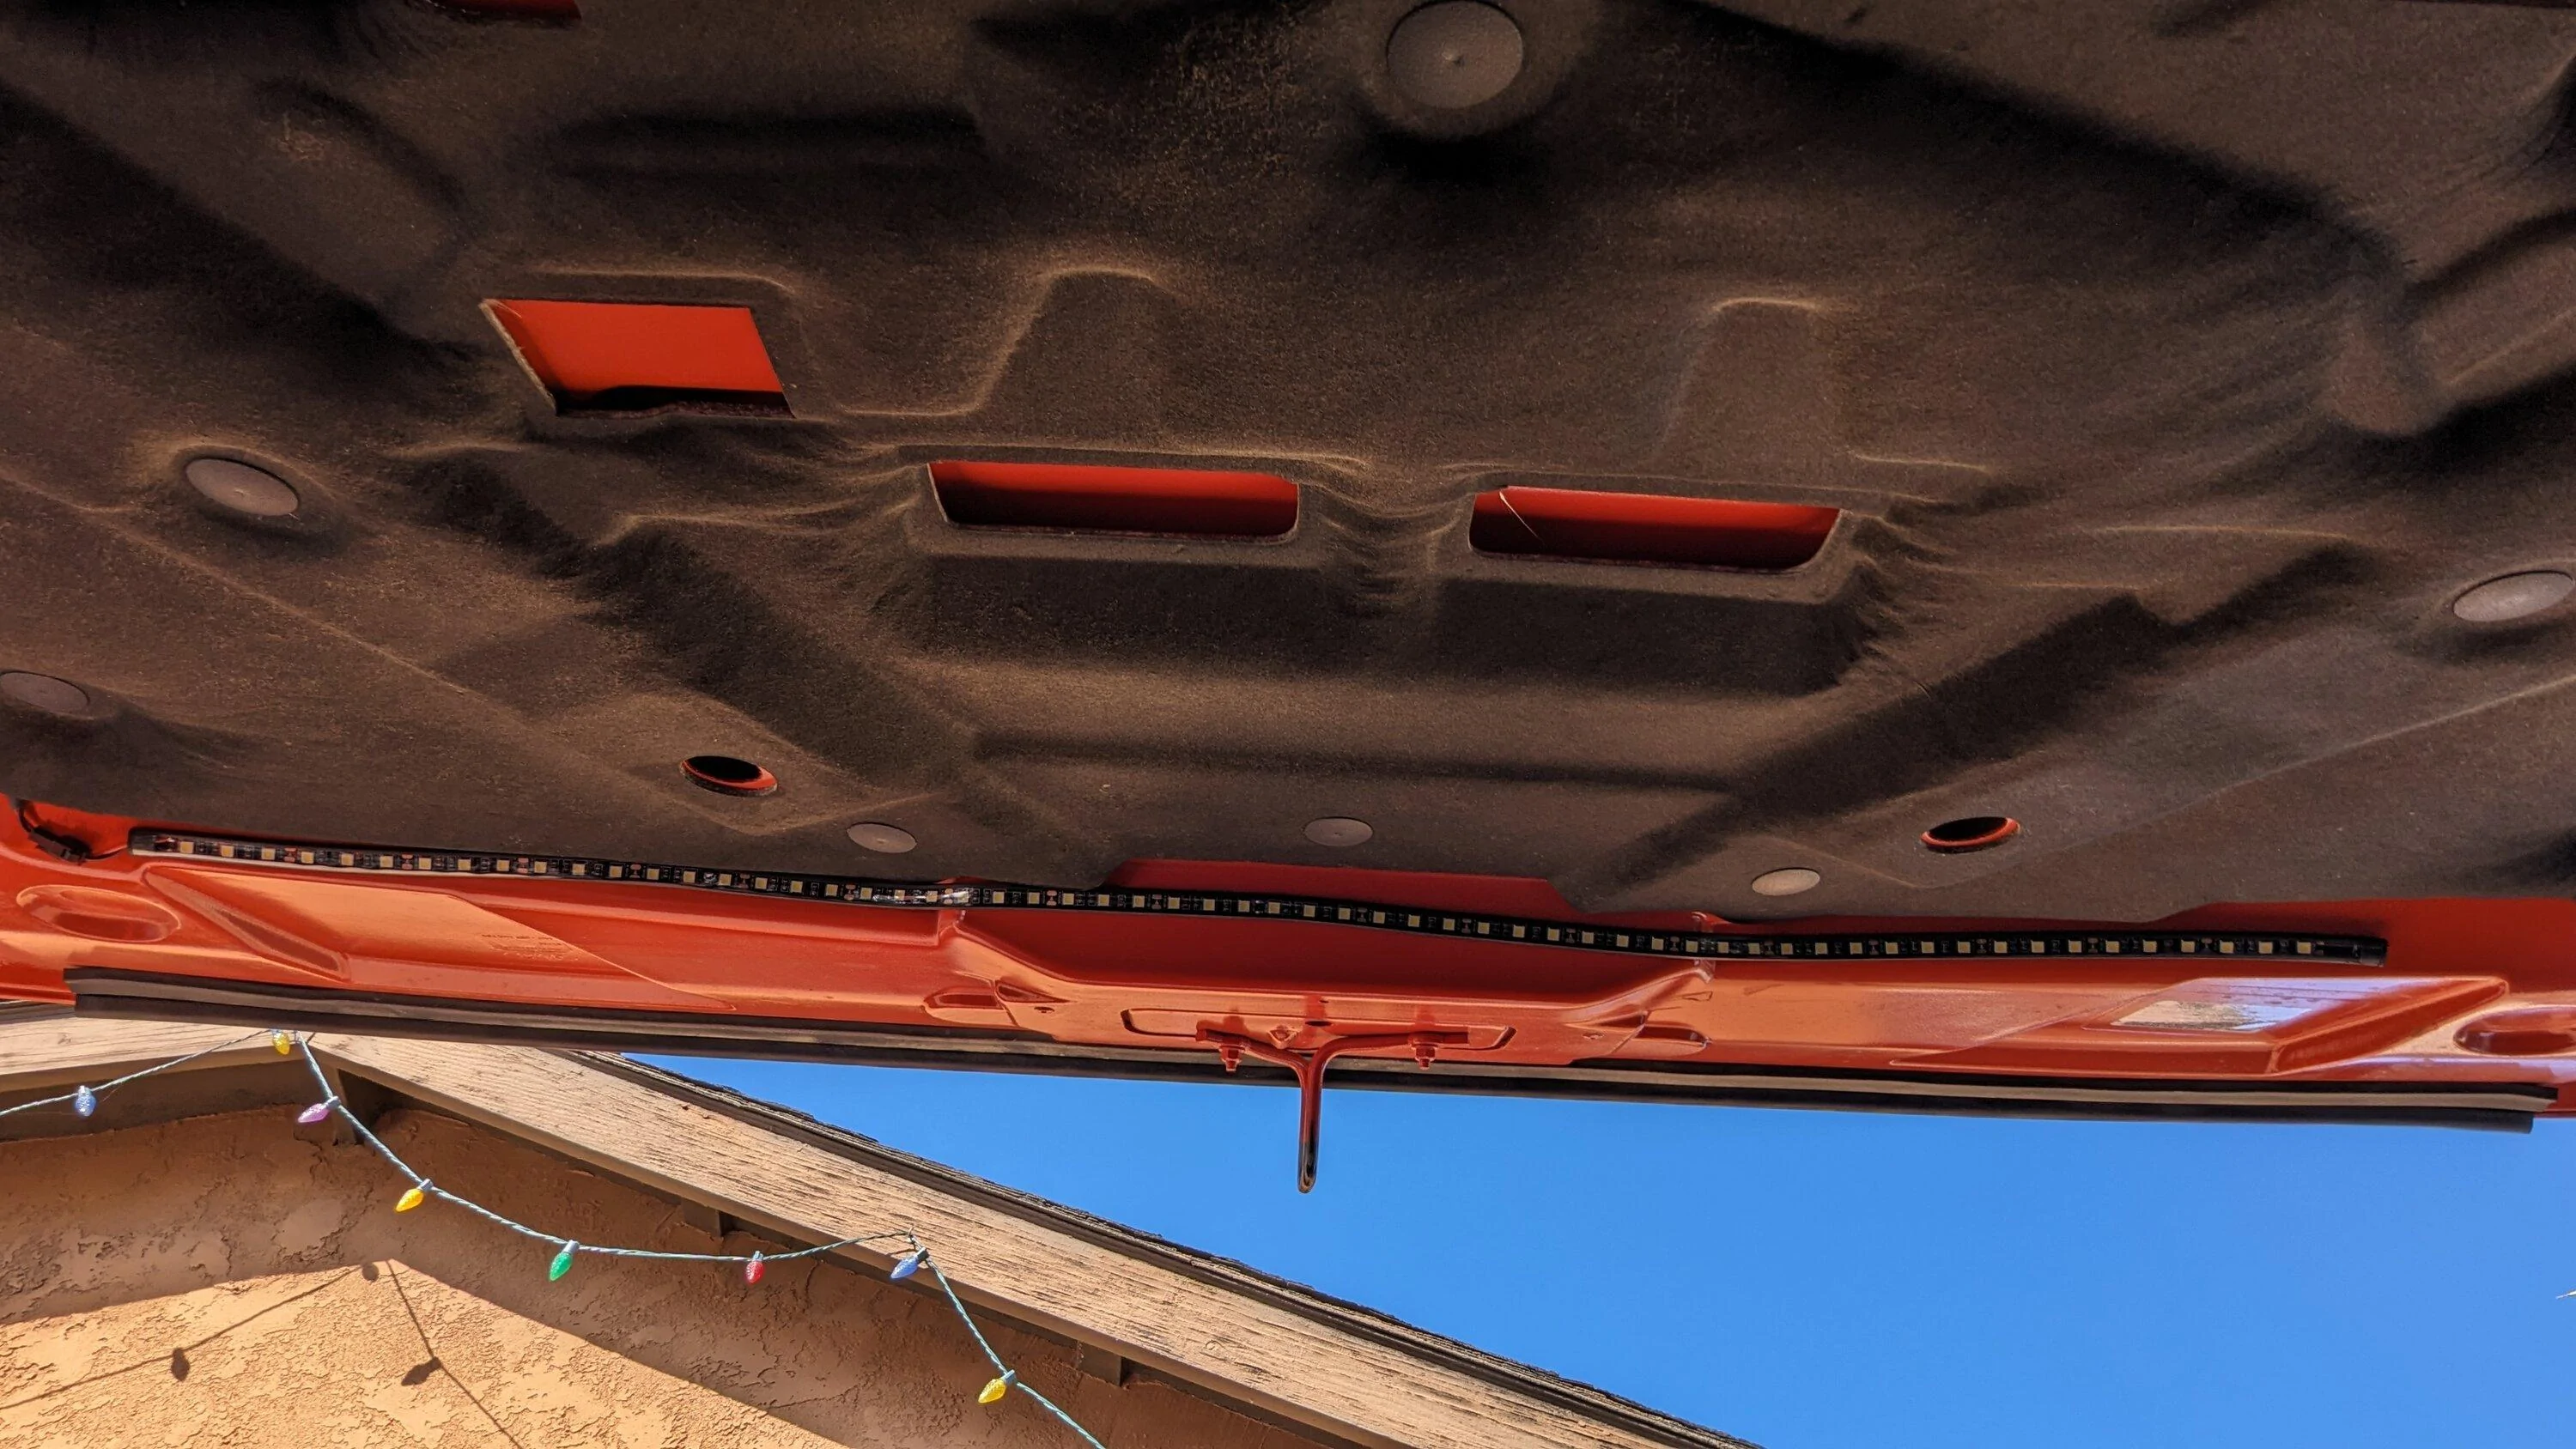
The hood has a great "shelf" tailor made for the LED strip that keeps the light pointed at the engine compartment and out of one's eyes.
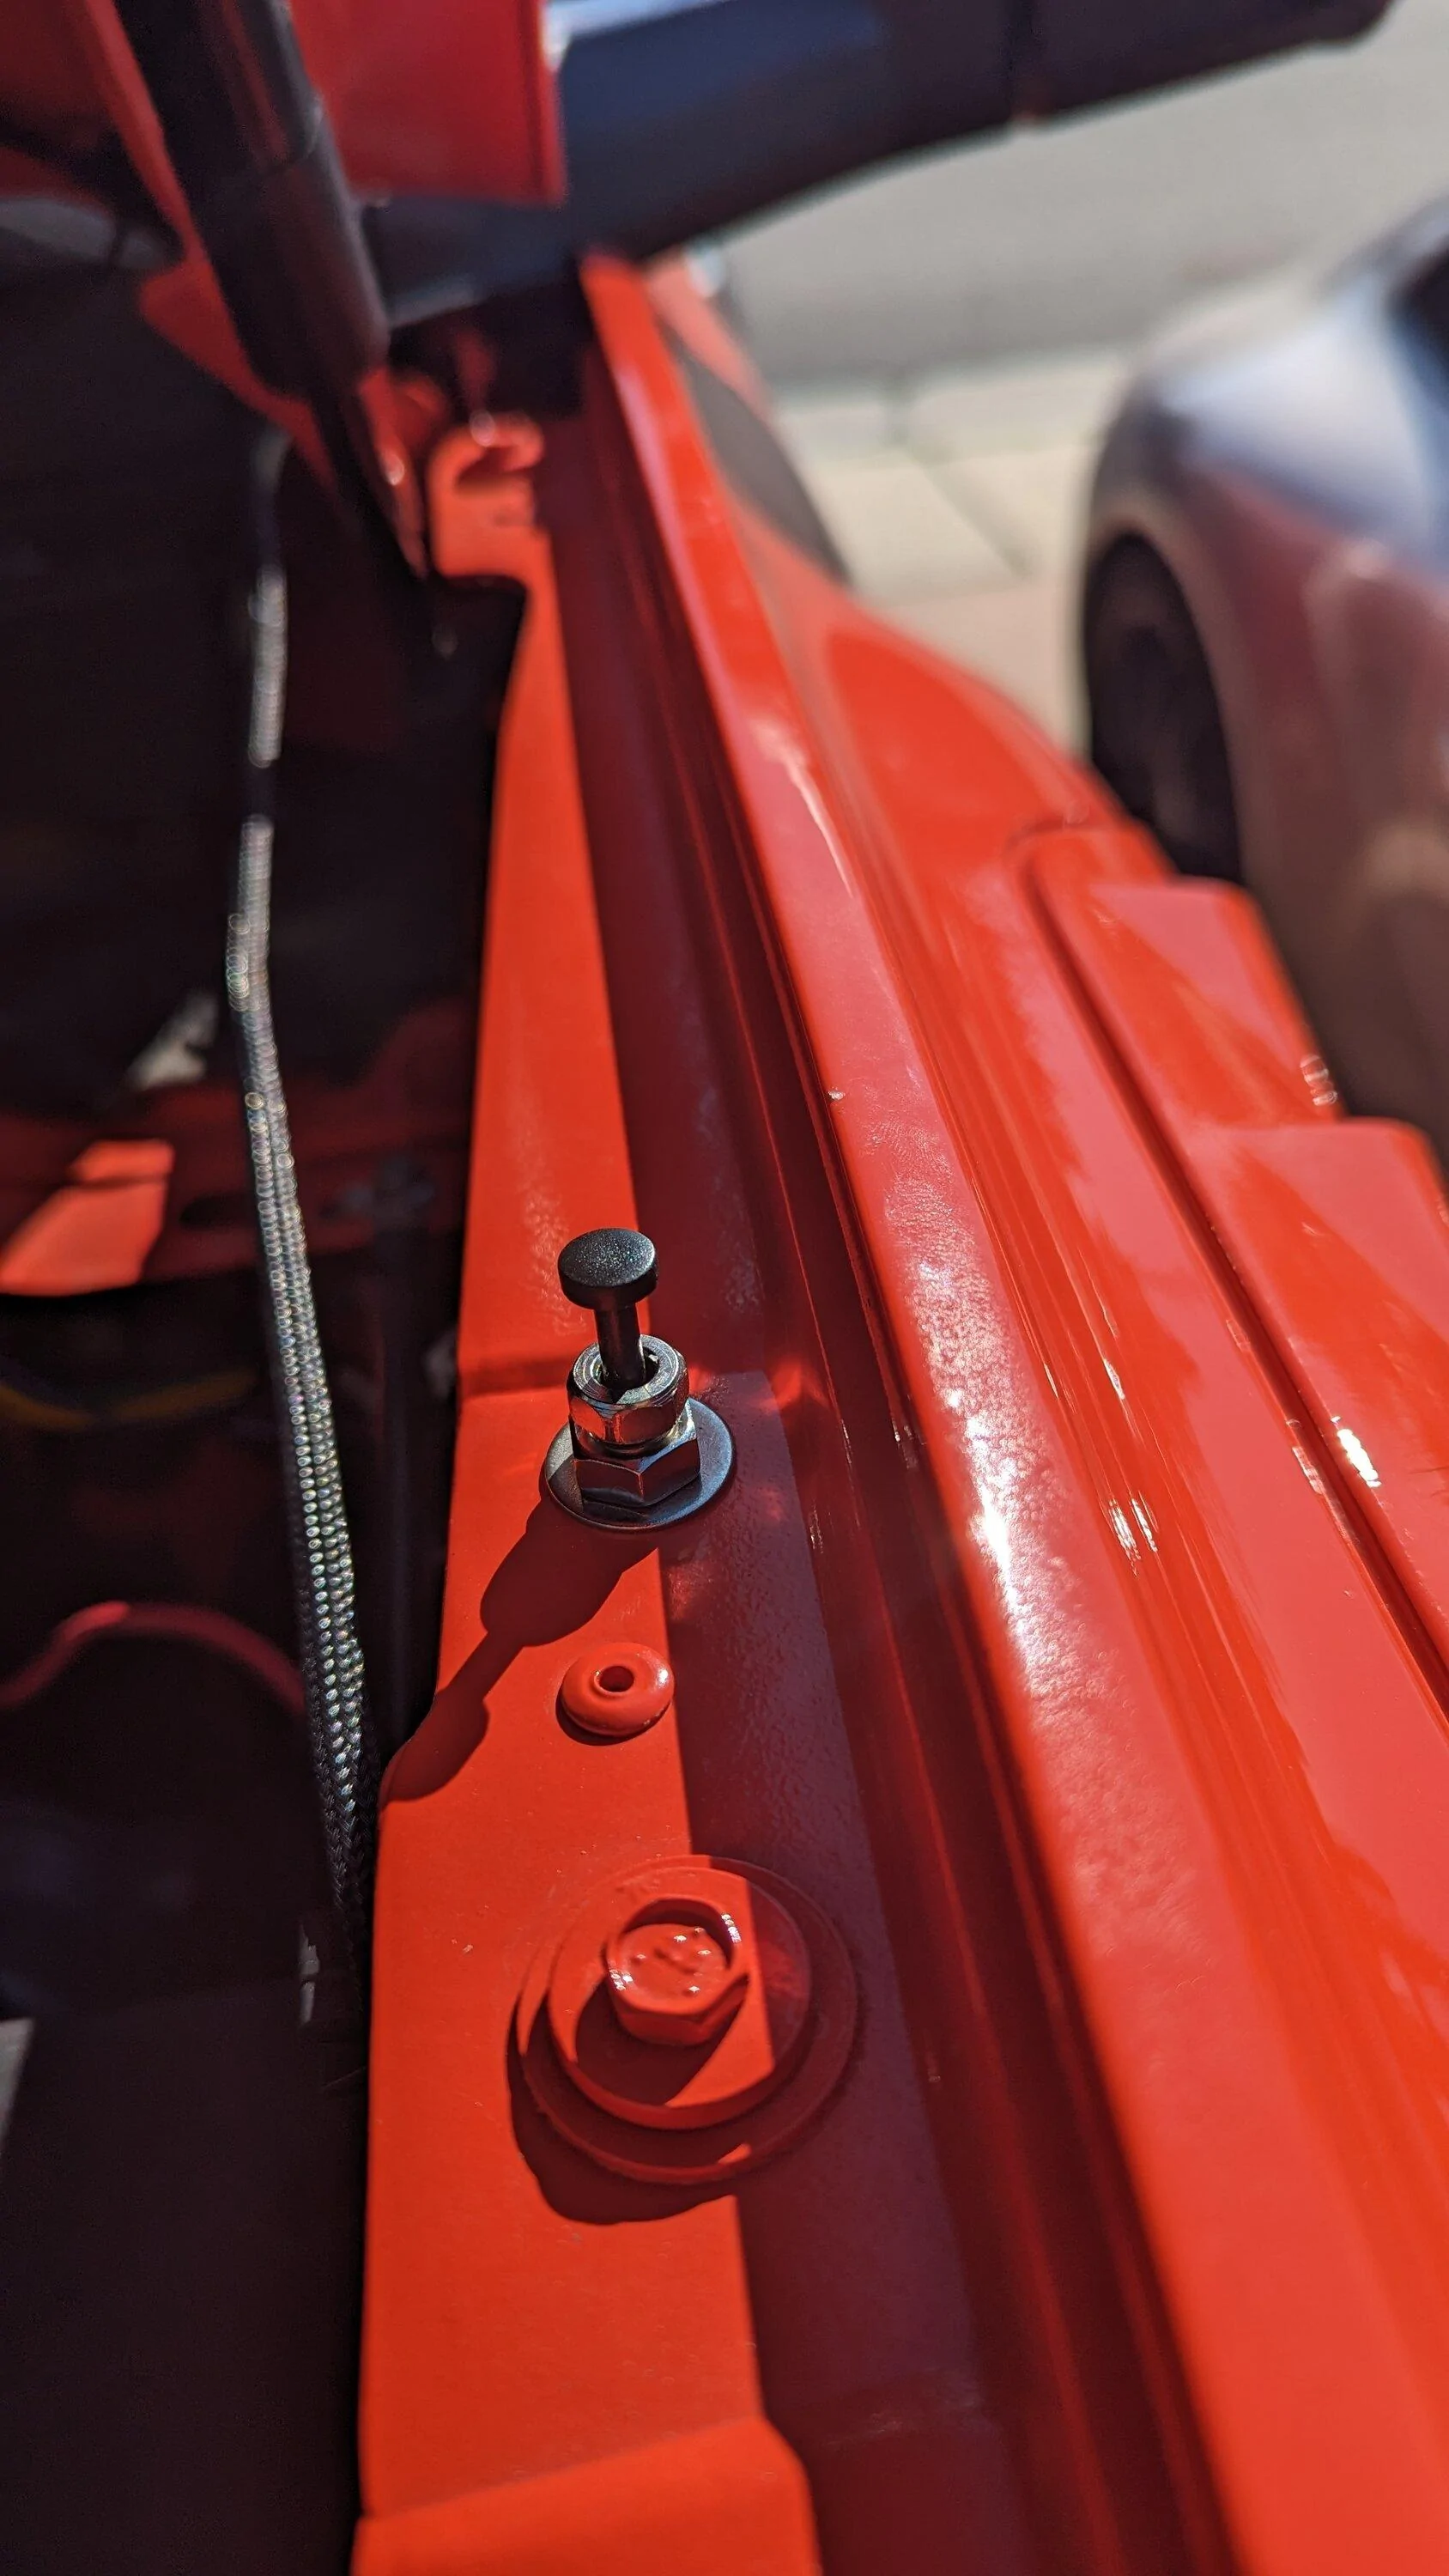
It took two tries on the plunger switch location since the first one was drilled through SMC (composite - i.e. no ground)... Second one grabs a ground on the metal stamping brace below the SMC of the fender. I added a nut between the fender and metal brace as a spacer so as to not bend the relatively flimsy SMC flange. Also added a washer just above the SMC to spread the load better. Mounted and works like a charm.
(final cable placenent not done as adding a Blue Sky Marine power distribution/fuse box)
I shopped around quite a bit sifting through dozens of cheap Chinese kits. This one isn't. Very nice build and components. Includes a stainless steel plunger switch and push button over ride switch. The light strip and cable tie squares have genuine 3M VHB (very high bond) tape. Also includes protective cable sheath, heat shrink, etc..
The hood has a great "shelf" tailor made for the LED strip that keeps the light pointed at the engine compartment and out of one's eyes.
It took two tries on the plunger switch location since the first one was drilled through SMC (composite - i.e. no ground)... Second one grabs a ground on the metal stamping brace below the SMC of the fender. I added a nut between the fender and metal brace as a spacer so as to not bend the relatively flimsy SMC flange. Also added a washer just above the SMC to spread the load better. Mounted and works like a charm.
(final cable placenent not done as adding a Blue Sky Marine power distribution/fuse box)
Last edited:

You made me spend more money lol
OP
OP
- Thread starter
- #29
Hmmm, sounds good and bad. On what? The light kit was cheap.You made me spend more money lol
OP
OP
- Thread starter
- #30
Tint:
Just the two front/side windows.
Not thrilled with the color match but the shop said this tint has way more heat rejection than what a good color match would have.
Just the two front/side windows.

Not thrilled with the color match but the shop said this tint has way more heat rejection than what a good color match would have.
Sponsored
Similar threads
- Replies
- 7
- Views
- 1,848
- Replies
- 93
- Views
- 34,494
- Replies
- 64
- Views
- 23,301