- First Name
- Mark
- Joined
- Feb 15, 2022
- Threads
- 59
- Messages
- 1,221
- Reaction score
- 1,650
- Location
- San Antonio, TX
- Vehicle(s)
- 2020 Hyundai Palisade
- Your Bronco Model
- Outer Banks
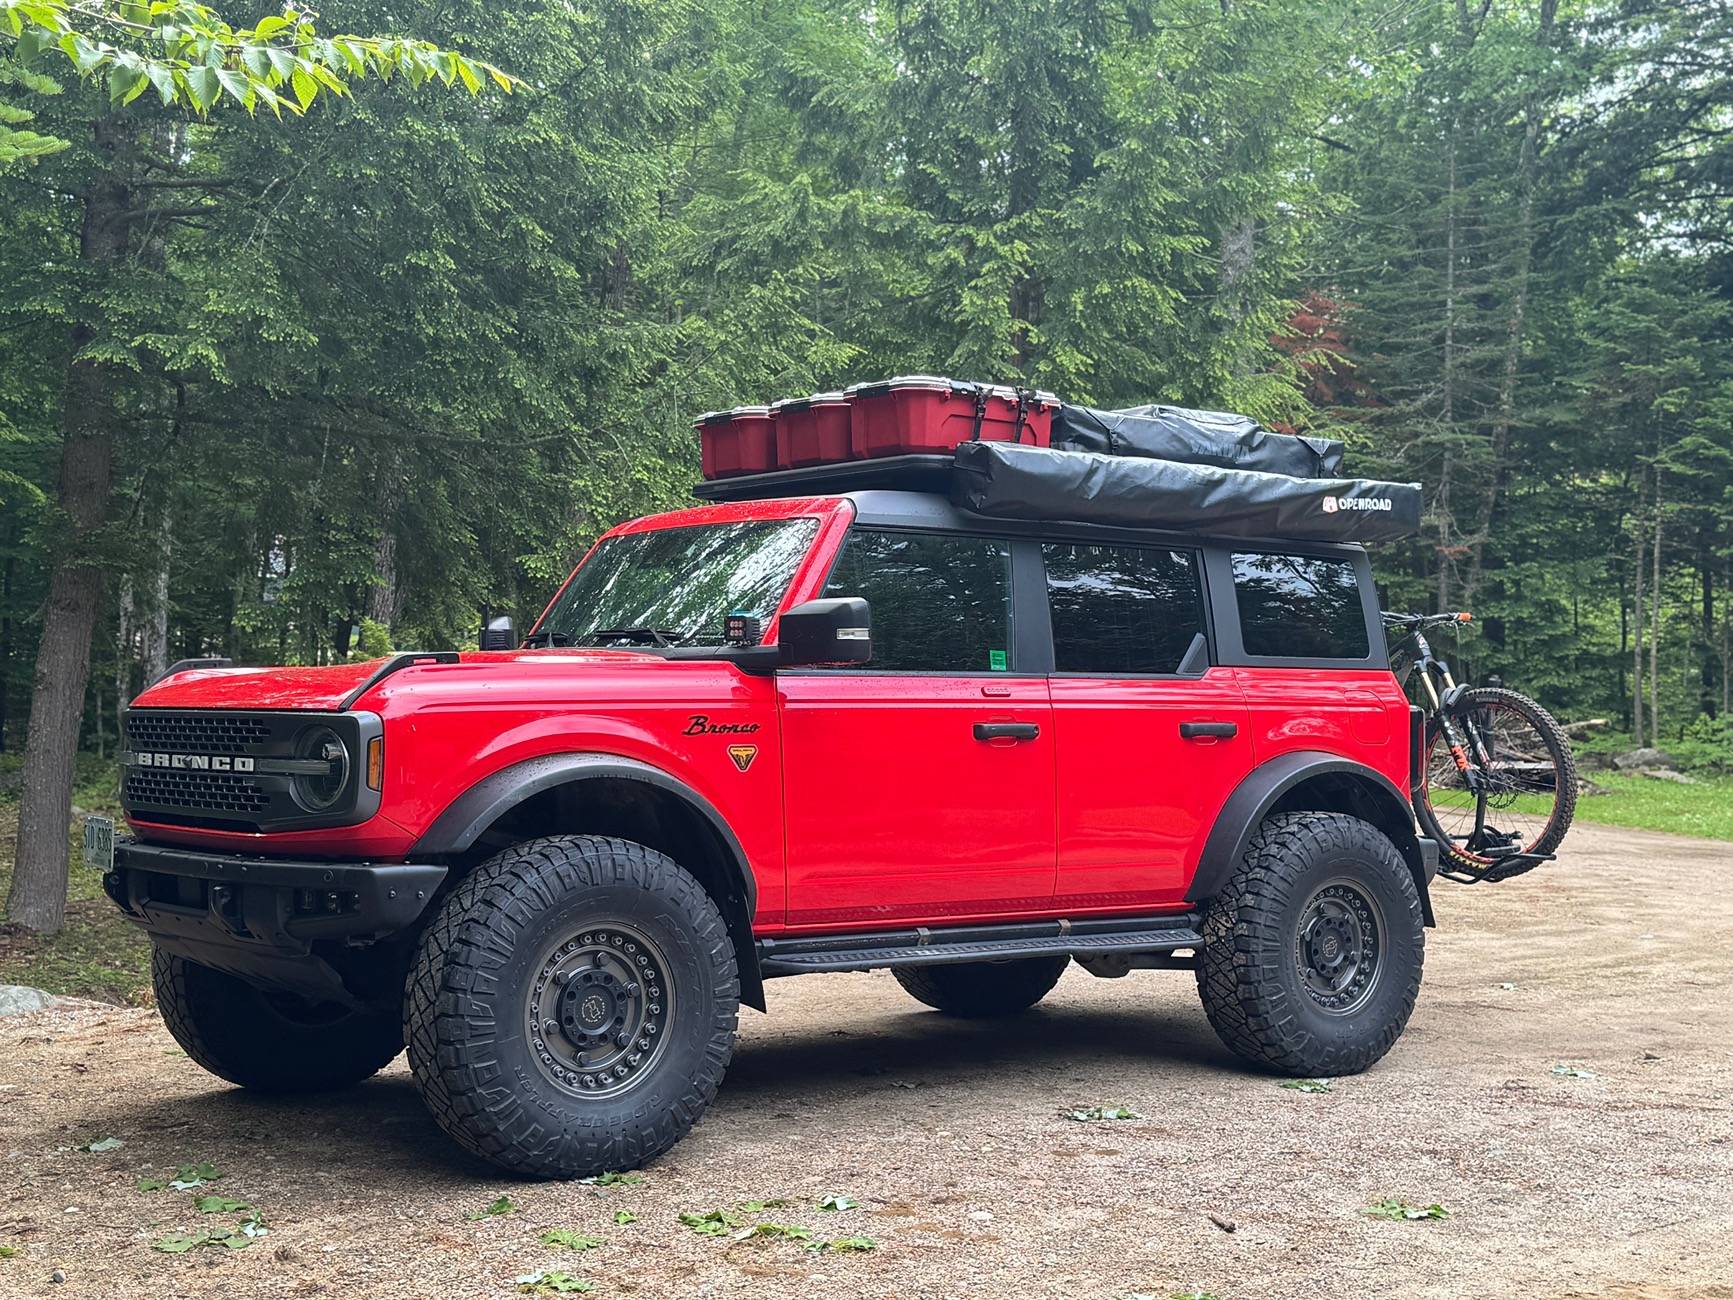
Well looked into the Zone offerings after I posted that and apparently I'd need a different kit than what you have.With the manual transmission that’s correct. You get 285/70r17 and Badlands wheels and narrower flares. In the automatic you get 4.46 gears instead of the 4.7s from the sas package.
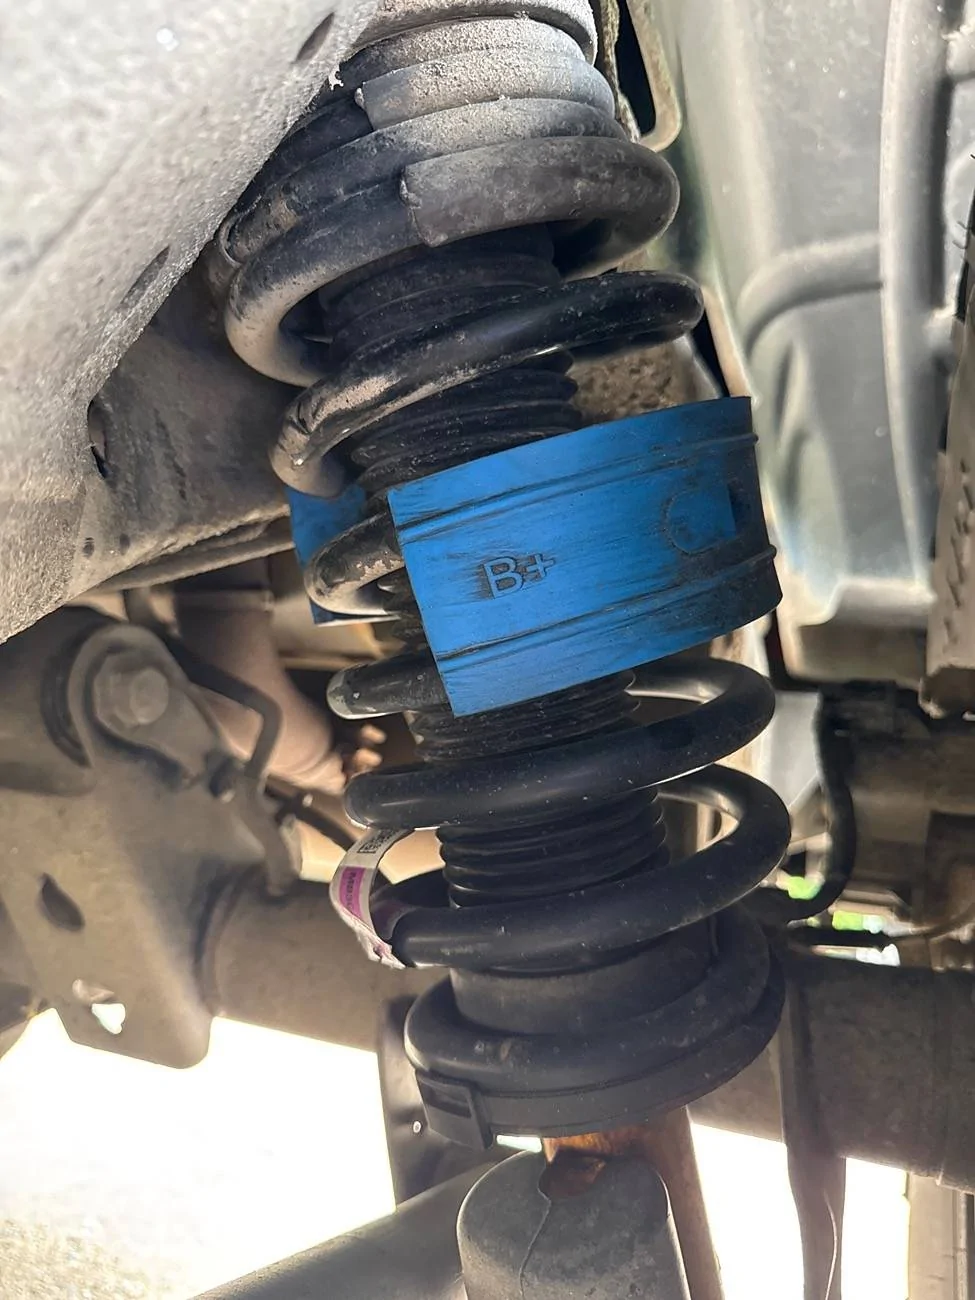
they are the bilstein shocks but have slightly different part numbers. I suspect the valving is slightly different with the lighter tire package. It actually has a few mm more up travel compared to sas and it sits more level than the sas package.
It would be the 3 inch version for my OBX Sasquatch versus your 3.5 inch version. Should still be able to push to 37s when time to replace tires. Maybe that'll be the same time Ford replaces these recalled Bilsteins...

Sponsored