- First Name
- Daniel
- Joined
- Sep 12, 2022
- Threads
- 15
- Messages
- 439
- Reaction score
- 1,471
- Location
- Lake Saint Louis, MO
- Website
- www.youtube.com
- Vehicle(s)
- OBX Sas Bronco, Mazda CX-5
- Your Bronco Model
- Outer Banks
Man I would love for someone to run similar tests with a bronco in different configurations.Here's a great video on this subject
I’m considering one of the following options on my 2023 OBX SAS:
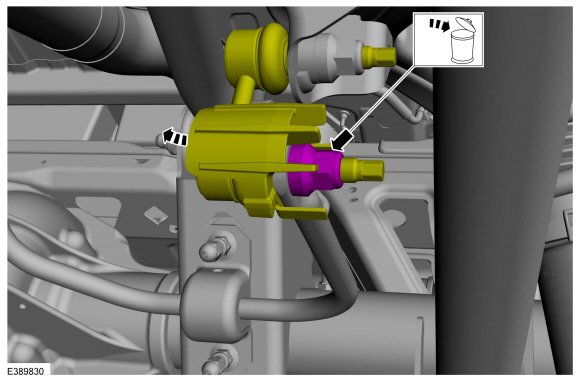
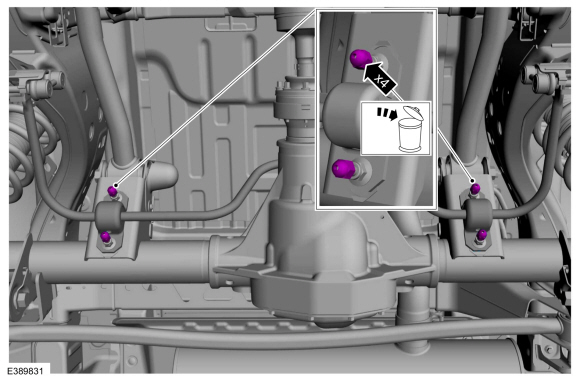
1. Just manually disconnecting front sway bars and strapping them up when off-roading - free
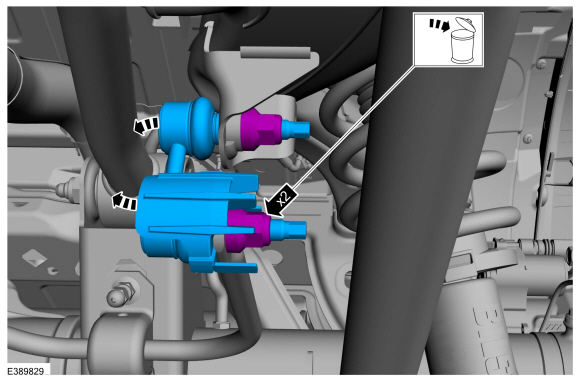
2. Purchasing the Sasquatch Link quick release by ACFab for the front - $300
3. Purchasing the RockJock Anti-Rock Sway Bar - $850
this video has me feeling fine just leaving the rear sway bar as is (since I have the 2023 4door)
Sponsored
Last edited: