- First Name
- Brad
- Joined
- Jan 28, 2019
- Threads
- 21
- Messages
- 1,492
- Reaction score
- 4,628
- Location
- Charleston
- Vehicle(s)
- 2021 Ford Bronco - 4 Door Badlands
- Your Bronco Model
- Badlands
This is not what I wanted to hear before I tackle the instal later this week. Regardless, THANK YOU for sharing your details and experience. Much appreciated.I have had issues with my steps so I’ve had practice removing and reinstalling stuff. Had my passenger side off 3 times again since I’ve installed it.
The wiring harness will allow the positive and negative to reach the battery (I discovered the 2nd time running it). Start at the drivers side plugs in the step and work out from there. Will provide plenty of slack. As mentioned routing the harness over the gas tank may be the hardest part.
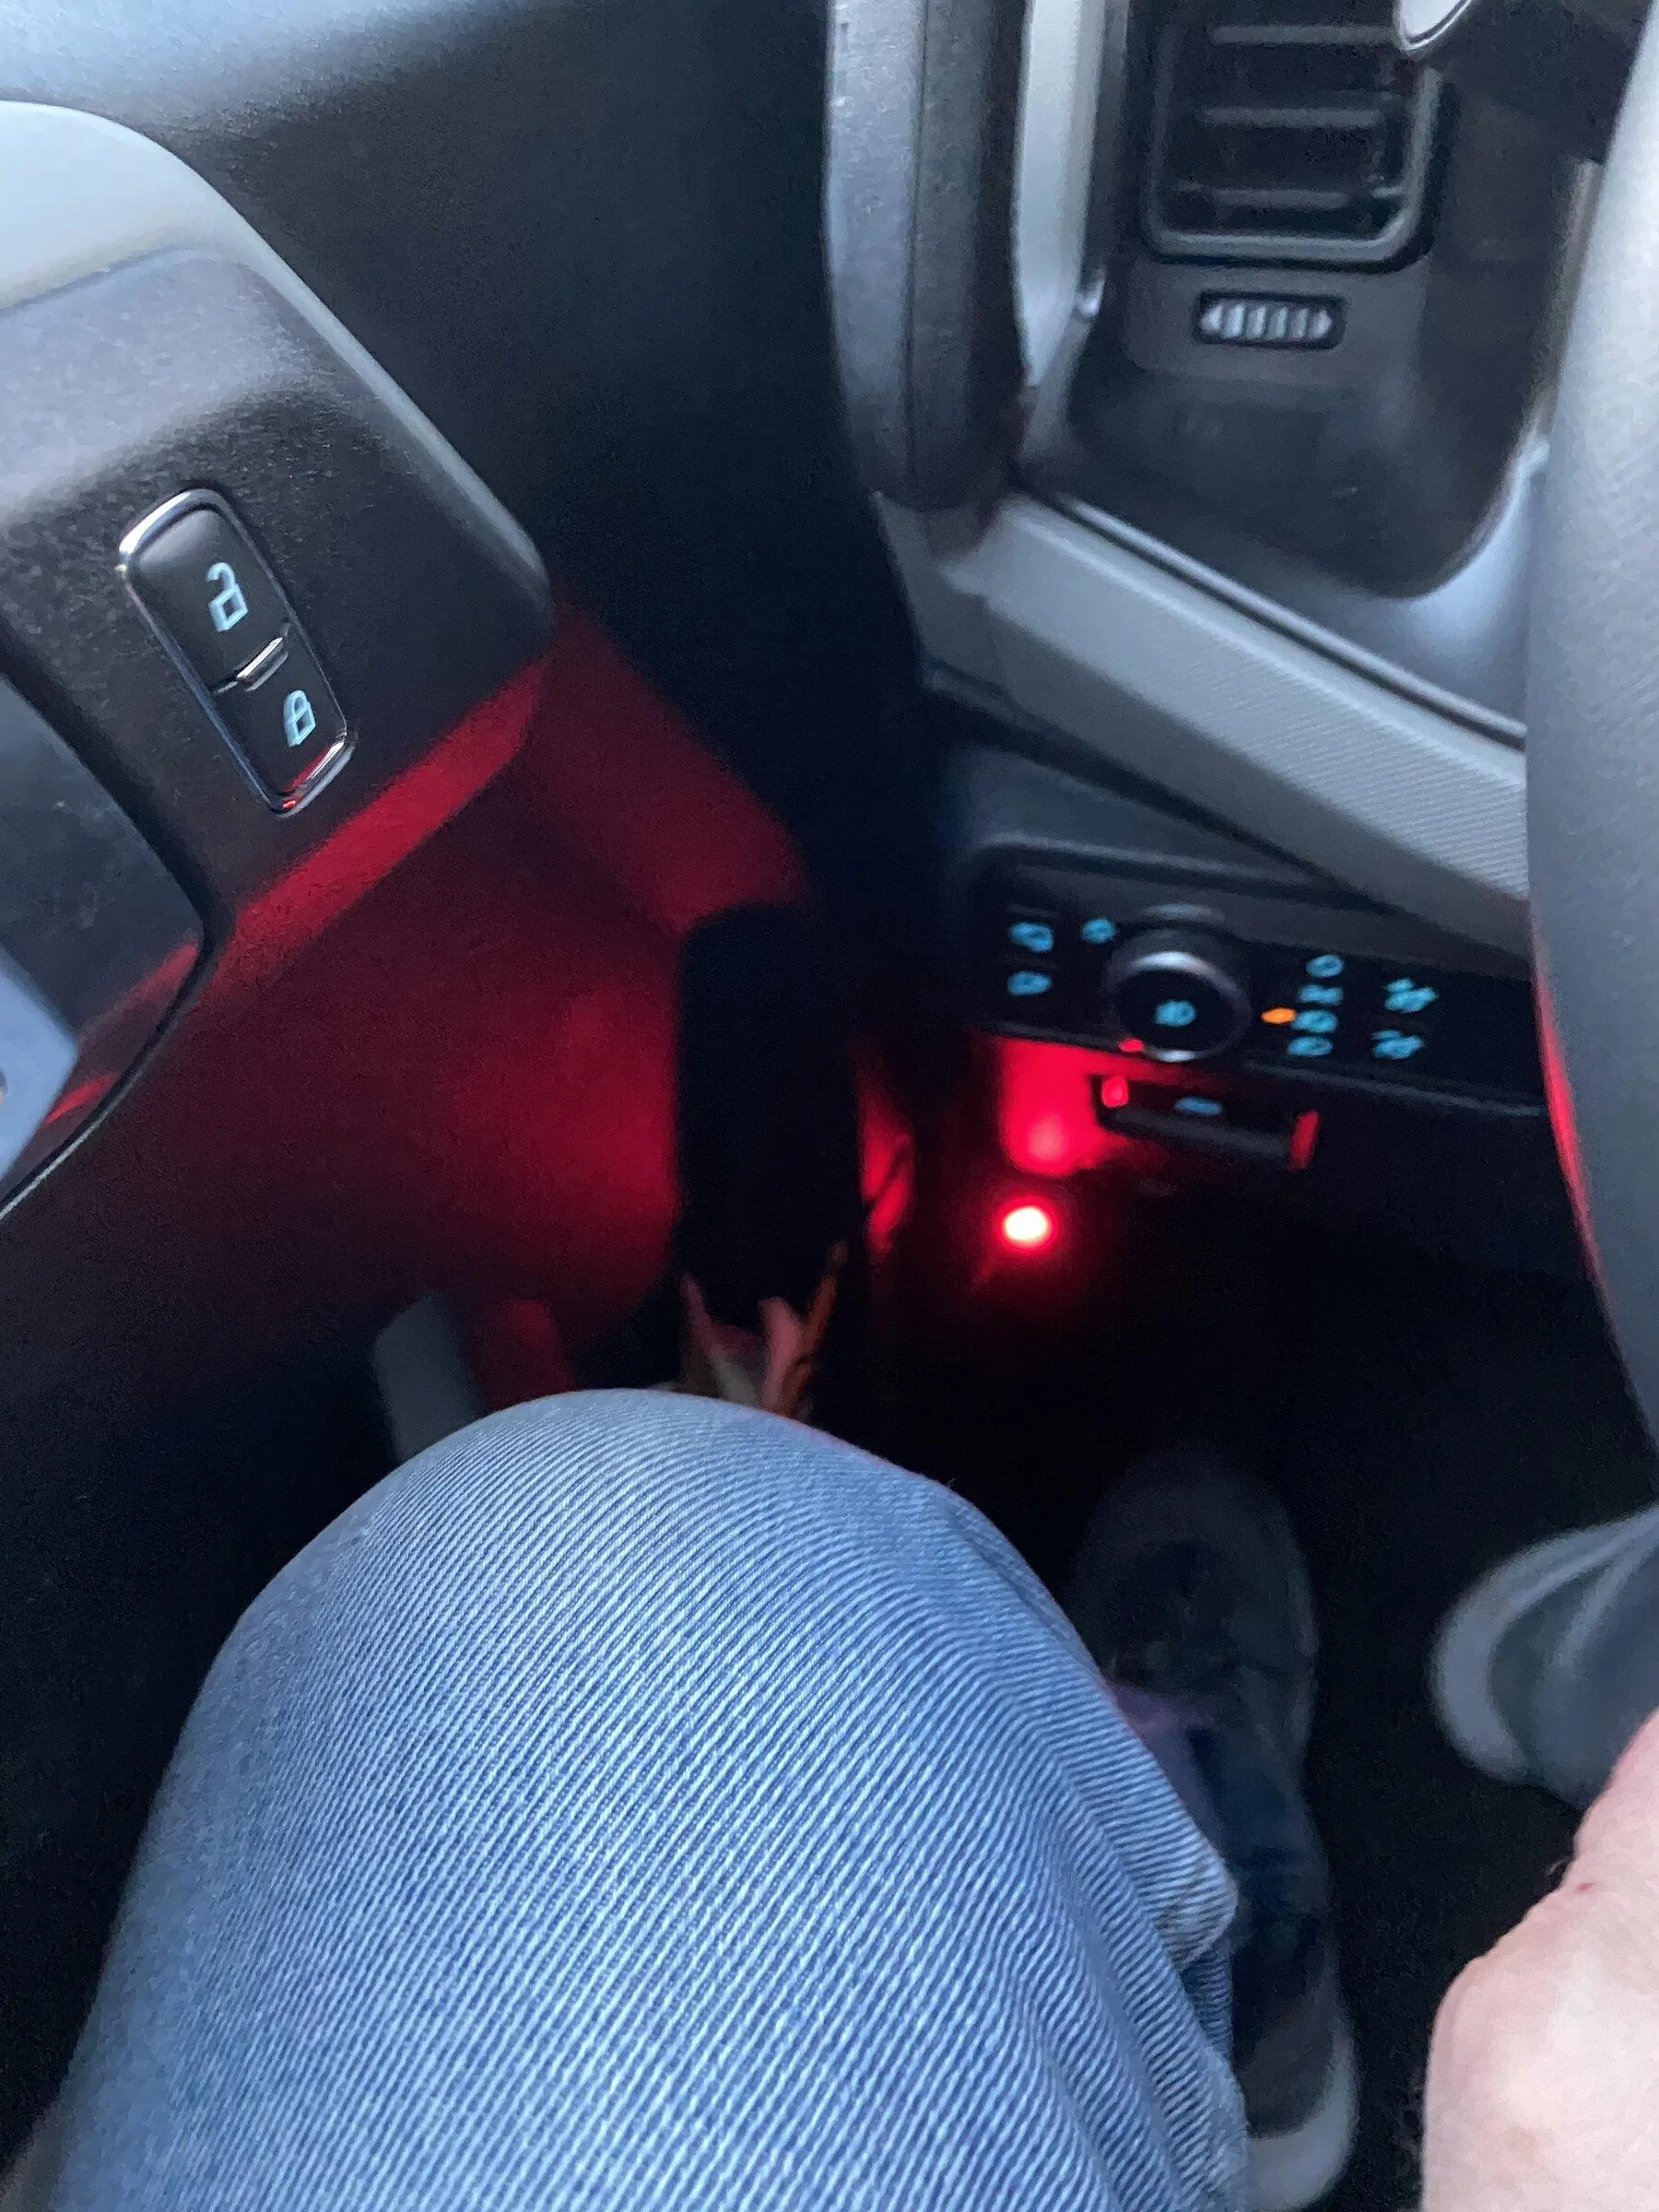
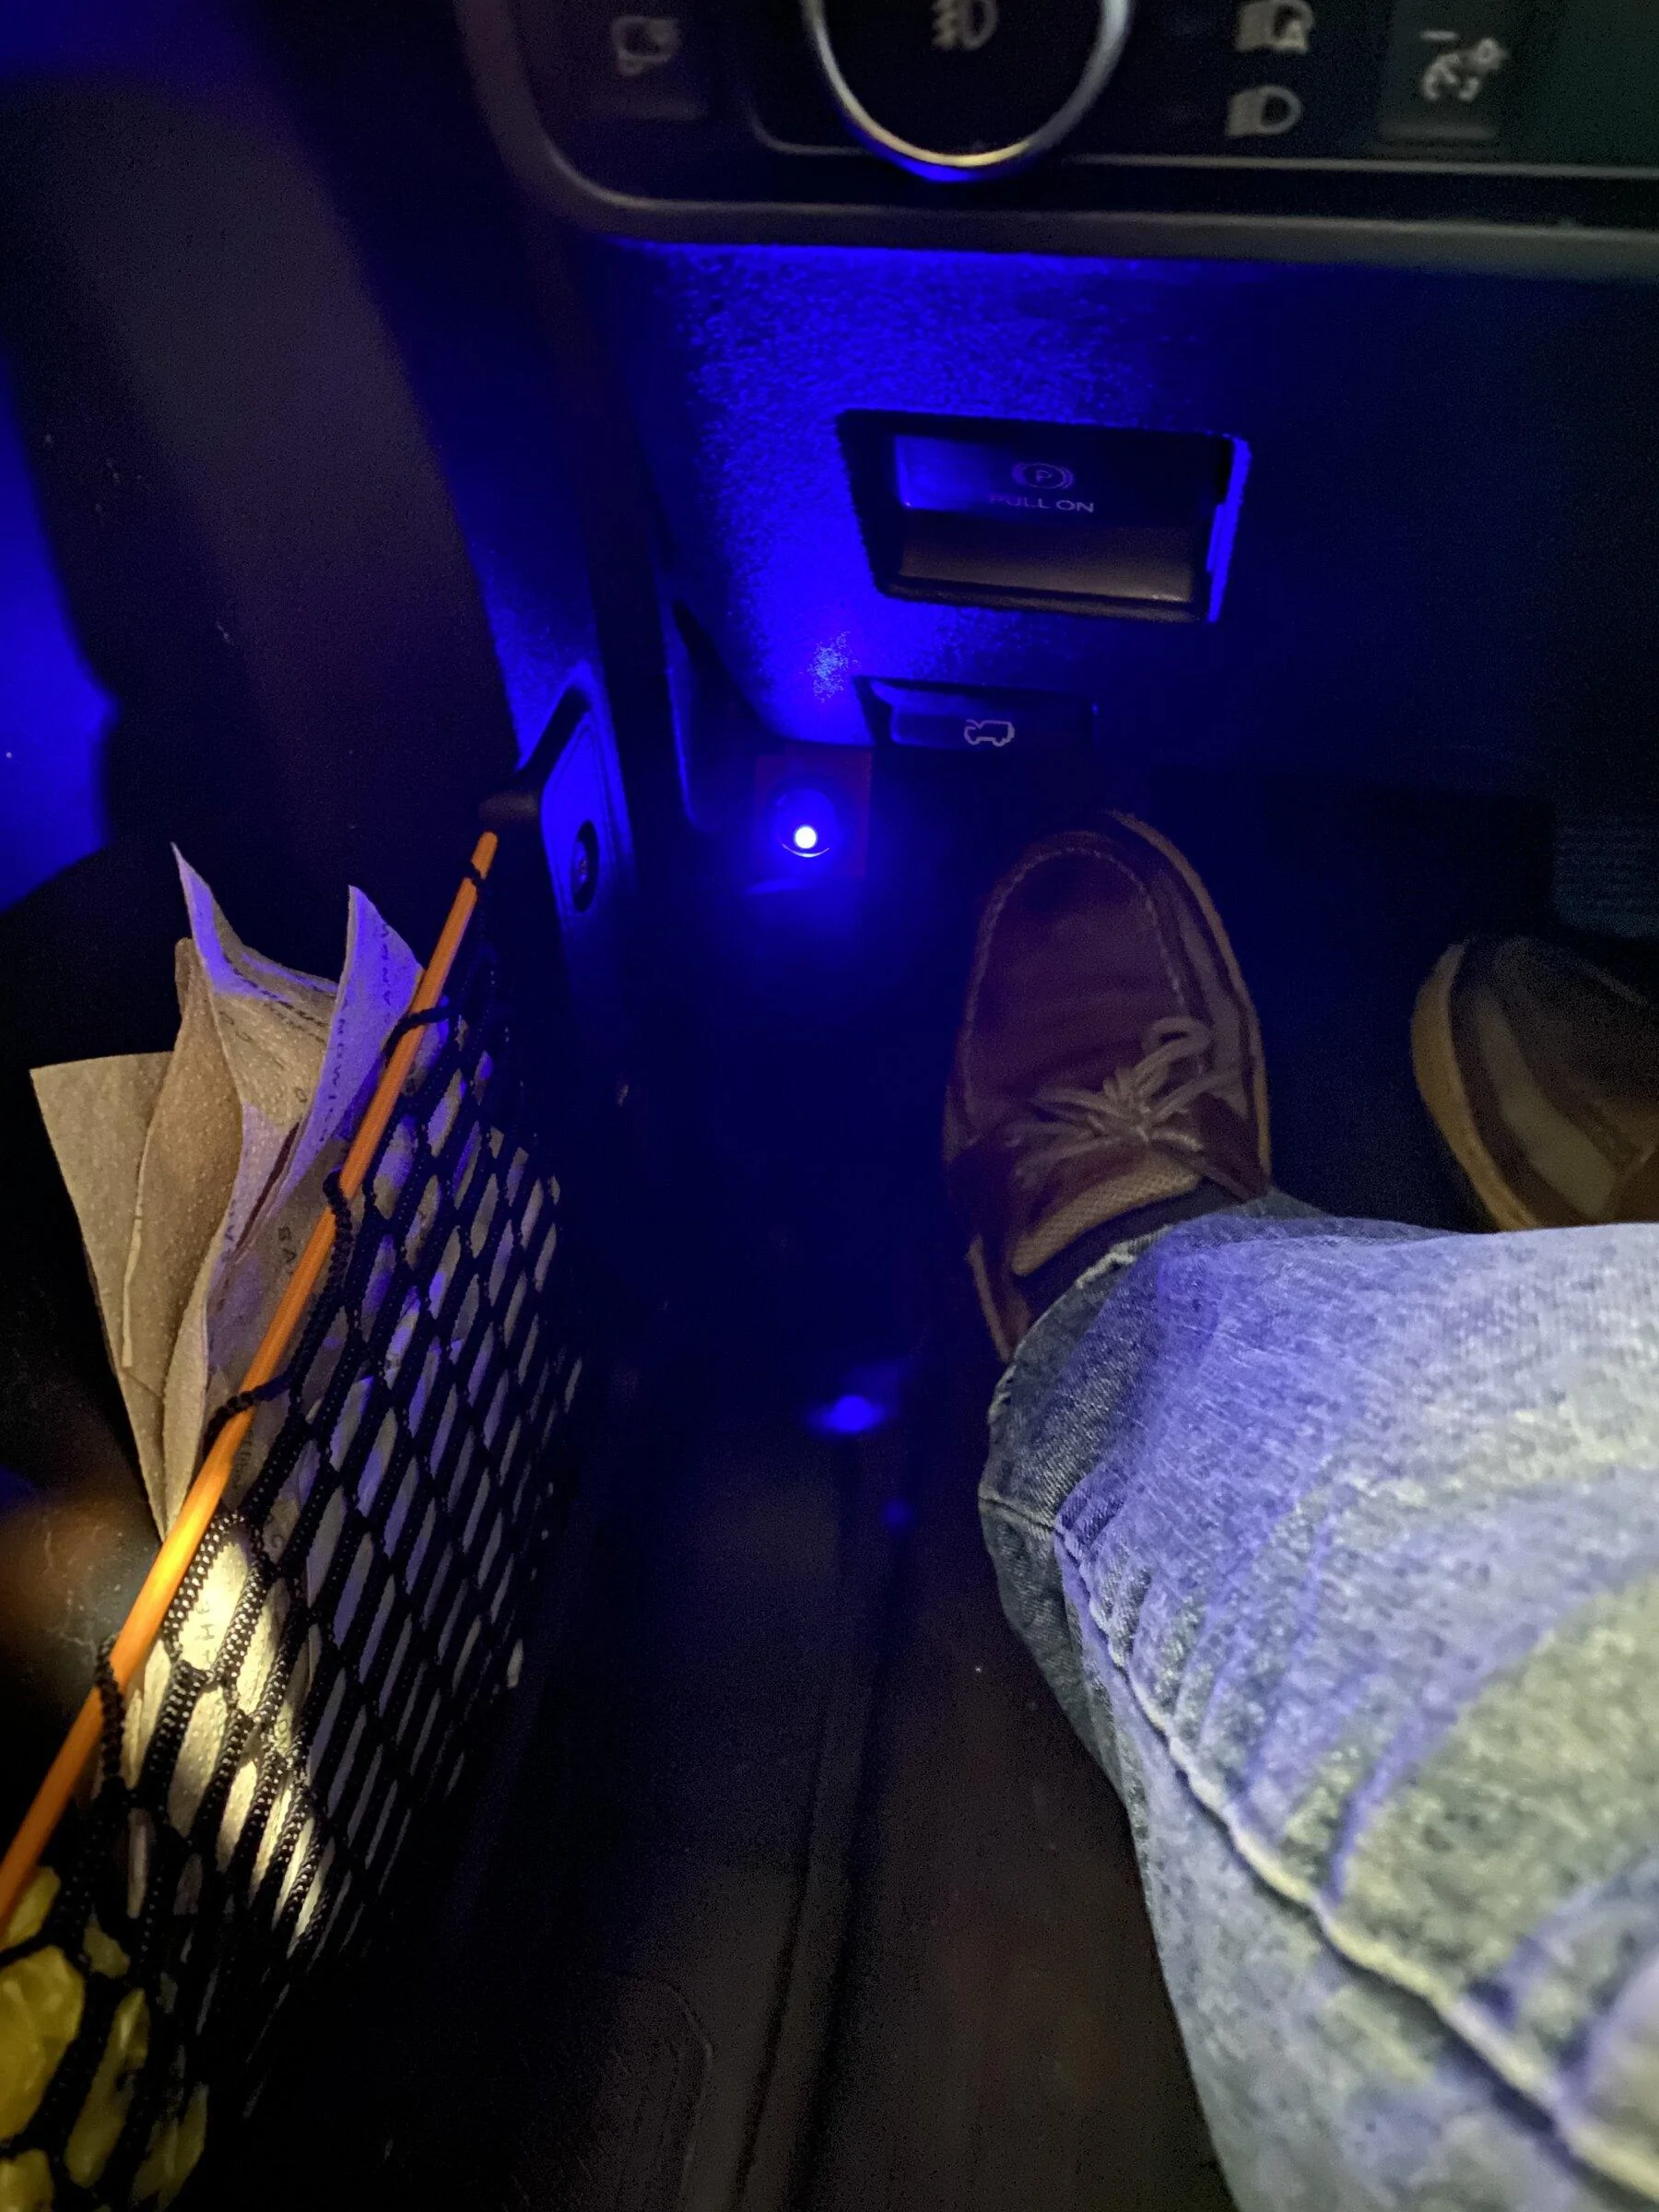
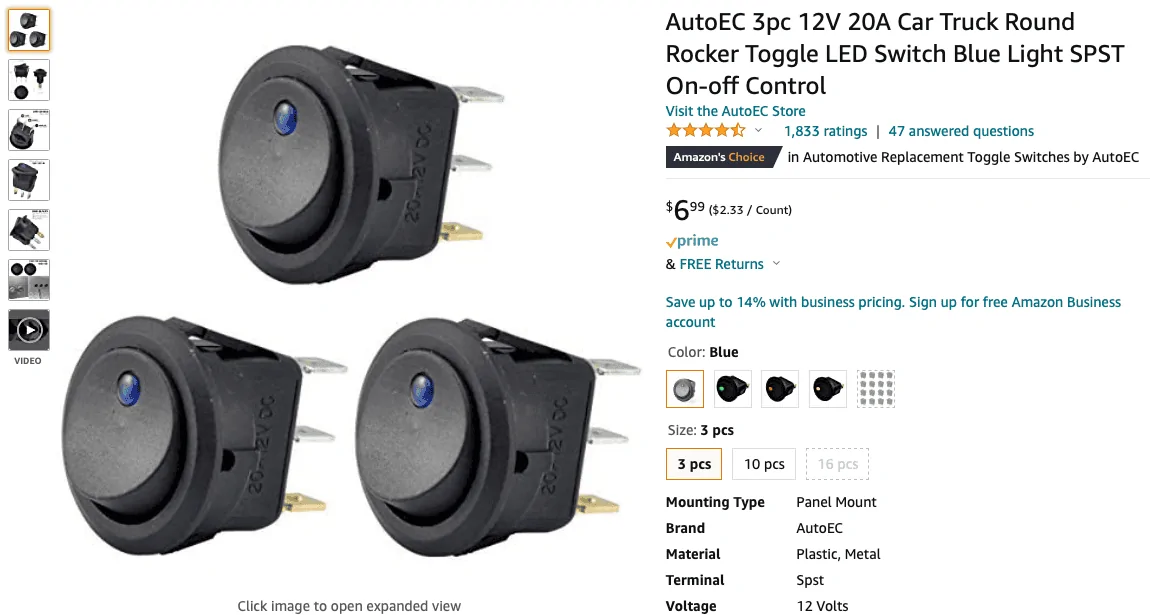
The red light on the switch is not needed. The yellow wire provides power for the light. If you don’t want a lighted switch simply unplug the yellow wire (and seal it as it still is a hot wire).
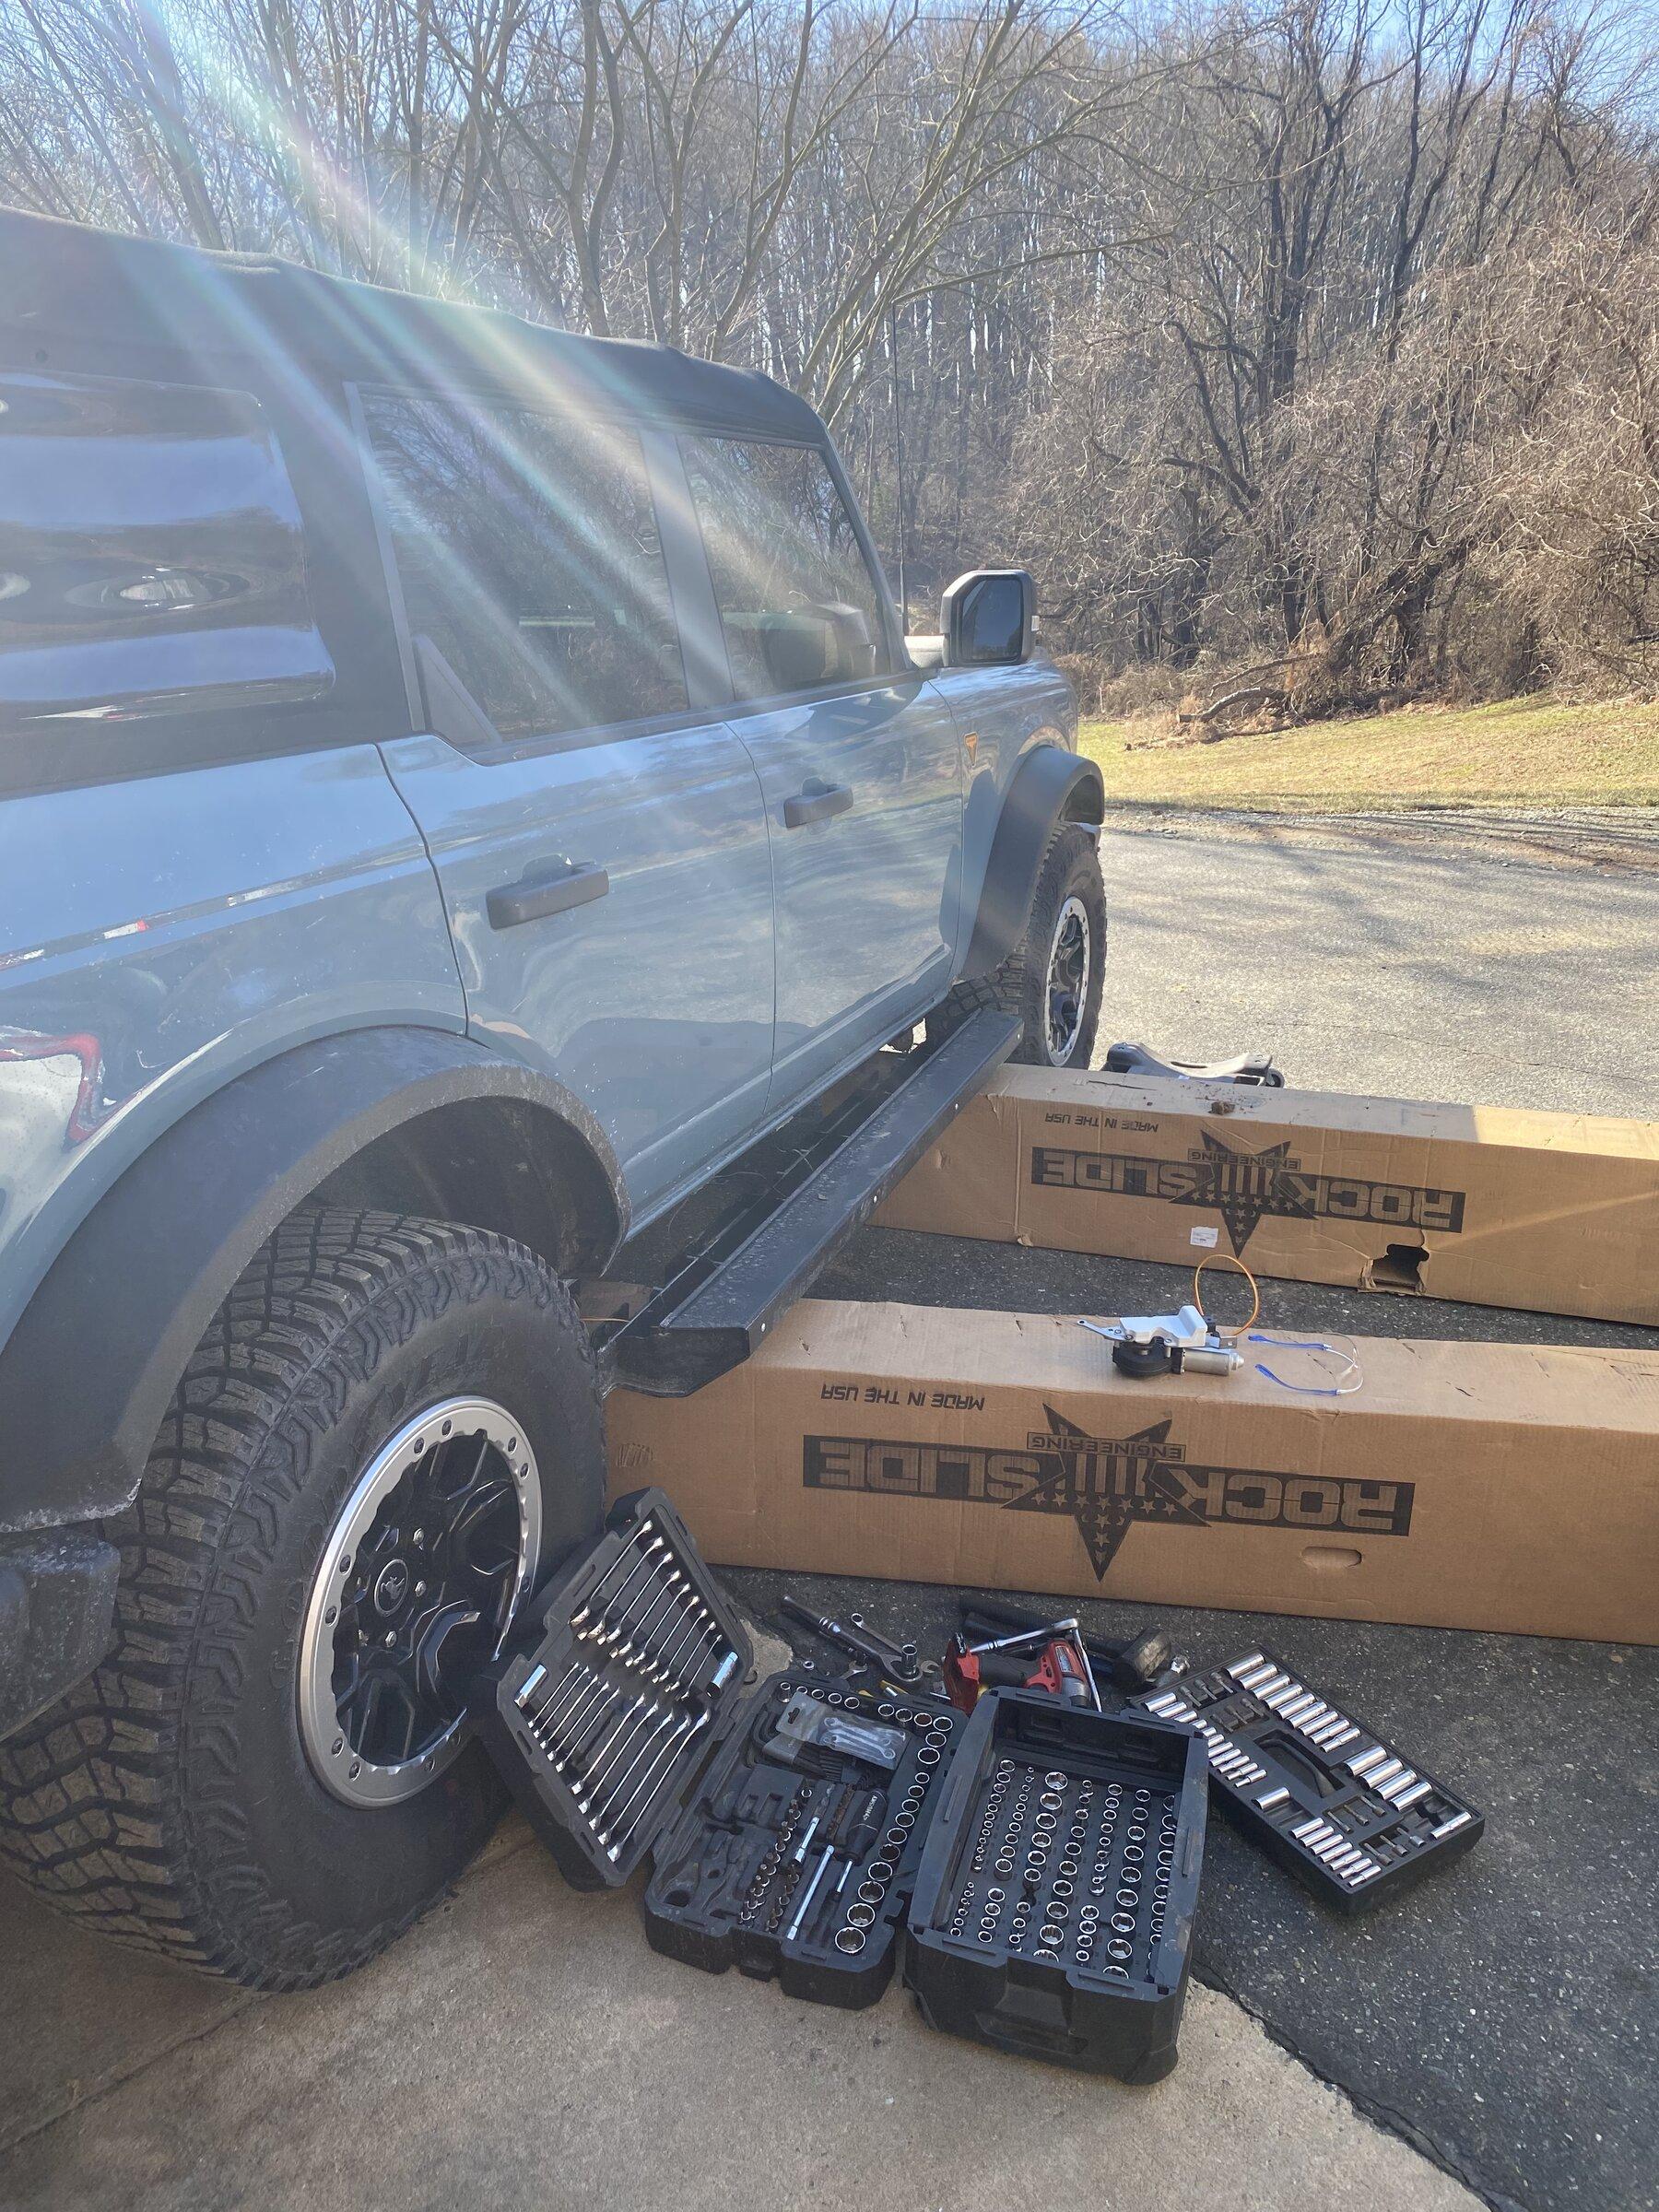
The boxes the steps ship in are the greatest install help. I’ve had these steps on and off every time myself with no jack by using the boxes.
The body mount brackets are tight to get on. A few whacks with the sand hammer did the trick.
The whole magnet door sensor system is very finicky. Drivers side has always worked fine. Passenger side needed bigger magnets and stacked tape (to move magnet closer to sensor) to work properly.
Speaking of the drivers side step always working, it has. The passenger side has been an entirely different story. First I was shipped 3 passenger side steps before I was ever correctly shipped a drivers side. Then it turns out the circuit board was bad in all 3 steps. They finally sent me a working one and were helpful troubleshooting over the phone, but seems as if there are some quality control issues. There have been at least 3 iterations of the circuit boards for the bronco steps so far. Hopefully no more are needed. The install is easy, but switching out a circuit board is a pain to remove the whole step.
Sponsored