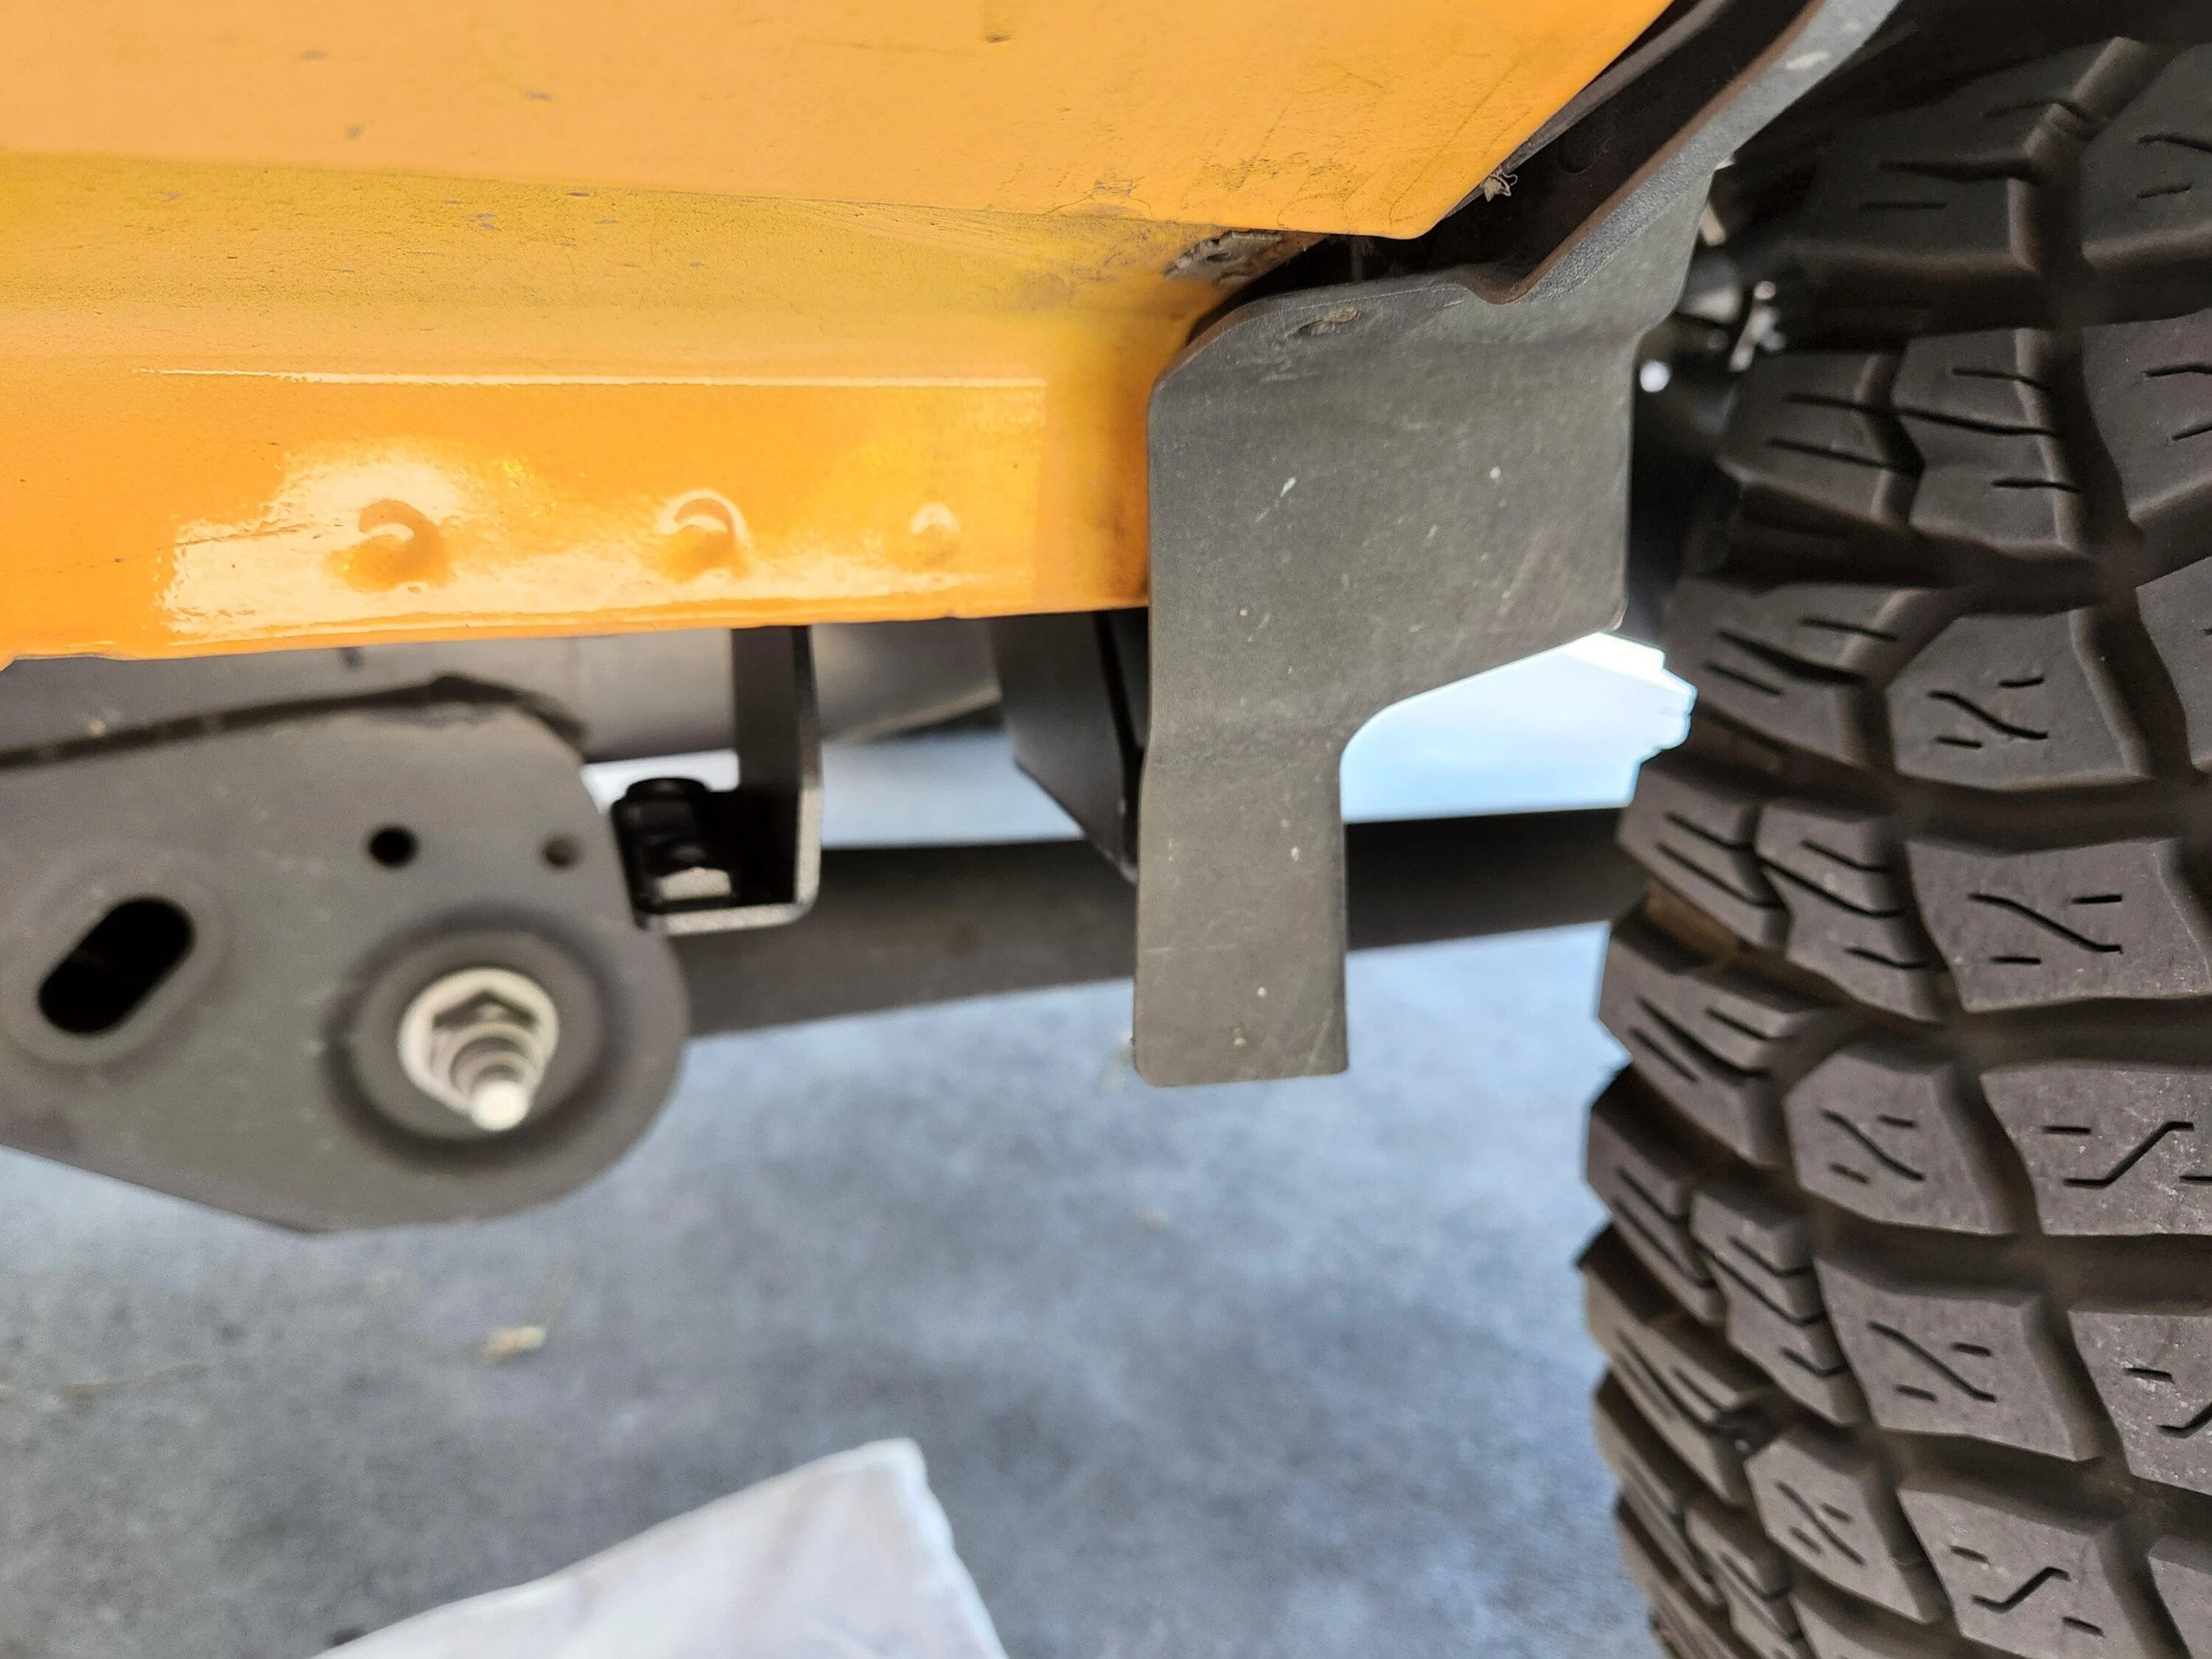
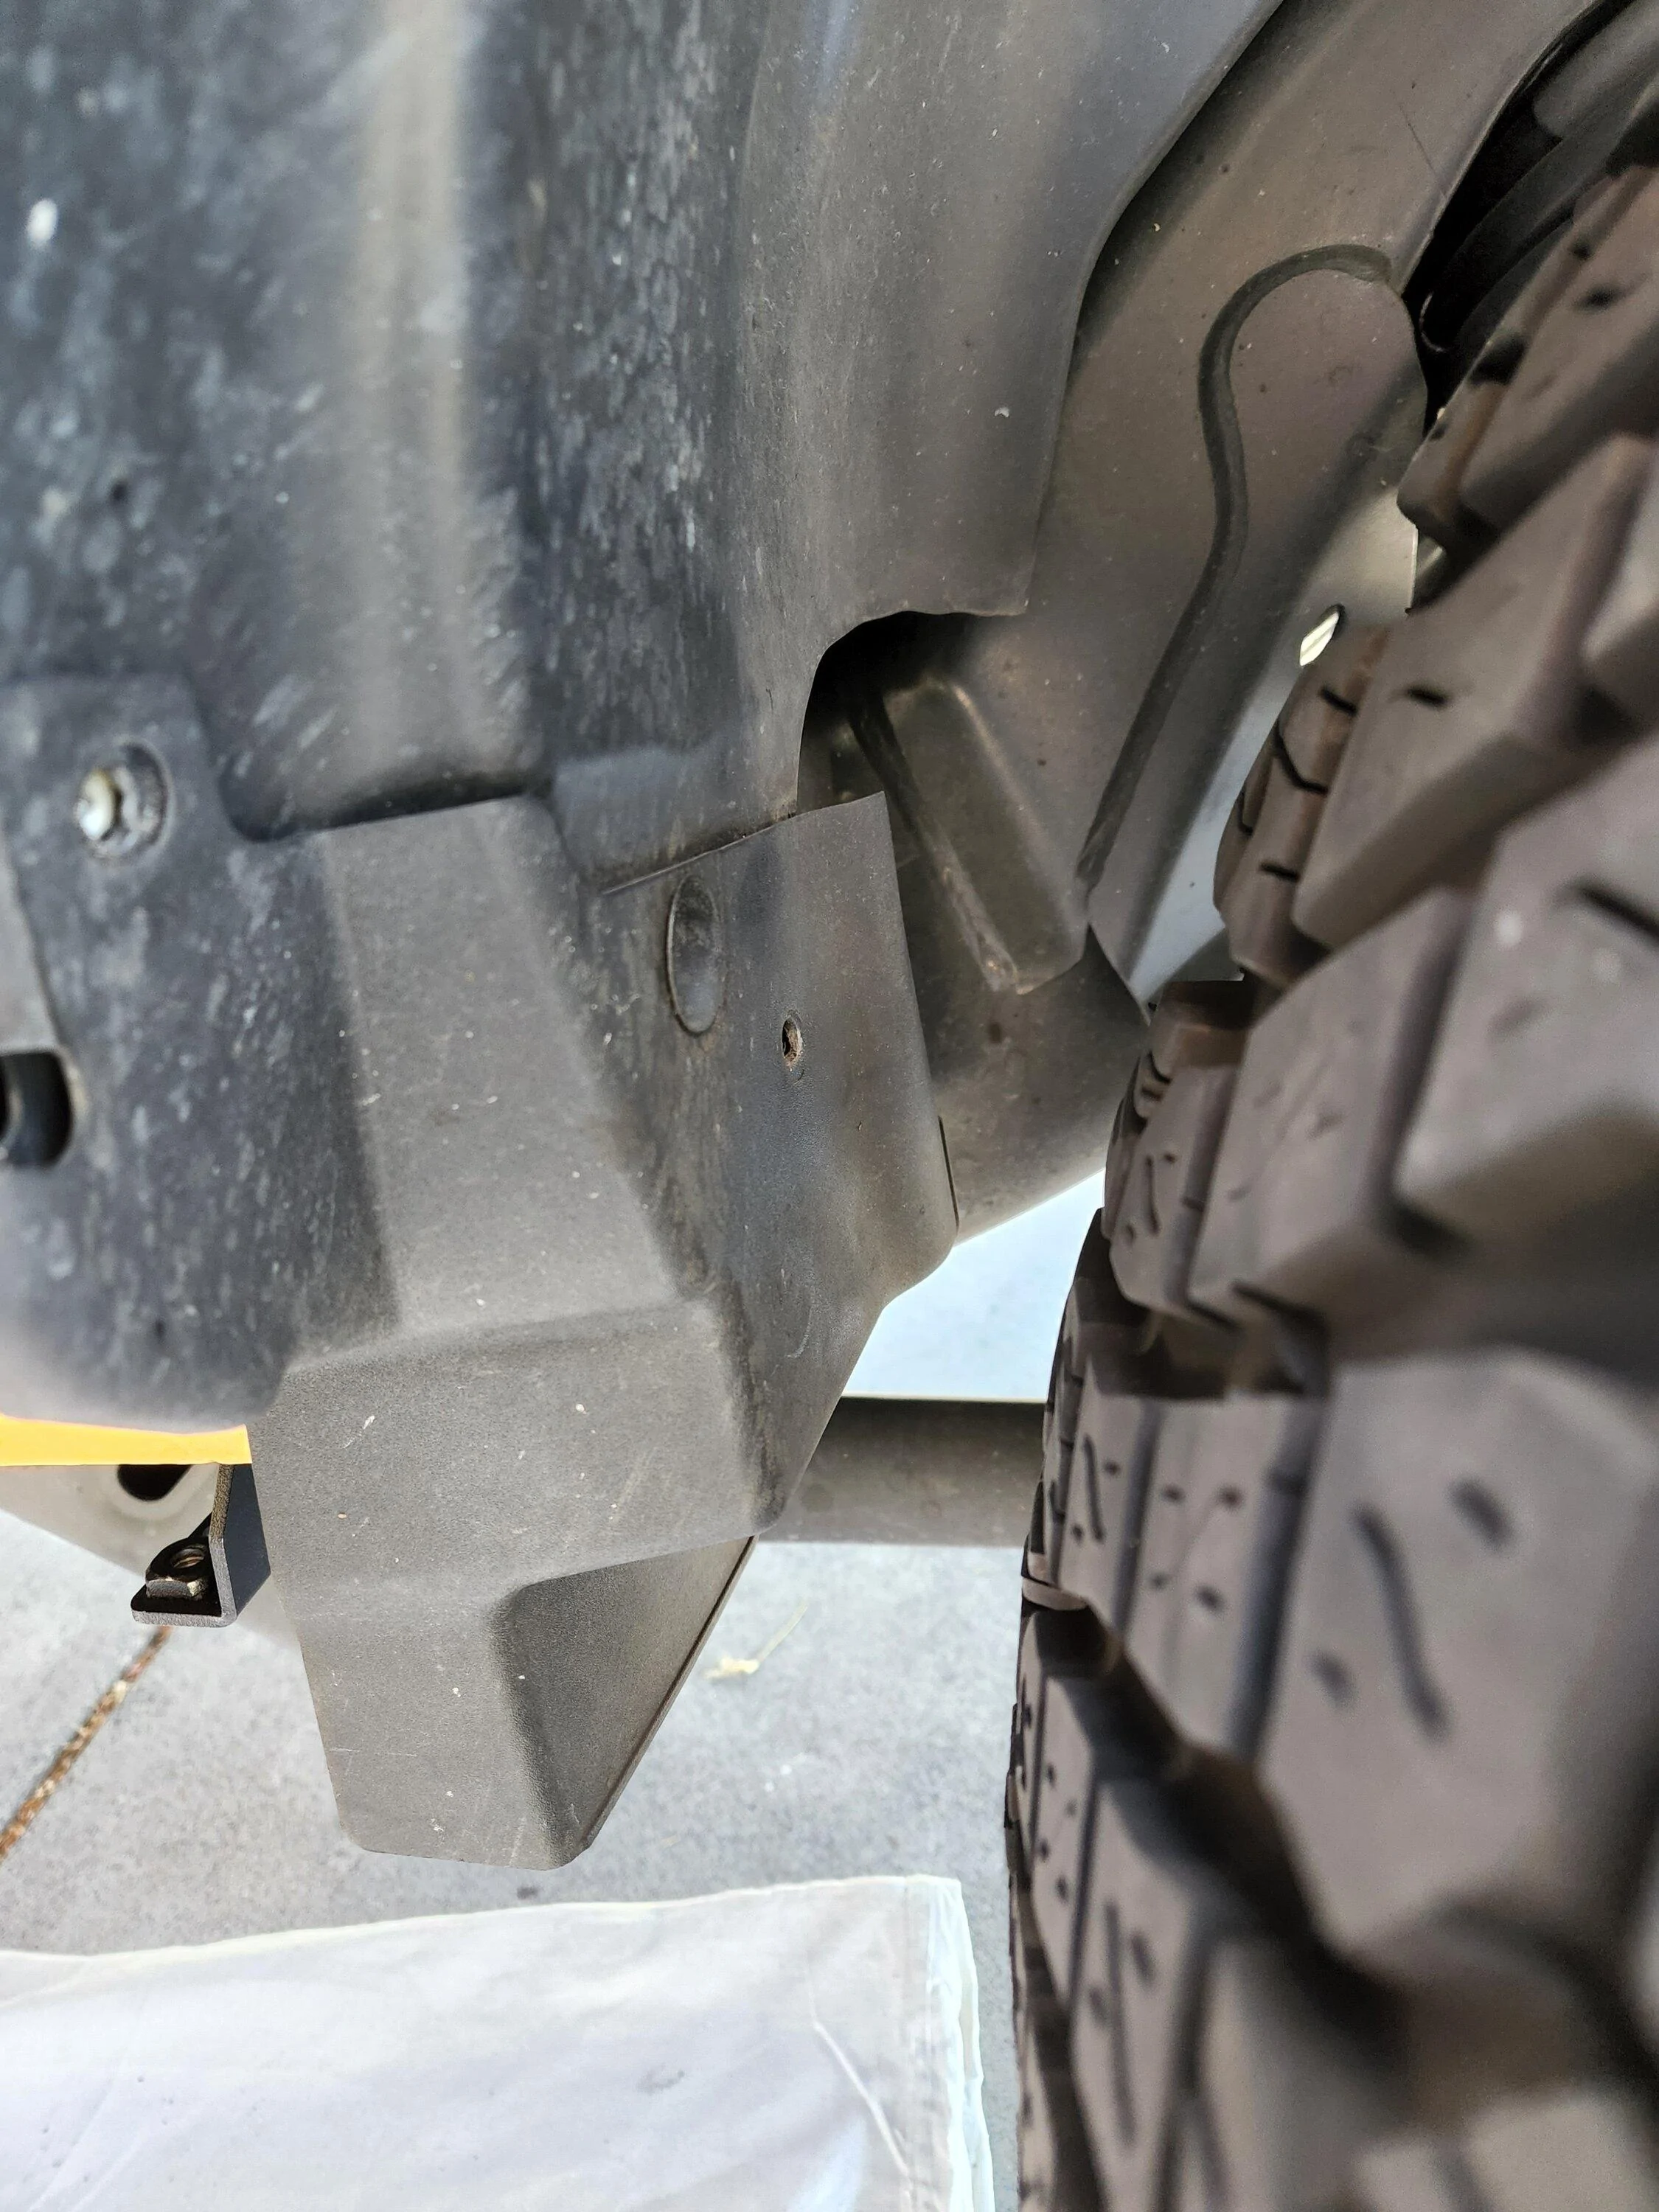
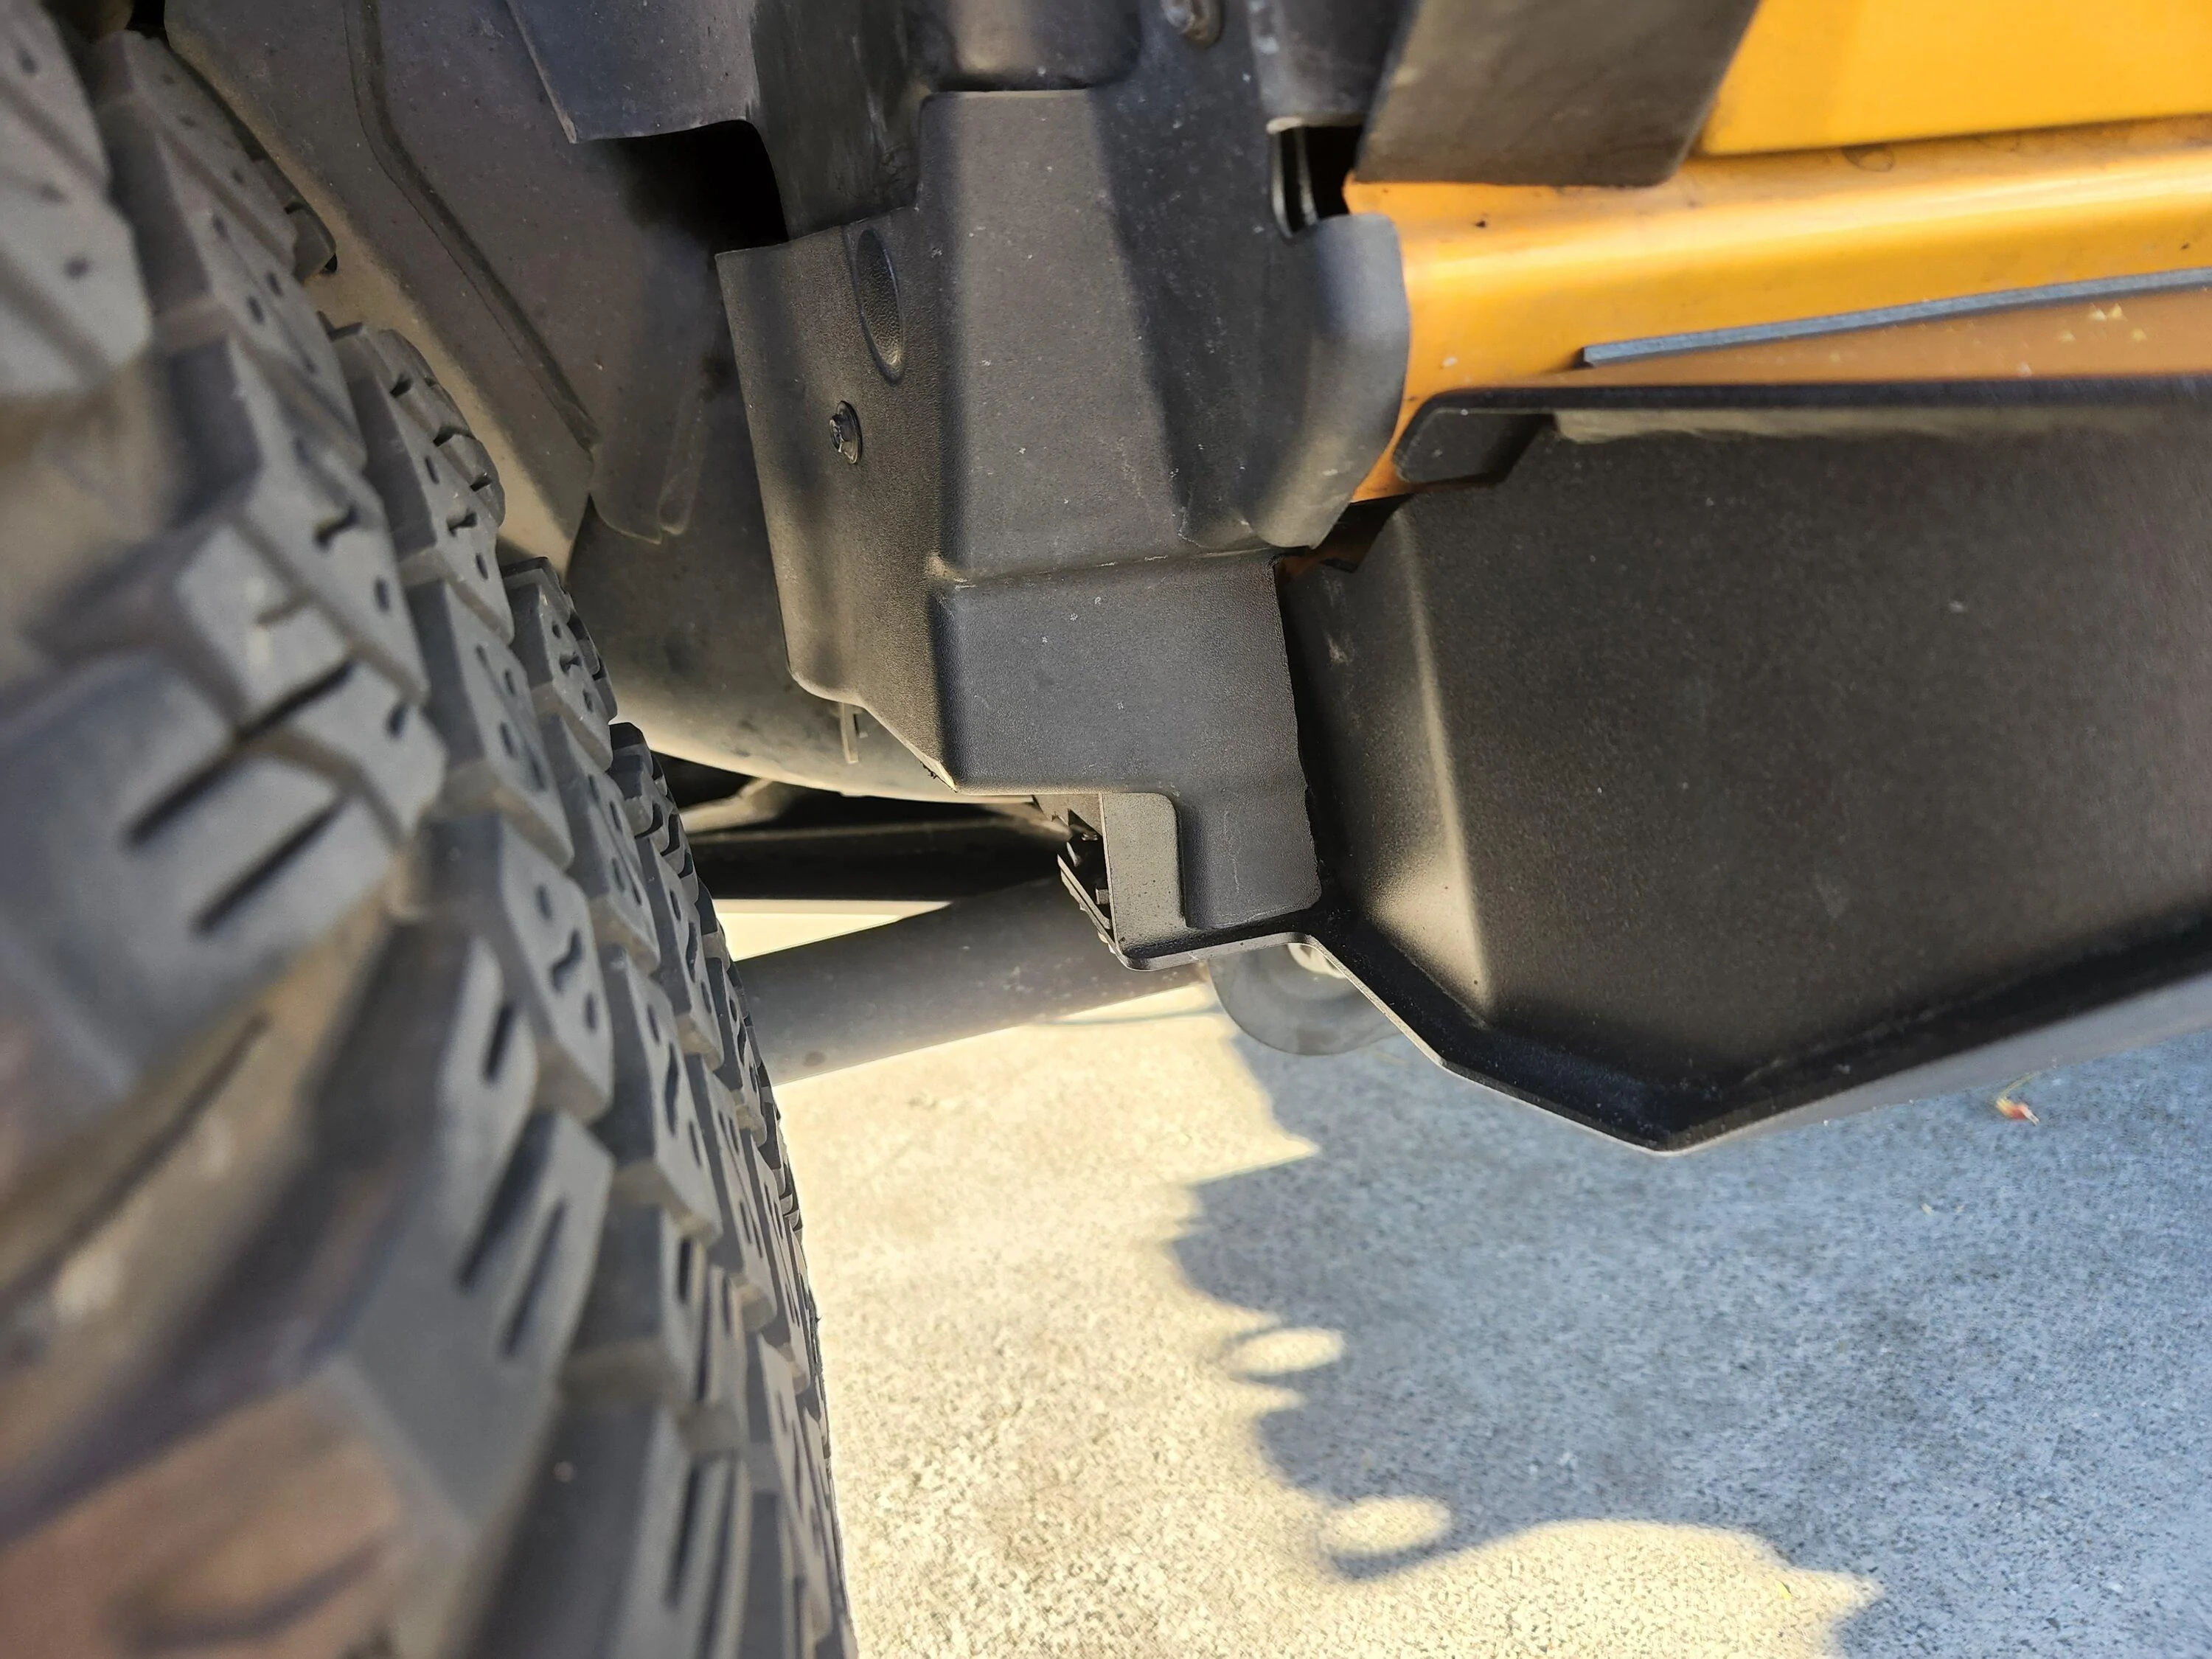
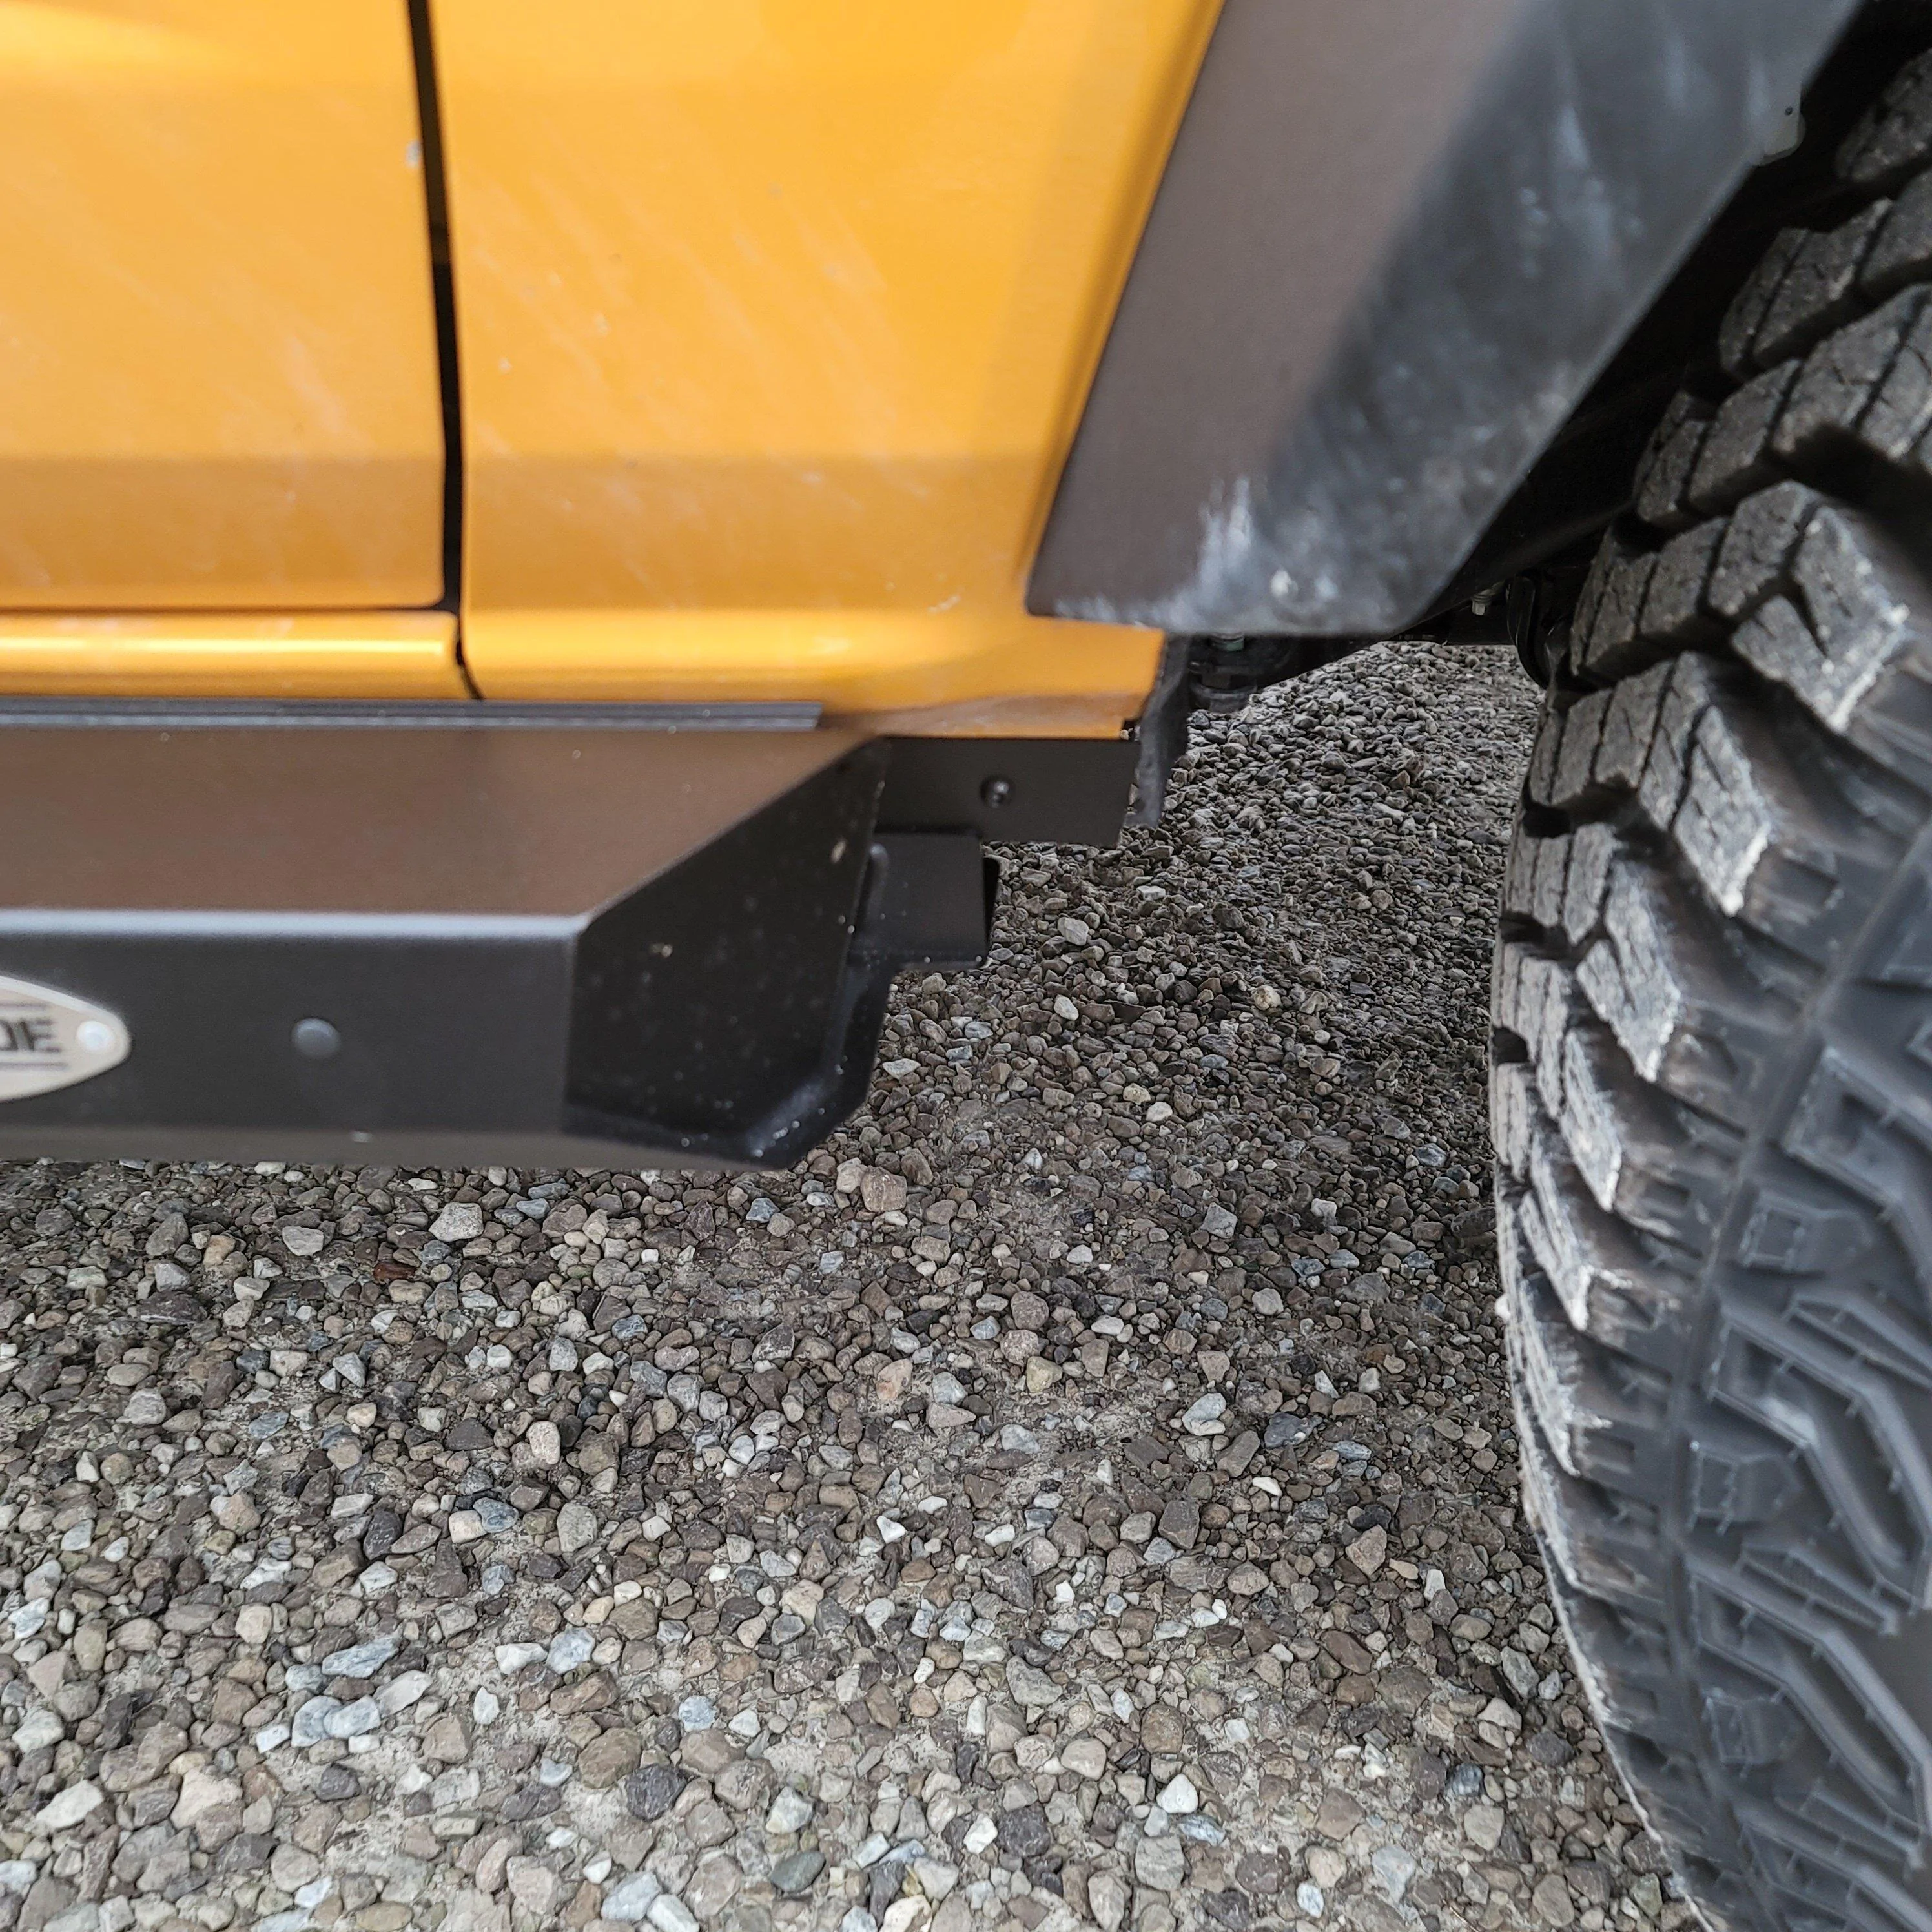
Has anyone had issues with a gap between the gasket and the body of your Bronco? I have the slightest gap in the passenger side. It drives me nuts. Tried uninstalling the step and upon reinstall, the gap is still there. Mostly towards the front of the vehicle. Maybe half a mm to a mm. Is that where the washer idea comes in above?
Sponsored

")