- First Name
- Edward
- Joined
- Jul 27, 2020
- Threads
- 8
- Messages
- 348
- Reaction score
- 1,134
- Location
- Fort Worth, Texas
- Vehicle(s)
- GMC Sierra
- Your Bronco Model
- Badlands
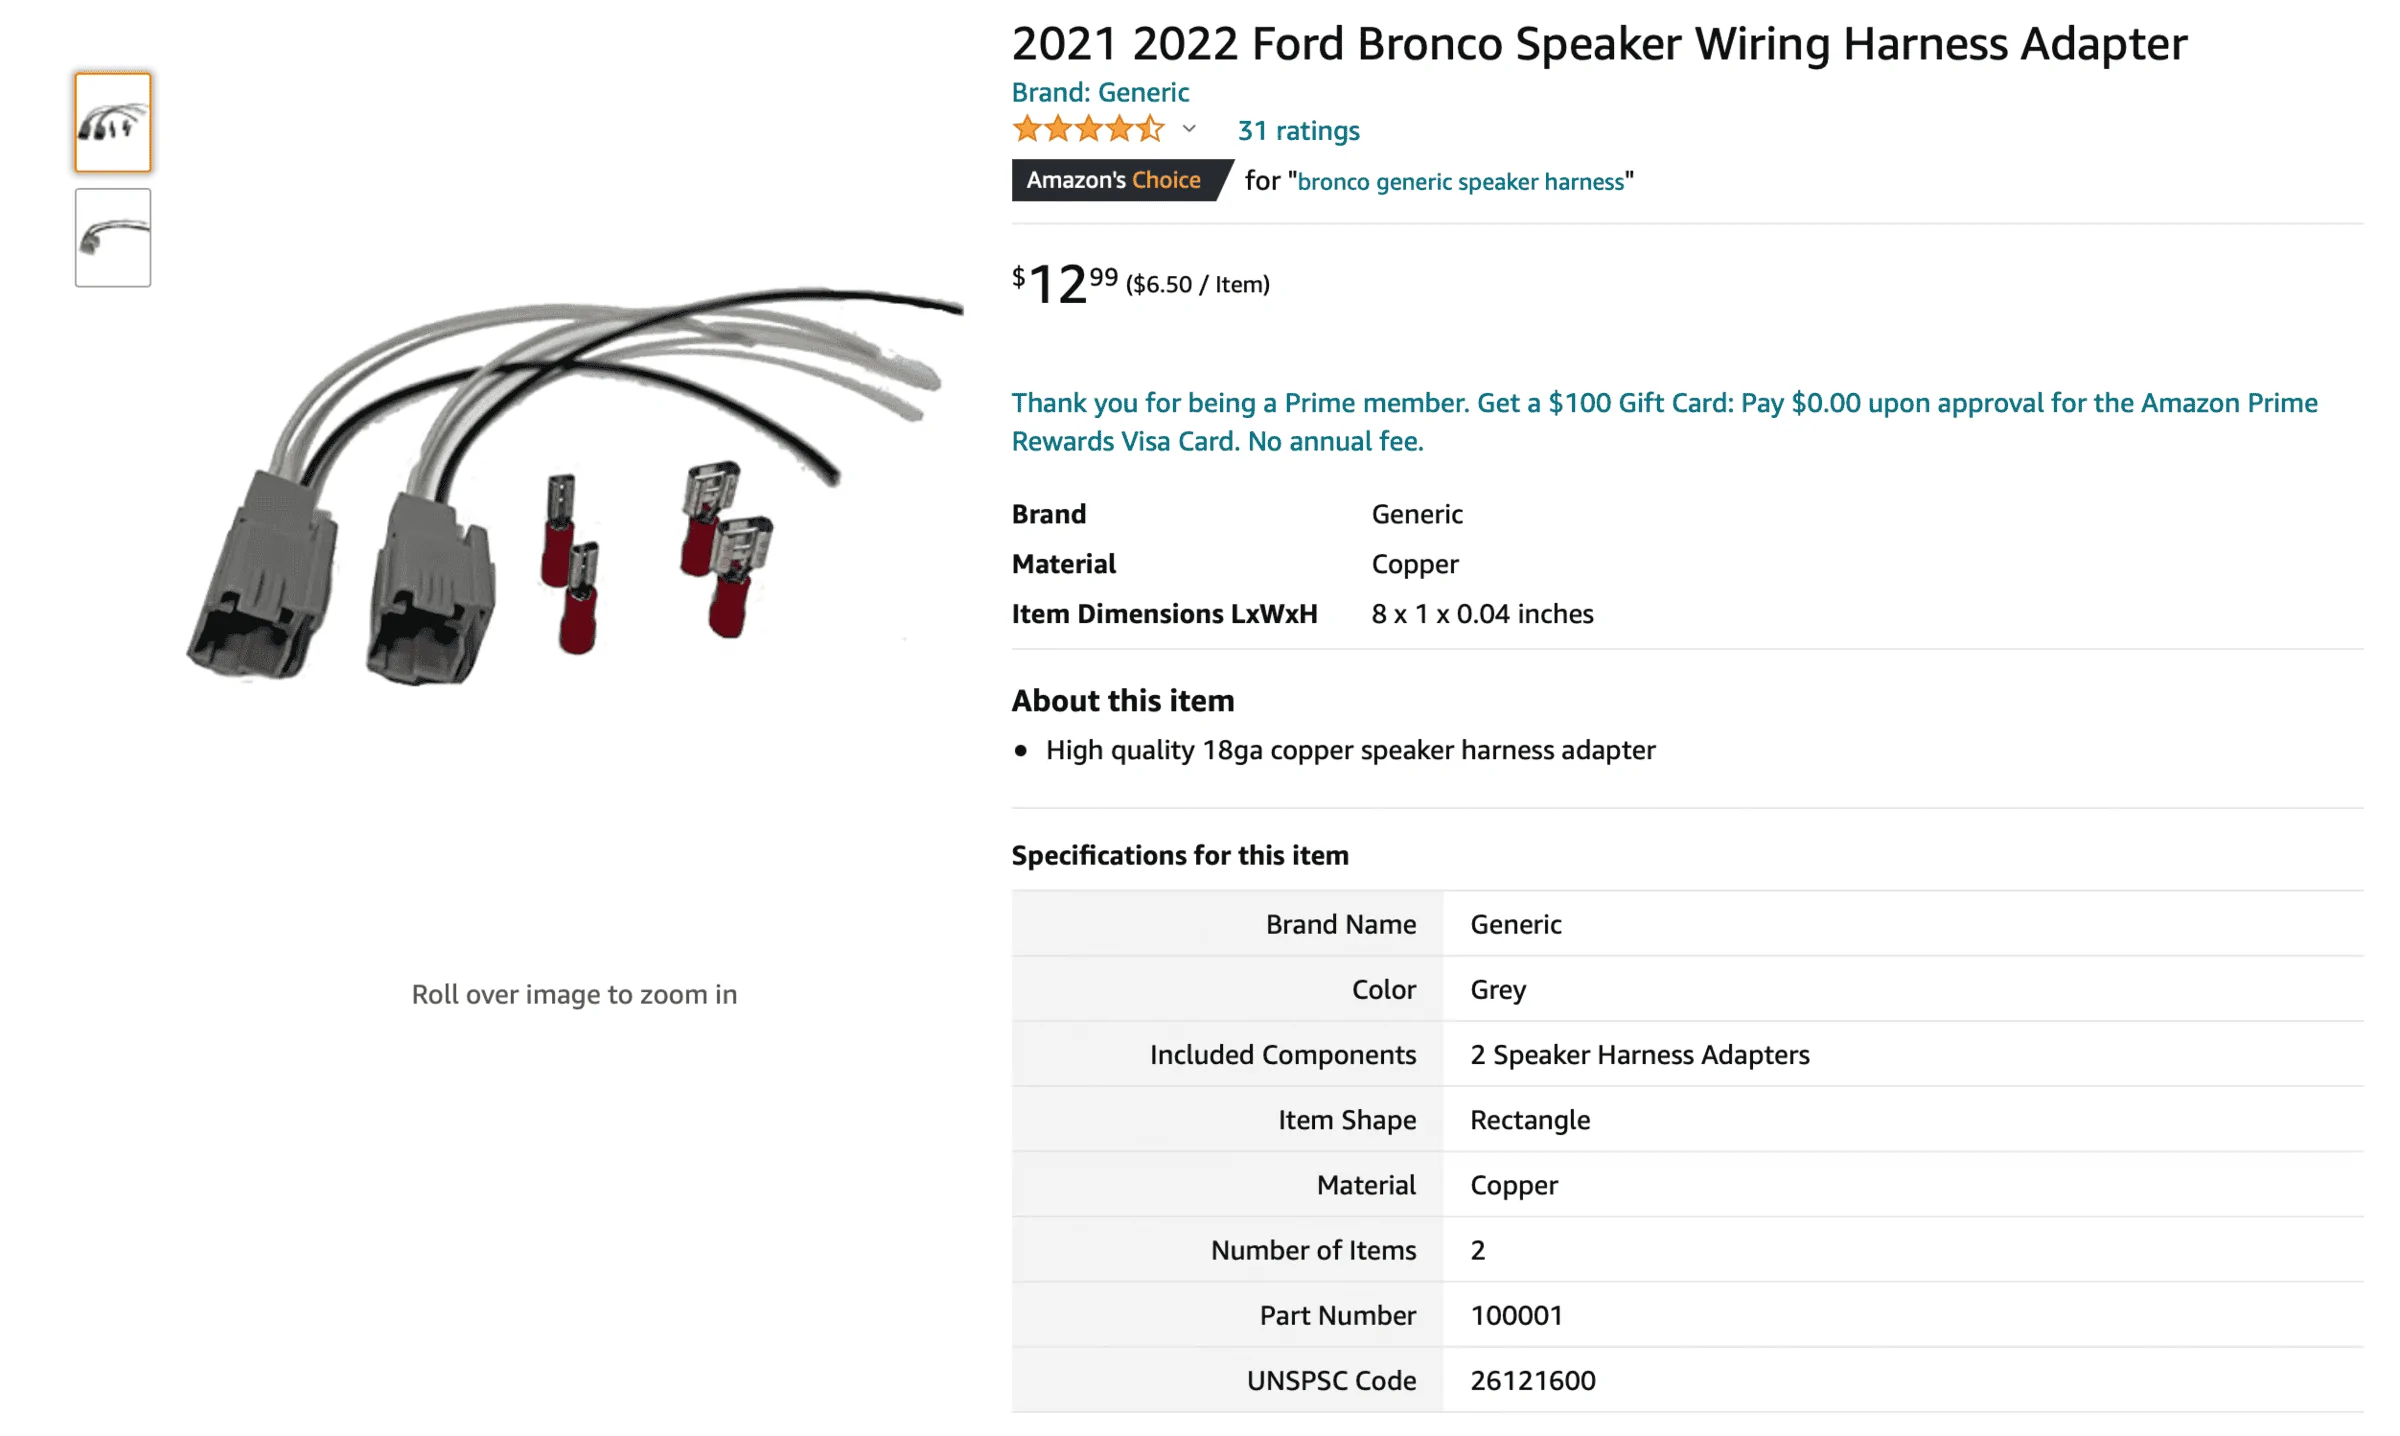
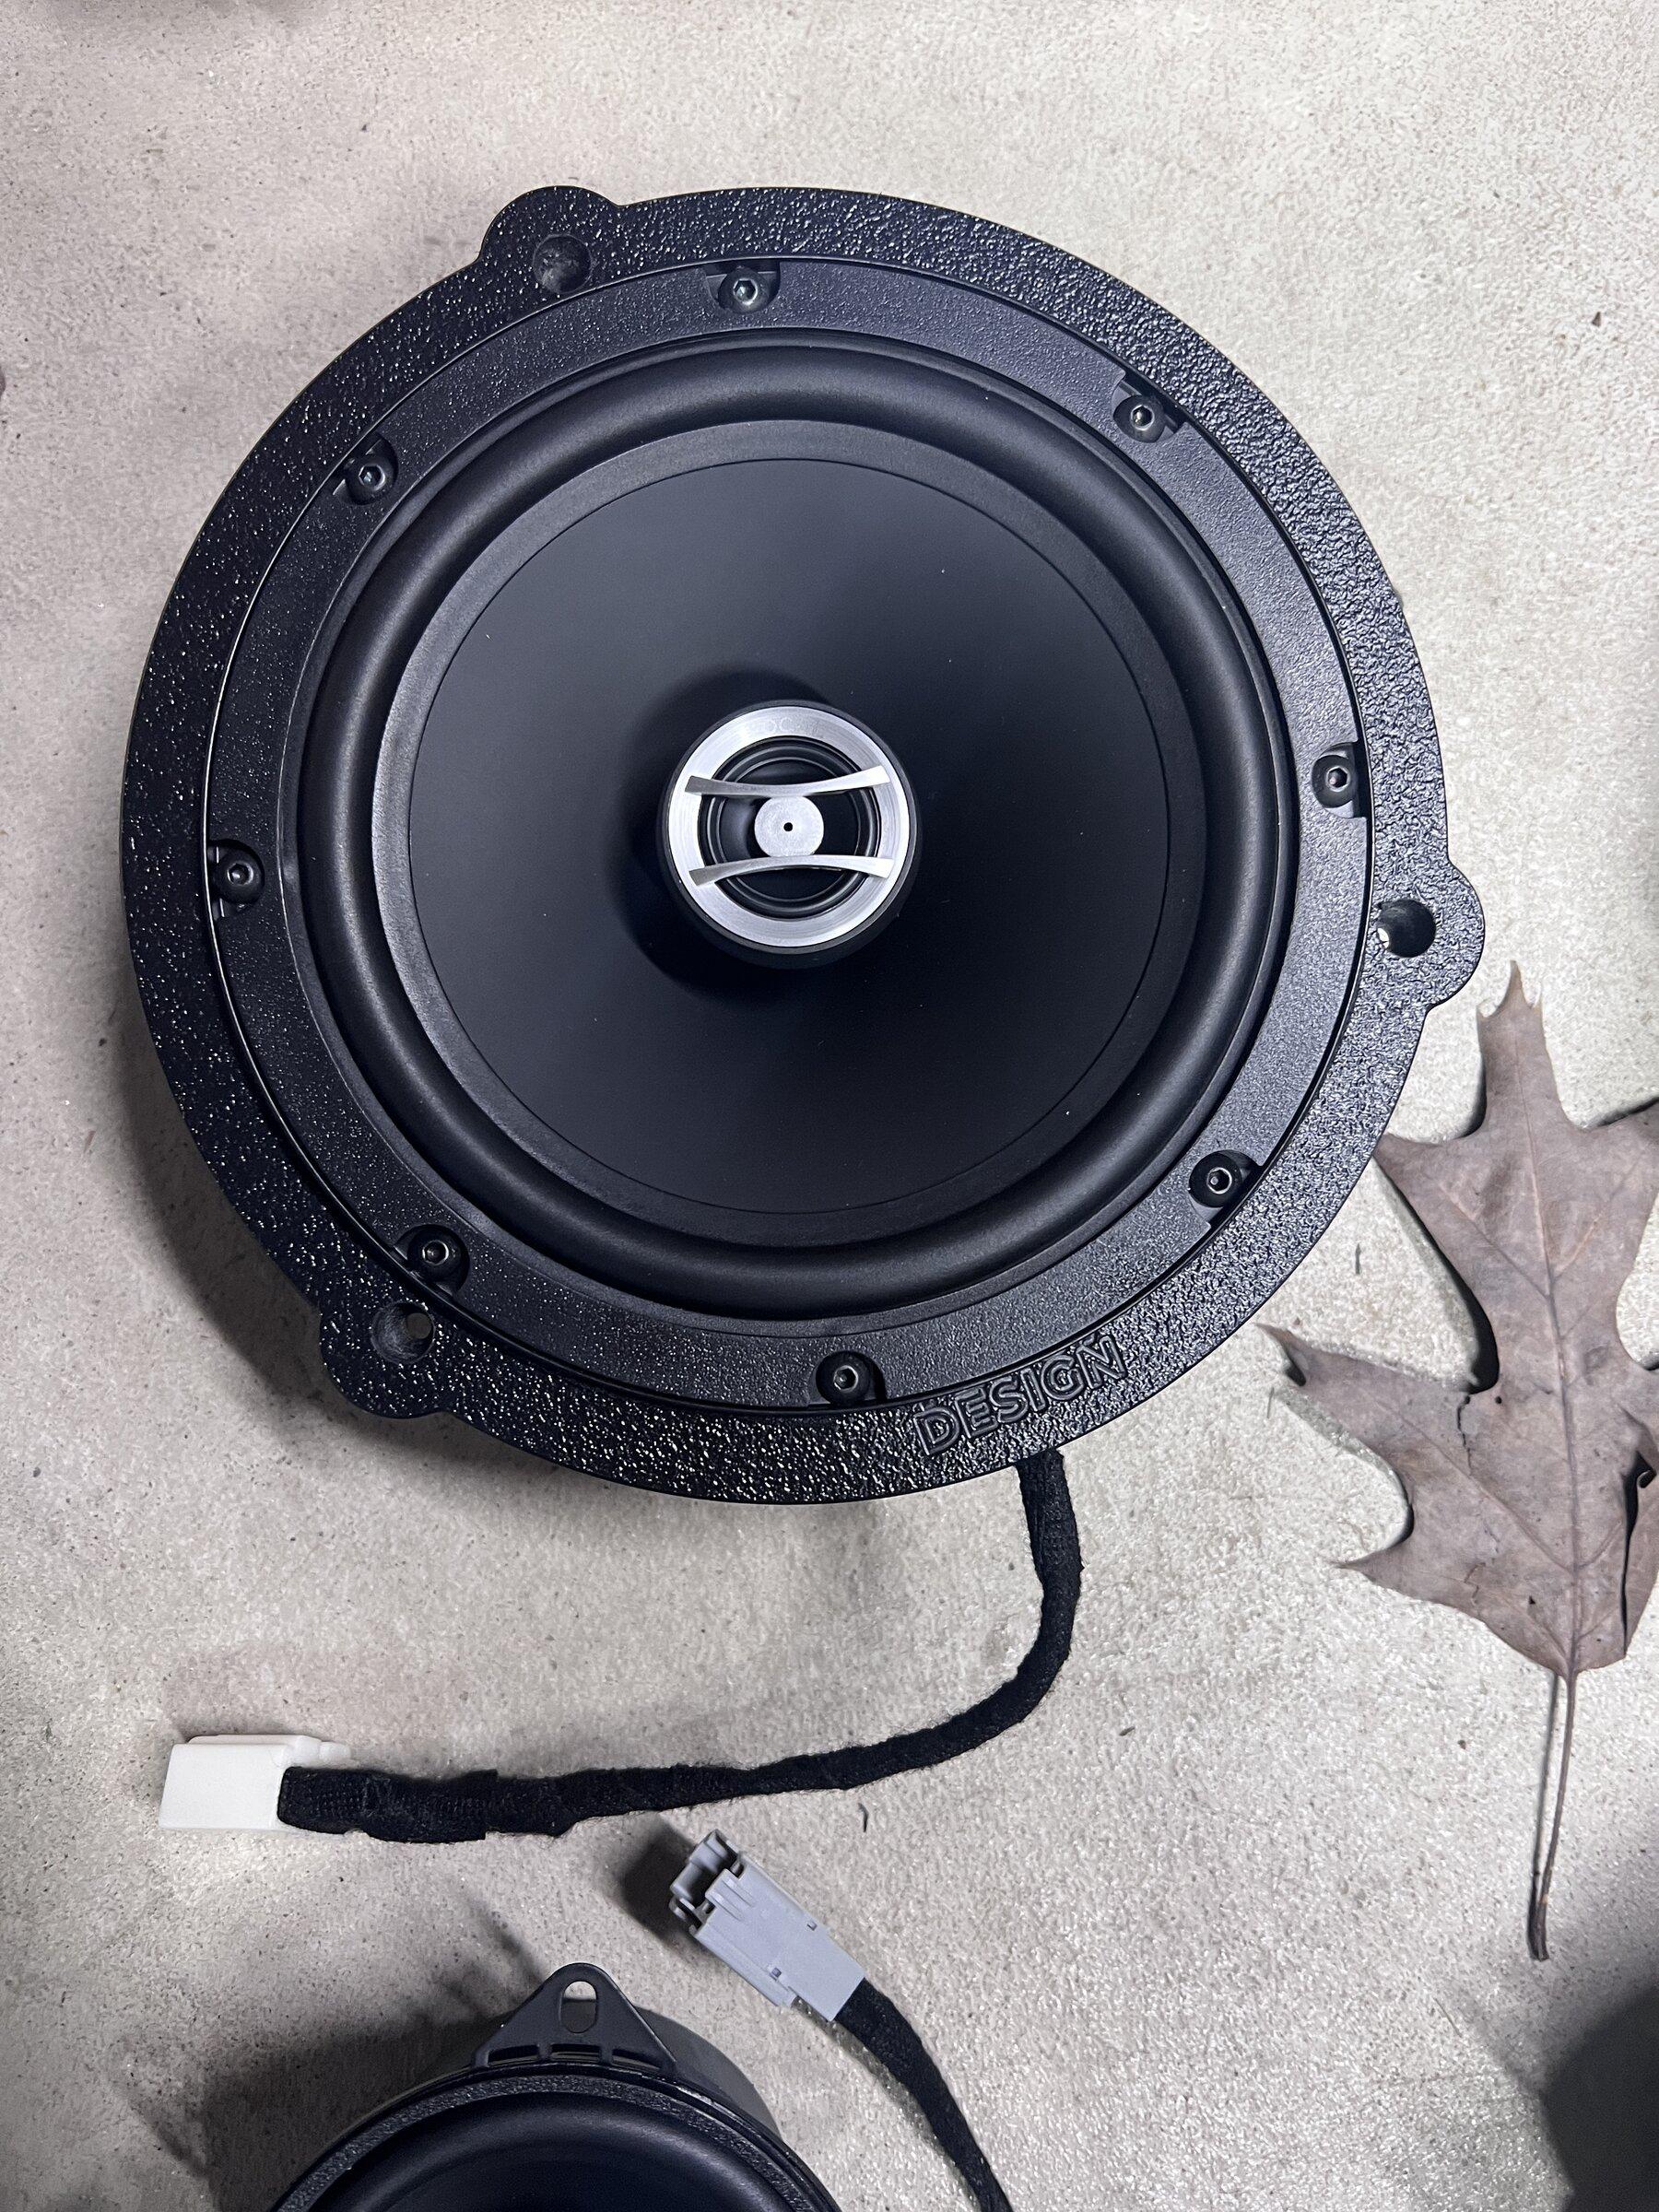
Started hearing a buzz/vibration coming from the rollbar pods... assume that my top down volume level has exceeded the capability of the speaker! I ordered a pair of the APX-100s and will replace the pod speakers first. Why do I have a feeling that this thread is going to cost me more $$$$s.
Sponsored