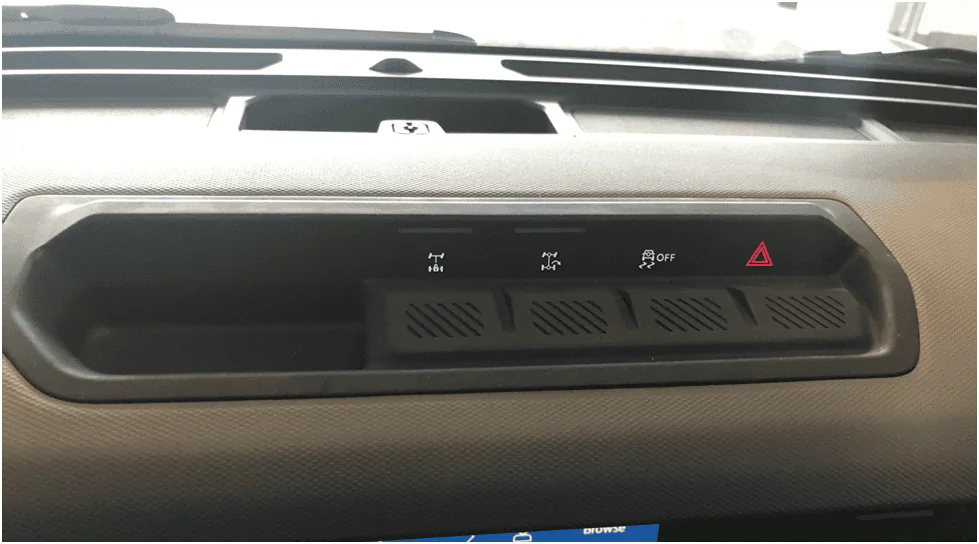
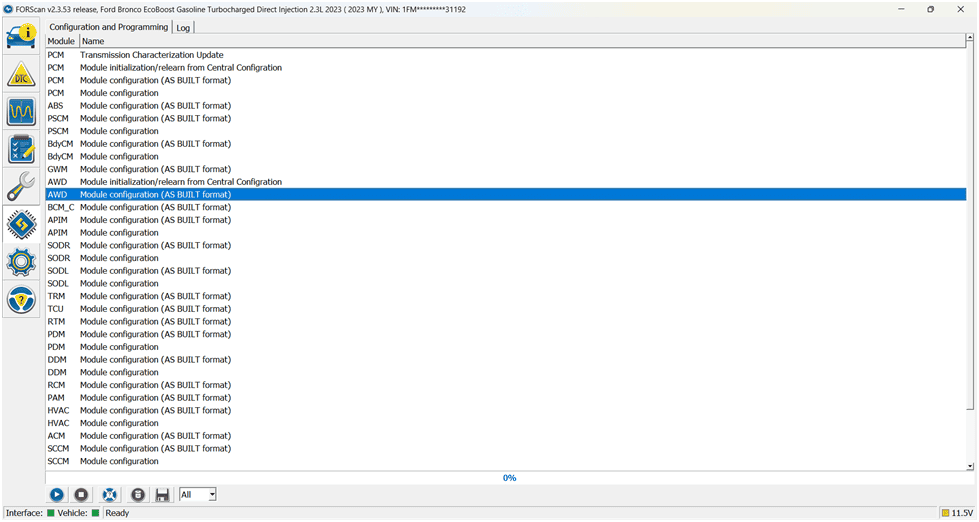
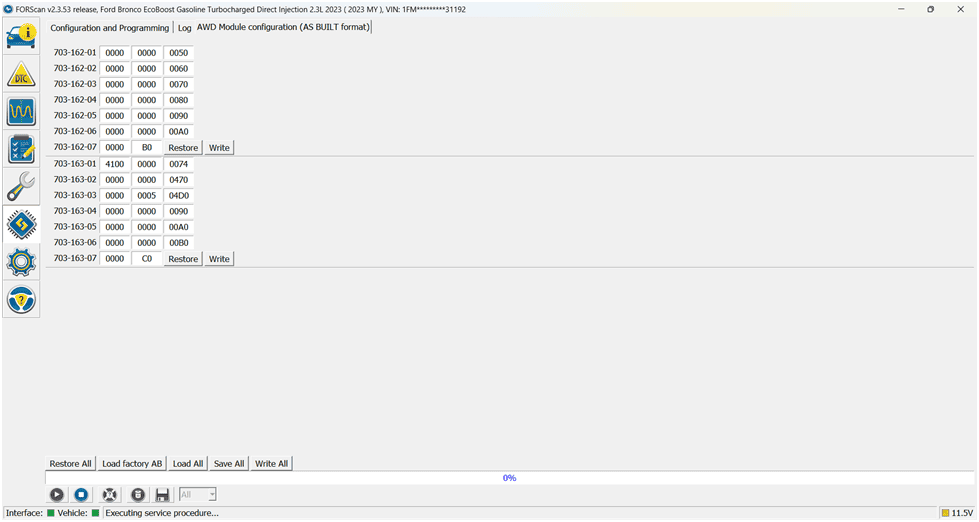
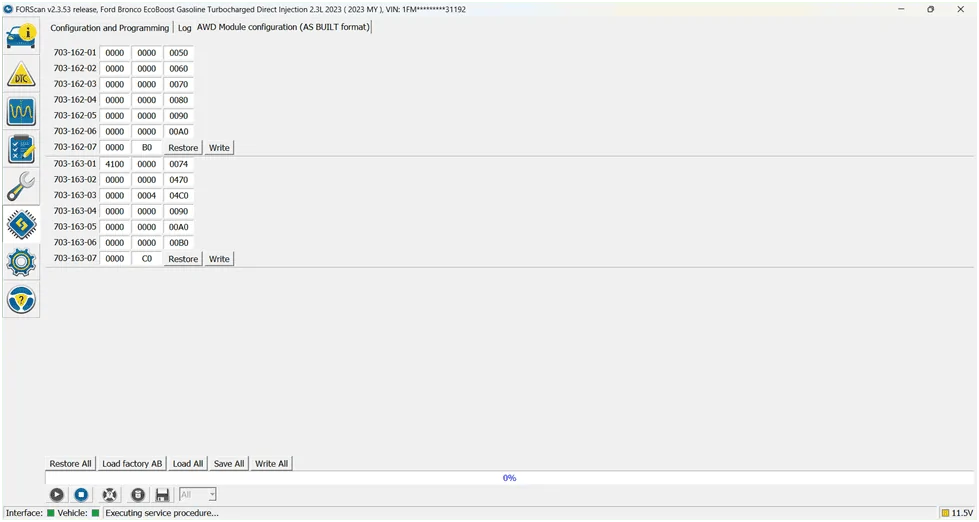
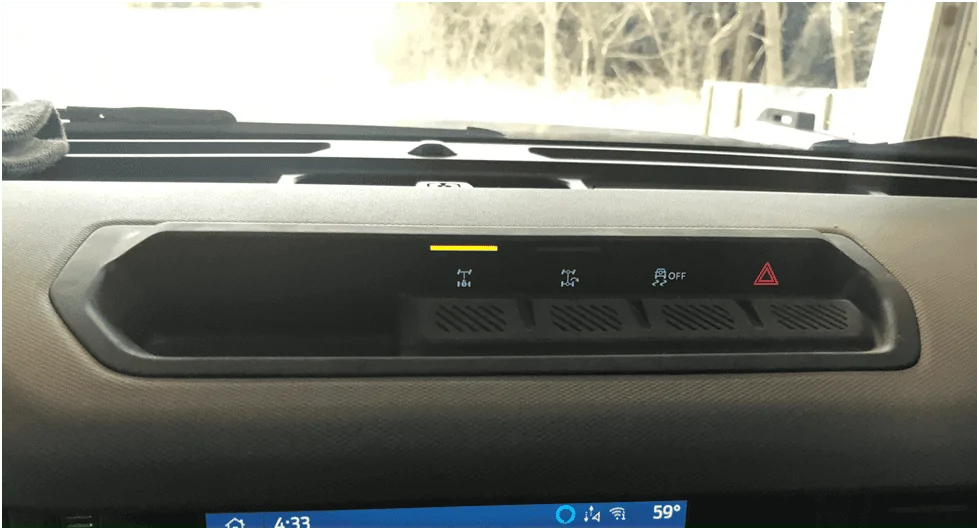
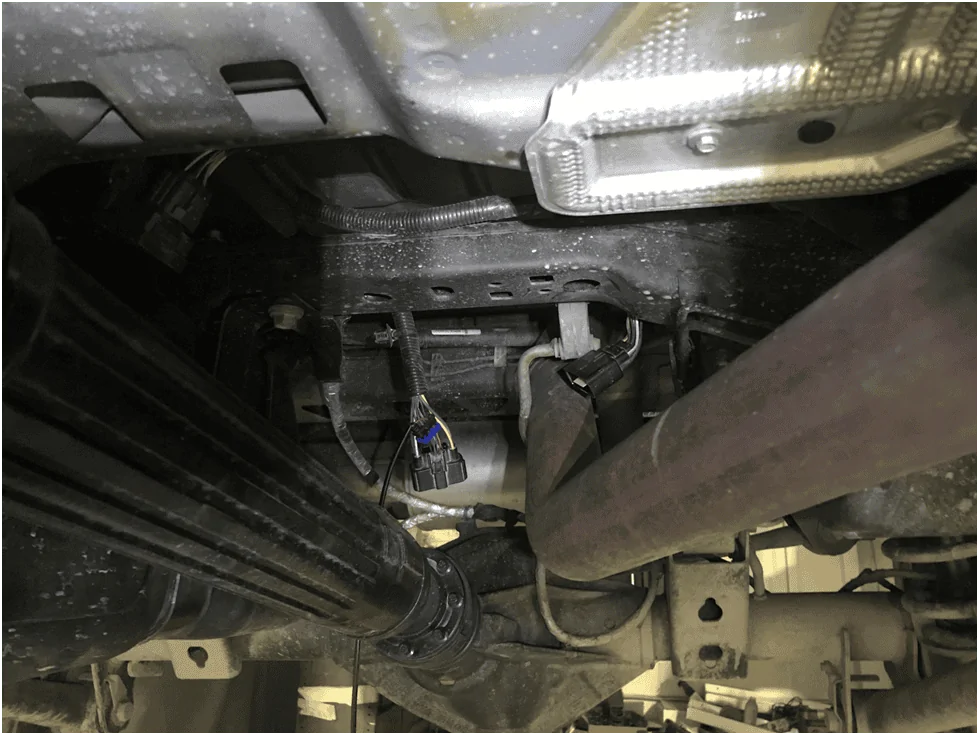
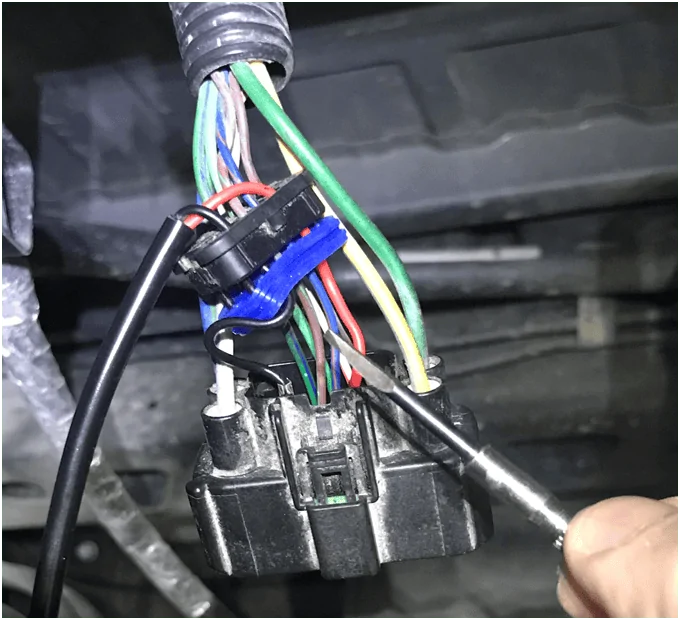
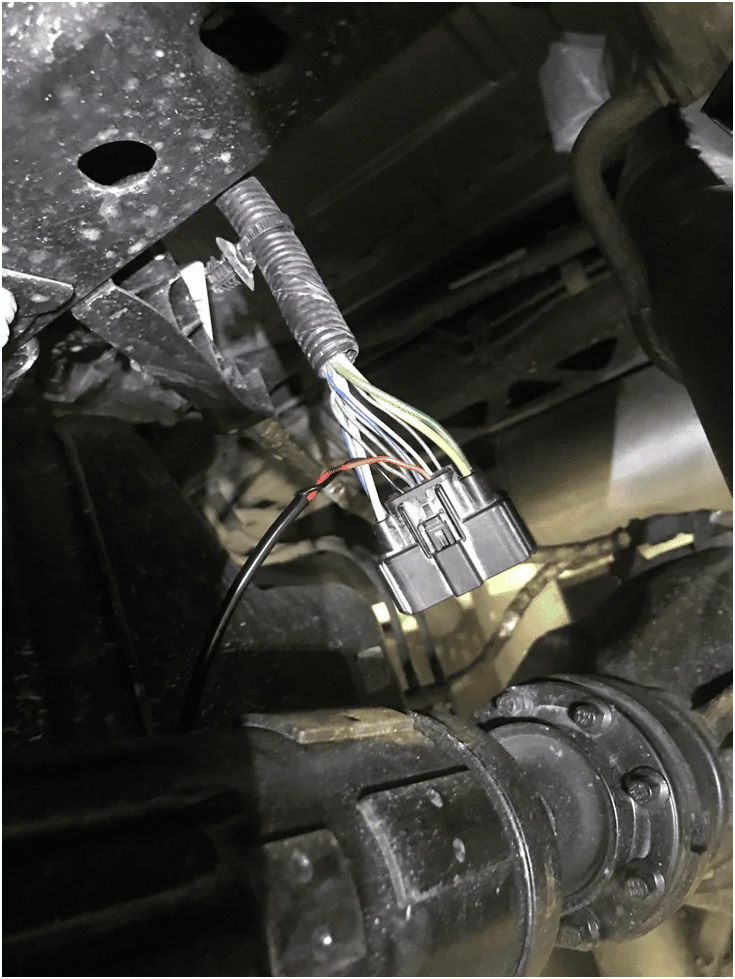
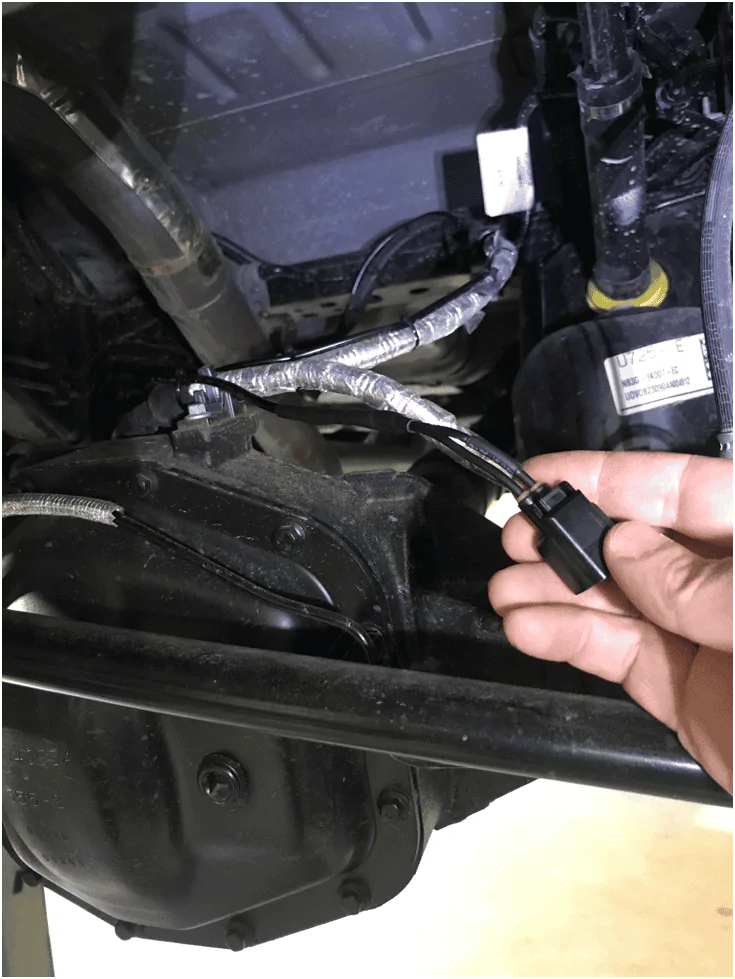
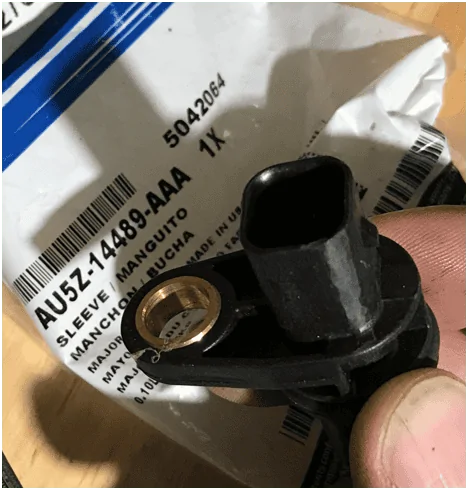
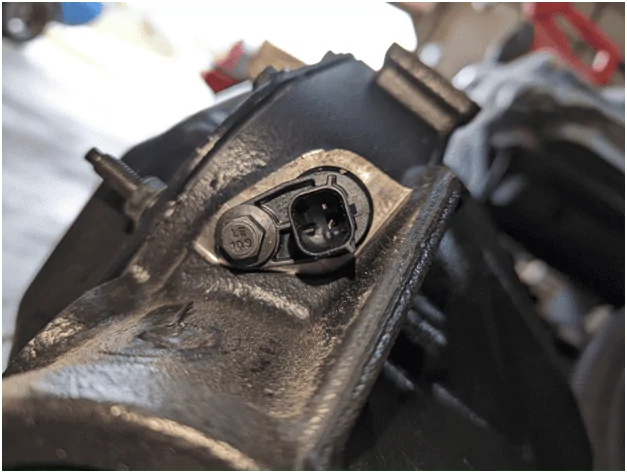
Fantastic. This will help with my long term planning, but I want to go one step further keeping as close to factory as possible by replacing the rear cable harness with the factory harness MB3Z2C011BA which has the locker wiring built in. This will add some more cost.
Sponsored