- First Name
- Eric
- Joined
- Sep 16, 2021
- Threads
- 20
- Messages
- 523
- Reaction score
- 1,156
- Location
- Gulf South Louisiana
- Vehicle(s)
- Turbo 350z, Bronco Badlands, Xterra
- Your Bronco Model
- Badlands
- Thread starter
- #1
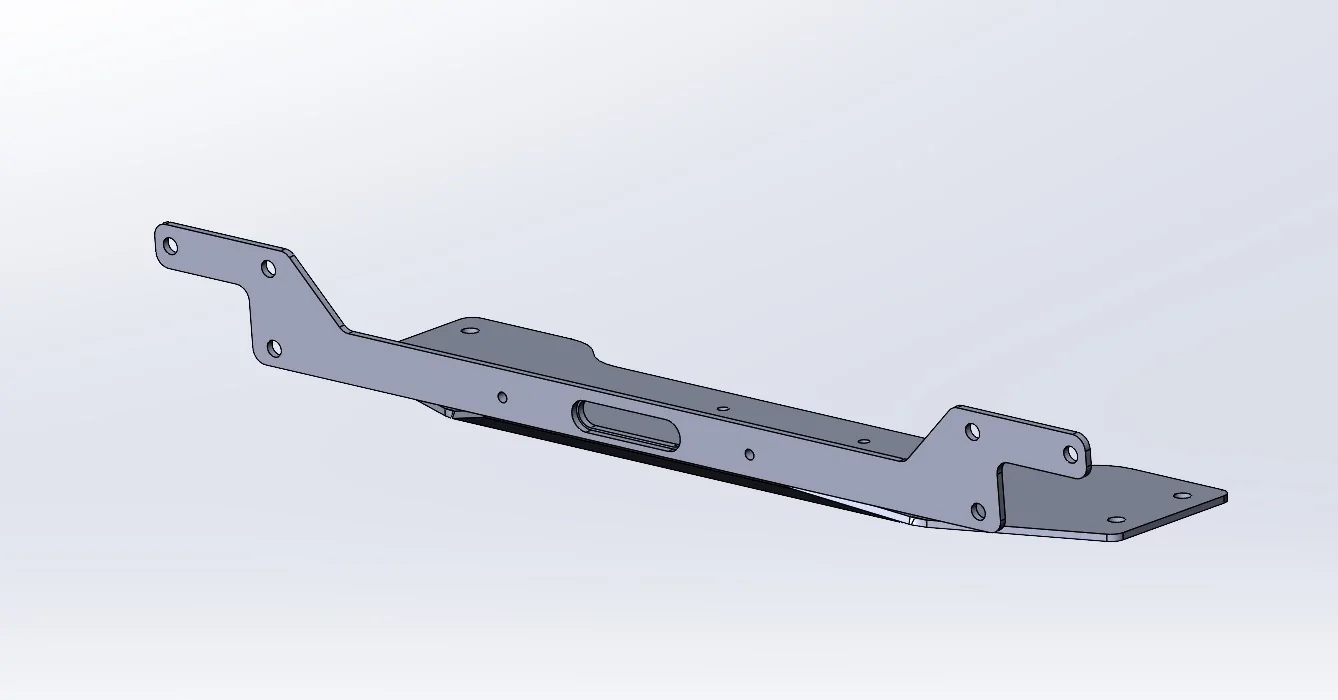
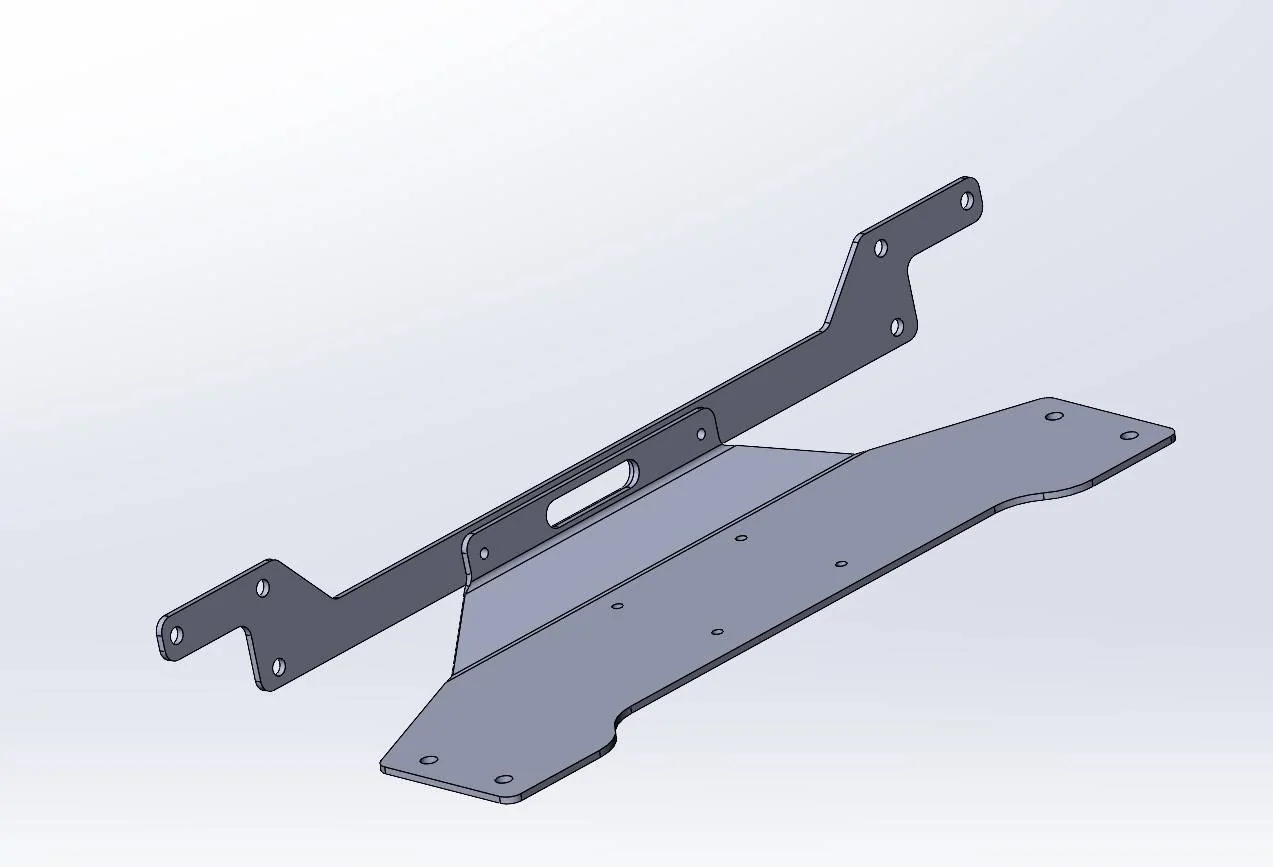
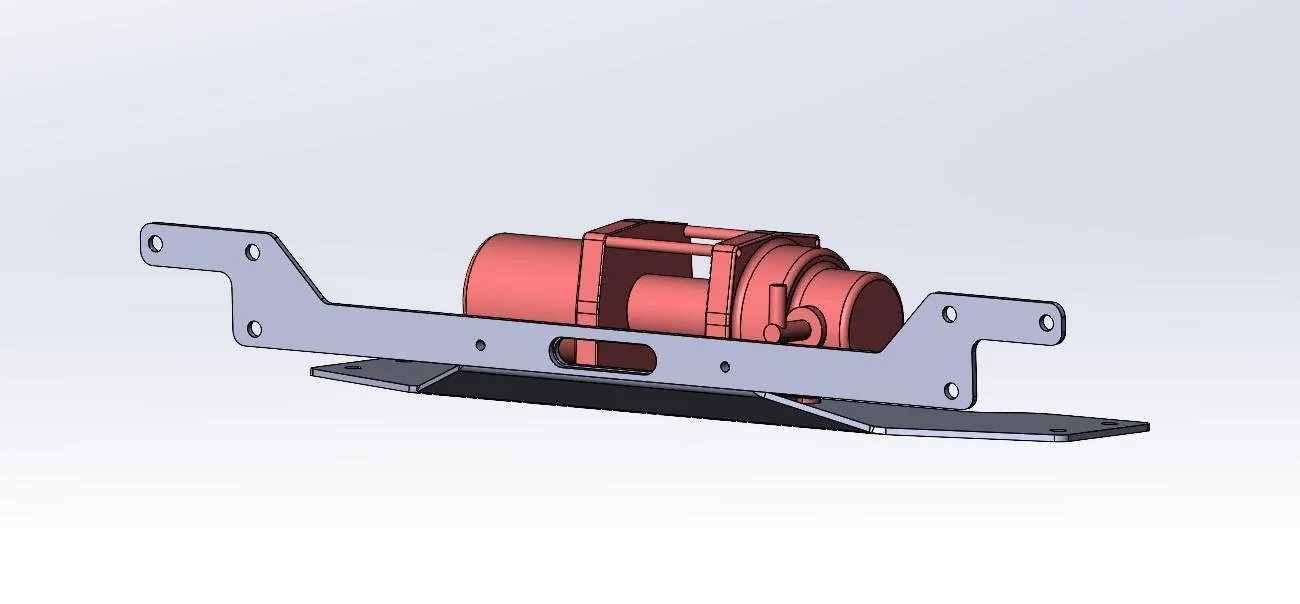
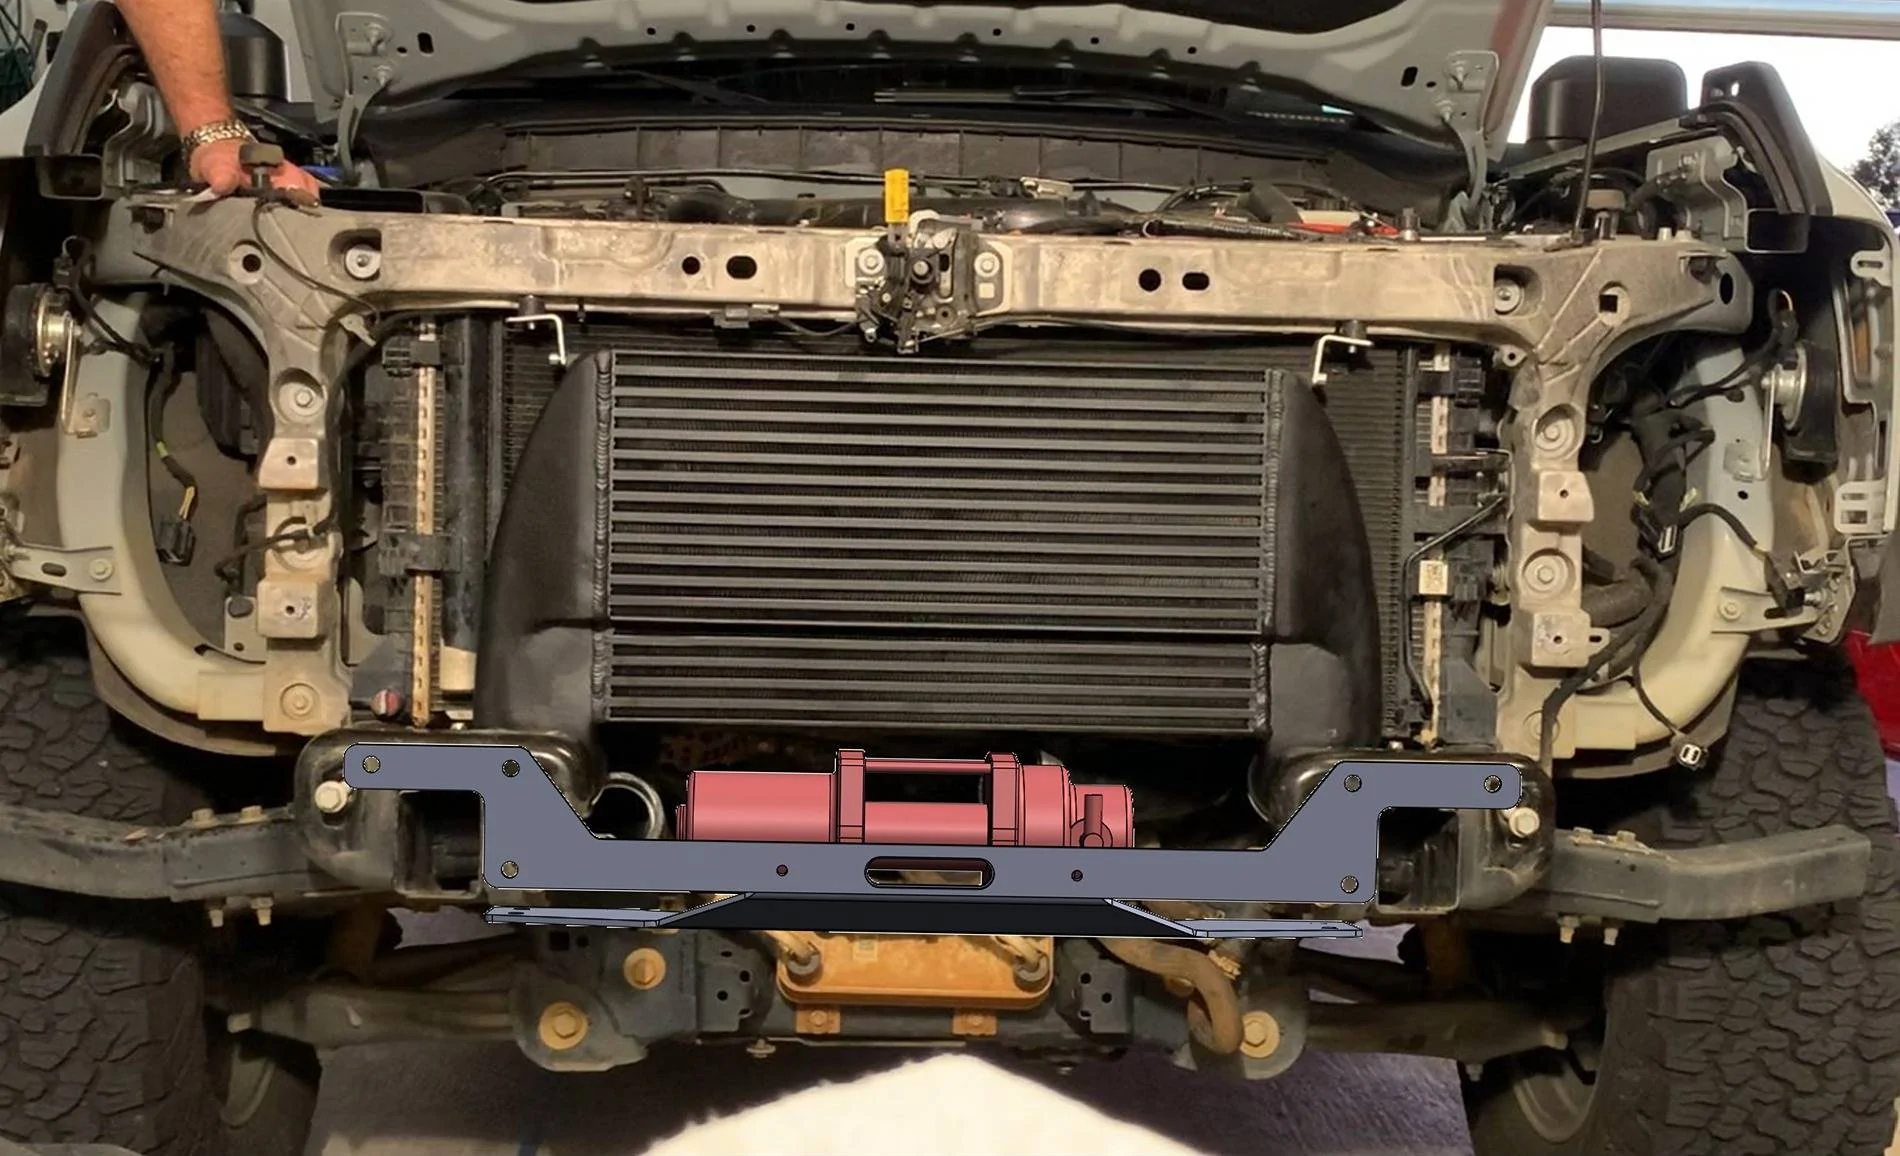
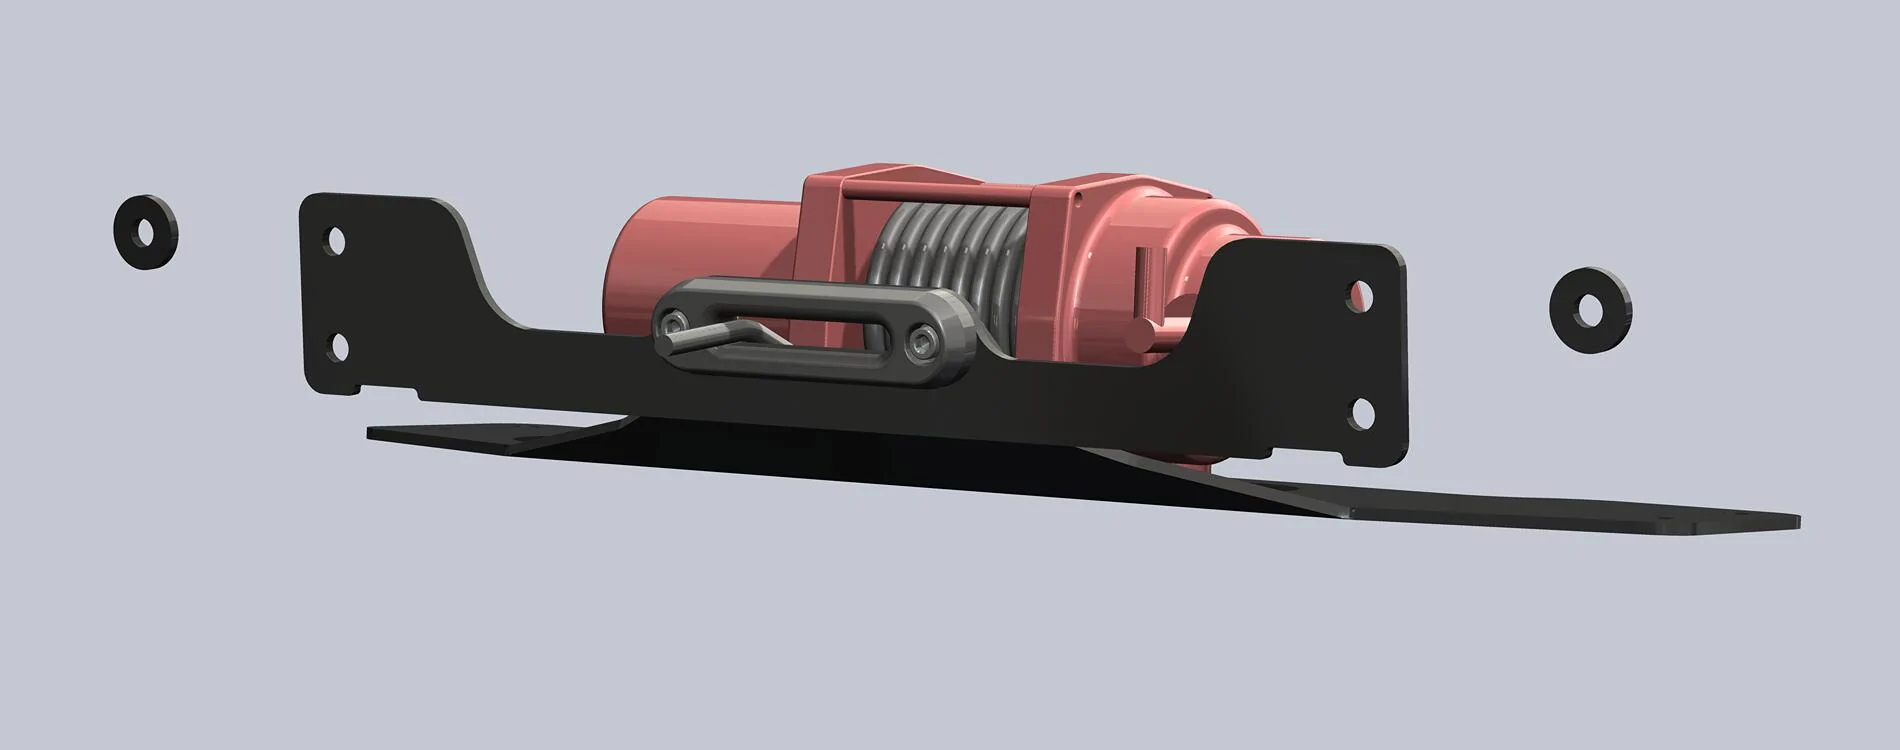
I recently installed my Wagner High Mount Intercooler in preparation for a winch and am extremely impressed with it. The fit and finish is excellent and I work with high end charge air coolers in industry. The fitment is spot on. The intercooler takes ALL of the available space and is much larger than the comparable Mishimoto unit while still providing for more clearance for the winch. Below is a rough draft write up of the install. I am working on the photos and a video of the install currently. Let me know what you guys think.
Step 1
Step 2
Step 3
Step 4


Step 1
- Remove pop clip securing air duct into airbox. Then remove the air duct
- Remove the 8x pop clips securing the radiator shroud cover and remove.
Step 2
- Disconnect the grill plugs above the passenger headlight. One Fluid line and one video line for those equipped.
- Remove the bolts securing the grill to the support structure.
- Remove grill my starting at corners and pulling straight forward.
Step 3
- Remove the front two fender flare twist clips and pull the leading edge of the fender flare away from the body.
- Remove the undergrill front fascia by pulling the corners away from the fenders.
- Unplug the front bumper plug under the driverside headlamp.
Step 4
- Remove the front bumper (this varies slightly with each bumper)
- Remove covers over the front bumper mount bolts
- Remove front bumper bolts
- Remove front bumper
- Remove forward skidplate bolts
- Loosen rear skidplate bolts
- Remove front skidplate
- Remove Christmas tree plug and three bolts securing each headlight
- Shift headlight outward and shove long #2 screwdriver into the pin lock on the inside edge of the headlight as shown.
- Remove and unplug the headlight.
- Repeat for the opposite side.
- Remove the bolts along the top and side of the grill shutter assembly
- Unplug the upper and lower grill shutter assembly plugs at the lower driverside corner of the radiator.
- Remove the radiator grill shutter assembly.
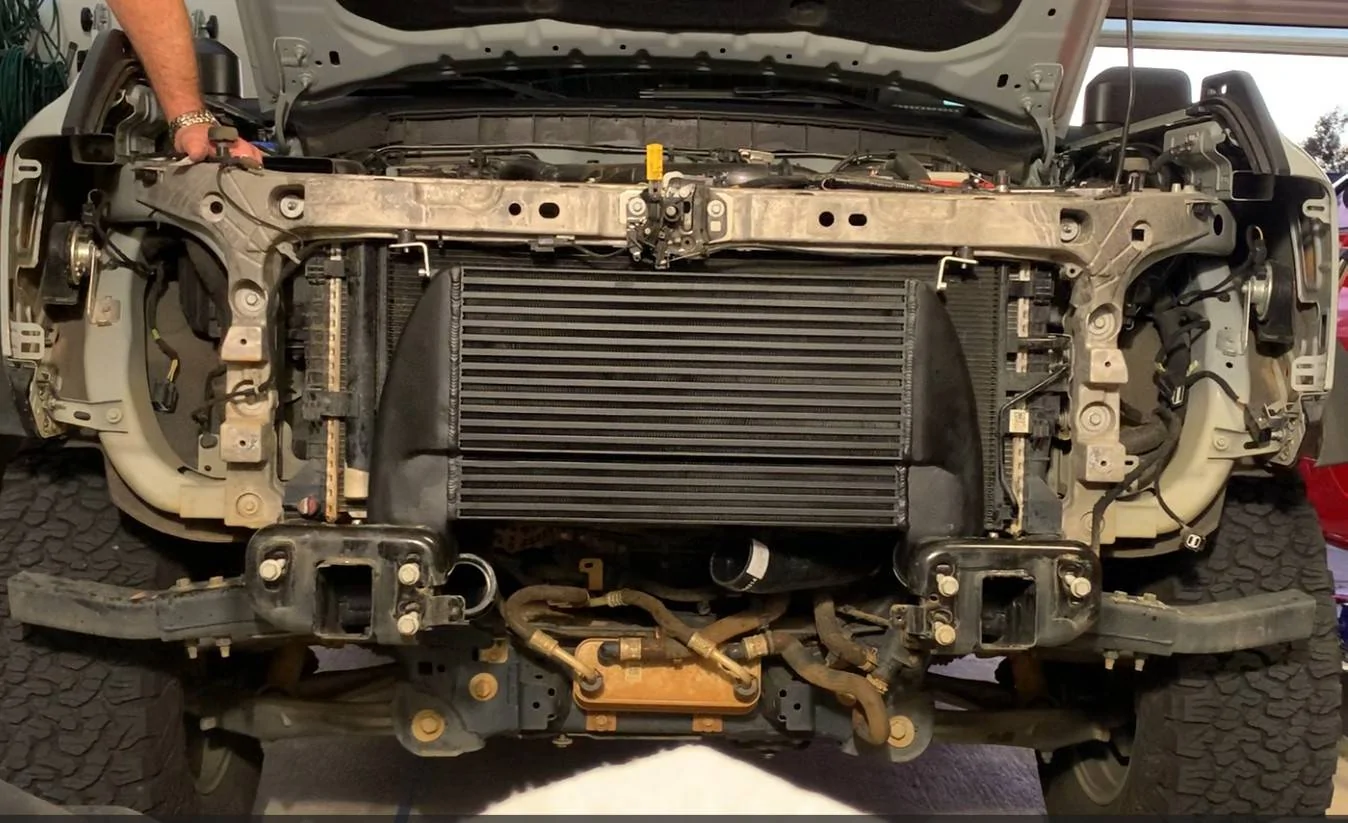
- Remove lower intercooler brackets.
- Disconnect intercooler inlet and outlet piping from the intercooler.
- Remove intercooler.
- Using a wrench, remove the upper intercooler mounting bolts and bracket.
- Lift the ac condenser by prying gently on the upper mounts one at a time and lifting the condenser. It should rise up by 1.5”
- Position the Wagner High Mount Intercooler by tucking the driverside port behind the frame horn and then while lifting the passenger side of the ac condenser and pushing it towards the radiator rock the passenger side of the intercooler into position.
- Install the upper intercooler mounts to the intercooler.
- Drop the ac condenser back into the mounts.
- Position the intercooler 1/16”-1/8” away from the ac condenser.
- Center mark the mount hole locations of the intercooler to drill the frame mounts.
- Remove the intercooler by reversing the install procedure.
- (2.7 specific)Remove the two intercooler pipes that were connected to the intercooler from behind the radiator. One will be a quick disconnect and one will be a hose clamp.
- Install the Wagner intercooler pipes. The driverside pipe will need the quick disconnect adapter installed before being installed onto the vehicle.
- Drill the marked frame and radiator support locations with a 7/16 drill bit.
- USE A RIVNUT INSTALL TOOL to install the 4 rivnuts
- Install the four rubber isolators, two large ones on the bottom and two small ones on the top to the vehicle.
- Lift the ac condenser by prying gently on the upper mounts one at a time and lifting the condenser. It should rise up by 1.5”
- Position the Wagner High Mount Intercooler by tucking the driverside port behind the frame horn and then while lifting the passenger side of the ac condenser and pushing it towards the radiator rock the passenger side of the intercooler into position.
- Bolt the intercooler in place.
- Install the intercooler pipes.
- Drop the ac condenser back onto position.
- Confirm that the intercooler (specifically the welds along the tanks) are not touching the ac condenser.
- Remove the grill shutters from the grill shutter assembly.
- Remove the grill shutter motor from the drill shutter assembly.
- Trim the grill shutter motor mount flush and the center lower grill shutter mounts.
- Trim 2” in from each lower corner, entirely removing the soft rubber deflector. As shown.
- Reinstall the grill shutter assembly and check to see if there is any additional trimming required.
- If not, bolt grill shutter assembly in place.
- Remove the center two bolts from the bumper (forward facing) and grind off the sharp ridge from the bolt head (1/16”)
- Reinstall bolts to bumper
- Reinstall headlights
- Reinstall lower grill facia
- Reinstall grill
- Reinstall bumper
- Check clearance between intercooler and the two bumper bolts that were shaved down.
- Check clearance between intercooler and ac condenser.
- Reinstall radiator deflector panel and pop clips into place.
- Reinstall intake scoop and pop clip into place.

Sponsored
Last edited: