
- Joined
- Apr 5, 2022
- Threads
- 39
- Messages
- 2,200
- Reaction score
- 5,580
- Location
- Scs michigan
- Vehicle(s)
- 22 badlands 2 door. 22 Burban Z71
- Your Bronco Model
- Badlands
- Thread starter
- #1
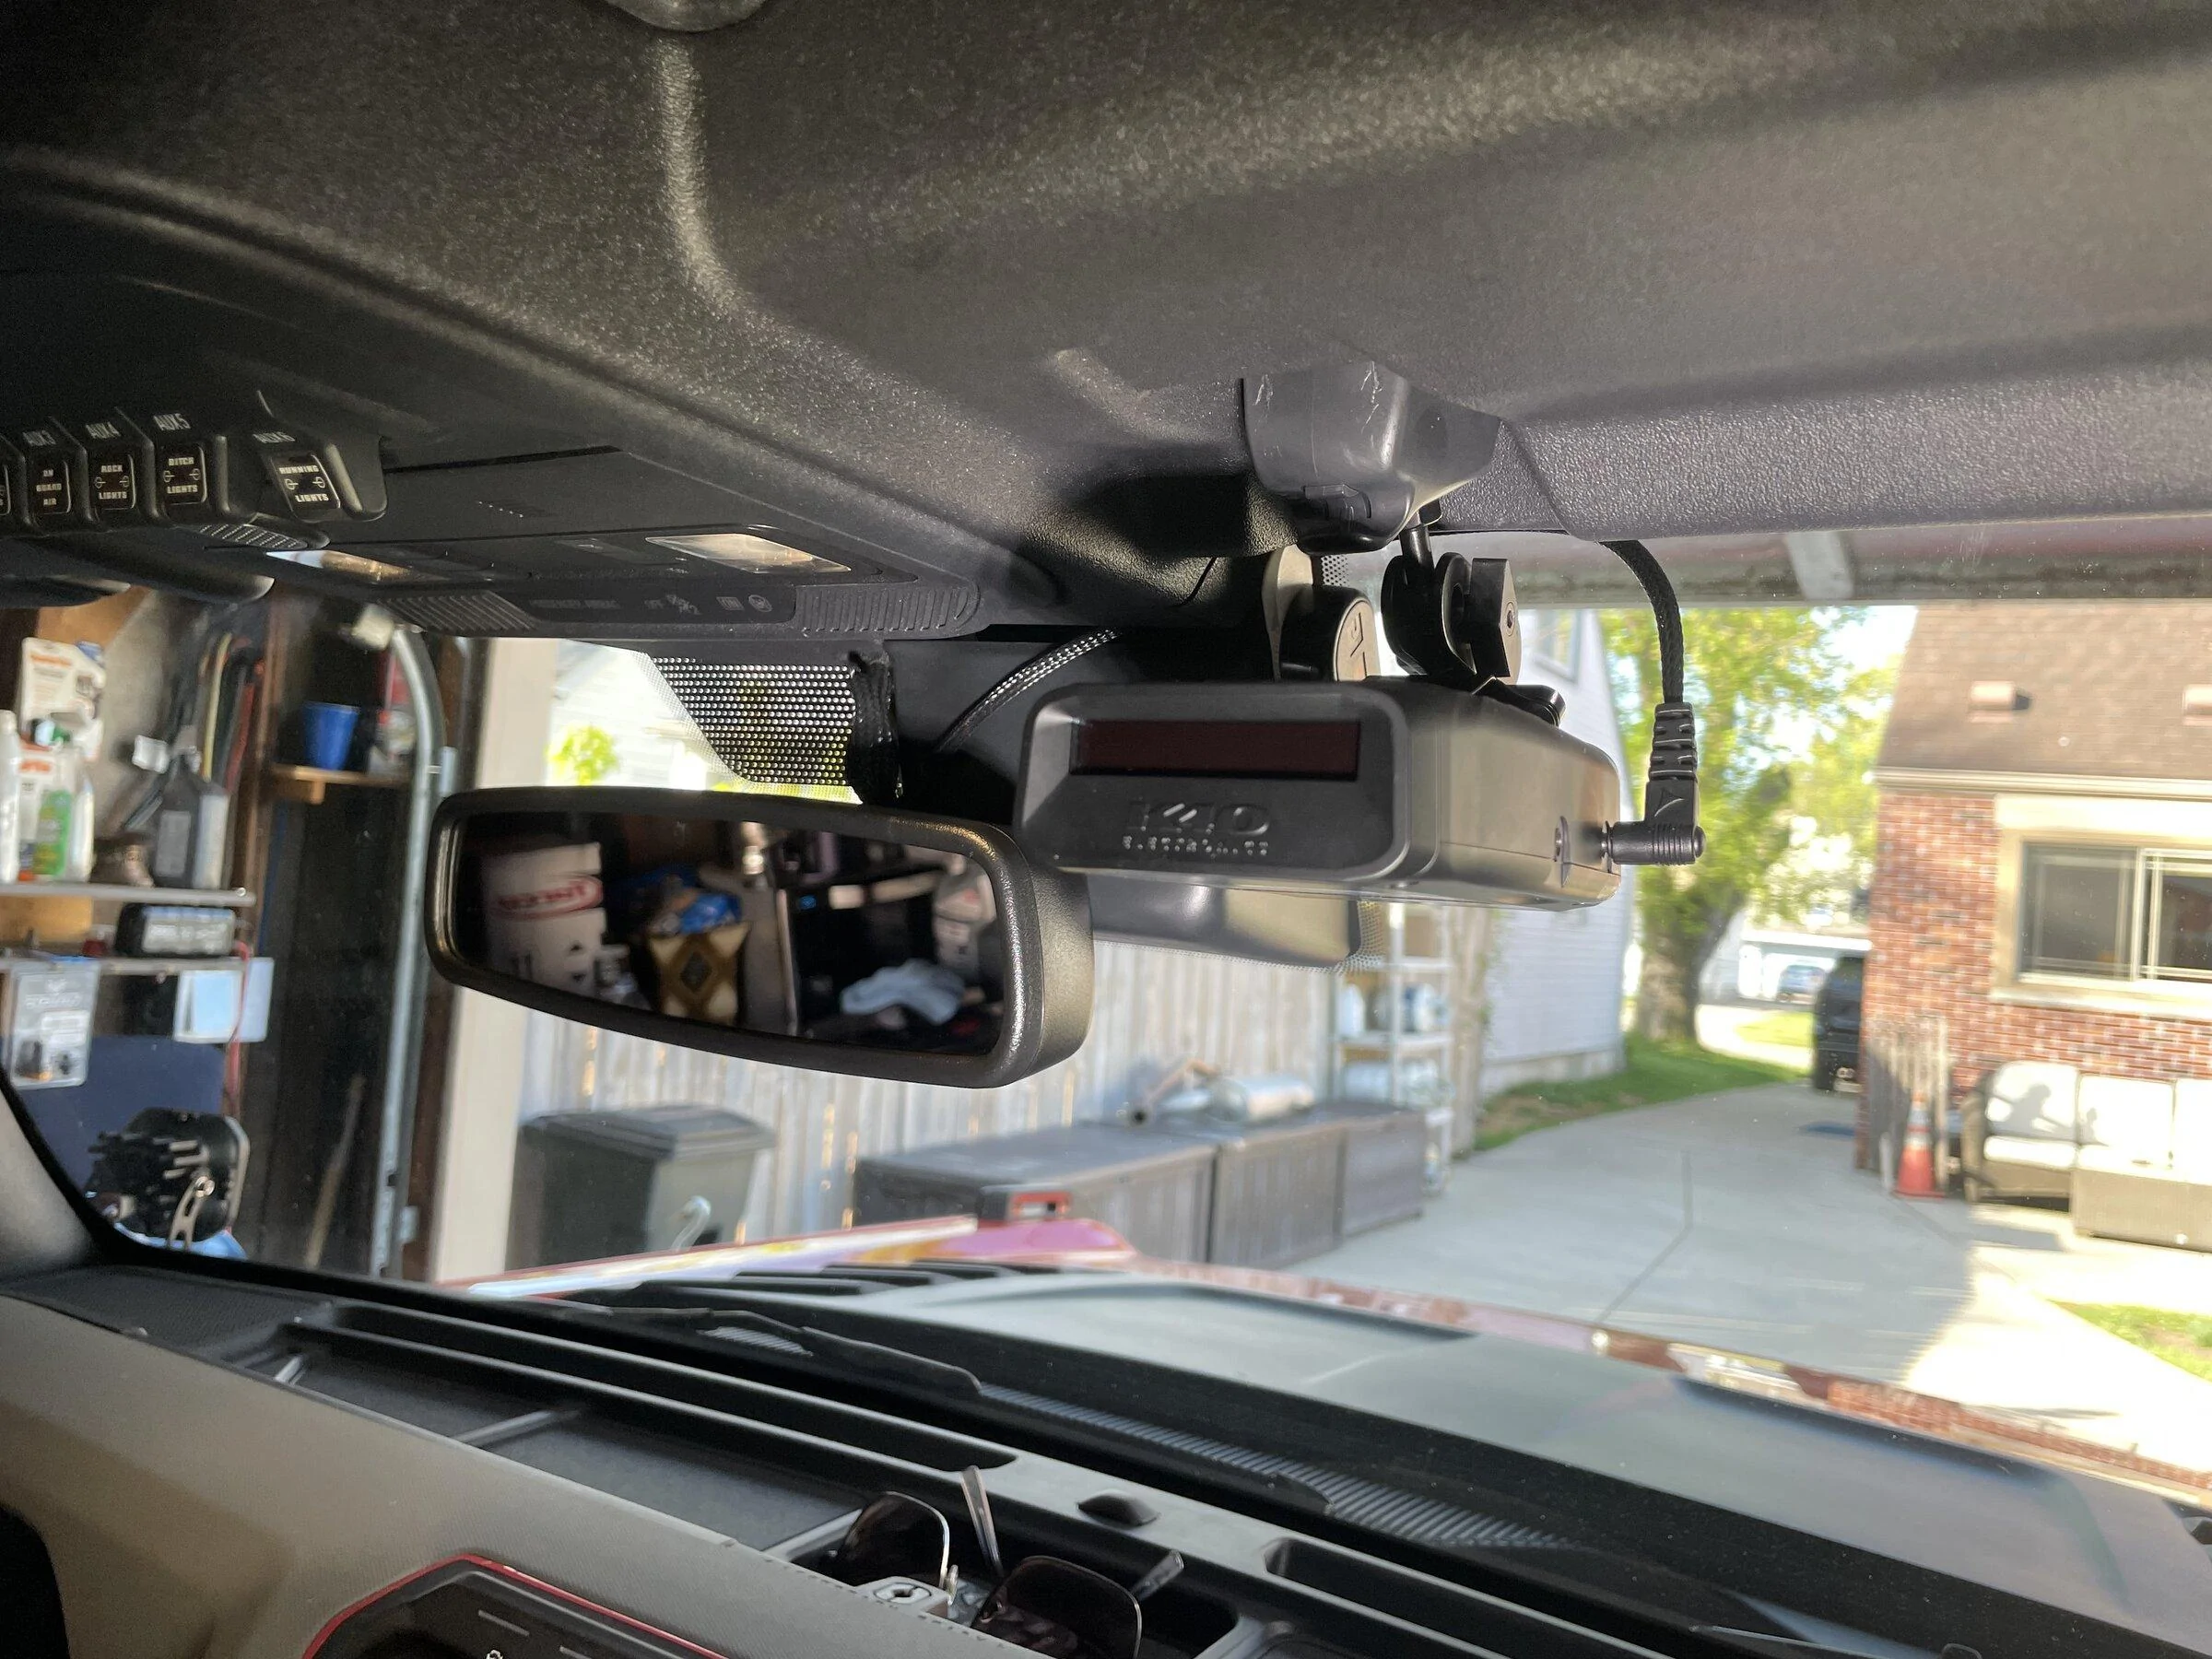
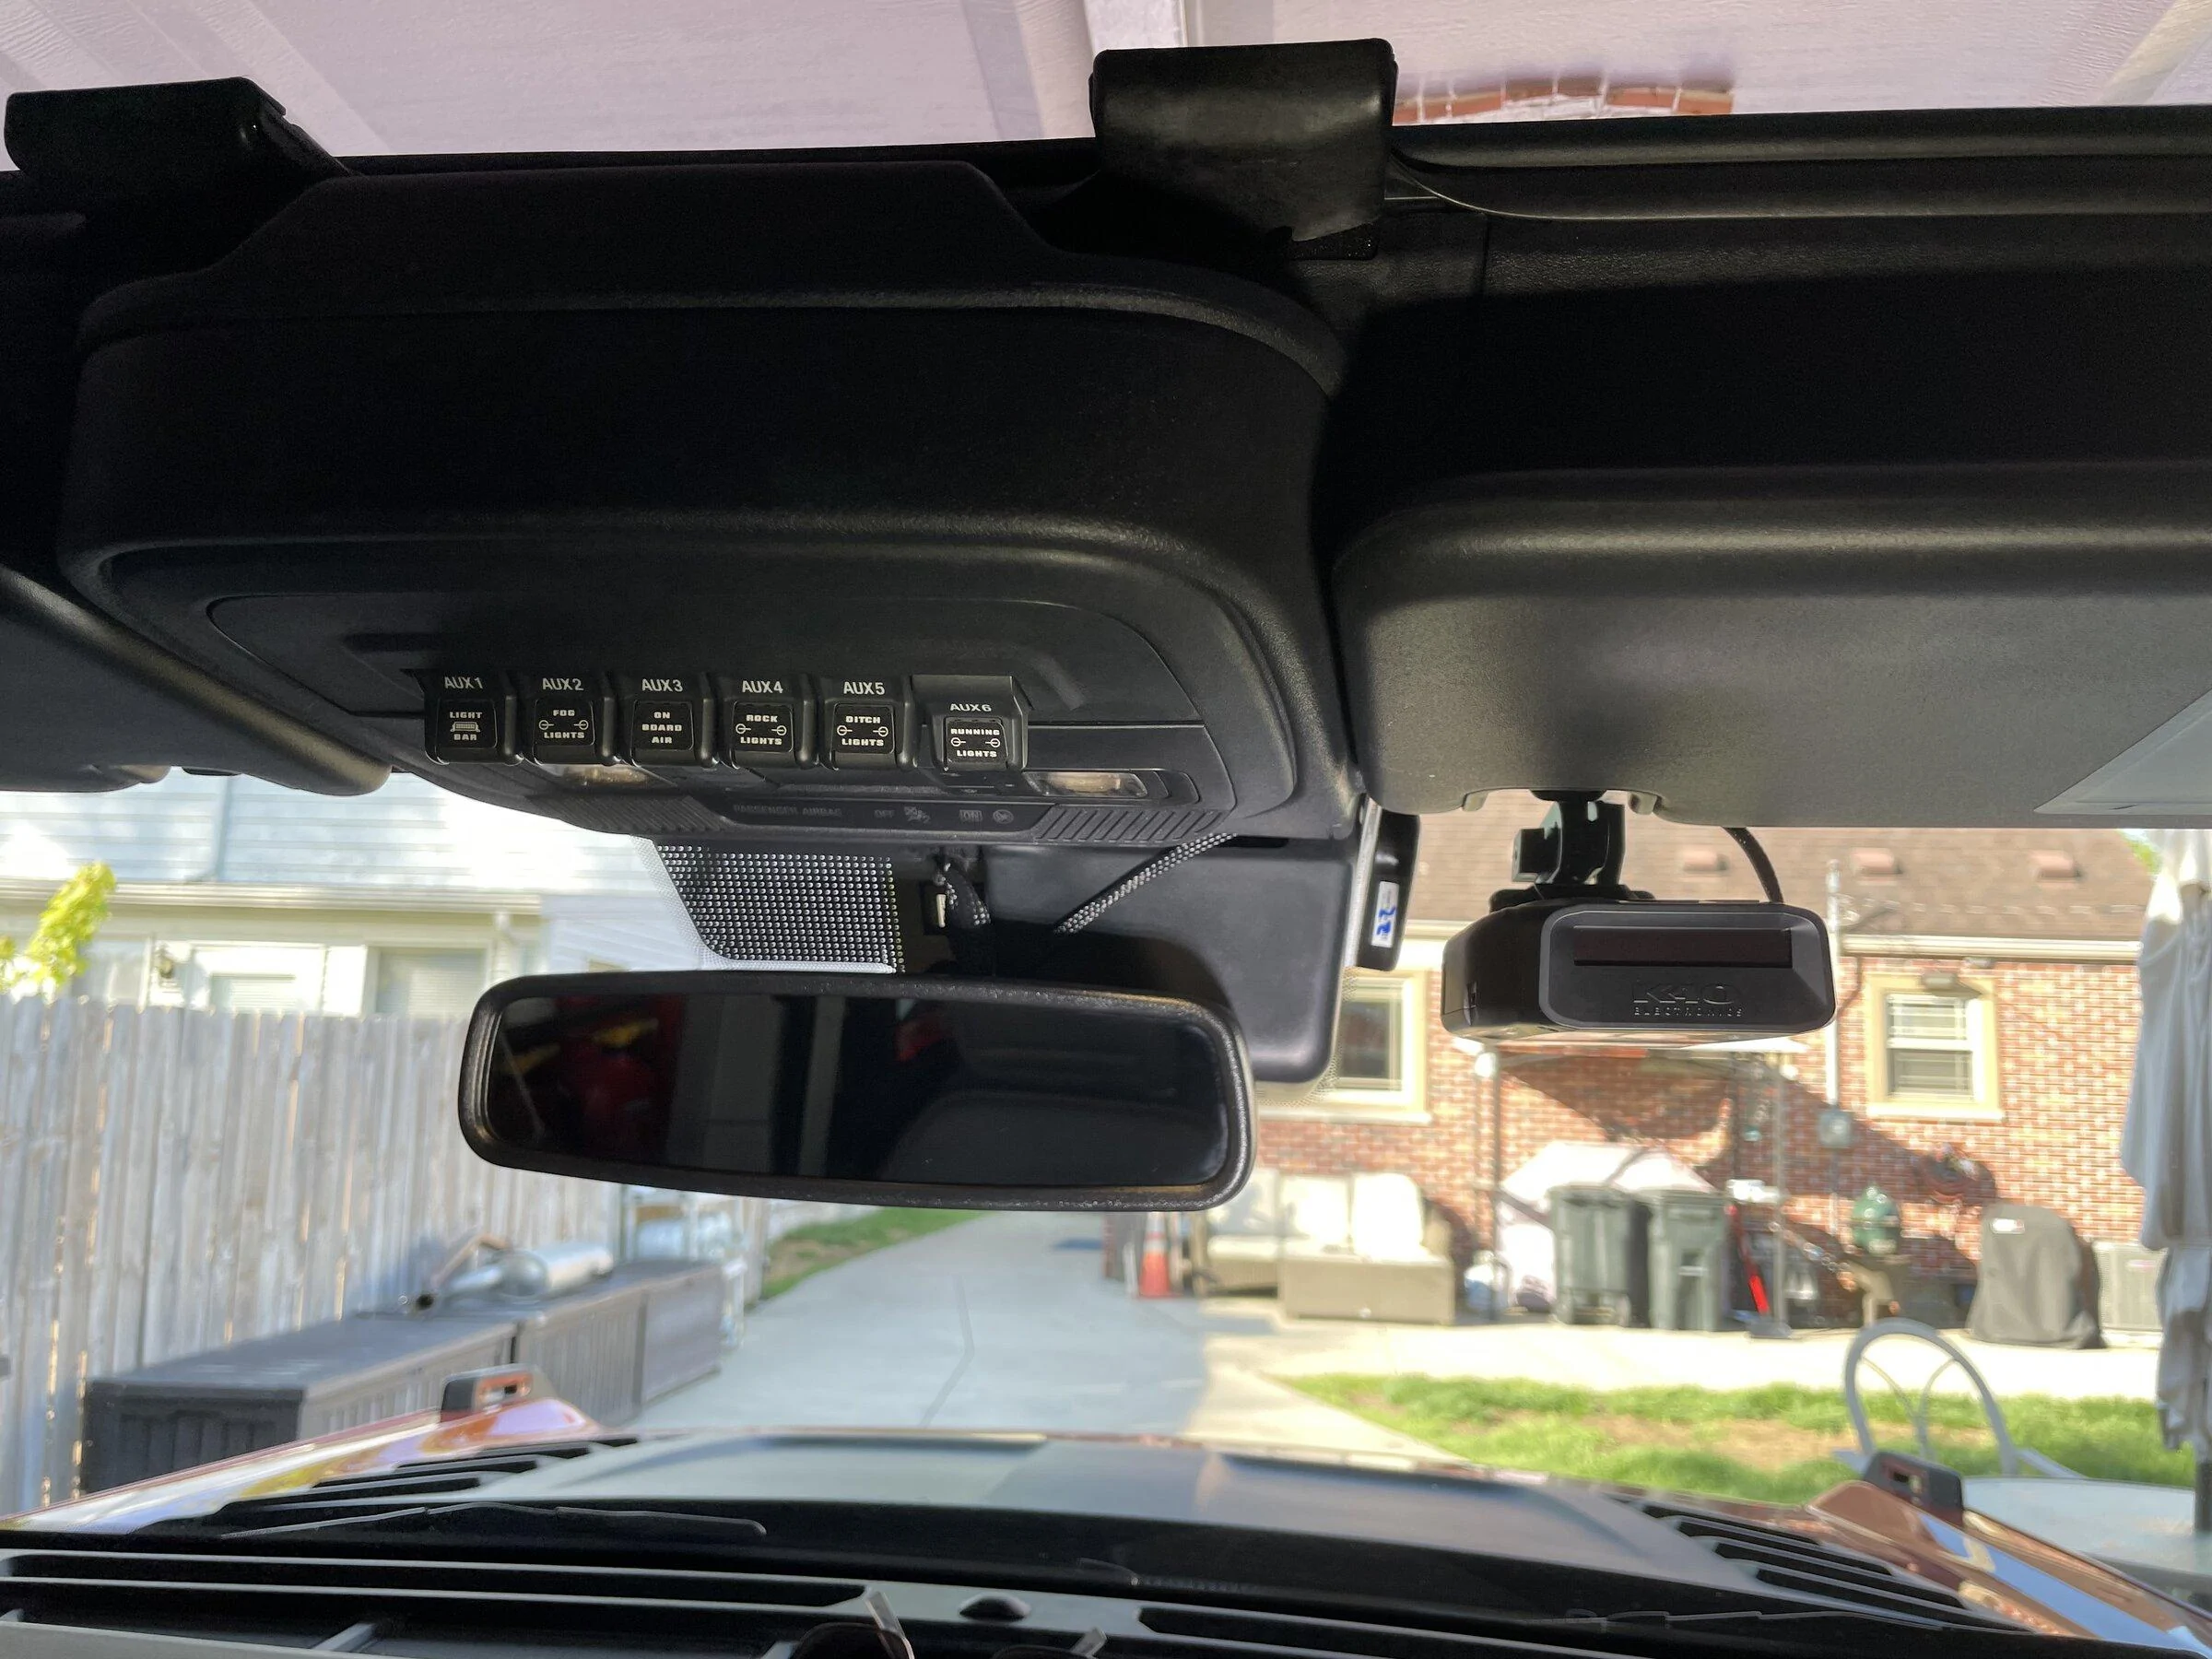
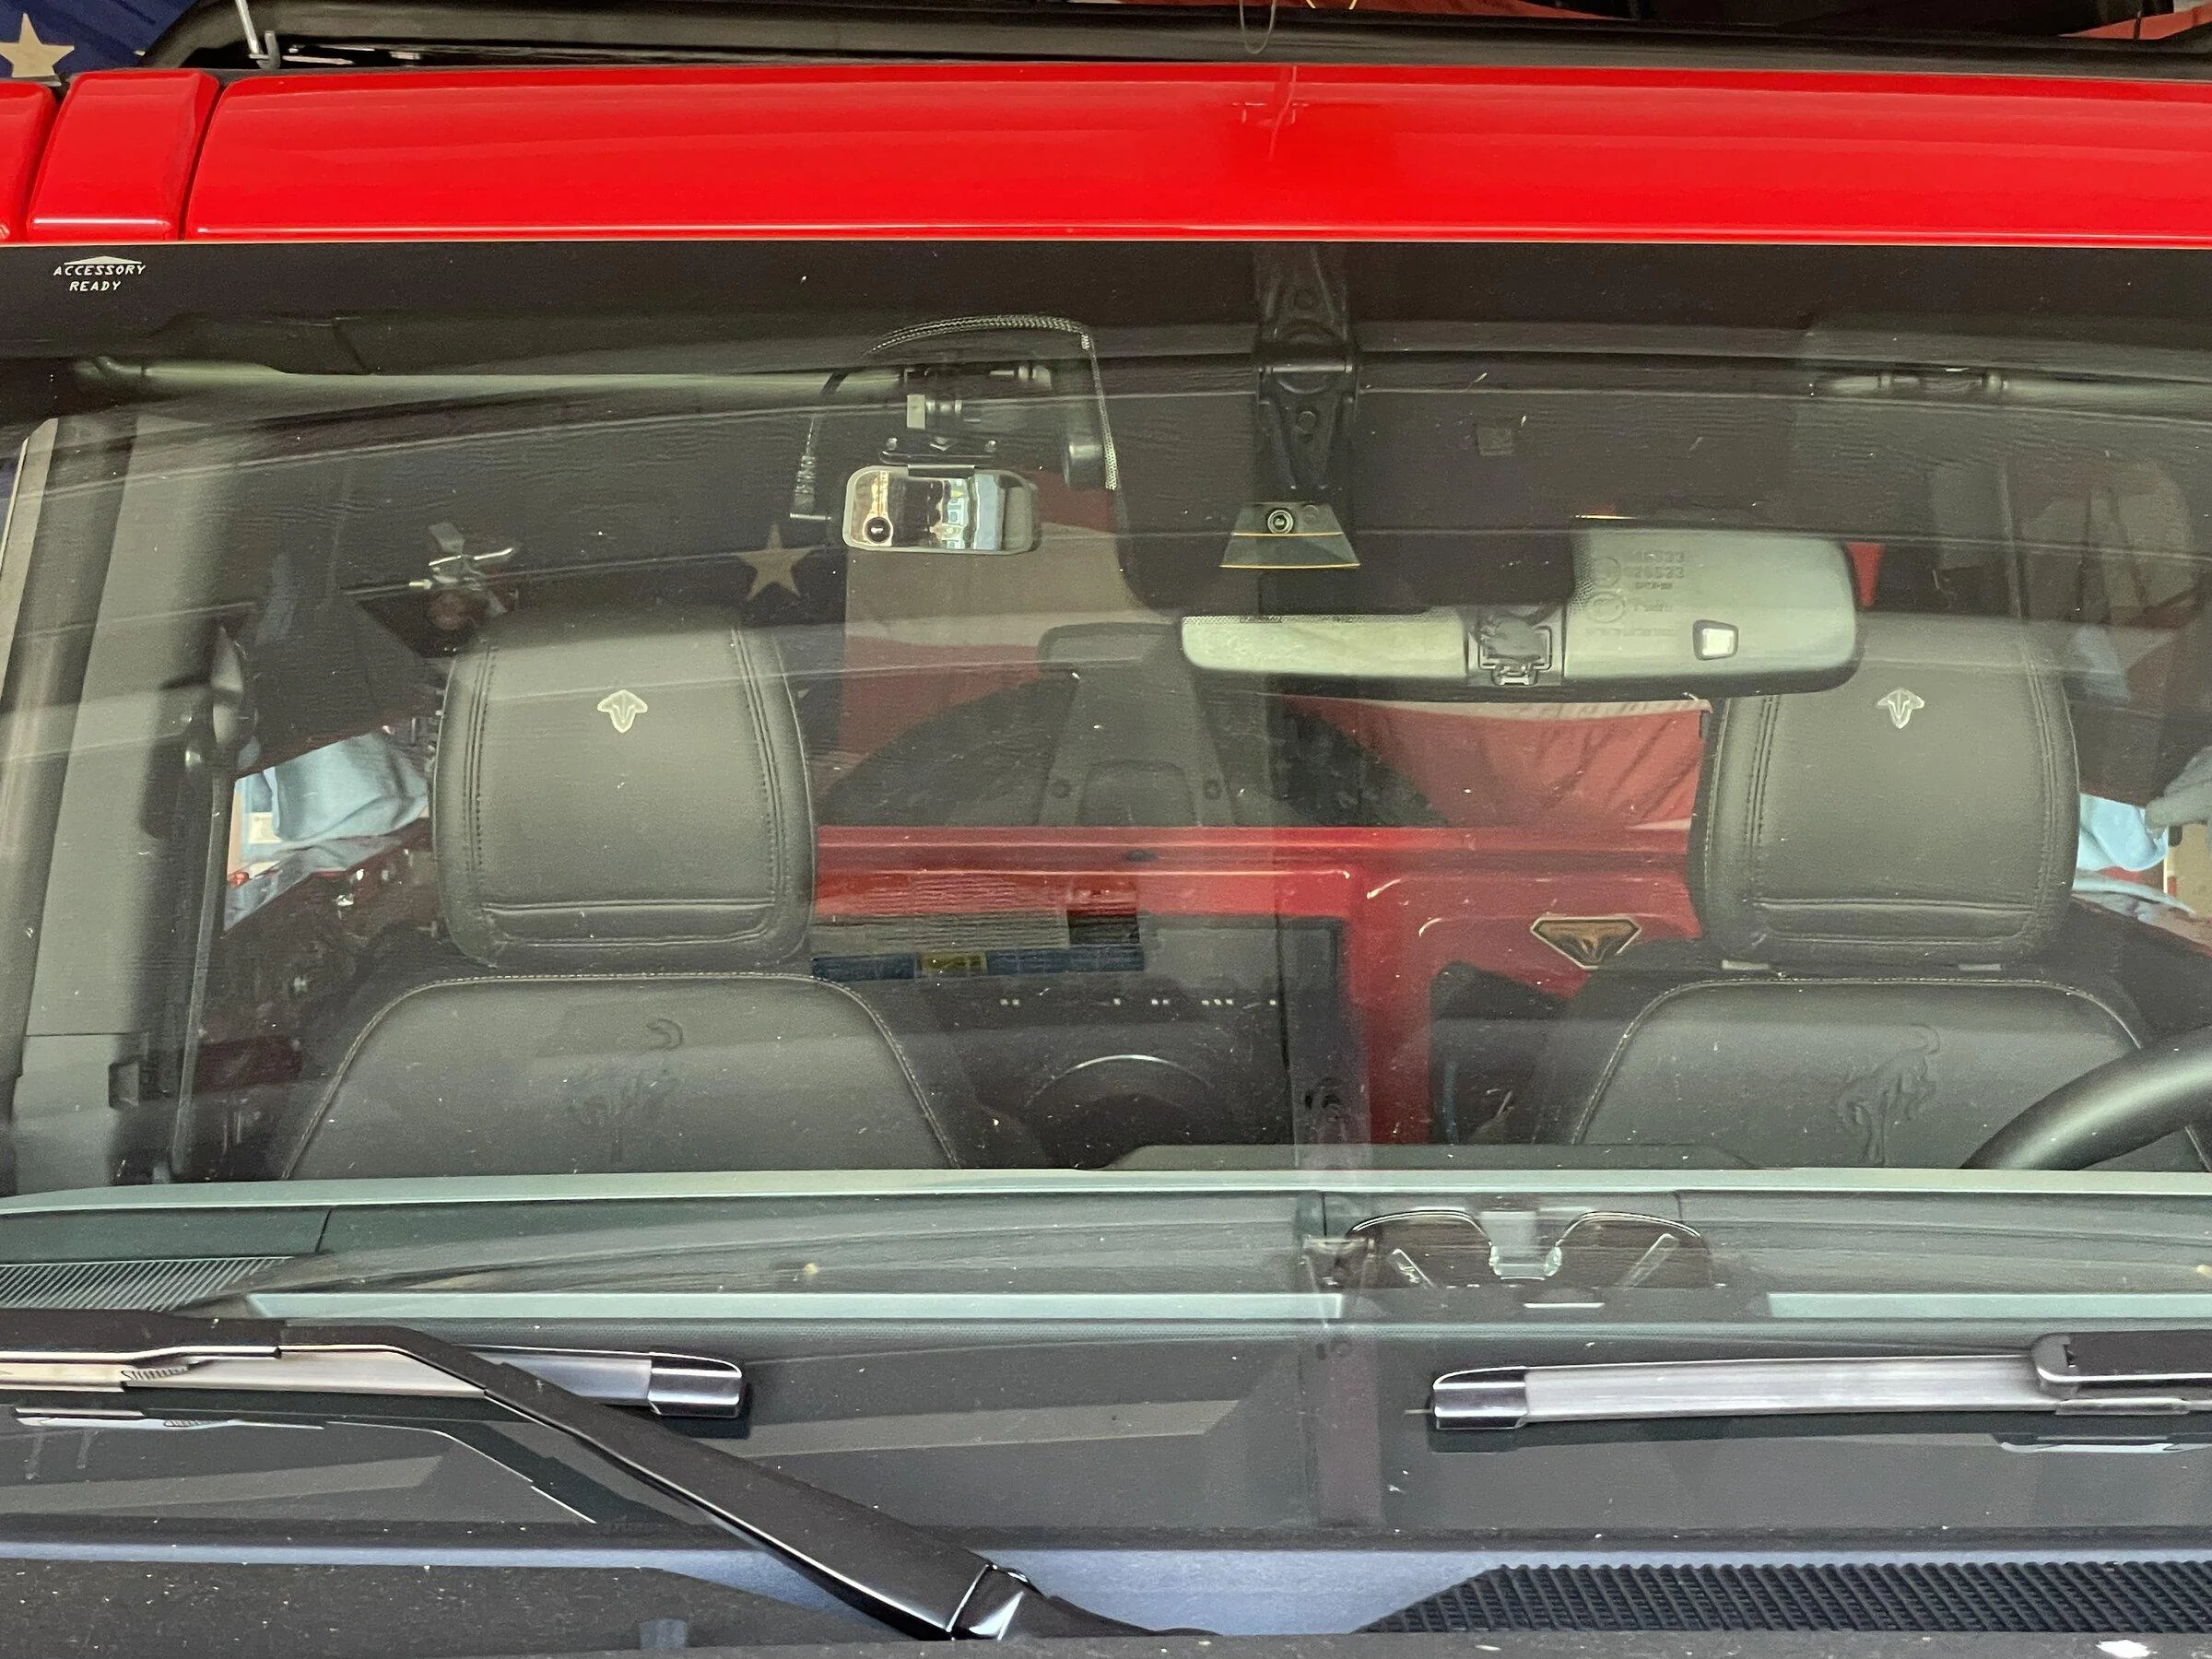
Can’t stand cords hanging. Took a bout a week but figured out a clean install. This was for a k40 install but they have the parts for many detectors available on the Amazon.
This install takes 10-15 minutes, requires no disassembly.
First step is to acquire the 3 parts that are listed. Wire tap with small pin adapter, detector bracket with threaded ball ends, tesa tape, because you’re a man.
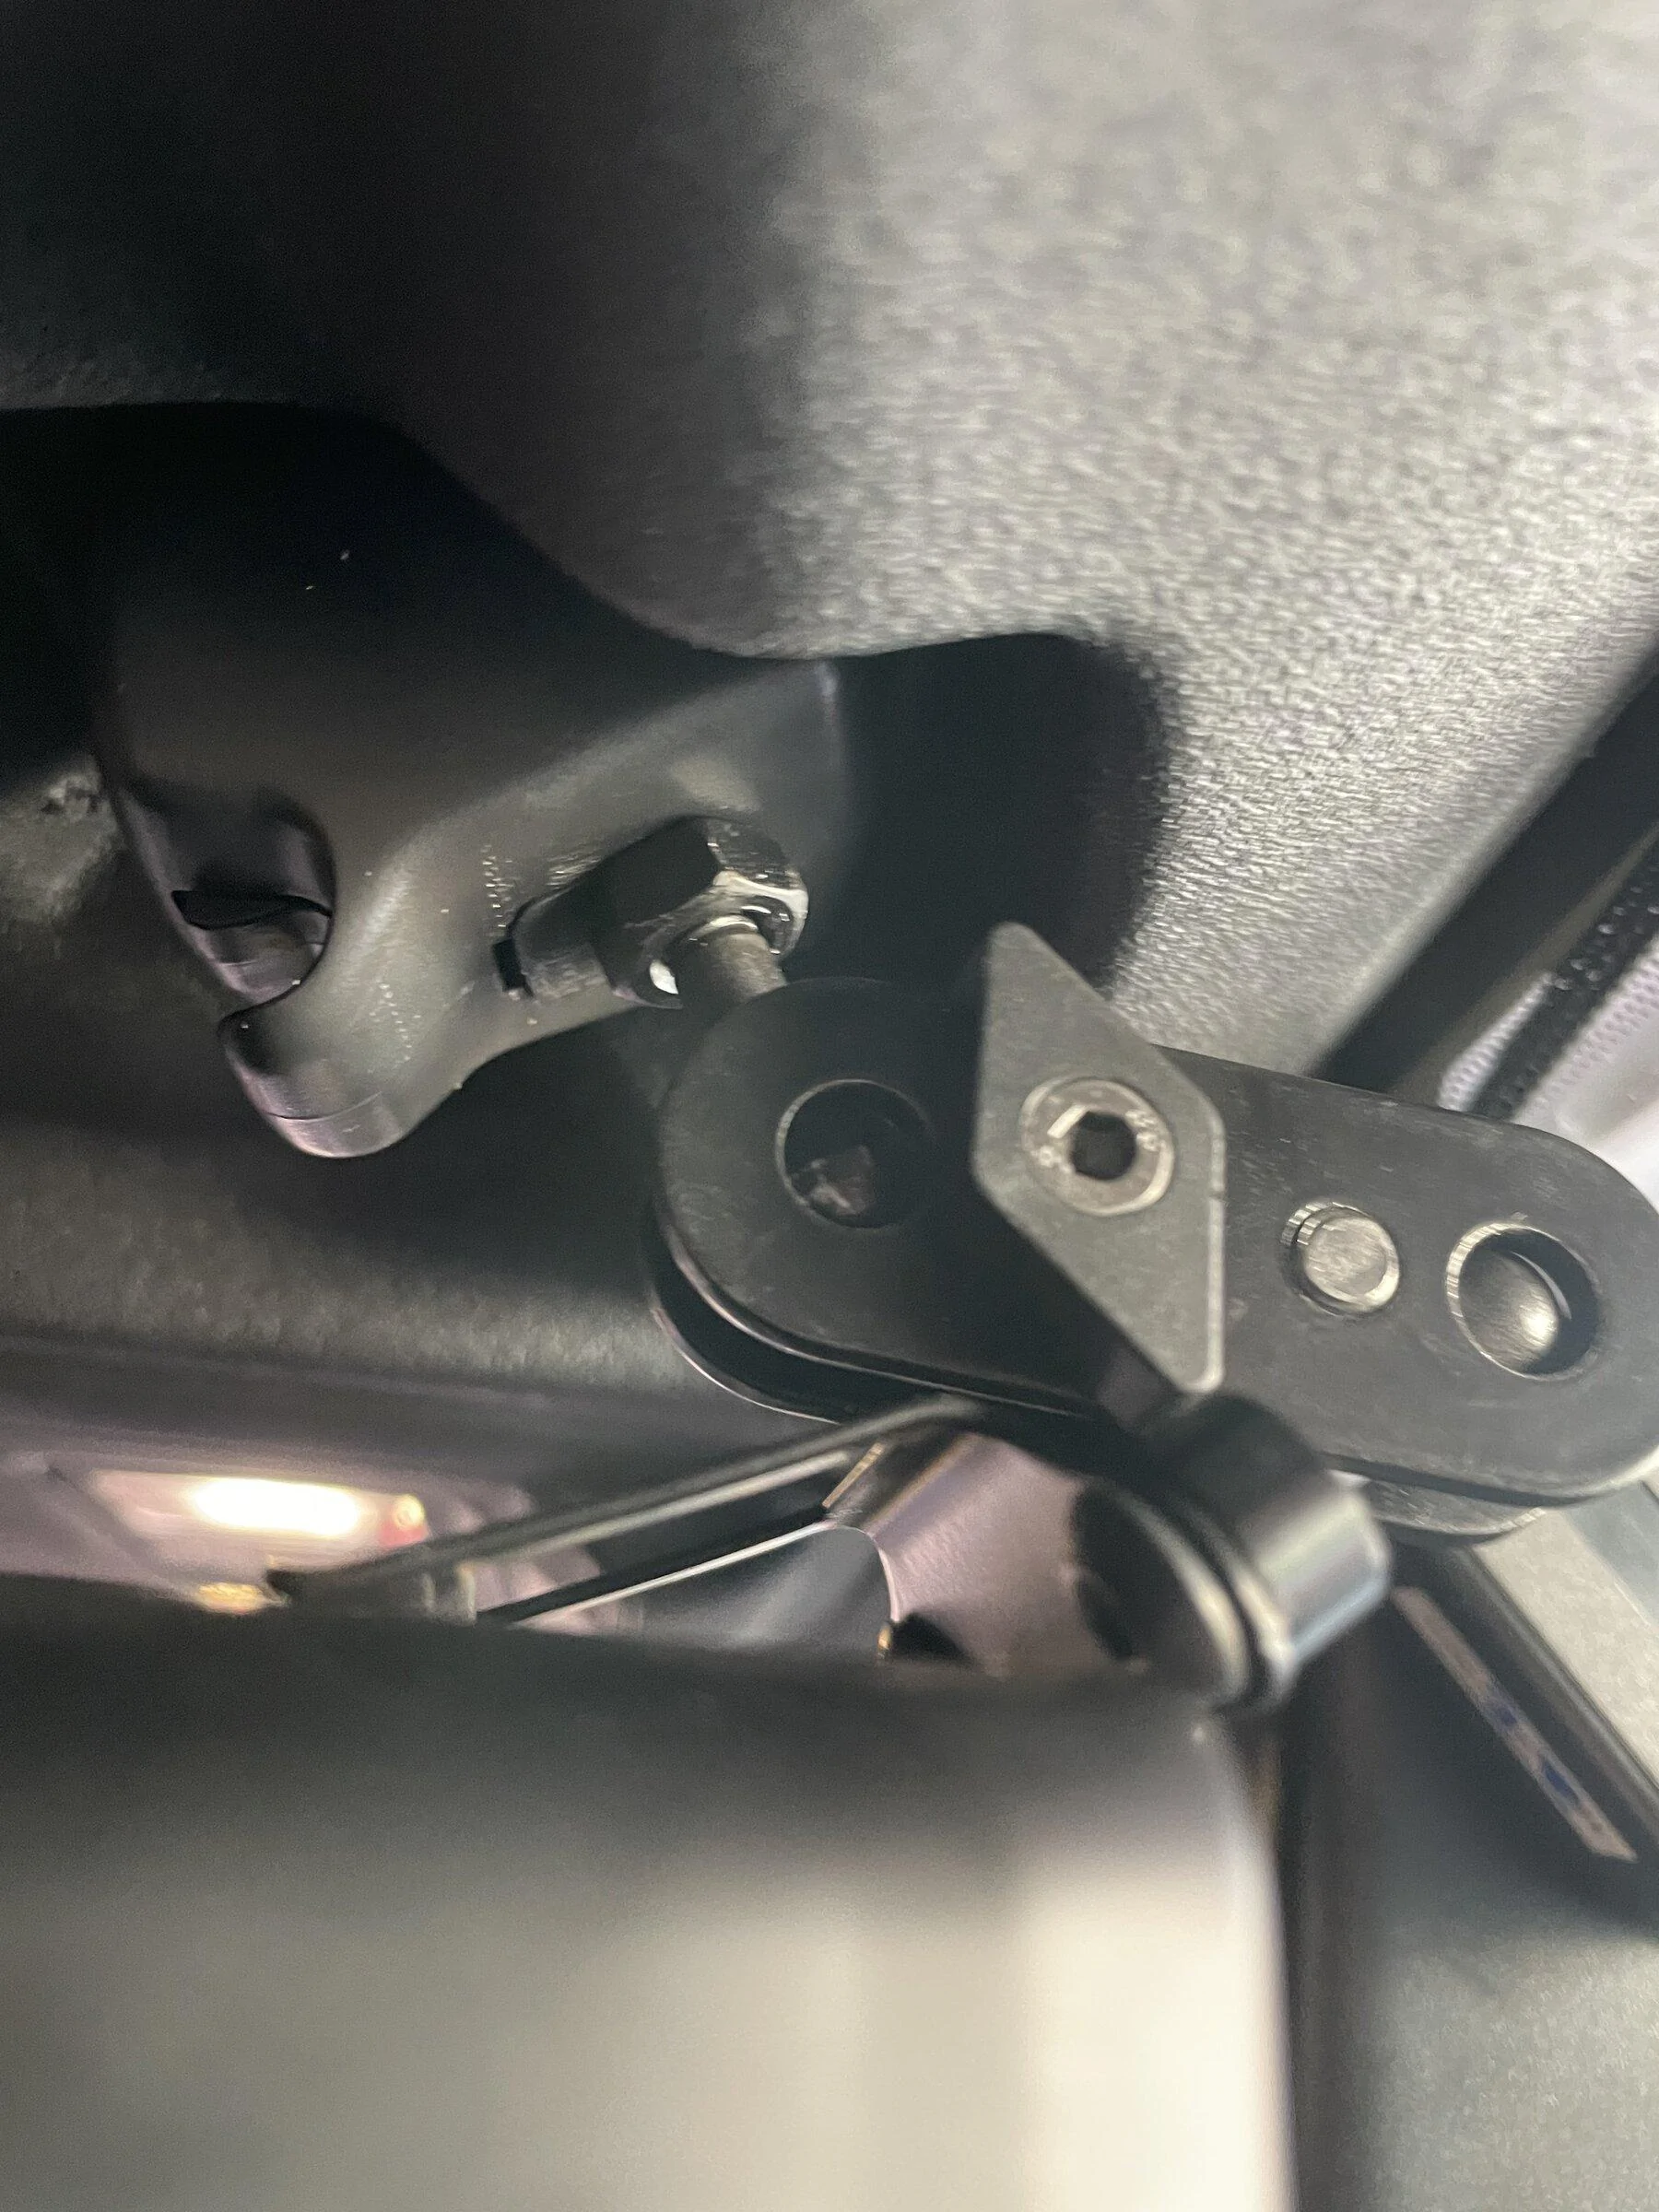
First remove the end of the bracket off of the threaded ball. Nut is 7/16.
Drill a 3/16 hole into the passenger visor mount. Then screw the stud into just before the nut touches. Then use the 7/16 to tighten the nut. Firm is good. Don’t go all super man on it. I’m old so I just put mine in the drill chuck to start it.
Use a Allen wrench to tighten the mount wing nuts into the proper position
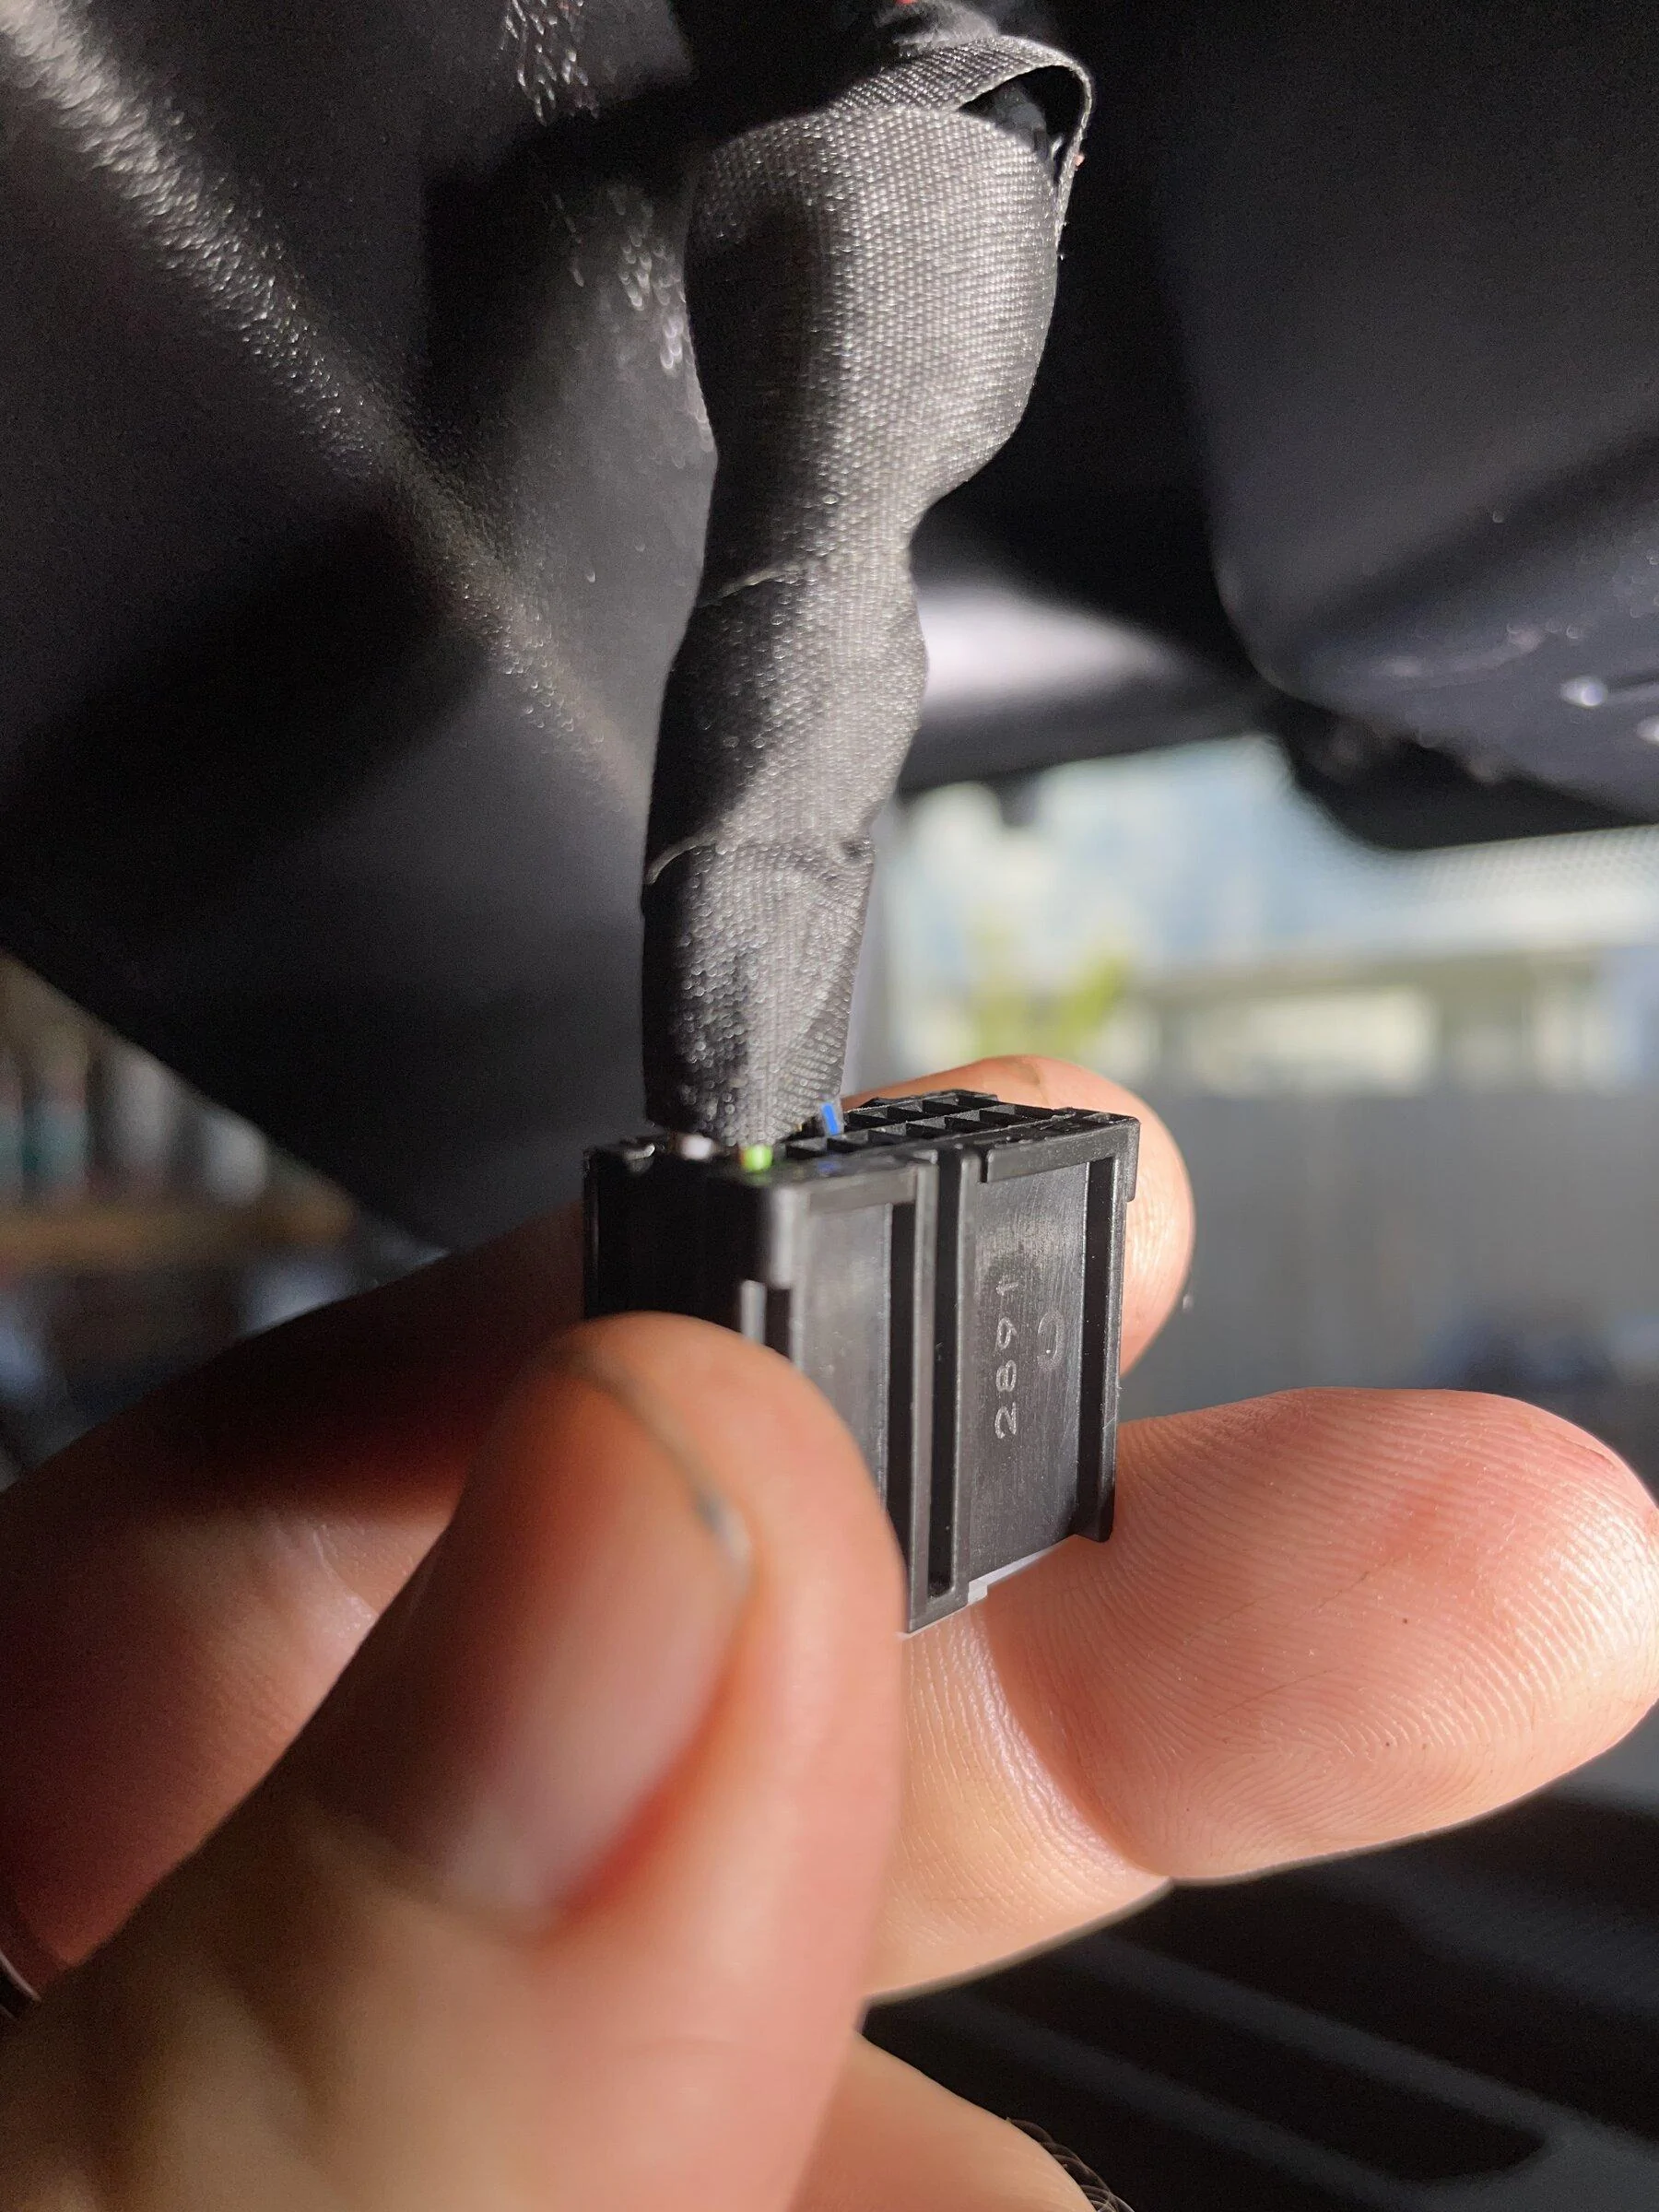
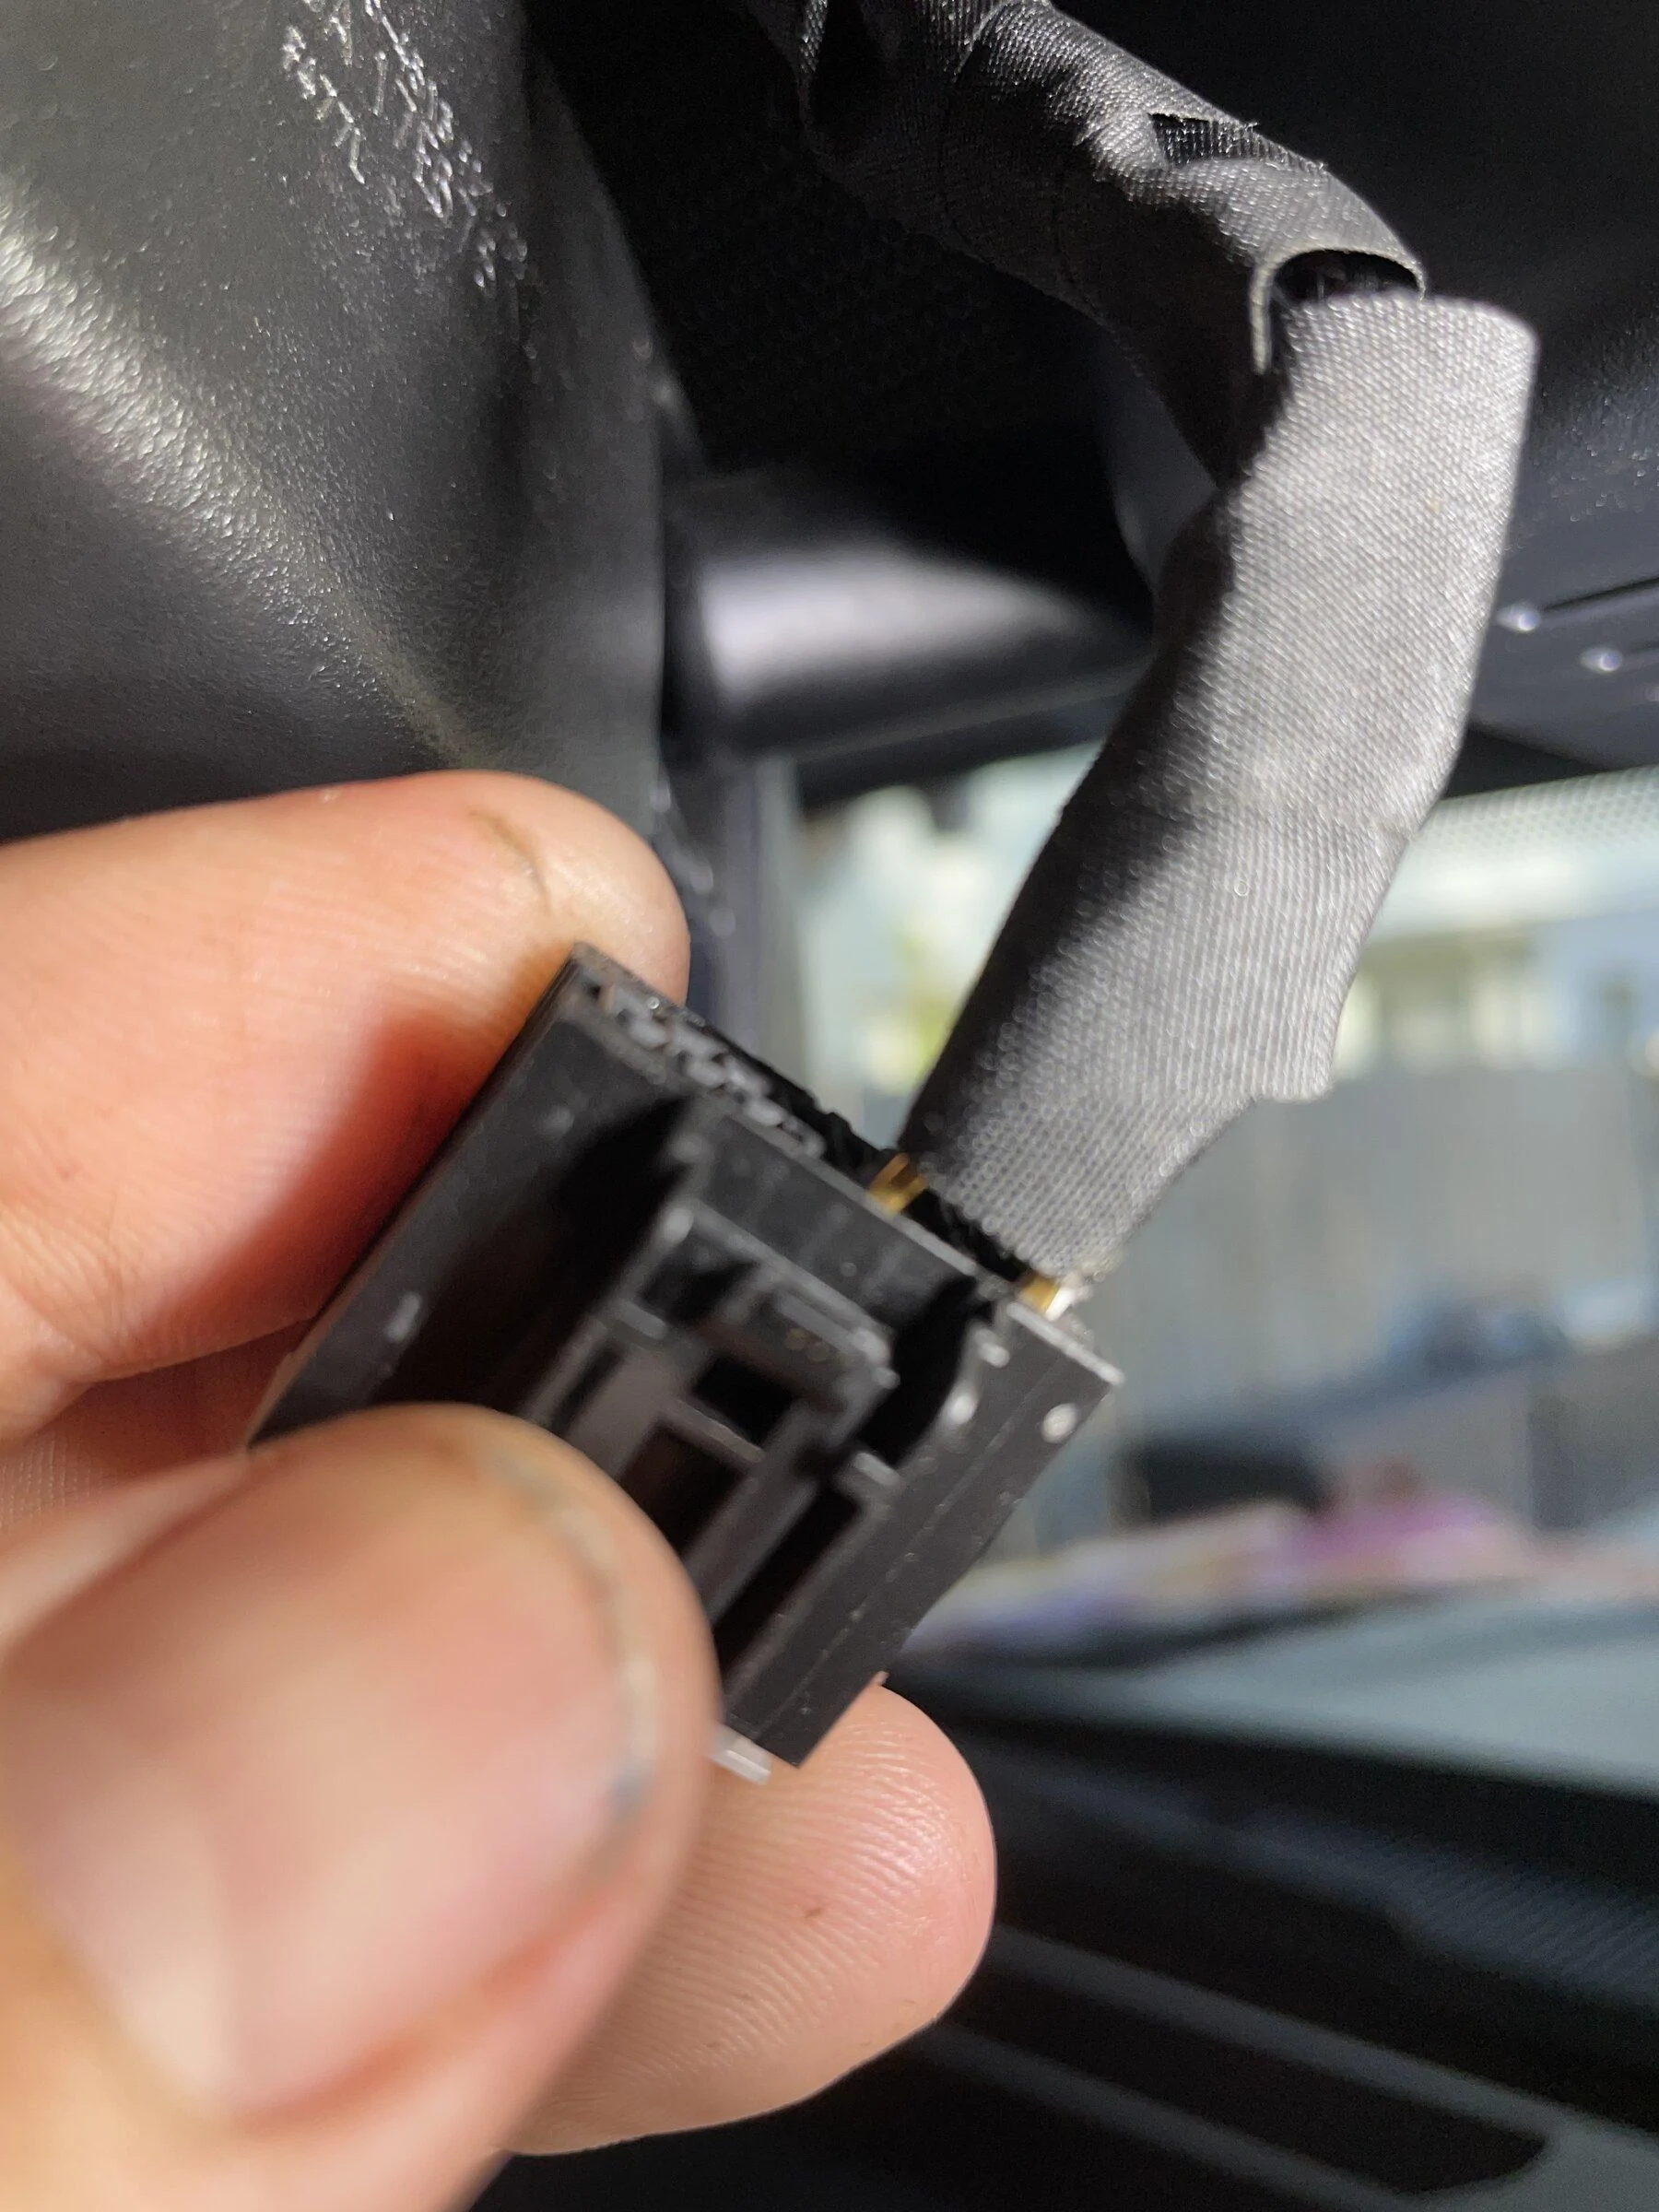
Unplug the harness from the back of the mirror. It has 3 wires. White, black and blue, green. We will be inserting the small pins into the black for ground and the white for power. This is a switched 12v off the ignition. You may have to use a set of pliers to force seat them all the way.
Use your “man tape” to wrap what’s not black.
Thats it’s.
Tesa tape
https://www.amazon.com/Tesas-Advanced-Harness-51036-Mercedes/dp/B01I2MLN2Q/ref=mp_s_a_1_5?crid=35H2Q5BQ2YKZO&keywords=tesa+tape&qid=1652615194&sprefix=tesa+tape,aps,72&sr=8-5
Detector mount must be this style with the threaded ball joints on the end. Just grab the appropriate one for your brand detector.
https://www.amazon.com/Radar-Mount-Detector-Bracket-Detectors/dp/B06Y2K9CC4/ref=mp_s_a_1_1_sspa?crid=JYNPZIIIS4YX&keywords=k40+radar+mount&qid=1652615875&sprefix=,aps,68&sr=8-1-spons&psc=1&smid=A4ZR0KLVOENJ2&spLa=ZW5jcnlwdGVkUXVhbGlmaWVyPUExUEpKWTBXTDRIS0dPJmVuY3J5cHRlZElkPUEwMDM0MTczMlA2M0dVSUNKUkpWWiZlbmNyeXB0ZWRBZElkPUEwODA1ODAwMU44WjZRVjcxTThHSiZ3aWRnZXROYW1lPXNwX3Bob25lX3NlYXJjaF9hdGYmYWN0aW9uPWNsaWNrUmVkaXJlY3QmZG9Ob3RMb2dDbGljaz10cnVl
wire tap comes with the smaller pin adapter which you will be using. Grab the appropriate power end for your model.
https://www.amazon.com/gp/aw/d/B071XNQSFD?psc=1&ref=ppx_pop_mob_b_asin_title


This install takes 10-15 minutes, requires no disassembly.
First step is to acquire the 3 parts that are listed. Wire tap with small pin adapter, detector bracket with threaded ball ends, tesa tape, because you’re a man.
First remove the end of the bracket off of the threaded ball. Nut is 7/16.
Drill a 3/16 hole into the passenger visor mount. Then screw the stud into just before the nut touches. Then use the 7/16 to tighten the nut. Firm is good. Don’t go all super man on it. I’m old so I just put mine in the drill chuck to start it.
Use a Allen wrench to tighten the mount wing nuts into the proper position
Unplug the harness from the back of the mirror. It has 3 wires. White, black and blue, green. We will be inserting the small pins into the black for ground and the white for power. This is a switched 12v off the ignition. You may have to use a set of pliers to force seat them all the way.
Use your “man tape” to wrap what’s not black.
Thats it’s.
Tesa tape
https://www.amazon.com/Tesas-Advanced-Harness-51036-Mercedes/dp/B01I2MLN2Q/ref=mp_s_a_1_5?crid=35H2Q5BQ2YKZO&keywords=tesa+tape&qid=1652615194&sprefix=tesa+tape,aps,72&sr=8-5
Detector mount must be this style with the threaded ball joints on the end. Just grab the appropriate one for your brand detector.
https://www.amazon.com/Radar-Mount-Detector-Bracket-Detectors/dp/B06Y2K9CC4/ref=mp_s_a_1_1_sspa?crid=JYNPZIIIS4YX&keywords=k40+radar+mount&qid=1652615875&sprefix=,aps,68&sr=8-1-spons&psc=1&smid=A4ZR0KLVOENJ2&spLa=ZW5jcnlwdGVkUXVhbGlmaWVyPUExUEpKWTBXTDRIS0dPJmVuY3J5cHRlZElkPUEwMDM0MTczMlA2M0dVSUNKUkpWWiZlbmNyeXB0ZWRBZElkPUEwODA1ODAwMU44WjZRVjcxTThHSiZ3aWRnZXROYW1lPXNwX3Bob25lX3NlYXJjaF9hdGYmYWN0aW9uPWNsaWNrUmVkaXJlY3QmZG9Ob3RMb2dDbGljaz10cnVl
wire tap comes with the smaller pin adapter which you will be using. Grab the appropriate power end for your model.
https://www.amazon.com/gp/aw/d/B071XNQSFD?psc=1&ref=ppx_pop_mob_b_asin_title


Sponsored
Last edited:


